To use fertilizer to grow more, you need three things dialed in: the right nutrient for what your soil is actually missing, the right rate for your crop's growth stage, and the right timing so plants can use it instead of losing it. To help a garden has to grow fertilizer effectively, start with a soil test so you know what your plants are missing grow more. Skip any one of those and you're either burning money or burning plants. This guide walks you through the whole process from soil test to harvest, with specific numbers you can act on today.
Grow More Fertilizer: How to Use It for Higher Yields

Marcus Hendrick
1 Jun 2026
What 'Grow More' Actually Means: Setting Realistic Yield Goals
Before you open a bag of fertilizer, it helps to get specific about what you're trying to achieve. 'More' is vague. More tomatoes than last year? More yield per square foot? More consistent production through the whole season? Each of those goals points to a different fix. A plant that stops producing in August usually has a feeding or watering problem, not a fertilizer deficiency. A plant that never gets big in the first place usually needs nitrogen. Being clear about your goal tells you where to focus.
A realistic benchmark for a well-fed vegetable garden is somewhere between 0.5 and 1 pound of produce per square foot over a full season, depending on what you're growing. Tomatoes, squash, and cucumbers punch above that when conditions are right. Leafy greens come in lower. If you're well below those numbers, fertility is one possible cause, but also look at spacing, watering, and sunlight before assuming you need more fertilizer. Soil nutrients are one piece of the puzzle, and this is worth keeping in mind as you go through the rest of this guide.
Soil Testing First: Know What You're Working With
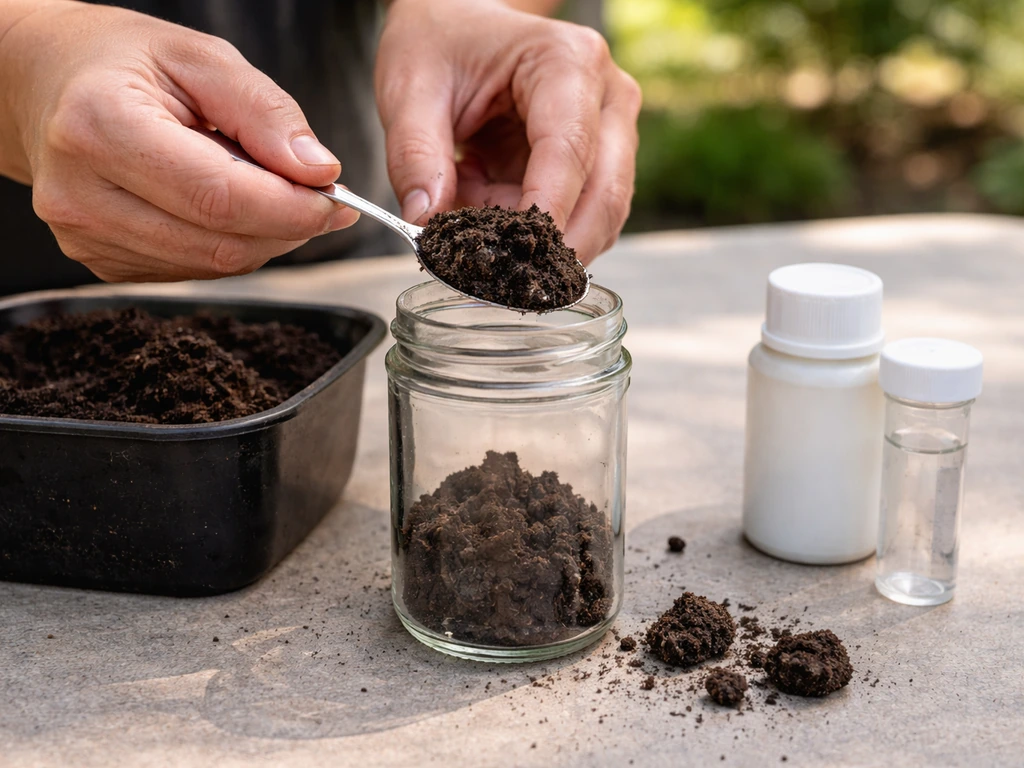
The single biggest mistake home gardeners make is fertilizing by feel. You buy a bag of something, sprinkle it around, and hope for the best. A soil test costs between $15 and $30 through your state's cooperative extension service, and it tells you exactly what's there and what's missing. UF/IFAS Extension and other state labs test for the nutrients that matter most in vegetable gardens: phosphorus, potassium, calcium, magnesium, plus micronutrients like copper, manganese, and zinc. UF/IFAS Extension’s soil testing guidance for home vegetable gardeners notes that soil test labs can analyze nutrients including P and K plus several secondary and micronutrients, and it emphasizes how pH affects micronutrient toxicity micronutrients like copper, manganese, and zinc. They also flag pH, which is arguably the most important number because it controls whether nutrients you've already applied are actually available to plants.
pH between 6.0 and 7.0 is the sweet spot for most vegetables. Outside that range, nutrients start locking up in the soil even when they're physically present. If your pH is off, no amount of extra fertilizer will fix a deficiency caused by lockout. Fix the pH first with lime (to raise it) or sulfur (to lower it), then fertilize.
One thing to know about soil test results: the numbers tell you total nutrient levels, but not exactly how much is plant-available right now. OSU Extension is explicit about this, noting that total nutrient content is not the same as plant-available sufficiency. Their approach is to only recommend adding nutrients when an economic yield increase is actually likely. That's a good rule for home gardeners too. If your test shows phosphorus at sufficient levels, adding more P won't help and may cause micronutrient imbalances down the line. Also worth noting: if you've applied phosphorus in a banded fertilizer before, some of it can persist near that band, which can make soil test readings for P look higher or lower than the actual available amount. Your extension office can help you interpret those results correctly.
Reading Deficiency Signs Without a Test
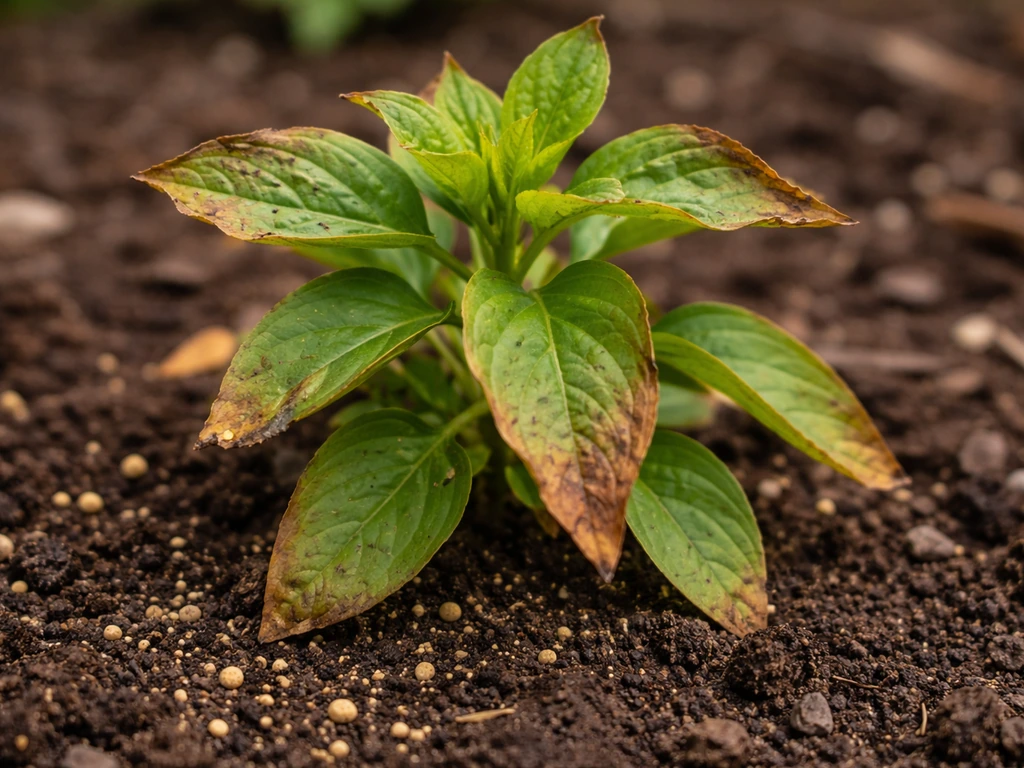
If you can't get a soil test done right now, plant symptoms give you clues. Nitrogen deficiency shows up as yellowing that starts with older, lower leaves and moves upward. Phosphorus deficiency often shows as purple or reddish coloring on leaf undersides. Potassium deficiency causes brown, scorched edges on leaves starting at the tips. Iron and manganese deficiencies (usually a pH problem) cause yellowing between the veins of younger leaves while the veins stay green. These signs aren't a perfect diagnosis, but they point you in the right direction fast.
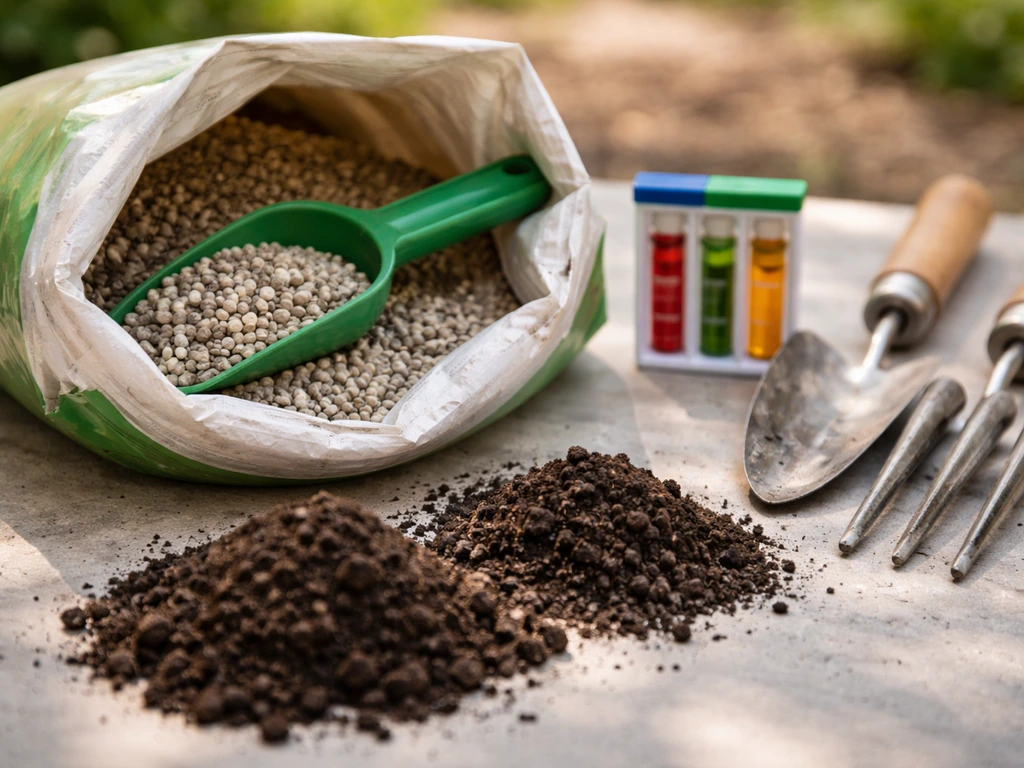
Choosing the Right Fertilizer for a Home Garden

The fertilizer market is overwhelming. Walk into any garden center and you'll see dozens of options. Here's a simple way to cut through the noise: organic fertilizers feed the soil slowly and are harder to over-apply, while synthetic fertilizers deliver nutrients fast and precisely but are easier to mess up. Neither is universally better. Your situation determines which to use.
| Type | Best For | Main Advantage | Main Risk | Typical N-P-K |
|---|---|---|---|---|
| Granular synthetic (e.g., 10-10-10) | Pre-season soil prep, broadcast application | Precise, predictable, inexpensive | Easy to over-apply, salt buildup | 10-10-10 or similar balanced |
| Slow-release granular | Season-long feeding with less work | Feeds for 3-6 months, low burn risk | Less control over timing | Varies (e.g., 14-14-14) |
| Liquid synthetic (e.g., 20-20-20) | Fast correction of deficiencies | Fastest uptake, precise dilution | Burns if mixed too strong | 20-20-20 or similar |
| Organic granular (blood meal, bone meal, kelp) | Targeted nutrient additions | Slow release, soil health benefits | Variable analysis, slower acting | Varies by product |
| Compost/manure | Broad baseline fertility, soil structure | Improves drainage, water retention, biology | Low nutrient density, variable | Roughly 1-1-1 or lower |
| Fish emulsion / liquid seaweed | Seedlings, transplants, foliar feeding | Gentle, micronutrients, quick uptake | Smell, short-lived effect | 2-4-1 range |
For most home gardens, the best approach is to use compost as your base (2 to 4 inches worked into beds before planting), supplement with a granular fertilizer matched to your soil test results, and use liquid fertilizers for targeted feeding during the growing season. You can also use a well-managed trash can system to grow fertilizer, then apply it as part of your overall feeding plan trash can grow fertilizer. If organic growing matters to you, compost, fish emulsion, blood meal, and bone meal cover most of your needs. If yield maximization is the priority and organic certification doesn't matter, balanced granular synthetics with liquid feeding mid-season is a very effective combination.
How to Apply Fertilizer: Step-by-Step
Application method matters as much as what you're applying. Put fertilizer in the wrong place at the wrong time and you waste most of it, or worse, you burn your plants.
Rates to Start With
WSU Extension's home gardener guide gives a solid baseline for vegetable gardens: roughly 2 to 2.5 pounds of actual available nitrogen per 1,000 square feet per season, which works out to about 3 to 4 ounces per 100 square feet. Phosphorus and potassium rates vary more depending on what your soil test shows, but WSU notes rates up to about 2 pounds of P2O5 and 4 pounds of K2O per 1,000 square feet for deficient soils. Always calculate actual nutrient amounts from the fertilizer's N-P-K label, not just how many pounds of fertilizer you apply. A 10-10-10 fertilizer is 10% nitrogen by weight, so 10 pounds of it delivers 1 pound of actual nitrogen.
Broadcast vs. Band vs. Side-Dress vs. Top-Dress
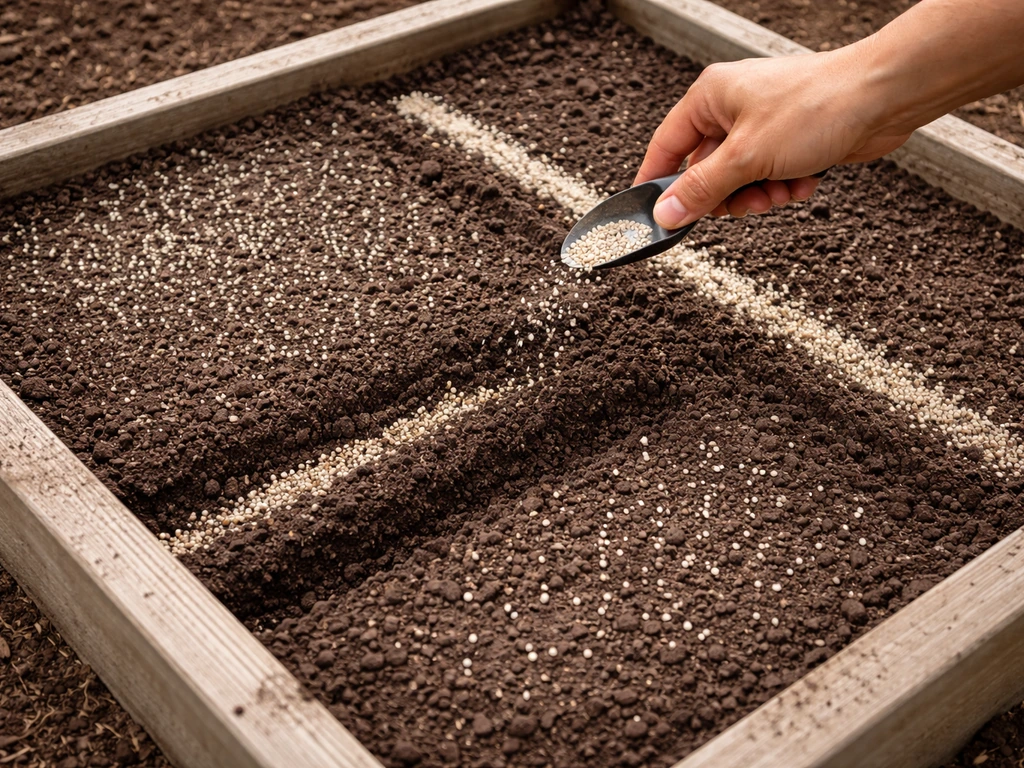
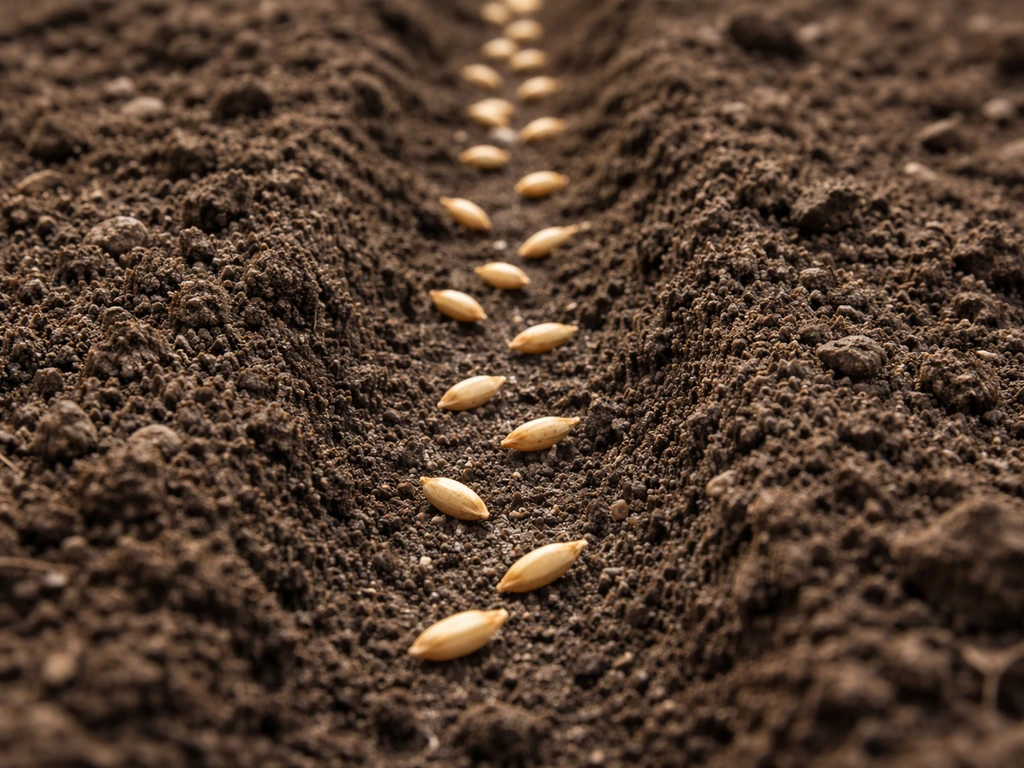
Broadcasting means spreading fertilizer evenly over your whole bed and working it into the top few inches of soil. Do this before planting for your pre-season application. It's the right method for compost, slow-release granulars, and when you're correcting broad nutrient deficiencies across the whole bed.
Banding means placing fertilizer in a narrow strip 2 to 3 inches to the side of and 2 to 3 inches below seed or transplant depth. This concentrates nutrients near roots where plants can access them quickly and is especially efficient for phosphorus, which doesn't move much in soil. Keep the fertilizer away from direct seed contact to avoid burn.
Side-dressing is the technique you'll use most mid-season. Scratch a shallow trench 4 to 6 inches away from the plant stem (outside the drip line if the plant is large), apply granular fertilizer along it, and cover lightly with soil. This delivers nitrogen and other nutrients directly into the root zone without disturbing the plant. Do this for corn when it's about 6 inches tall, for tomatoes once they set fruit, and for any heavy feeder showing signs of slowing.
Top-dressing means applying fertilizer directly on the soil surface around a plant. It's fine for slow-release products and compost, which need time to break down anyway. It's not ideal for fast-release granular fertilizers that need to be worked in or at least watered in thoroughly to prevent burn and volatilization.
Mixing and Applying Liquid Fertilizers
Always mix liquid fertilizers at the rate on the label or lower, never higher. For foliar spraying, err on the weak side, especially in hot weather, since concentrations that look fine on the label can still burn leaves above 85°F. Apply foliar sprays in the early morning so leaves dry before the heat of the day. For soil drench applications, pour the solution evenly around the root zone, not on the crown or leaves. Fish emulsion smells bad but works well as a gentle liquid feed for transplants and seedlings. Use it at half strength for seedlings under 3 weeks old.
Watering In Your Fertilizer
After any granular application, water thoroughly, at least an inch of water if possible. This dissolves the granules and carries nutrients into the root zone. Without watering in, granular fertilizer just sits on the surface, does nothing for your plants, and can actually draw moisture out of nearby roots by osmosis. For liquid fertilizers, water the soil lightly before applying (never apply to bone-dry soil) and then again after if you've applied a heavy dose. The goal is moist soil that can carry nutrients down to where roots are actively feeding.
Feeding Schedule by Growth Stage
Plants don't need the same thing at every stage of their life. Matching your feeding to what the plant is actually doing is how you get real yield increases instead of just lush leaves with no fruit.
| Growth Stage | What the Plant Needs Most | Recommended Approach | Watch Out For |
|---|---|---|---|
| Seedling (germination to first true leaves) | Low nutrients overall, gentle phosphorus for root development | Use seed-starting mix with no added fertilizer, or very dilute liquid (fish emulsion at 1/4 strength) once true leaves appear | Any strong fertilizer at this stage burns seedling roots |
| Early vegetative (transplant to 2-3 weeks in ground) | Phosphorus for root establishment, moderate nitrogen | Transplant fertilizer or starter solution high in P (e.g., 5-10-5 at half rate) | Overfeeding nitrogen causes floppy, fast growth with weak roots |
| Active vegetative (rapid leaf and stem growth) | High nitrogen for leaf and stem development | Balanced or nitrogen-forward granular (side-dress or broadcast) per soil test rates | Too much N late in this stage delays flowering |
| Flowering | Reduce nitrogen, increase phosphorus and potassium | Switch to lower-N, higher-P/K liquid feed (e.g., 5-10-10 or tomato fertilizer) | High nitrogen during flowering causes flower drop and poor fruit set |
| Fruiting and harvest | Potassium for fruit size and quality, consistent calcium to prevent blossom end rot | Potassium-forward fertilizer, calcium spray if needed, consistent watering | Irregular watering with fertilizer causes splitting and calcium deficiency even if Ca is present in soil |
For most vegetables, you're looking at a pre-plant application of compost plus a balanced granular, a side-dress of nitrogen at 3 to 4 weeks post-transplant, and then a switch to a lower-nitrogen, higher-potassium feed once flowering begins. Heavy feeders like tomatoes, corn, and squash benefit from feeding every 2 to 3 weeks during peak growth. Light feeders like beans and herbs often need nothing beyond a good pre-plant compost application.
Avoiding Common Mistakes and Fixing Problems
Fertilizer Burn
Fertilizer burn shows up as brown, scorched leaf tips or edges, or in severe cases whole plants wilting and dying. It happens when fertilizer concentration in the soil gets so high that it pulls water out of roots by osmosis. If you see burn after a granular application, water heavily and repeatedly to flush excess salts through the root zone. For foliar burn, rinse leaves with clean water immediately. Going forward, stick to label rates and never apply dry granular fertilizer directly against stems or crowns.
Salt Buildup
Repeated use of synthetic fertilizers without adding organic matter builds up salts in the soil over time. You'll notice it as a white or crusty residue on the soil surface, or as plants that seem chronically stressed even with adequate water. The fix is to flush the bed thoroughly with water, skip synthetic feeding for a season, and work in generous amounts of compost. This is one reason rotating between organic and synthetic inputs or mixing them is smarter than relying exclusively on synthetic granulars year after year.
Nutrient Lockout
If you're feeding regularly and still seeing deficiency symptoms, don't just add more fertilizer. Nutrient lockout is almost always a pH problem. Test your soil pH, and if it's outside the 6.0 to 7.0 range, correct it before doing anything else. Adding more phosphorus to a high-pH soil where P is already locked up just wastes money and can create imbalances with other nutrients. Similarly, excess phosphorus in the soil can lock out zinc and iron, so more isn't always better.
When Plants Just Aren't Responding
If you've corrected pH, applied the right nutrients at the right rates, and plants still aren't picking up, check three things. First, watering: inconsistent moisture prevents nutrient uptake regardless of what's in the soil. Second, root health: compacted soil, waterlogged beds, or root pests (like root-knot nematodes) block nutrient absorption even when everything else is right. Third, light: a plant in too much shade won't respond to feeding the way a plant in full sun does. Fertilizer amplifies what's already working. It can't compensate for fundamentally poor conditions.
Overfertilizing Is a Real Problem
More fertilizer does not mean more food. Past a certain point, excess nutrients cause problems rather than benefits: lush, disease-prone foliage, poor fruit set, and long-term soil degradation. Nitrogen is the most commonly over-applied nutrient in home gardens. If your tomatoes are all leaves and no fruit, or your lettuce bolts unusually fast, excess nitrogen is a likely cause. Cut back on nitrogen and let the plant balance out before adding more.
Your Next Steps Right Now
Here's what to actually do today, this week, and before your next planting. If you want to push for stronger results like better straw growing, focus on the same basics: the right nutrients, correct timing, and consistent moisture so the plants can actually use what you provide good to grow straw hack.
- Order or pick up a soil test kit from your local cooperative extension office. Most results come back in 1 to 2 weeks, and the report will tell you exactly what your garden needs.
- While you wait for results, look at your plants now. Check for yellowing lower leaves (nitrogen), purple leaf undersides (phosphorus), or brown leaf edges (potassium). Those symptoms tell you where to start.
- If you have plants in the ground right now in the vegetative stage, a side-dress of a balanced granular fertilizer at 3 to 4 ounces per 100 square feet is a safe starting point that won't over-apply anything. Water it in well after applying.
- If plants are flowering or fruiting, switch to a lower-nitrogen product. Look for anything labeled for tomatoes or fruiting vegetables, typically something like 5-10-10 or similar.
- Pick up fish emulsion or a dilute balanced liquid fertilizer for seedlings and transplants. Apply at half the label rate until plants are established.
- Plan to add compost to any new beds before your next planting, at least 2 inches worked into the top 6 to 8 inches of soil. This improves every other step in this guide by giving plants healthy soil biology to work with.
If you want to go deeper on any part of this, there's a lot more to explore: some gardeners get great results making compost-based fertilizers at home, and others swear by methods like the biointensive approach to soil fertility that minimizes outside inputs altogether. If you want to grow using the grow biointensive method, focus on building soil fertility with close spacing, compost, and careful nutrient cycling to reduce reliance on outside inputs. In Medina, the key is to build soil fertility with the right fertilizer approach so your plants can grow better. Cow manure and other animal-based amendments are worth understanding too, since they behave differently from synthetic granulars and have their own timing requirements. But the foundation is always the same: know your soil, feed the plant what it actually needs, and apply it where and when roots can use it.
FAQ
How do I calculate “how much fertilizer to use” from the N-P-K label?
Start from the nutrient you actually need, not the bag weight. For example, if you need 1 pound of actual nitrogen, a 10-10-10 fertilizer delivers about 0.1 pound of nitrogen per pound of product, so you’d use about 10 pounds of that fertilizer. If your bag has a different N percentage (like 12% or 21%), divide the target pounds by the decimal form of the N% to get the required product weight. Then double-check you are using the right nutrient for your specific deficiency (test or symptom) and stage.
What’s the safest way to “grow more fertilizer how to use” when I’m tempted to over-apply?
Use a two-step approach: apply at the label-based rate for your current stage, then reassess. If you see vigorous growth and no fruit set issues (for tomatoes, beans, and squash), hold steady rather than adding more right away. If plants seem to lag, confirm pH first, then do a small side-dress correction instead of a second heavy broadcast. This reduces the risk of salt buildup and fertilizer burn, which often looks like scorched tips or stalled growth after feeding.
Can I apply fertilizer before a rainstorm to save time?
Sometimes, but avoid relying on rain to do the watering-in for granular products. If heavy rain is expected immediately after application, it can wash nutrients deeper than the root zone or move them off-target, especially on slopes or poorly drained beds. A better plan is to water thoroughly right after applying (at least about an inch of water if possible), then let rain complement watering later rather than replace it.
How far from plant stems should granular fertilizer go?
Keep granules away from direct contact with stems, crowns, and seed rows to prevent burn. For side-dressing, place fertilizer in a shallow trench several inches away from the main stem (outside the drip line for larger plants), then cover lightly. If you’re broadcasting into a bed, incorporate into the top few inches before planting so roots can access nutrients without having concentrated granules right against the plant.
Why do my plants look green and healthy but yields are still low?
This often points to too much nitrogen or feeding at the wrong stage. If foliage is lush but flowering and fruiting are weak, cut back on nitrogen and shift to a feed that is relatively higher in potassium once flowering begins. Also verify watering consistency and full sun exposure, because fertilizer amplifies existing conditions, it cannot correct low light or irregular moisture that interrupts nutrient uptake and fruit set.
What should I do if I suspect nutrient deficiency but my soil test doesn’t show it?
Treat it as a diagnosis problem, not an excuse to add more fertilizer. First check soil pH, because lockout can make nutrients unavailable even when tests show “enough.” Next confirm watering patterns (underwatering or waterlogged soil can block uptake), then consider root health issues like compaction or root pests. If symptoms still point to a specific nutrient, choose targeted correction based on the test and application history rather than blanket extra feeding.
How do I correct pH the right way before I add fertilizer?
Correct pH first, then wait. Lime (to raise pH) or sulfur (to lower it) should be mixed in according to your soil test recommendations, and you should recheck pH after allowing time for the amendment to react. If you apply fertilizer before pH correction, you may spend money on nutrients that remain unavailable, especially phosphorus, which can become locked up outside the typical 6.0 to 7.0 sweet spot for many vegetables.
Is compost enough to grow more without any synthetic fertilizer?
Compost helps build soil structure and adds nutrients slowly, but it can be insufficient for high-yield crops if nutrient needs spike. A practical compromise is compost as the base, then use targeted granular or liquid feeding only when the soil test indicates a deficit. This also helps avoid over-applying phosphorus or potassium if your compost and past fertilizer history already supplied enough.
When should I stop fertilizing in-season?
Ease off near the end of harvest or when plants naturally slow, especially with nitrogen. Continuing frequent high-nitrogen feeding late can delay maturity, encourage disease-prone leafy growth, and waste fertilizer. If your crops are still actively producing, switch to a lower-nitrogen, higher-potassium approach once flowering begins and taper off before final cleanup so the plant can finish out rather than keep pushing soft growth.
What’s the best “fix” if I get fertilizer burn?
For granular burn, flush the bed promptly with thorough watering and repeat if needed to move excess salts below the root zone. If burn is from foliar feeding, rinse leaves with clean water right away. Going forward, apply at or below label rates, avoid applying dry fertilizer against stems or crowns, and ensure you water in granules so they don’t sit concentrated at the surface.
Next Article
Good to Grow Straw Hack: How to Plant and Use It at Home
Step-by-step hack to grow cereal grain straw at home, avoid mold, and use it for mulch, bedding, or compost