If you want to grow stuff you can actually use, the answer is simpler than most gardening content makes it seem: pick edible crops that match your space and light, get your soil right, and follow a planting schedule that fits your climate. That's the whole system. This guide walks you through each piece so you can start this season, not next year.
Grow Stuff You Can Use: Easy Food Garden Plan Today

Marcus Hendrick
20 Apr 2026
Turn the goal into a usable crop list
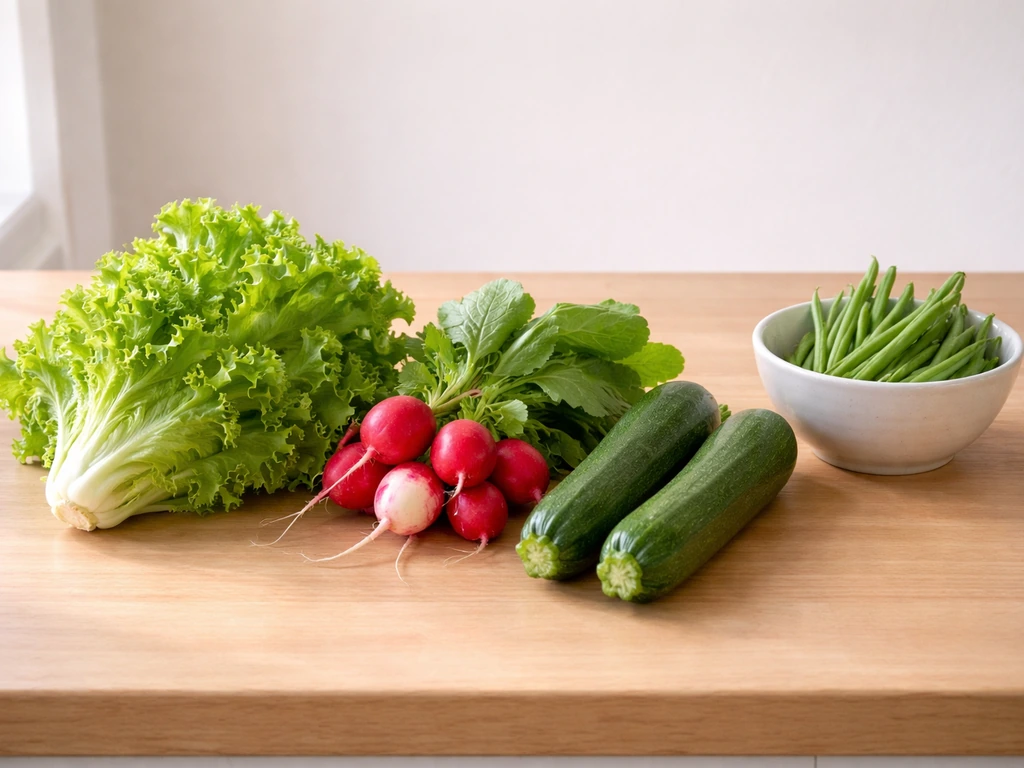
"Grow stuff you can use" means different things to different people, so let's be specific. For most home gardeners, useful means edible crops that show up in your weekly cooking: salad greens, tomatoes, beans, cucumbers, herbs, root vegetables. These are the crops that cut your grocery bill, stock your pantry, and genuinely reduce how much you spend at the store. Ornamentals have their place, but if your goal is utility, every bed and container you dedicate to flowers is a bed that isn't feeding you.
The most practical crops for beginners and intermediate growers tend to cluster into a few categories. Greens (lettuce, spinach, kale, Swiss chard) are fast, productive, and grow well in containers or small beds. Fruiting crops (tomatoes, peppers, cucumbers, zucchini) take more space but deliver impressive yields. Root vegetables (carrots, radishes, beets) work great from direct seed and are low maintenance. Beans are one of the highest-value crops for the space they take, especially bush varieties. Herbs like basil, parsley, and chives are almost embarrassingly easy and save you real money compared to buying bunches at the grocery store.
| Crop | Type | Difficulty | Yield per 10-ft row (approx.) | Best for |
|---|---|---|---|---|
| Leaf lettuce | Green | Easy | ~10–15 lb | Containers, small beds |
| Radishes | Root | Very easy | Fast, high volume | Beginners, quick wins |
| Bush snap beans | Legume | Easy | 5–10 lb | Any sunny garden |
| Tomatoes | Fruiting | Moderate | ~28–42 lb per plant | Larger beds, warm climates |
| Zucchini | Fruiting | Easy | High (2–3 fruits/plant/week) | Beds, large containers |
| Basil/herbs | Herb | Very easy | Continuous harvest | Windowsills, containers |
| Carrots | Root | Easy-moderate | Steady supply | Deep containers or beds |
| Cucumbers | Fruiting | Easy | Good with trellis | Warm season, small spaces |
Skip crops that need a lot of space for modest returns, at least at first. Corn, melons, and winter squash take up serious real estate. They're worth growing if you have the room, but for someone starting out, they'll eat your garden space before you see the payoff. Focus on high-yield-per-square-foot crops first, then expand once you know your garden's personality.
Choose crops by space, sunlight, and your local climate
Sunlight is the non-negotiable. Most fruiting vegetables (tomatoes, peppers, cucumbers, beans, zucchini) need at least 6 to 8 hours of direct sun per day. Greens and root vegetables are more forgiving and can manage on 4 to 6 hours, which makes them the right call for shadier spots or north-facing balconies. If you're not sure how much sun your space gets, spend one day tracking it in two-hour blocks. It's worth the ten minutes.
Climate matters enormously, and hardiness zone is your starting point. A Reddit discussion about the USDA hardiness zone map also notes that zones are a helpful general guideline but may not reflect local conditions precisely, so it can be smarter to plan around frost dates.
Your USDA zone tells you your average first and last frost dates, which sets the boundaries for your planting calendar. In zones 5 and 6, you're typically looking at a last frost around mid-April to early May and a first fall frost in October, giving you roughly 150 growing days. Zones 8 and 9 push those boundaries out to near year-round growing for cool-season crops.
If you don't know your frost dates, look them up by zip code before you plan anything.
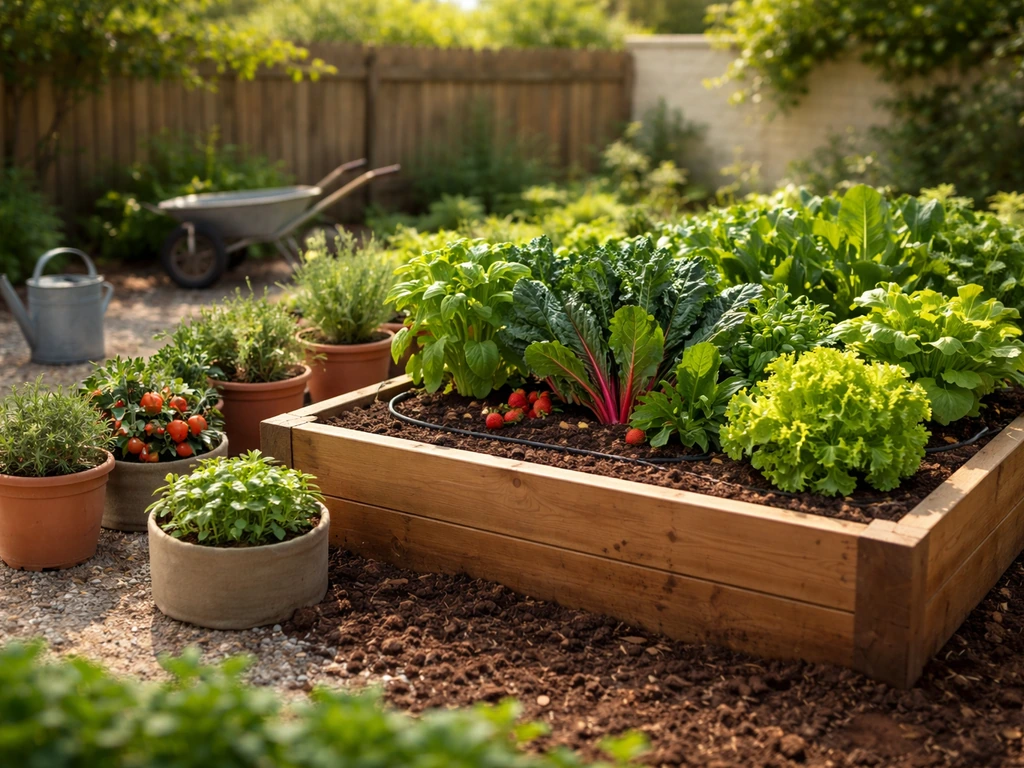
Space shapes what you can grow more than anything else. A 4x8-foot raised bed can realistically support one tomato plant, a row of beans, a few lettuce heads, and a handful of herb starts. A 10-gallon container can grow a pepper, dwarf tomato, or continuous cut-and-come-again lettuce. Even a sunny apartment windowsill can support herbs and microgreens. The key is matching the crop to the container or bed size honestly, not optimistically.
- Small containers (5–10 gal): herbs, lettuce, radishes, compact peppers
- Medium containers (15–25 gal): tomatoes (dwarf/bush varieties), cucumbers with a trellis, kale
- Raised beds (4x4 ft or larger): beans, beets, carrots, full-size tomatoes, zucchini
- In-ground beds: anything, with the advantage of larger root zones and better moisture retention
Start today: soil prep, containers vs beds, and planting timelines
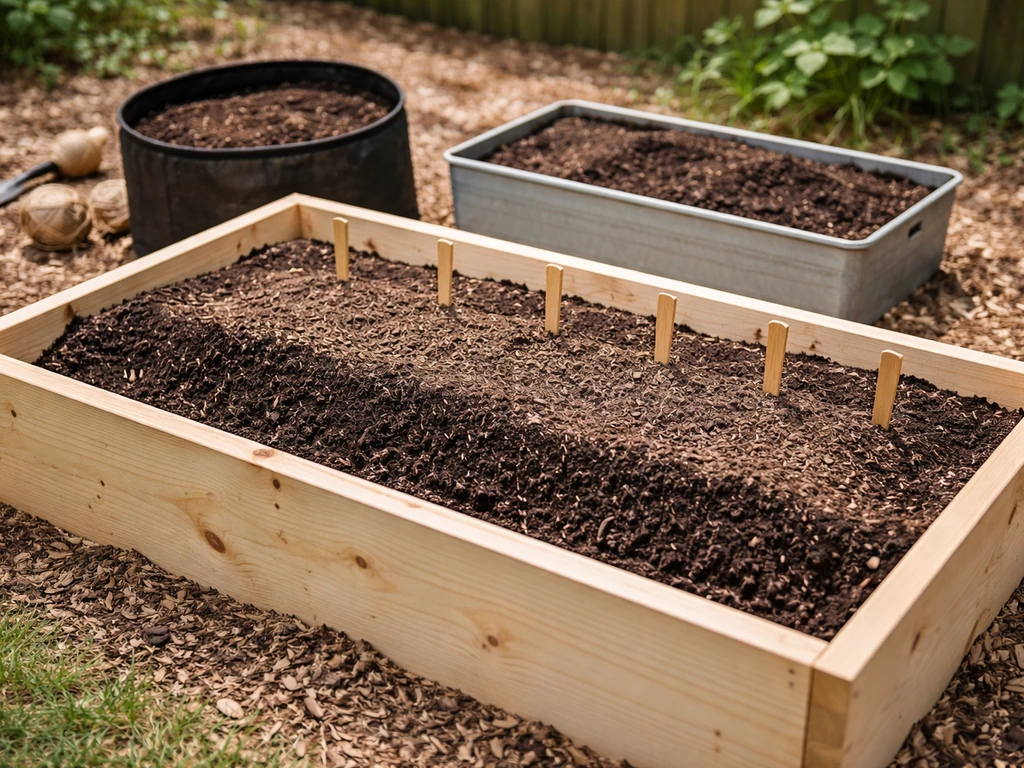
Good soil is where your harvest actually starts. If you're filling a raised bed from scratch, aim for a mix of roughly two-thirds topsoil and one-third compost, or as close to a 1:1 compost-to-soil ratio as your budget allows. If you want to grow better cow manure, start by using composted manure in your soil mix rather than fresh material. The University of Minnesota recommends about 30% compost in a raised bed mix, and that's a solid target. For existing beds you're refreshing, work in 2 to 4 inches of compost into the top 4 inches of soil before planting each season. It improves drainage, adds nutrients, and gets microbial activity going.
Soil pH matters more than most beginners realize. For most vegetables, you want a pH between 6. For many plants, a neutral soil pH around 6. 8, 7.
2 is ideal, and a broader 6. 0, 7. 5 range is acceptable for most plants, per Colorado State University Extension [pH between 6](https://extension. colostate.
edu/resource/soil-ph/). 0 and 6. 8. Below 6.
0 and certain nutrients lock up; above 7. 0 and you'll start seeing deficiencies in tomatoes and brassicas even when those nutrients are technically present in the soil. A basic soil test (available from your county extension office for $15 to $20) tells you exactly where you stand and whether you need lime to raise pH or sulfur to lower it. It's the single best investment you can make before your first planting.
For containers, the rules shift a bit. Always choose a container with drainage holes. When in doubt, go a little larger rather than smaller, since cramped roots mean stunted plants. Use a quality potting mix, not garden soil, because garden soil compacts badly in pots and drains poorly. Water thoroughly each time you water, until you see it running freely from the bottom. This saturates the root zone evenly and prevents dry pockets from forming.
Timing your planting to your local frost dates is critical. Cool-season crops like lettuce, spinach, kale, radishes, and peas can go in 4 to 6 weeks before your last frost. In most of the US, that window is open right now in mid-to-late April 2026. Warm-season crops like tomatoes, peppers, cucumbers, and beans go in after your last frost date, or you risk losing transplants to a cold snap. Start tomatoes and peppers indoors 6 to 8 weeks before transplant time if you haven't already. If you missed that window, buy starts from a local nursery. You'll lose a little variety choice but gain several weeks of head start.
- Find your last frost date (by zip code or USDA zone map)
- Test or at least check your soil pH before amending
- Mix compost into your bed or fill containers with quality potting mix
- Plant cool-season crops now (lettuce, radishes, peas, kale)
- Wait until after last frost for warm-season transplants (tomatoes, peppers, cucumbers)
Watering, feeding, and simple maintenance for reliable harvests
The most common beginner mistake is inconsistent watering. Most vegetables need about 1 to 2 inches of water per week, but the exact amount depends on your soil type, temperature, and what stage of growth the plant is in. Sandy soils drain fast and need more frequent watering. Clay soils hold moisture longer. A simple rule of thumb: stick your finger 2 inches into the soil. If it's dry, water. If it's still moist, wait. Soil that swings between bone-dry and waterlogged stresses plants and invites disease. CSU Extension also notes that early blight fungi spread through spores splashed between leaves, and keeping plants wet all night from evening watering increases the risk of infection.
Mulch is one of the most underused tools in a home garden. A 1 to 2-inch layer of straw, wood chips, or shredded leaves on top of your soil reduces evaporation dramatically, keeps soil temperature stable, and suppresses weeds. If you want to use straw as mulch, a good to grow straw hack is to apply a thin layer and keep it from touching plant stems. In hot summer weather, it can be the difference between a plant that thrives and one that wilts every afternoon. Water in the morning when you can. Watering in the midday heat means much of the moisture evaporates before roots can absorb it.
Feeding is simpler than fertilizer labels make it look. If you want to understand when fertilizer is actually useful, see this related guide on medina has to grow fertilizer. If you want a quick walkthrough next, learn the grow more fertilizer how to use basics so you apply it at the right time and in the right balance.
Fertilizer just has to grow fertilizer: for plants to thrive, it needs to be applied at the right time and in the right balance with compost and soil health. For most vegetable gardens, a balanced fertilizer (something close to equal N-P-K numbers) applied at planting gets you through the early season.
Nitrogen is the nutrient plants go through fastest and it's also the one that leaches out with rain and irrigation, so apply it when plants are actively growing and can actually use it. For tomatoes and fruiting crops specifically, hold back extra nitrogen once flowers appear. Too much nitrogen at that stage pushes leafy growth at the expense of fruit. A fertilizer like a 5-10-15 mix makes more sense for fruiting crops mid-season.
If you want a cheaper alternative, a well-managed trash can for compost can produce fertilizer-grade compost for your beds fertilizer like a 5-10-15 mix. If you're growing organically or want to reduce reliance on packaged fertilizers, compost, worm castings, and cover crops all feed soil biology and improve long-term fertility. Some gardeners incorporate specific fertilizer products into their soil prep routine, and there are good options worth exploring if you want to dial in your feeding program.
Basic maintenance comes down to three things: weeding early and often (weeds compete for water and nutrients), removing dead or yellowing leaves to improve airflow, and supporting tall plants like tomatoes and cucumbers with stakes or cages before they need it, not after they fall over.
Pests, diseases, and practical fixes that protect yields
Most pest and disease problems in a home garden are preventable with a few consistent habits. Start with sanitation: remove spent plants, fallen fruit, and debris as soon as harvest is done. Many insects and fungal diseases overwinter in old plant material, and cleaning up after yourself breaks that cycle. This isn't glamorous advice, but it works.
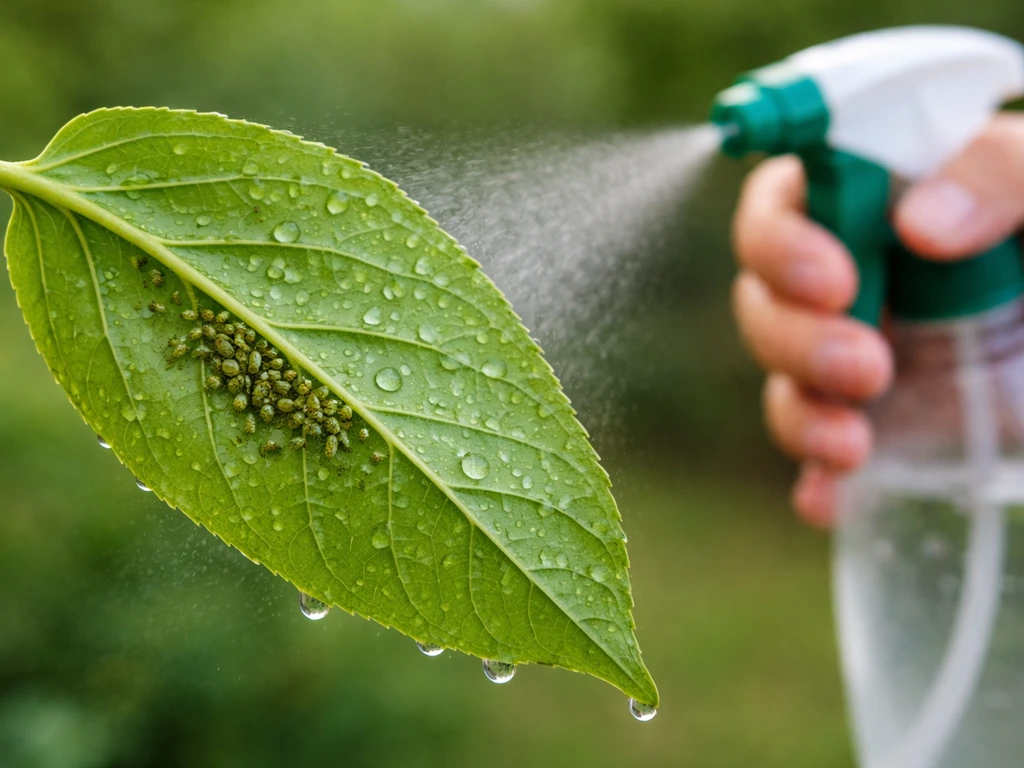
Aphids are the pest most gardeners will deal with at some point. They cluster on new growth and undersides of leaves and spread quickly. The least-intervention fix is a strong spray of water from a hose to knock them off. If that's not enough, insecticidal soap applied directly to the insects is one of the most effective and least toxic options available. It only kills insects it physically contacts, so it won't affect pollinators that visit the garden later. Reapply after rain.
Row covers are worth having on hand. They serve double duty: protection from frost in spring and fall, and a physical barrier that keeps insects like cabbage worms and cucumber beetles off your plants entirely. You don't need them on everything, but for brassicas (broccoli, kale, cabbage) and cucumbers, they make a real difference. Just remember to remove them when flowers appear so pollinators can get in.
Disease management starts with identifying the problem accurately. Tomatoes in particular face several common fungal diseases: early blight, Septoria leaf spot, gray mold, and anthracnose fruit rot are all worth knowing. Early blight appears as dark spots with yellow halos on lower leaves first. Septoria shows up as small circular spots with dark borders. Both spread upward from the soil and are worsened by overhead watering and poor airflow. Removing affected leaves, mulching to reduce soil splash, and watering at the base of the plant rather than overhead all reduce spread. Copper-based fungicides are the standard organic option for serious outbreaks.
When you're trying to figure out what's wrong with a plant, start by checking plants that look stunted or underperforming, not the healthiest ones. Look at multiple spots in your bed, not just the edges. Root problems, compaction, and soil pH issues often affect the center of a bed differently than the perimeter. Checking a few plants throughout the growing area gives you a more accurate picture.
Harvesting, storing, and using what you grow
Harvest timing matters more than most people think. Leaving crops on the plant past their prime signals to the plant that reproduction is complete, which slows or stops further fruiting. For beans, this is critical: once pods mature and seeds bulge, the plant shifts energy away from producing new flowers. Pick beans every few days. Same goes for zucchini, cucumbers, and herbs. Regular harvesting extends your production window significantly.
Tomatoes are worth understanding well because they're often the centerpiece of a home food garden. Ripe tomatoes store best at room temperature, not in the refrigerator. Cold temperatures break down flavor and texture fast. If a frost is coming and you still have green tomatoes on the vine, pull mature green or blushing ones and bring them inside to ripen at around 60°F. They'll finish ripening slowly in a garage or basement and taste far better than anything you'd buy in January. Don't put them in a sunny window to speed things up: heat and direct light actually shorten shelf life and can damage the fruit.
Root vegetables like carrots and beets are among the easiest crops to store. Carrots keep for months in a refrigerator in sealed plastic bags. If you have a root cellar or cool basement, they can overwinter in damp sand at temperatures just above freezing. Beets store similarly. Radishes don't hold as long and are best eaten fresh or lightly pickled.
Peppers and cucumbers need cool, moist storage around 55°F, which puts them in root cellar territory rather than a standard refrigerator. If you have a surplus of cucumbers or peppers, pickling is the fastest way to preserve them and extend their usefulness well into winter. Herbs like basil can be dried, frozen in olive oil in ice cube trays, or made into pesto and frozen in batches. These preservation habits are what make the difference between a garden that feeds you for three months and one that feeds you year-round.
Budget, yield, and how to scale up from small wins to more food
Let's talk numbers, because the payoff is real but it takes a little honesty. A 4x8-foot raised bed costs roughly $50 to $150 to build depending on materials, plus $30 to $60 in soil and amendments in the first year. Seeds cost $2 to $4 per packet and most packets contain far more seeds than you'll use in one season. Transplant starts from a nursery run $3 to $6 each. So a modest first-year investment of $150 to $250 is realistic for a proper raised bed setup.
Now look at what that bed can produce. A single tomato plant in good conditions can yield 28 to 42 pounds of fruit over a season, which at current grocery prices is easily $40 to $70 worth of produce from one plant. A 15-foot row of leaf lettuce produces around 15 pounds. Snap beans in a 10-foot row give you 5 to 10 pounds. Even conservative estimates put a well-managed 4x8 bed at $200 to $400 worth of produce in a season, and costs drop sharply in year two because the bed infrastructure is already built.
Scaling up doesn't mean doubling your workload all at once. The best approach is to add one bed or container type per season. If you started with containers this spring, try a small raised bed in summer or fall. If you have one raised bed, add a second next spring and expand into crops that store well, like winter squash, dried beans, or garlic. Each expansion teaches you something the previous one couldn't, and you avoid the trap of overcommitting before you have the systems in place to manage it.
On the soil and fertility side, scaling up also means thinking longer-term about how you feed your garden. Compost is the foundation, but as your beds expand you'll start looking at more intentional fertilizer programs. Some gardeners use specific soil amendments or organic fertilizer products to maintain consistent yields as they add more beds. The biointensive method, for example, offers a structured framework for maximizing food production per square foot while building soil biology at the same time. There are also approaches that focus on building fertility through organic inputs and cover cropping that can reduce or eliminate the need for purchased fertilizers over time.
Your starter crop plan and action checklist
If you're starting right now in late April, here's a direct starting plan. Plant lettuce, spinach, radishes, and kale immediately. These cool-season crops are in their prime window and can handle light frost. Get tomato and pepper transplants in the ground once nighttime temperatures stay consistently above 50°F in your area, typically 2 to 4 weeks away for most of the US. Plant beans directly by seed after last frost, since they don't transplant well. Add one herb pot near your kitchen door: basil, parsley, or chives.
- Check your last frost date and identify which crops can go in now vs. in 2-4 weeks
- Test or estimate your soil pH and amend if needed toward 6.0–6.8
- Mix compost into beds or fill containers with quality potting mix
- Plant cool-season crops this week: lettuce, radishes, spinach, kale
- Buy or harden off tomato and pepper transplants for post-frost planting
- Set up a simple watering routine and add 1–2 inches of mulch around transplants
- Pick up insecticidal soap and a row cover before you need them
- Harvest regularly, at least every few days once crops start producing
- Plan your storage approach before harvest peaks: bags for roots, counter for tomatoes, freezer for herbs
- After this season wraps, add one more bed or container type for next year
Growing food you actually eat and use isn't complicated, but it does reward consistency. Get your soil right once, match your crops to your light and space honestly, follow the planting calendar, and stay on top of watering and harvesting. Everything else is refinement. Start small, learn your specific garden's quirks, and add complexity only when you've got the basics locked in. A single season of paying attention teaches you more than any guide can.
FAQ
Can I grow stuff I can use if I travel a lot or cannot water every day?
Yes, but do it with crops that naturally handle missed days. Choose “harvest-and-replace” options like lettuce cuttings, basil, chives, radishes, and bush beans, then mulch heavily and use containers or beds near a water source. If you are gone for more than 3 to 4 days in hot weather, consider adding drip irrigation (simple timer plus emitters) so soil does not swing between dry and waterlogged.
What is the biggest mistake people make when growing vegetables in containers?
Not usually. Garden soil compacts in pots and can drain poorly, so container plants struggle even if they look fine at first. Use a potting mix labeled for containers, ensure the pot has drainage holes, and when watering, soak thoroughly until water runs out the bottom (then empty the saucer) to prevent root-edge rot.
How should I arrange crops in a small yard or raised bed if I have limited sun and limited time to water?
Group plants by their watering needs and sun exposure. For example, put thirsty fruiting crops (tomatoes, cucumbers) on the sunnier side, and place more forgiving greens and root crops where the heat is less intense or where you can reach them easily for frequent but lighter watering. Mixing very different water users in one bed often causes either leaf wilt for one group or soggy conditions for another.
How do I know whether my watering is actually enough, not just frequent?
Use the finger test as a guide, but switch from “small top-ups” to “deep checks” once plants establish. Early in the season, the root zone is shallow, so the top may dry while deeper soil stays moist. After roots fill the container or bed, water based on the moisture 2 inches down, then let it partially dry before watering again.
Does mulching make it easier to get disease, or does it help?
If you can, place a small amount of mulch around (not touching) stems and harvest regularly, but still allow airflow. Mulch can hide the early signs of disease because soil splash decreases, so you may not notice leaf issues until they spread. Check the undersides of leaves weekly and remove any yellowing foliage that develops poor airflow.
If my plants look like they have nutrient problems, should I adjust soil pH immediately?
Not always. The “pH between 6.0 and 6.8” guidance holds for most vegetables, but your best move is to adjust based on a soil test rather than guessing. Also remember that pH effects can be slow, so if you are planning to plant right away, focus on improving organic matter first, then correct pH gradually if your test shows it is out of range.
When should I stop using row covers so I do not lose harvest?
Plan around pollinator timing. Row covers help a lot early, especially for brassicas and cucumbers, but you must remove them when flowering begins so pollinators can access blooms. If you keep covers on too long, you can end up with plants that look healthy but set few or no fruits.
What is the best way to handle tomatoes at the end of the season if frost is coming?
For tomatoes, store ripe fruit at room temperature for best flavor, then refrigerate only after it is fully ripe and you will eat it soon. Avoid putting green tomatoes in a hot sunny window to “ripen faster,” heat speeds breakdown of texture. If frost is coming, bring in mature green or blushing fruit and ripen around 60°F in a cool, dim space.
My plants look worse in the middle of the bed. What should I check first?
A quick visual check plus a simple location-based diagnosis works. If only the center of a bed suffers, suspect drainage, compaction, or root restriction, not just “generic bad luck.” Compare a few plants across the bed, and check whether the poor performers sit in areas with different soil moisture or lower sunlight.
Should I sow everything at once to simplify, or is staggering better for “stuff I can use”?
If you want to reduce the chance of surprises, store your seed packets and make a short germination plan before investing in more crops. Many cool-season crops fail if planted after heat spikes, so stagger small sowings every 1 to 2 weeks instead of sowing everything once. That way, if one planting window is off, you still get usable harvest.
What harvesting schedule gives the best yields without overthinking it?
It depends on the crop, but as a rule, harvest earlier than you think and keep the picking cadence steady. Waiting too long reduces continued flowering, especially for beans, zucchini, cucumbers, and many greens. A practical target is to check daily or every other day during peak production, then adjust based on how fast each crop is maturing.
Next Article
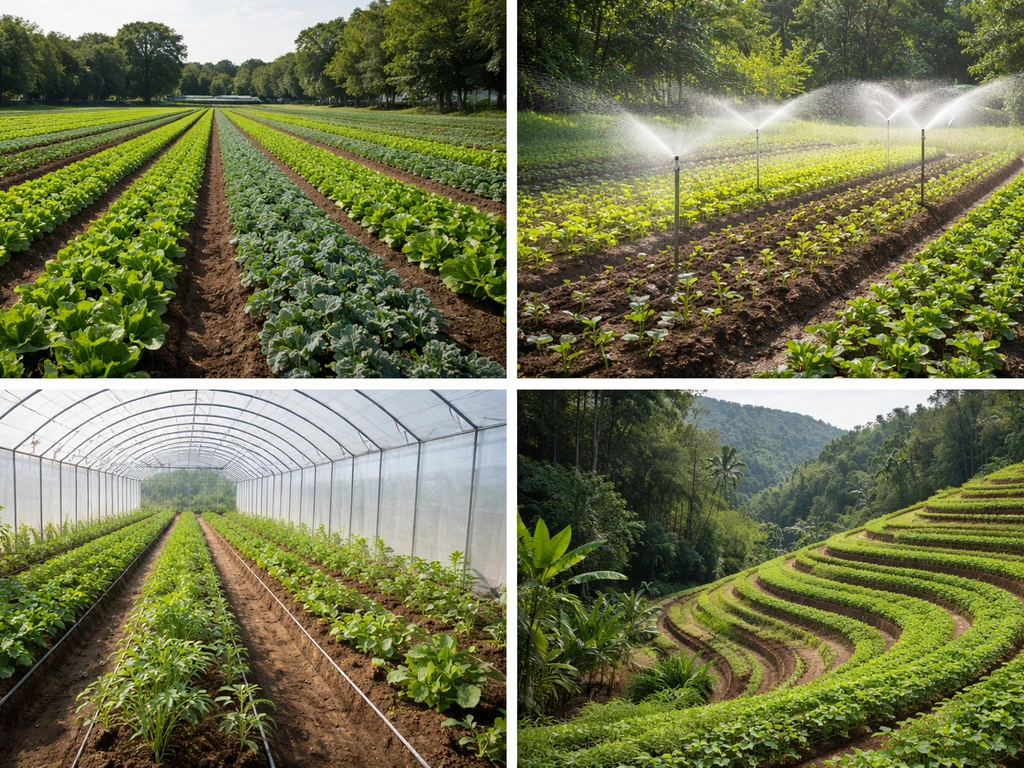
How Do Farmers Grow Food Around the World: Methods and Tips
Learn how farmers grow food worldwide: soil, water, crops, pests, harvest, and how to scale it for home gardens.