If your plants aren't growing the way you expected and you're wondering whether fertilizer is the fix, the honest answer is: maybe. Fertilizer solves nutrient problems, not water problems, not light problems, and not compacted soil problems. The fastest path to visible growth in the next 2 to 4 weeks is figuring out which problem you actually have, then throwing the right solution at it. This guide walks you through exactly that, plus how to make your own fertilizer at home, use it safely, and know when it's faster to just buy something off the shelf.
Has to Grow Fertilizer: DIY Fixes, Feeding Guide, and Tips

Marcus Hendrick
21 Apr 2026
What "fertilizer" actually means for a home grower
Fertilizer is anything you add to soil or plants to supply nutrients they can't get in adequate amounts from the existing growing medium. For home growers, that breaks down into two broad camps: what you make yourself from organic materials and what you buy. Both work, and the best choice depends on how much time you have, what materials are available, and how urgently your plants need a boost.
The three nutrients that matter most are nitrogen (N), phosphorus (P), and potassium (K). You'll see them listed as three numbers on any fertilizer bag or bottle, like 5-3-3 or 10-10-10. Nitrogen drives leafy green growth. Phosphorus supports root development and fruiting. Potassium handles overall plant vigor, disease resistance, and how efficiently water moves through the plant. Beyond those three, secondary nutrients like calcium and magnesium and trace minerals like iron and zinc fill in the gaps. Most soil deficiencies in home gardens involve N, P, K, or magnesium.
On the DIY side, you're looking at finished compost, worm castings, manure-based composts, compost teas, and liquid fertilizers brewed from plant or animal materials. On the store-bought side, you have granular slow-release blends, liquid concentrates, and single-nutrient amendments like blood meal (high N), bone meal (high P), and kelp meal (broad trace minerals plus K). Each has its place, and later in this guide you'll see exactly when to reach for each one.
Quick diagnosis: figure out why your plants aren't growing first
Before you add anything, spend five minutes actually looking at your plants and your setup. Fertilizer applied to a plant that's drowning, sitting in compacted clay, or shaded out won't do a thing. Here's how to work through it quickly.
Read the leaves
Leaves are the fastest diagnostic tool you have. Nitrogen deficiency shows up as a uniform yellowing of the older, lower leaves first, because nitrogen is mobile inside the plant and it gets pulled from old growth to support new growth. Phosphorus deficiency typically shows as purpling or reddish discoloration on leaf margins or undersides, plus stunted growth and leaf cupping. Potassium deficiency appears as yellowing along the edges of older leaves, with a distinctive arrowhead of green staying in the middle, and over time that edge yellowing turns brown and scorched-looking. Magnesium deficiency causes interveinal chlorosis on older leaves, meaning the tissue between the leaf veins turns yellow while the veins themselves stay green.
If new leaves are pale or distorted, that usually points to iron or calcium problems, which are often tied to pH rather than a lack of nutrients in the soil. If growth is slow but leaves look fine, the issue is probably not nutrients at all.
Check soil, water, and light before blaming nutrients
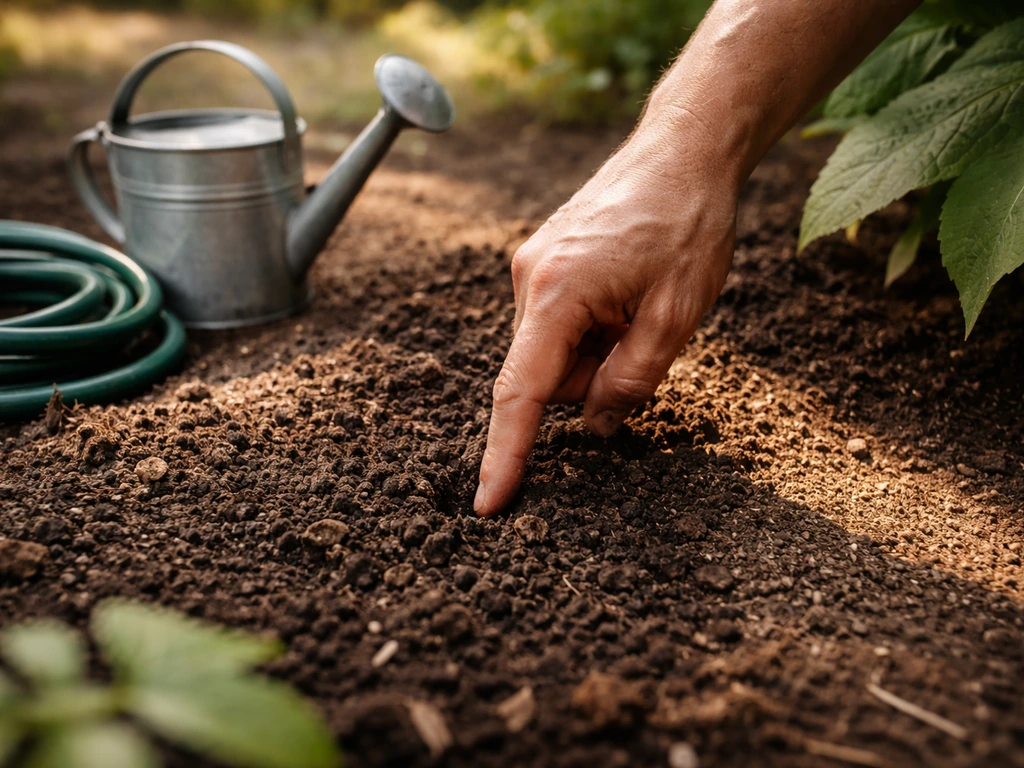
Poke your finger two inches into the soil. If it's bone dry, water before you do anything else. If it's wet and cold and the roots smell off, you have a drainage or overwatering issue that fertilizer will make worse. Check your soil pH if you can. Most vegetables grow best between 6.0 and 7.0. Outside that range, nutrients lock up in the soil and become unavailable to roots no matter how much you add. A $10 soil pH test from any garden center can save you weeks of frustration. Finally, count the hours of direct sun your bed or container gets. Fewer than 6 hours for fruiting crops means growth will be slow regardless of what you feed them.
| Symptom | Likely Cause | First Step |
|---|---|---|
| Lower leaves yellowing uniformly | Nitrogen deficiency | Add a nitrogen-rich amendment (compost tea, blood meal, fish emulsion) |
| Purple or reddish leaves, stunted | Phosphorus deficiency | Add bone meal, rock phosphate, or aged manure compost |
| Leaf edge yellowing/browning, older leaves first | Potassium deficiency | Add wood ash, kelp meal, or a balanced fertilizer |
| Yellow between leaf veins on older leaves | Magnesium deficiency | Water with Epsom salt solution (1 tbsp per gallon) |
| Pale or distorted new growth | pH problem or iron lockout | Test pH, add sulfur to lower or lime to raise |
| Wilting, wet soil, rotting smell | Overwatering/drainage | Improve drainage, let soil dry, no fertilizer yet |
| Slow growth but leaves look normal | Light or root restriction | Increase light, check pot size or soil compaction |
Home-scale ways to make your own fertilizer
Making fertilizer at home is absolutely doable in a backyard, on a patio, or even in a small apartment with a worm bin. Here are the four methods that work best at home scale, what they're best for, and how to actually produce them. If you're looking for ways to recycle kitchen scraps, a trash can grow fertilizer approach can help turn organic waste into compost nutrients make your own fertilizer.
Finished compost
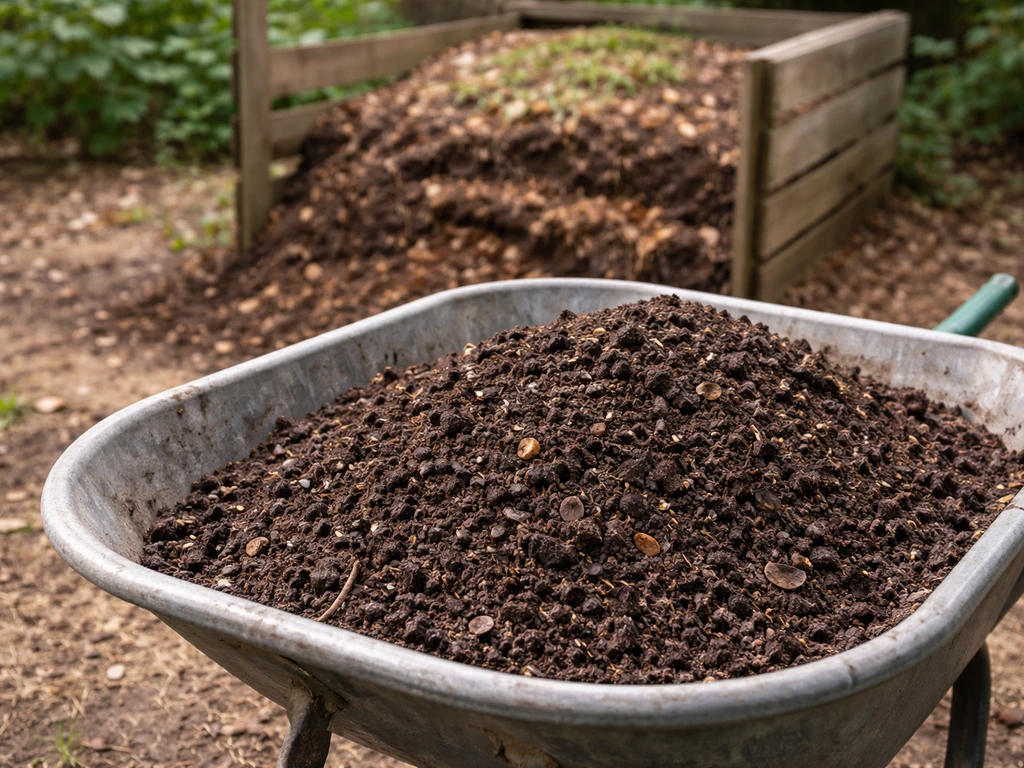
Finished compost is the workhorse of home fertilizing. A good hot compost pile needs blank" rel="noopener noreferrer">a carbon-to-nitrogen ratio of roughly 25:1 to 30:1, which in practical terms means roughly two to three parts brown material (dried leaves, cardboard, straw) to one part green material (kitchen scraps, fresh grass clippings, plant trimmings). If you are using straw as a growth aid, a good-to-grow straw hack can help you support composting and improve soil conditions good to grow straw hack. Turn the pile every 5 to 7 days to introduce oxygen and maintain internal temperatures above 130 degrees Fahrenheit, which kills weed seeds and pathogens. A well-managed hot pile produces finished, crumbly, earthy-smelling compost in 6 to 8 weeks. A passive pile left alone takes 6 to 12 months. Finished compost typically runs around 1 to 2 percent nitrogen, 0.5 to 1 percent phosphorus, and 1 to 2 percent potassium, which sounds low but it's slow-release and soil-building at the same time.
Worm castings
Worm castings (vermicompost) are more nutrient-dense than standard compost and contain beneficial microbes and plant growth hormones that compost alone doesn't supply. A basic worm bin with red wigglers (Eisenia fetida) can process roughly half a pound of food scraps per square foot of bin surface per day. The finished castings test around 1 to 3 percent N, 1 to 2 percent P, and 1 to 2 percent K, plus excellent microbial populations. Use them as a top dressing (about half an inch around plants), mix them into seed-starting mix at 20 to 30 percent, or brew them into a liquid tea. Castings are gentle enough that you can't really overapply them, which makes them great for containers and seedlings.
Manure tea and compost tea
Liquid teas are the fastest way to get nutrients to plants because they go straight to the root zone in a form plants can absorb within hours. To make a simple manure tea, fill a burlap sack or old pillowcase with aged (not raw) manure and steep it in a 5-gallon bucket of water for 24 to 48 hours. Dilute the result until it looks like weak tea, roughly 1 part concentrate to 4 to 10 parts water, before using it on plants. For a simple compost tea, fill a 5-gallon bucket about one-third with finished compost, add water, and either let it steep passively for 24 to 48 hours or bubble it with an aquarium pump for 24 hours to produce an aerated compost tea that's richer in aerobic microbes. Actively aerated compost tea brewed with an aquarium pump or airstone is typically ready in about 24 to 48 hours, and it can be applied as a soil drench around the root zone or, with cautions, as a foliar spray. Always dilute before applying. Undiluted teas can burn roots and leaves, especially in containers.
Other quick DIY options
- Banana peel water: soak 3 to 4 banana peels in a quart of water for 48 hours. Strain and use as a mild potassium drench. Works well for fruiting plants mid-season.
- Wood ash: apply sparingly (no more than 1/4 cup per square foot per year) directly to soil for potassium and to raise pH slightly. Never use on acid-loving plants.
- Grass clipping mulch: fresh clippings layered 1 to 2 inches thick around plants decompose quickly and release nitrogen directly into the soil. Don't pile them against stems.
- Nettle or comfrey fertilizer: pack a container with chopped leaves, cover with water, ferment for 2 to 4 weeks, then dilute 10:1 with water before applying. Comfrey is especially high in potassium and trace minerals.
How to apply fertilizer safely and get results
How you apply fertilizer matters almost as much as what you apply. The goal is to put the right amount in the right place at the right time. Getting any one of those wrong reduces effectiveness and can actively harm plants.
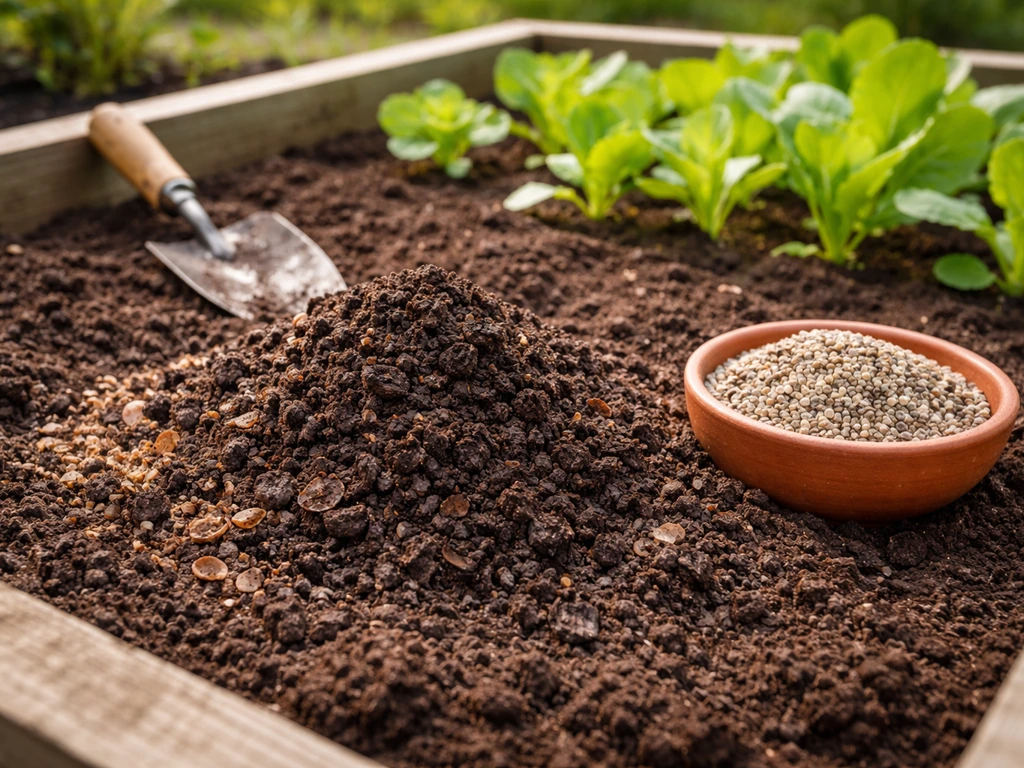
Soil application rates and timing
For granular organic fertilizers like a 5-3-3 blend, a standard application rate for vegetable beds is about 1 to 2 pounds per 100 square feet, worked lightly into the top inch of soil. For compost as a soil amendment, apply 1 to 3 inches across the bed and work it in before planting, or use it as a half-inch top dressing mid-season. Liquid fertilizers like fish emulsion or compost tea work best applied to moist soil (not wet, not bone dry) every 2 to 3 weeks during active growth. Never fertilize a stressed or wilting plant. Water it first, let it recover, then feed it. The best time to apply most fertilizers is early morning or early evening, not during midday heat.
Foliar feeding vs. soil feeding
Foliar feeding means spraying diluted liquid fertilizer directly onto leaves so the plant absorbs nutrients through the leaf surface. It's faster than soil feeding for addressing acute deficiencies (you can see results in 48 to 72 hours) but it's not a substitute for soil nutrition. Use it when you need a quick correction: a dilute fish emulsion or compost tea sprayed on leaves in the morning works well. Always use a very dilute solution for foliar applications, half the label rate or weaker, and spray in the morning so leaves dry before the sun gets strong. Evening spraying can promote fungal disease.
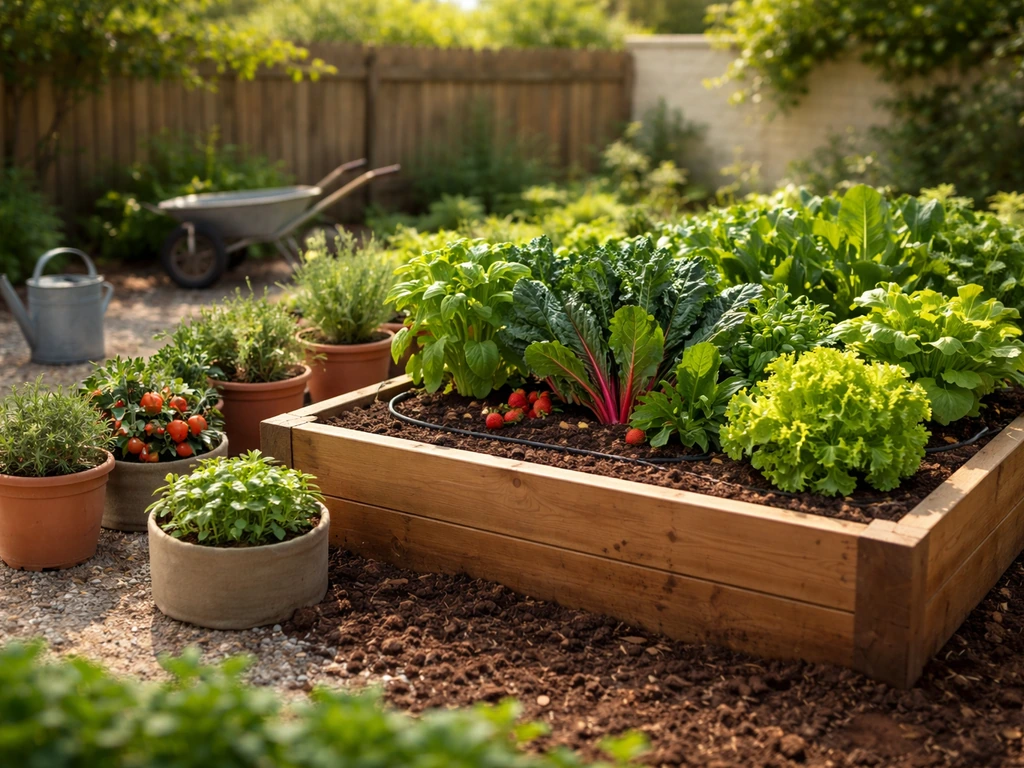
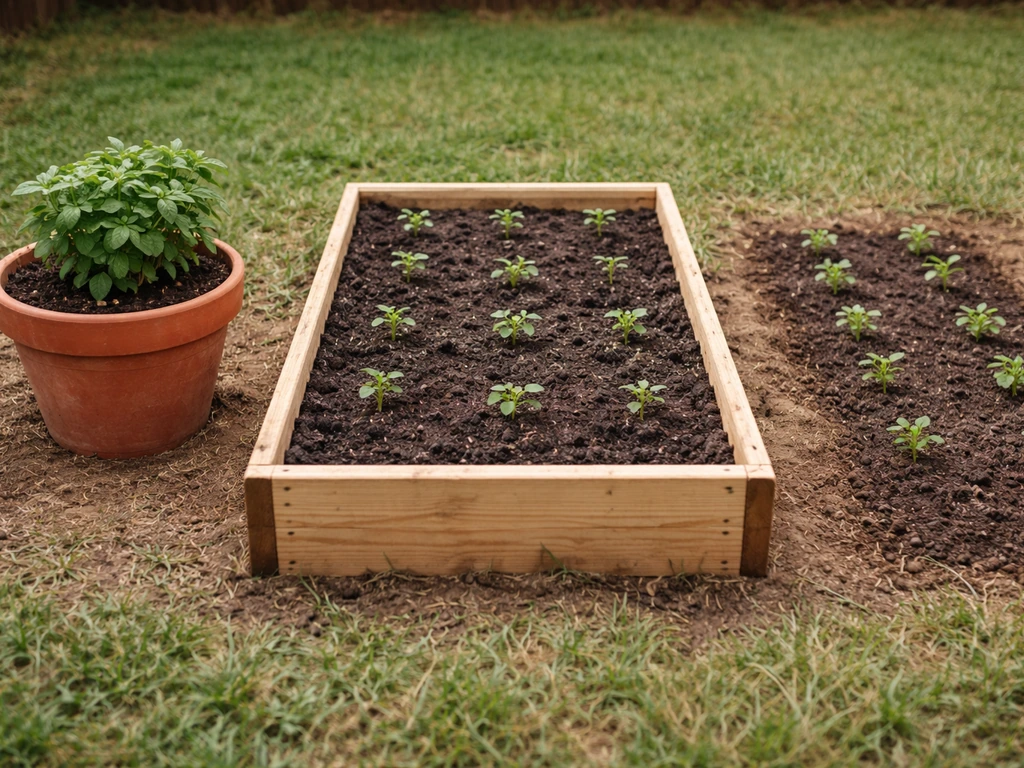
Containers vs. raised beds vs. ground beds
Container plants deplete nutrients faster than in-ground beds because there's limited soil volume and watering leaches nutrients out more frequently. Feed containers every 1 to 2 weeks during peak growing season with a dilute liquid fertilizer. Raised beds fall in the middle: feed every 3 to 4 weeks and top-dress with compost mid-season. In-ground vegetable gardens generally need less frequent fertilizing if the soil was well-amended at planting, typically once at planting and once mid-season for heavy feeders like tomatoes, corn, and squash. Light feeders like beans, carrots, and herbs often don't need mid-season fertilizer at all if your soil is decent.
How to make your fertilizer work harder over time
Fresh or unfinished organic materials don't just feed plants, they can harm them. Raw manure can burn roots and introduce pathogens. Partially finished compost can tie up nitrogen as it continues decomposing in the soil. The process of curing and aging organic fertilizers isn't just about waiting, it's about making nutrients chemically available and making the material safe.
Compost is finished when it no longer heats up when turned, blank" rel="noopener noreferrer">smells like fresh earth (not ammonia or rot), and has a crumbly texture where you can't identify the original materials. Manure should be hot-composted for at least 60 days or cold-aged for 6 months before going near edible crops. Chicken manure is especially hot (high in nitrogen) and needs thorough composting before use. Cow manure is gentler and can be used after 3 to 4 months of aging, though fully composted is always safer. If you want more depth on working with cow manure specifically, that's its own rabbit hole worth exploring.
To increase nutrient availability in your existing soil without adding amendments, focus on biological activity. Soil microbes are what convert organic matter into plant-available nutrients. They need moisture, oxygen, and organic carbon to thrive. Adding finished compost, keeping soil mulched to moderate temperature and retain moisture, and avoiding harsh synthetic fertilizer salts all support the microbial ecosystem that makes your fertilizers actually work. Biointensive growing methods take this principle even further, building soil life as a primary goal rather than an afterthought.
When to skip DIY and buy something instead
DIY fertilizer is satisfying and cost-effective over time, but there are situations where buying something is the smarter move and there's no shame in that.
- Your plants are in crisis right now and you don't have finished compost or mature teas ready. A bottled fish emulsion or liquid seaweed concentrate from a garden center will start working in days.
- You've identified a specific deficiency that your home materials can't address well. Blood meal (12-0-0) for nitrogen, bone meal (3-15-0) for phosphorus, and kelp meal for trace minerals and potassium are all widely available and reliable.
- You're starting a new garden bed in poor soil and need a fast, broad soil fix. A balanced granular organic fertilizer like a 5-5-5 or 4-4-4 blend gives you a reliable nutrient foundation while your DIY systems get established.
- You're growing in containers and want a slow-release option that doesn't require constant attention. Look for coated slow-release granules rated for 3 to 6 months.
When you're reading fertilizer labels, look for three things: the N-P-K numbers (match them to your diagnosed deficiency or go balanced if you're not sure), whether it's organic or synthetic (organic feeds soil biology and is gentler on plants, synthetic acts faster but can burn and doesn't improve soil structure), and the guaranteed analysis versus the ingredient list. For organic options, look for ingredients like feather meal, kelp, fish meal, and composted manures. Avoid anything with high salt indexes if you're using it in containers. Some products marketed as organic still contain synthetic fillers, so reading the actual ingredient list matters.
Medina and Grow More are two brand names that come up often in home gardening circles if you're searching for specific commercial options. If you want a commercial option like Medina, still match the product to your plant’s needs just like you would with any other fertilizer. If you want to use Grow More products, read the fertilizer labels first and match the N-P-K numbers to your plant’s symptoms. Both make products designed for regular garden use and are worth knowing about when you're building out your fertilizer toolkit. If you use organic fertilizers, you can often get stronger, steadier growth because they support soil biology over time.
Common mistakes and how to avoid them
The single most common fertilizer mistake home growers make is adding too much nitrogen. It produces spectacular leafy green growth that looks healthy but actually pulls energy away from flowering and fruiting. If your tomatoes or squash are big and bushy with almost no fruit, excess nitrogen is the likely culprit. Stop nitrogen inputs completely, water heavily to leach some out, and switch to a low-nitrogen, higher-phosphorus feed to push flowers and fruit.
Using raw or insufficiently aged manure is the second biggest mistake. Fresh manure can carry E. coli and other pathogens that end up on edible plants, and it can burn roots with its high ammonia content. The rule for food gardens is simple: compost it properly or don't use it.
Overly concentrated compost teas and liquid feeds are another common problem, especially for container growers. What works at half-strength in a garden bed can burn roots badly in a 5-gallon pot where the nutrients concentrate. Always dilute more than you think you need to, and build up if plants respond well.
Wrong timing matters too. Fertilizing late in the season pushes tender new growth that gets hit by frost. For most vegetable crops, stop heavy nitrogen feeding 4 to 6 weeks before your expected first frost date. And don't fertilize transplants right after moving them into the ground. Give them 1 to 2 weeks to settle roots before feeding.
Your next steps starting today
Here's the simplest version of a plan you can actually execute today to see measurable growth improvement within 2 to 4 weeks. If you want broader ideas for produce beyond fertilizer, the guide on grow stuff you can use is a helpful adjacent next step.
- Look at your plants right now and match any symptoms to the deficiency table above. If leaves look fine but growth is slow, check light hours and soil drainage before anything else.
- Test your soil pH if you haven't in the last year. A basic test kit costs $8 to $15 and is the most useful single diagnostic tool you can buy. If pH is off, adjust it before adding fertilizer.
- If you have a specific deficiency, address it directly: diluted fish emulsion or compost tea for nitrogen within 24 to 48 hours, bone meal watered in for phosphorus, kelp or wood ash for potassium.
- If you don't have a specific deficiency but growth is generally slow and soil is average, top-dress with half an inch of finished compost and water it in well.
- Start a compost pile or worm bin this week if you don't have one. You won't need it today, but in 6 to 8 weeks you'll have the most useful fertilizer you can make for free.
- Write down what you apply and when so you can track results. Adjust based on what you see in 2 weeks. Gardening is iterative. The best growers are the ones who pay attention and try things, not the ones who get it perfect on the first try.
Getting fertilizer right is mostly about observing carefully, diagnosing honestly, and applying with restraint. The plants will tell you what they need if you know how to read them. Start with the simplest fix, see how they respond, and build from there.
FAQ
I can’t tell which nutrient is missing, how do I choose the right has to grow fertilizer anyway?
Use a plain N-P-K approach: if new growth is pale with older leaves staying greener, that often points to low nitrogen, while purple or reddish leaf margins with stunted growth suggests low phosphorus. If the main symptom is chlorosis between veins on older leaves, magnesium is a likely issue, which can be mistaken for an overall “missing fertilizer” problem.
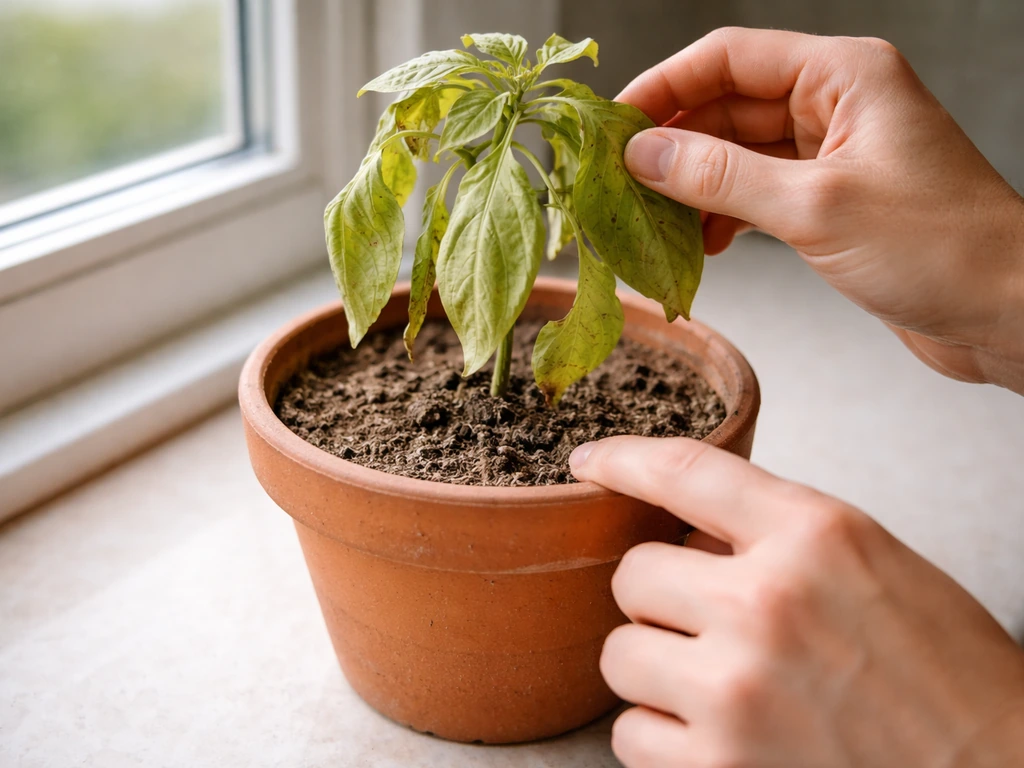
Can I apply has to grow fertilizer immediately if my plants look stressed or droopy?
Yes, but only after you verify the real constraint. If soil is wet and cold or roots smell bad, feeding can worsen stress, and foliar spraying won’t fix root oxygen problems. Prioritize watering corrections and sunlight first, then feed lightly once the plant shows steady improvement.
Is it safe to use homemade manure-based has to grow fertilizer on vegetables right away?
For edible crops, avoid anything that cannot be verified as properly finished. Raw or “not quite done” manure and weakly composted materials can carry pathogens and can continue decomposing in soil, tying up nitrogen. Stick to finished compost, properly aged manure, or worm castings, and keep foliar feeds very dilute.
How do I avoid burning plants when using homemade liquid has to grow fertilizer in containers?
Follow the dilution rule the article hints at, then adjust based on container size and vigor. When in doubt, start at half the recommended strength for liquid feeds, apply to moist soil, and reassess after 7 to 10 days. Container plants often need more frequent but lighter dosing rather than stronger single applications.
Will foliar feeding with has to grow fertilizer solve long-term nutrient problems?
You can, but think of it as a supplement, not a replacement. Foliar feeding can correct a visible deficiency quickly, yet it does not rebuild the nutrient supply in the soil for ongoing growth. Use foliar sprays for fast triage, then address the underlying soil pH or nutrient balance.
If I add has to grow fertilizer but nothing changes, could pH be the real issue?
Not necessarily. If symptoms match nutrient deficiency patterns but a soil pH test shows values outside roughly 6.0 to 7.0, nutrients may be present yet locked up. In that case, fix pH first (or at least delay heavy feeding), then re-test or observe for new, improved leaf color before increasing fertilizer rates.
Why are my tomatoes or squash growing a lot but not producing, despite using has to grow fertilizer?
Yes, nitrogen-rich feeding can lead to lush growth with poor flowering and fruiting. If you see big, leafy plants with little fruit, stop nitrogen inputs, then switch to a formulation with higher phosphorus relative to nitrogen, or use compost methods that release more gradually instead of high-N liquid boosts.
What are signs I used too much has to grow fertilizer and how should I respond?
Overdoing fertilizer often looks like leaf tip burn, dark green color with sluggish flowering, or accelerated problems in containers. The remedy is to flush with water (for pots with drainage) and pause feeding for a couple of weeks, then resume at a lower rate and a steadier schedule.
What’s the fastest has to grow fertilizer option, DIY or store-bought, for visible results?
If you’re targeting quick results, compost and castings are usually slower than liquid concentrates, but they are steadier. A practical approach is to use a light application of compost or worm castings to supply nutrients and microbes, then use a diluted tea only if you see a specific acute deficiency pattern.
Should I fertilize immediately after transplanting seedlings, or wait?
If your plants were recently moved, root damage and transplant shock can prevent uptake. Give them 1 to 2 weeks to recover and establish, then start with a mild feed rather than the full-strength dose, especially for containers or delicate seedlings.
Can store-bought has to grow fertilizer be riskier than DIY compost for houseplants?
Yes, but only if you understand salt and nutrient concentration. Some “organic” products still include ingredients that can raise soluble salts, which is risky in small pots. Choose products labeled for containers, check the salt-related guidance on the label if available, and avoid frequent strong liquid doses.
How often should I add has to grow fertilizer if I’m trying to improve growth within 2 to 4 weeks?
Start with diagnosis and restraint: pick one change you can measure, apply a conservative amount, and track leaf color and new growth over 7 to 14 days. If there is no improvement, re-check water, light, and pH before adding more fertilizer, since repeated feeding without correcting the real constraint wastes time and can harm roots.
Next Article
Grow Stuff You Can Use: Easy Food Garden Plan Today
Step-by-step plan to grow easy edible crops, from containers to beds, with schedules, soil, pests, and harvest tips.