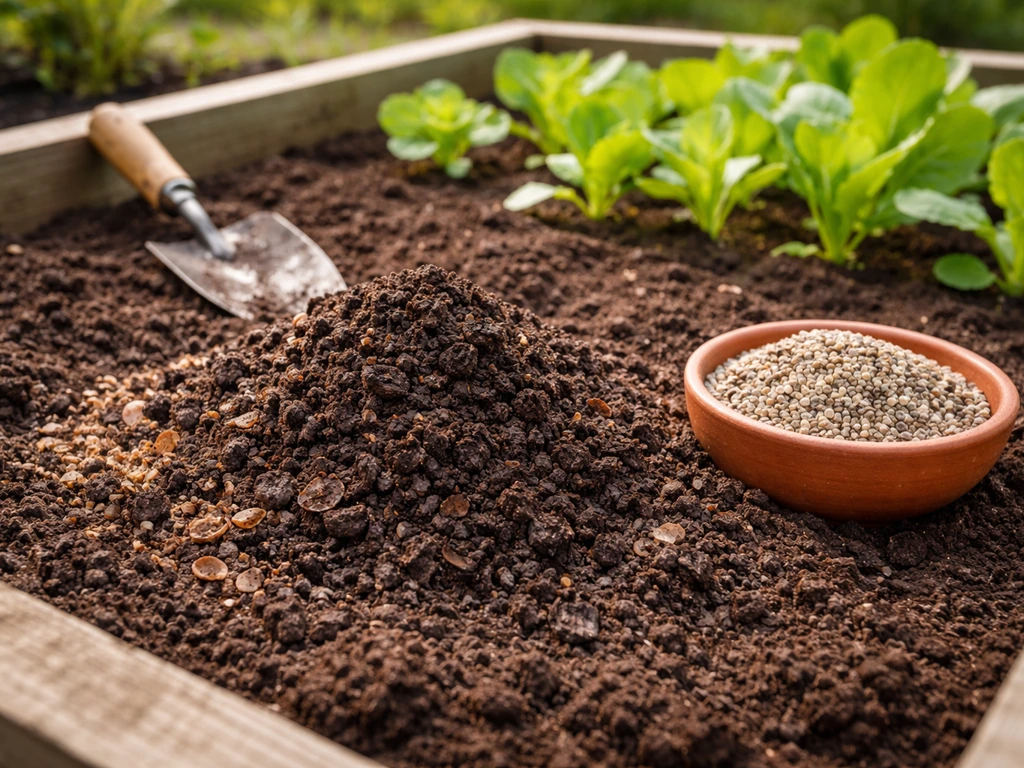
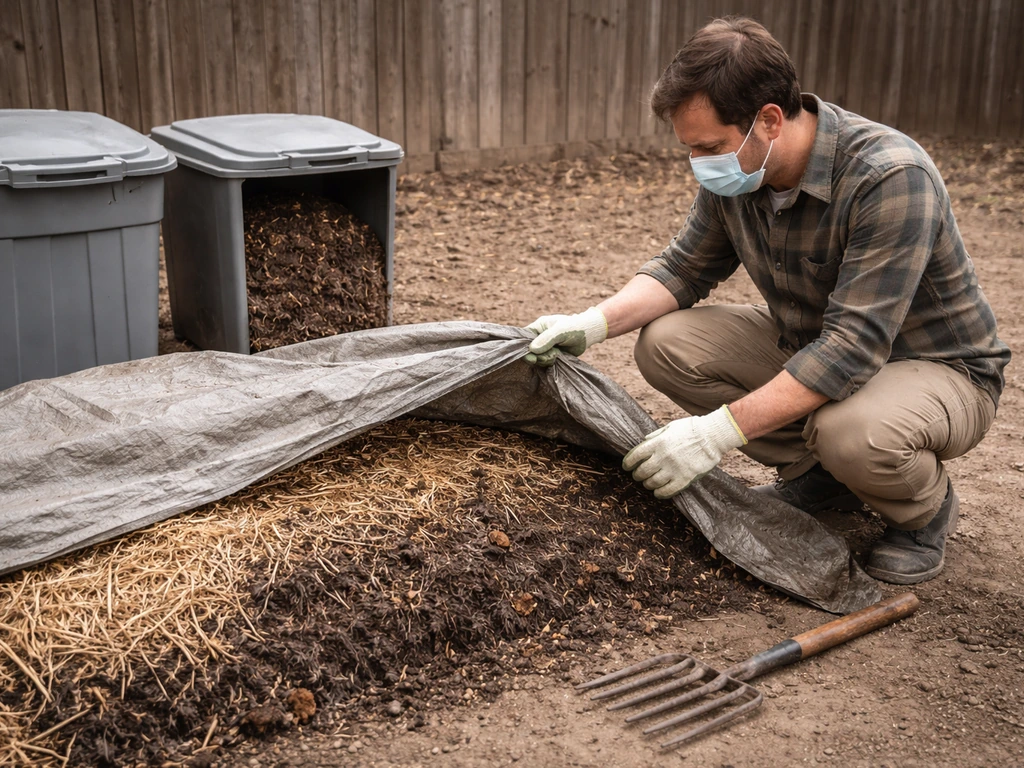
If you're trying to grow your own fertilizer for a Medina-style homestead or backyard food garden, the fastest path forward is building a composting system, a worm bin, or both, and pairing those with cover crops if you have the space. A trash can can also work well as a compost bin if you manage airflow and keep the right balance of greens and browns composting system. You don't need to buy expensive inputs. What you need is a clear picture of what your soil actually lacks, a steady supply of organic material to feed the system, and a safe, practical way to apply what you make without burning your plants or creating nutrient imbalances.
Medina Has to Grow Fertilizer: DIY Home Options and Plan

Marcus Hendrick
3 May 2026
What 'fertilizer' actually means here
The word 'fertilizer' covers a lot of ground. For a home food garden, you're really choosing between four practical categories: finished compost (decomposed organic matter that feeds soil biology and slowly releases nutrients), manure-based amendments (fresh or aged animal waste that's high in nitrogen but requires careful food-safety timing), vermicompost or worm castings (a concentrated, slow-release soil conditioner that worms produce from your kitchen scraps and cardboard), and liquid feeds or DIY nutrient mixes (compost teas, diluted urine, wood ash solutions, or store-bought organic options). Each one has a different production timeline, nutrient profile, and application method. Most home gardeners end up using a combination rather than relying on just one.
There's also the category of green manures and cover crops, which you grow directly in the garden bed, then kill and incorporate to feed the soil. That's one of the most cost-effective fertilizer strategies you can run at home, and it ties closely into what some gardeners describe as a 'grow stuff you can use' approach where the garden feeds itself season over season.
Start with a real assessment of your Medina setup
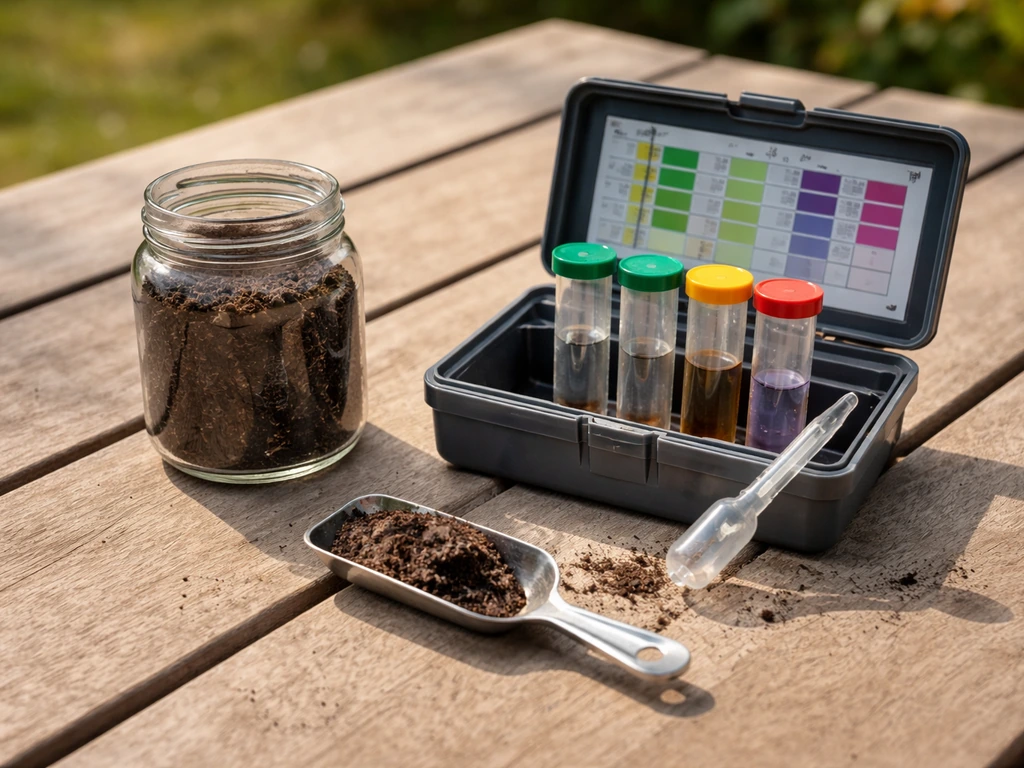
Before you dump anything on your beds, you need to know what's already there. Applying nitrogen to a soil that's already nitrogen-rich doesn't grow better crops, it just invites leafy overgrowth, attracts aphids, and delays fruiting. blank" rel="noopener noreferrer">Get a soil test first. Most state extension labs charge $15 to $30 and return results within a week or two. The report will show you pH, phosphorus (P), potassium (K), calcium (Ca), magnesium (Mg), and organic matter percentage. UVM Extension notes that the blank" rel="noopener noreferrer">ideal soil pH for most vegetable and berry crops is about 6.5 to 6.8, since nutrient availability is closely tied to pH (including phosphorus). Those are the numbers that tell you what to add and, equally important, what to skip.
Soil test labs typically report nutrient levels as categories rather than a single number: very low, low, medium, high, or very high. Each category corresponds to how likely your plants are to respond to an added amendment. If phosphorus comes back in the 'high' range, adding bone meal or heavy compost is wasted money and can lock out zinc and iron. If potassium shows as very low, that's where you focus first. For most vegetable crops, you want soil pH sitting between 6.0 and 7.0. Some crops like brassicas, onions, and spinach are sensitive to anything below 6.5, so if your pH test comes back at 5.8, liming the bed is a higher priority than any fertilizer you could apply.
Beyond the soil test, honestly assess what inputs you have access to. Do you have a kitchen generating food scraps daily? Cardboard and yard waste? Animal manure from chickens, rabbits, or cows nearby? Space to run a cover crop for 6 to 10 weeks between seasons? The answers determine which fertilizer system fits your Medina situation best.
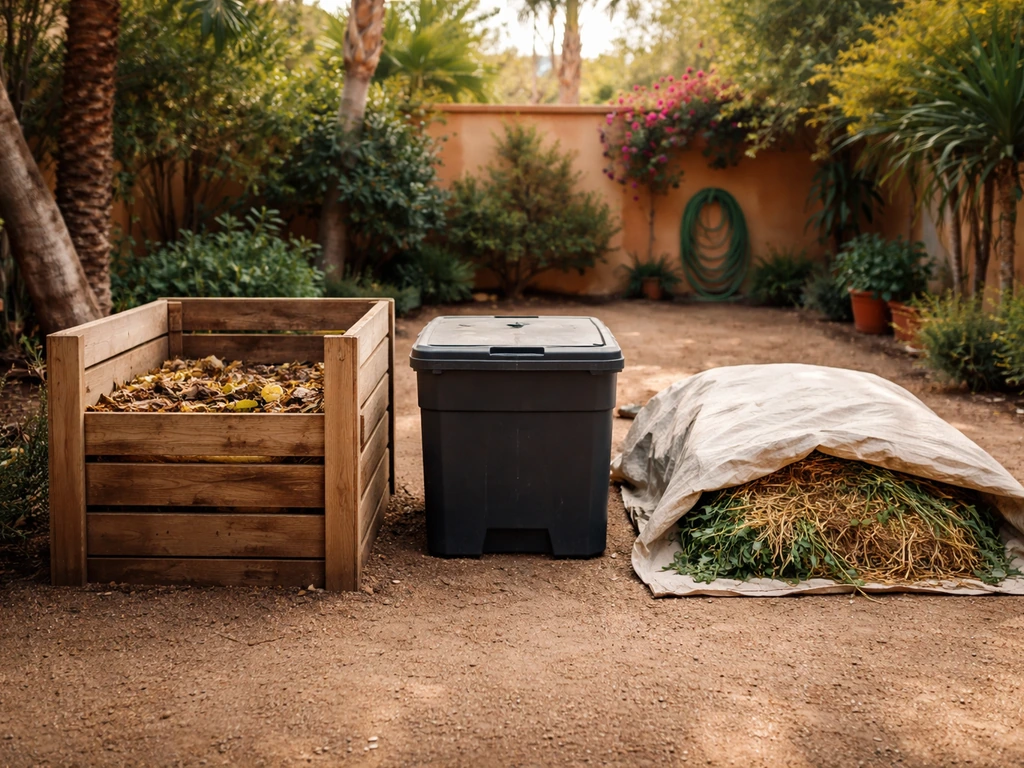
Choose a fertilizer system that fits your scale
Hot composting
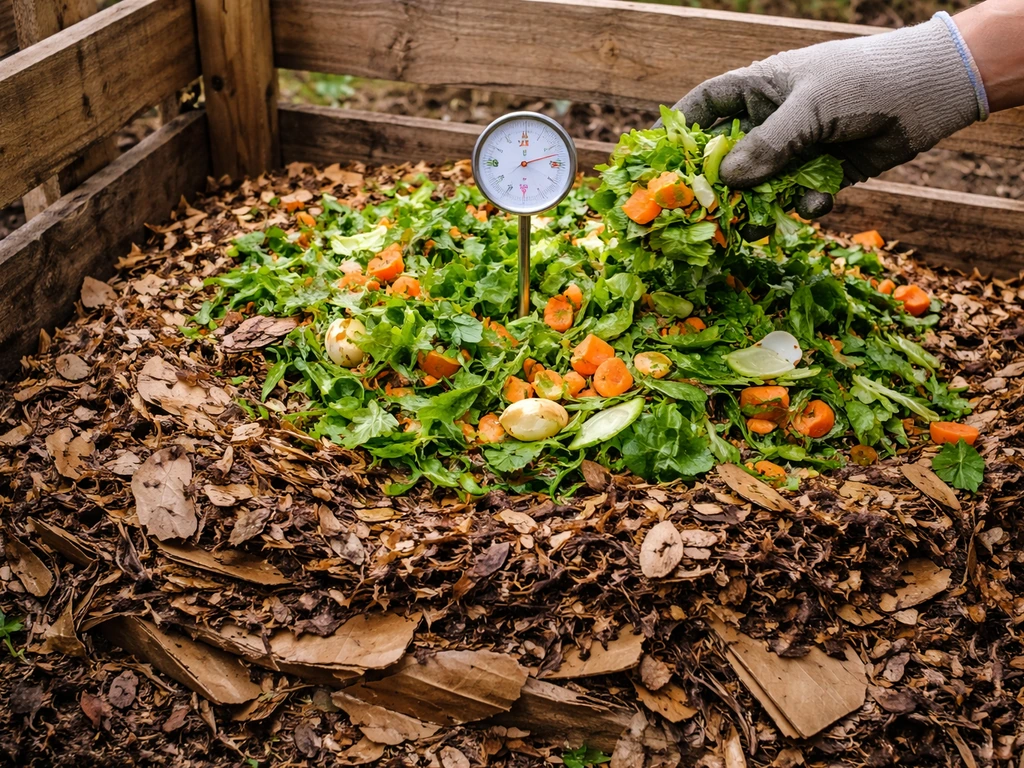
A properly built hot compost pile reaches 110 to 140°F within four to five days. Temperatures in the 131 to 160°F range are ideal because they destroy weed seeds and pathogens. To hit those temps, you need a pile at least 3 feet by 3 feet by 3 feet, a roughly 25-to-1 carbon-to-nitrogen ratio (think three parts dry brown material to one part green or nitrogen-rich material), and enough moisture so the pile feels like a wrung-out sponge. Turn it every two to three days to keep oxygen moving through. A finished pile that's been cured (cooled down and stabilized for two to four weeks after active heating) is safe to apply to garden beds. Never apply still-hot compost directly to plants because it can chemically burn roots and damage soil biology.
Worm bins and vermicompost
A worm bin is one of the best fertilizer systems for a small Medina homestead because it runs indoors or in a garage year-round and converts kitchen scraps into some of the most nutritionally dense organic matter you can make at home. Worm castings contain roughly 5 times the available nitrate, 7 times the phosphorus, and 11 times the potassium of average topsoil, and they act as a balanced, slow-release conditioner comparable to a 1-1-1 organic fertilizer. A new bin takes 2 to 3 months to produce a harvestable amount of finished castings. Keep the bin between 55°F and 77°F, with 65 to 70°F being the sweet spot. Too cold and the worms slow way down. Too hot and they start dying off.
Manure-based composting
If you have access to chicken, rabbit, cow, or horse manure, you're sitting on one of the most nitrogen-rich soil amendments available. For many gardeners, grow better cow manure by composting it properly so the nitrogen-rich material is safe to apply and effective in the beds nitrogen-rich soil amendments. The catch is food safety timing. Raw manure applied to vegetable beds must sit 120 days before you harvest anything that touches the soil (root crops, lettuce, cucumbers), and at least 90 days for crops where edible parts don't contact soil (tomatoes, beans, corn). Composted manure that's been properly hot-composted eliminates most of this risk, which is why composting manure before applying it is almost always worth the extra weeks of waiting. Application rates vary by manure type, but a general starting point for composted manure is 25 to 50 pounds per 100 square feet worked into the top 6 inches of soil before planting.
Cover crops and green manures
Cover crops are fertilizer you grow in place. Legumes like clover, vetch, or field peas fix atmospheric nitrogen directly into the soil. Cereal rye and oats add massive organic matter quickly. The key is timing your termination correctly: kill or till them 1 to 2 weeks before planting your next cash crop, or at the point of full bloom for maximum nutrient availability. If soil moisture is a concern, terminate at least two weeks before planting so the cover crop stops competing for water. Rolling, mowing, or tilling all work. Just don't leave it so late that cereal grains begin elongating and getting woody, which makes incorporation harder and slows decomposition.
DIY liquid feeds and nutrient mixes
Compost tea (water aerated or steeped with finished compost) is a popular liquid fertilizer for home gardeners. It's useful for foliar feeding or soil drenching when plants need a quick boost. Wood ash is another option for a quick potassium and calcium source, but use it carefully: Penn State Extension is clear that wood ash should not be added if your soil pH is already at 6.8 or above, because it's highly alkaline and can tip your pH out of the range where nutrients are available. Never use wood ash around acid-loving crops or on already-alkaline soils.
How to apply fertilizer without wrecking your plants
Timing, rate, placement, and watering work together. Get one of them wrong and even good fertilizer stops being useful or starts causing harm. If you want to grow more fertilizer over time, focus on feeding your composting or worm systems consistently and using cover crops between seasons grow more fertilizer how to use.
Timing
Incorporate compost or composted manure into the bed 2 to 4 weeks before planting so it has time to settle and begin releasing nutrients. Side-dress nitrogen-heavy amendments like blood meal or high-nitrogen compost 3 to 4 weeks after transplanting, when plants have established roots and are ready to use it. Liquid feeds like compost tea or diluted fish emulsion are best applied every 2 to 3 weeks during active growth, not right at transplant when roots are stressed.
Rates and placement
- Finished compost: 1 to 3 inches worked into the top 6 inches of soil per bed per season, or used as a 1-inch top-dress mulch mid-season
- Vermicompost: 10 to 20 percent by volume mixed into potting mixes, or a light half-inch top-dress around transplants watered in well
- Composted manure: 25 to 50 lbs per 100 sq ft incorporated pre-plant for moderate fertility soils
- Compost tea: diluted to a light amber color (roughly 1 part compost to 5 to 10 parts water), applied as a soil drench at 1 gallon per 10 sq ft
- Wood ash: no more than 5 to 10 lbs per 100 sq ft per season, worked in lightly and only when pH is below 6.5
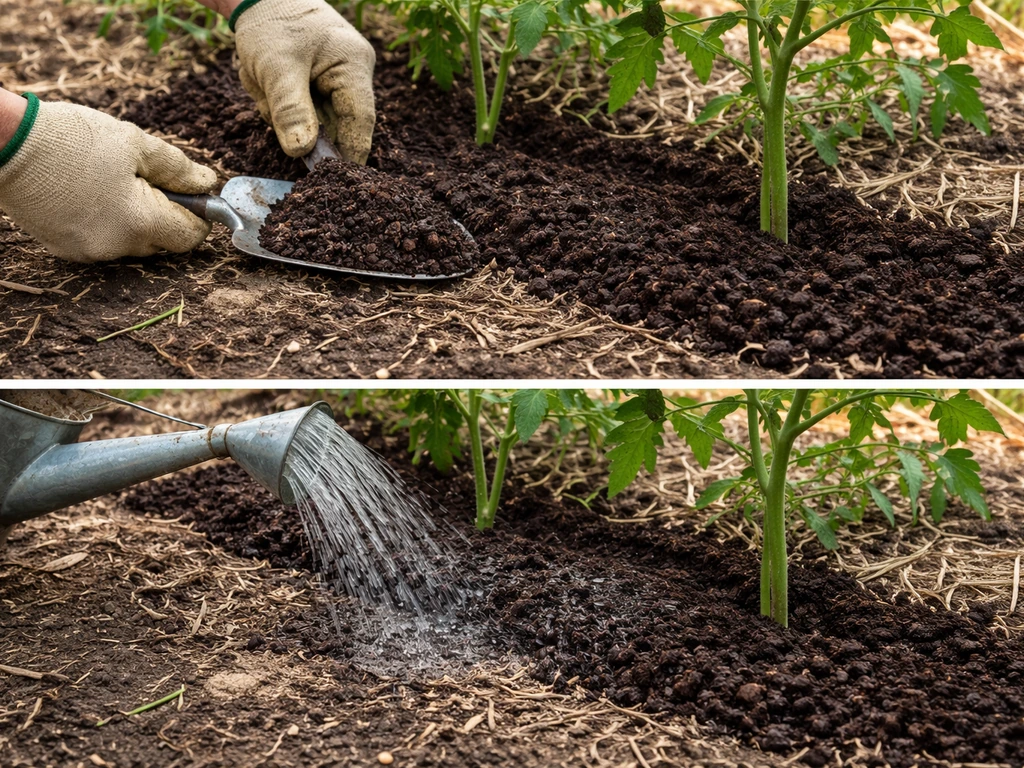
For placement, side-dressing (applying fertilizer in a band 3 to 4 inches from the plant stem rather than directly on it) reduces burn risk and gets nutrients closer to the active root zone without contacting the crown or stem. Top-dressing (spreading evenly over the bed surface) works well for compost and worm castings because they're gentle enough that direct contact with stems isn't usually a problem.
Watering for uptake
After applying any dry amendment, water thoroughly: at least 1 inch of water to move nutrients into the root zone. Dry granular or crumbly amendments sitting on the soil surface don't do much until they're wet and can begin breaking down. For liquid feeds, apply when the soil is already moist, not bone dry, so the nutrients don't get immediately trapped in the top inch. Early morning application is ideal because it gives the soil time to absorb before heat evaporation kicks in.
Avoiding the most common fertilizer problems
Fertilizer burn
Burn happens when salt concentrations in the soil get high enough to pull water out of roots instead of letting roots absorb it. Symptoms look like leaf scorch, brown tips, wilting despite moist soil, and root damage when you dig. Fresh manure is a major burn risk on actively growing plants, which is why timing and composting matter so much. Synthetic fertilizers applied at too-high rates cause the same damage. The fix: water deeply immediately after applying any amendment, never apply dry amendments directly to wet foliage, and stick to recommended rates rather than doubling up 'just in case.'
Nitrogen-phosphorus-potassium imbalance
Too much nitrogen produces lush, soft green growth that's irresistible to aphids and whiteflies, and delays flowering and fruit set in tomatoes, peppers, and squash. Too much phosphorus (which builds up easily in gardens where compost is applied annually without testing) locks out zinc and iron, showing up as yellowing between leaf veins in new growth. Too much potassium can interfere with magnesium and calcium uptake. This is why a soil test every two to three years is worth the cost. A 'good' phosphorus range for most vegetable gardens sits around 20 to 40 lbs per acre (roughly 10 to 20 ppm). If your test comes back above that, skip the bone meal and any high-P composts until levels drop.
Pest and disease knock-on effects
Over-fertilized plants aren't just aesthetically different, they're genuinely more vulnerable. Excess nitrogen produces cell walls that are thinner and softer, which insects and fungal spores can penetrate more easily. If your garden develops a sudden aphid problem, powdery mildew surge, or blossom drop after fertilizing, nitrogen excess is a likely culprit. Ease off nitrogen-heavy amendments and let the plant balance itself out before applying anything else.
Real cost, labor, and yield expectations
| System | Startup Cost | Ongoing Labor | Time to First Use | Yield Impact |
|---|---|---|---|---|
| Hot compost pile | $0 to $50 (bin or wood pallets) | 30 min/week turning and monitoring | 6 to 12 weeks | Steady soil organic matter improvement over 1 to 2 seasons |
| Worm bin | $30 to $80 for bin and bedding | 15 min/week feeding and moisture check | 2 to 3 months for first harvest | High-value concentrated amendment; best for transplants and containers |
| Composted manure | $0 to $20 if sourcing locally | 1 to 2 hrs to collect, pile, and turn | 3 to 6 months composting + food safety wait | Broad nutrient input across whole beds |
| Cover crops | $5 to $15 per season in seed | 1 to 2 hrs seeding and termination | One full growing season | Significant nitrogen fixation (legumes) + organic matter |
| Compost tea / liquid feed | $0 to $10 per batch | 30 to 45 min per batch | Ready in 24 to 48 hours | Fast green-up boost; less impact on long-term soil structure |
In practice, a well-run home composting and worm bin system running for a full year can supply enough amendment for 200 to 400 square feet of vegetable beds per year without buying anything beyond the initial setup. Adding a seasonal cover crop can reduce or eliminate the need for any purchased nitrogen inputs. The trade-off is time and consistency: these systems reward you only if you keep feeding them material and manage them through the seasons. A cold, dry, neglected compost pile produces almost nothing useful.
When your plants still aren't growing after fertilizing
If you've applied amendments and growth is still stalled, work through this checklist before adding more fertilizer. Adding more of the wrong thing almost always makes the problem worse.
- Check pH first. If soil pH is below 6.0 or above 7.5, most nutrients become chemically unavailable regardless of how much you've applied. Lime raises pH; sulfur lowers it. No fertilizer works correctly in the wrong pH range.
- Look at the leaves for deficiency symptoms. Yellow leaves from the bottom up point to nitrogen deficiency. Yellow between veins on new growth suggests iron or manganese deficiency (often a pH problem). Purple or reddish undersides on leaves can indicate phosphorus deficiency.
- Check soil moisture and drainage. Waterlogged soil locks out oxygen and kills the microbial activity that releases nutrients from organic amendments. If your bed drains poorly, even perfect compost won't help much.
- Assess whether your amendment was fully finished. Adding immature compost or hot, still-decomposing material ties up available nitrogen in the soil temporarily as microbes consume it to process the material. This is called nitrogen draw-down and it actually makes plants worse in the short term. Make sure your compost passed the hot phase and has cured.
- Consider root damage. If transplants were stressed, roots were circling in the pot, or there was recent frost damage, the plant may simply not have a functional root system to absorb nutrients yet. Give it 10 to 14 days before re-applying anything.
- Re-test the soil if stalling continues past 3 to 4 weeks. Nutrient lock-out from excess phosphorus or potassium is invisible without a test and won't respond to any amount of additional fertilizer until the imbalance is corrected.
- If symptoms point to a specific nutrient, correct that one deficiency narrowly rather than broadcasting a balanced fertilizer. Kelp meal for potassium, blood meal for nitrogen, rock phosphate for phosphorus. Targeted beats general when you've already fertilized broadly.
The approach described here fits naturally into a broader system where your garden supplies most of its own fertility over time. That's exactly the principle behind biointensive growing methods, where deep soil preparation and concentrated planting reduce outside input needs year after year. It also connects directly to the idea of growing inputs you can actually use, whether that's worm castings from your kitchen waste or nitrogen-fixing cover crops grown right in the bed. If you want to keep nutrients coming without buying inputs, focus on systems and practices that make your fertilizer grow over time growing inputs you can actually use. Start with the soil test, build one composting system this season, and adjust from there based on what your plants actually show you. If you're looking for a good to grow straw hack, make sure you still follow the same principles of timing, soil testing, and adding organic matter safely.
FAQ
My soil test shows high phosphorus, can I still add compost or manure?
If your soil test shows high phosphorus, avoid bone meal and manure types or compost inputs that are known to be phosphorus-heavy. In the meantime, you can still run compost and worm bins to build organic matter and nitrogen cycling, but focus manure-based additions only if they are properly composted and you can keep rates conservative. Consider prioritizing potassium and soil pH first, since pH issues can make multiple nutrients unavailable even when totals look fine.
How can I tell if my compost is truly ready, even if it looks dark and crumbly?
For compost, the safest rule is temperature and curing, not just “smells finished.” Even if it looks dark, apply only after the active heating phase is complete and the pile has cooled and stabilized for the recommended curing window. If you cannot confirm those stages, do not use it near seedlings, use it on a bed that will rest (no direct planting for a couple of weeks), or use it as a top layer on already-established plants.
What’s the safest way to apply fertilizer when I’m starting seedlings or planting into the bed?
Apply amendments closer to the plant root zone by using side-dressing for dry nitrogen sources, and keep dry material away from the crown and stem. If you are planting into a freshly amended bed, time incorporation earlier than planting (a couple of weeks) so nutrients settle and root contact risk is lower. For seed-starting beds, start with compost as a background amendment rather than applying blood meal or other concentrated nitrogen right at seeding.
Can I use wood ash if I grow mostly tomatoes and herbs, and my pH isn’t perfect yet?
Yes, wood ash can raise pH quickly and can create nutrient lockout or stress plants that prefer acidic soil. If you want to use it anyway, apply only to areas that are already near the upper pH range you want to maintain, and never use it on acid-loving crops. Also avoid applying it immediately before or after applying other alkaline ingredients, because the combined effect can overshoot.
What should I do if my plants turn yellow after I fertilize?
If plants look yellow after you fertilize, do not immediately add more nitrogen. Yellowing can also come from low iron or zinc, which you can cause indirectly by raising phosphorus or pH conditions. Treat it as a diagnosis problem: confirm pH and phosphorus status again, check watering consistency, then adjust based on the soil test categories before increasing any high-nitrogen amendment rates.
My compost pile stays cold, what are the most common causes and fixes?
If the composting pile is not reaching the target heat, the usual fixes are adjusting the carbon-to-nitrogen balance, increasing moisture to the wrung-out sponge level, and improving airflow with more frequent turning. A pile that is too dry, too high in browns, or too compact often stays cool and produces poor-quality material that may not be pathogen-safe.
Why do my worms keep dying or producing a bad smell?
Worm bins typically need stable conditions, especially temperature and moisture. If castings smell bad, worms are usually reacting to excess moisture (low oxygen) or too much “watery” input, like a heavy dump of fruit scraps. Remedy by reducing wet inputs, adding dry bedding (cardboard or dry leaves), and improving ventilation. If worms die, check the temperature range first, then correct moisture and feeding amounts.
Can I use raw chicken or rabbit manure on vegetable beds without composting?
Yes, but the timing and crop type matter. For raw manure, you must respect the waiting period before harvest, based on whether the edible part contacts soil. Composting manure with hot composting reduces risk, but you still should avoid using immature compost right at planting. If you cannot reliably compost to a safe standard, choose worm castings or finished compost as your primary amendments.
How do I avoid over-fertilizing when I’m using both compost tea and dry amendments?
Start with gentle, predictable feeding: top-dress finished compost or worm castings, then side-dress light doses of nitrogen only after plants are established. Avoid stacking multiple concentrated nitrogen sources (for example, fish emulsion plus blood meal plus manure) in the same week. If growth is slow, adjust one variable at a time, and verify soil pH and moisture because “nutrient hunger” can be caused by pH or watering problems.
When is the best time to apply compost tea or fish emulsion, and when should I pause?
Liquid feeds can be used during active growth, but the timing should match plant stress levels. Avoid applying concentrated liquids during hot midday conditions, and apply after soil is already moist rather than bone dry. If your soil has just been heavily amended, pause liquid feeding for a couple of weeks, because you may already have enough available nitrogen or other nutrients.
What’s a simple seasonal plan to grow fertilizer with compost, worms, and cover crops?
If you want to reduce purchased inputs, consider a practical sequence: soil test first, build or improve one fertility system (compost and or worms) to generate steady output, then add cover crops between seasons to supply nitrogen and organic matter. Plan termination 1 to 2 weeks before planting, or earlier if moisture is limiting, so the cover crop does not compete with your cash crop.
Next Article
Has to Grow Fertilizer: DIY Fixes, Feeding Guide, and Tips
DIY has to grow fertilizer guide: match nutrients, fix pH and watering, make safe compost teas, and feed right for edibl