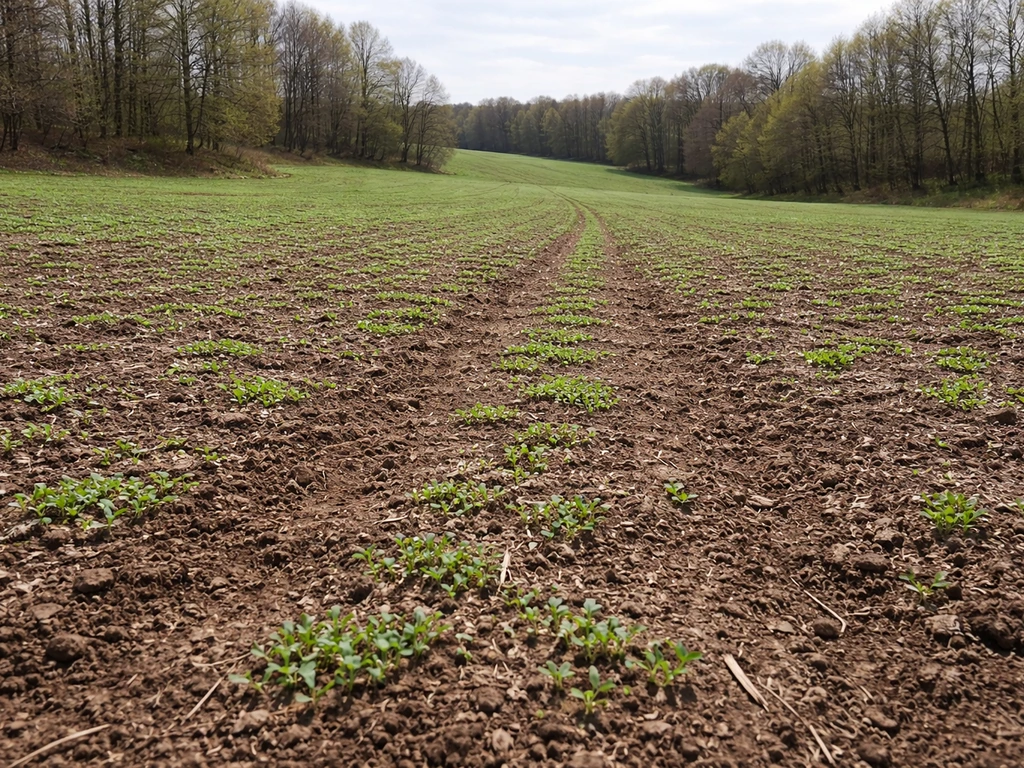
Throw and grow food plots do work, but not in the way the name implies. You can't just scatter seed on bare, unprepared ground and walk away expecting a harvest. What you can do is skip deep tillage and still get a solid stand of edible crops if you handle three things right: seed-to-soil contact, moisture at the right time, and a seed mix that actually suits your conditions. Get those three right, and broadcasting seed is a genuinely practical method for home gardeners and anyone setting up a fast food plot.
Does Throw and Grow Food Plot Work? Test and Fix Guide

Marcus Hendrick
12 Jun 2026
What "throw and grow" actually means
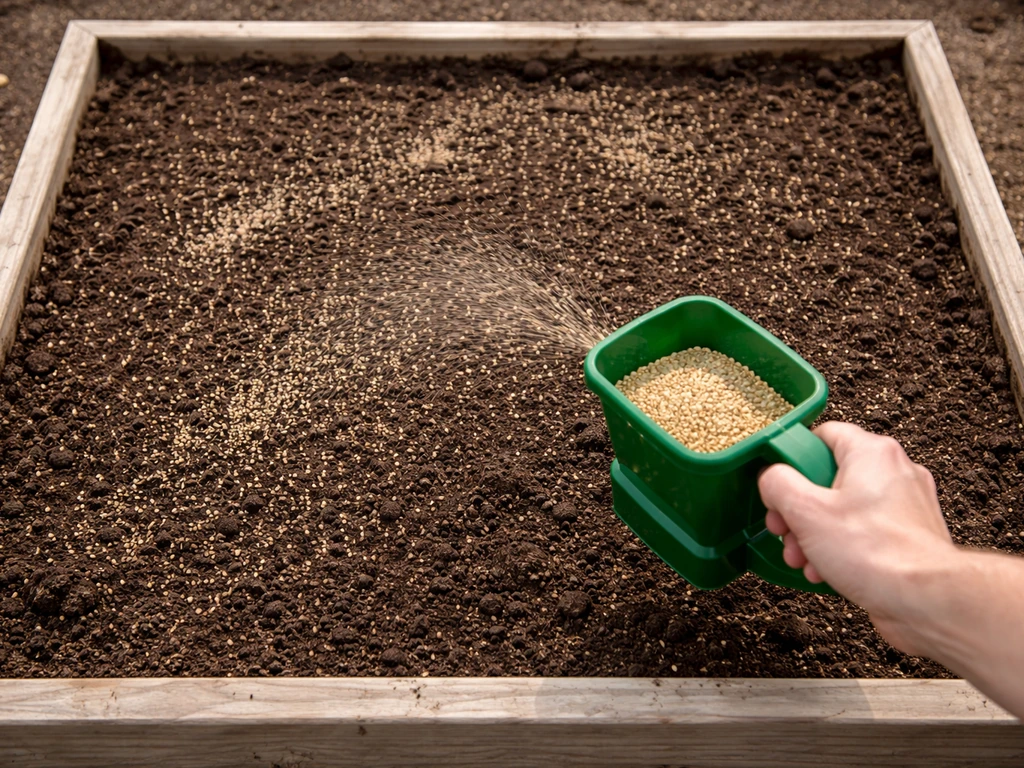
"Throw and grow" refers to broadcasting seed by hand or spreader directly onto or into the top layer of soil without doing full tillage. No deep plowing, no rows, no precision planting. The idea is speed and simplicity: scatter seed, get it wet, and let germination do the work. It's a method that's been used for pastures, cover crops, and wildlife food plots for a long time, and it's gained popularity with home gardeners and self-sufficient growers who want to establish a productive patch quickly and cheaply.
The catch is that "throw and grow" seed mixes are sometimes marketed as if broadcasting alone is enough, which it rarely is. Broadcasting is the seeding method, not a magic shortcut past the basics of germination. Seeds still need soil contact, moisture, and the right temperature to sprout. What throw-and-grow does eliminate is the need for a rototiller or a tractor, which is a real benefit if you're working by hand on a backyard plot or a remote piece of land.
The conditions that decide whether it works
Success or failure with broadcast seeding comes down to five factors. If you get all five right, germination rates are surprisingly good. If you miss two or more, you'll be staring at a bare patch wondering what went wrong.
Seed-to-soil contact
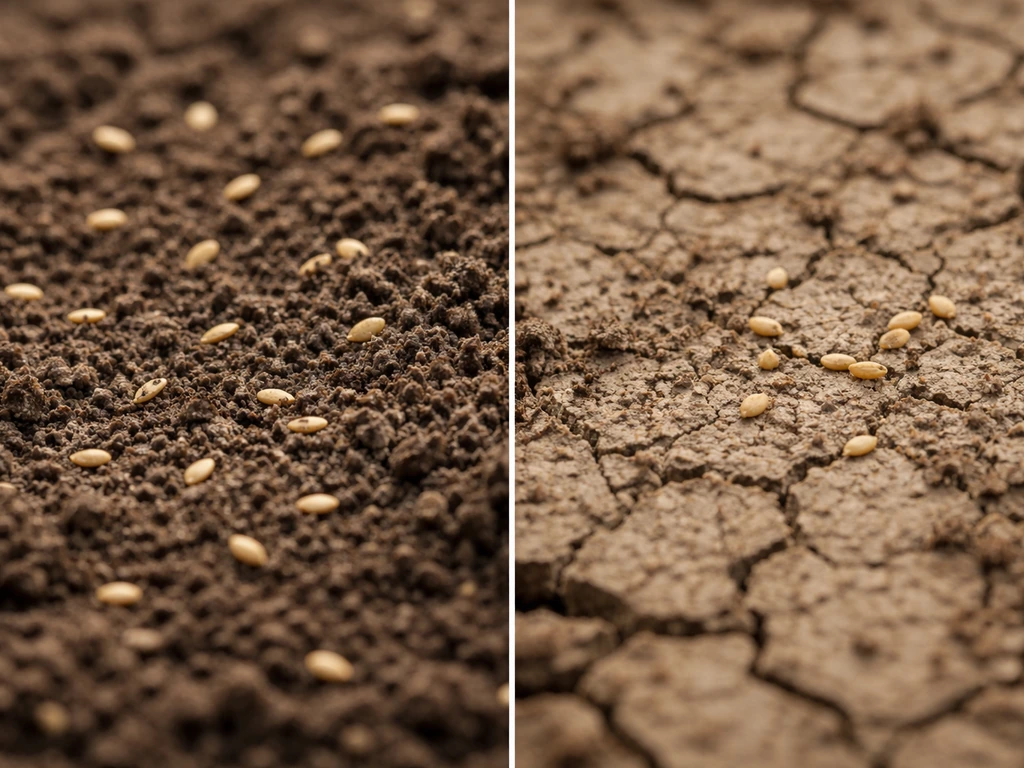
This is the biggest one. Seeds sitting on top of loose clods, mulch, or dry surface crust absorb a little moisture and then dry out before the radicle can establish. Penn State Extension research on forage establishment is clear on this: poor seed-to-soil contact lets seeds start to germinate and then die from drying out. That's why extension services consistently recommend raking seed into the surface or pressing it down after broadcasting. Even walking across the seeded area helps. A cultipacker is ideal, but the heel of your boot on a small plot does the same job.
Soil moisture and timing

SDSU Extension is direct about this: broadcast-seeded crops need rain or irrigation within roughly a week of seeding or germination becomes unreliable. Hard, dry soil surfaces are poor candidates for broadcast seeding. If you're seeding ahead of a forecasted rain, that's ideal. If you're seeding in dry conditions with no irrigation plan, results will be patchy at best. Lettuce and spinach seedbeds, for example, need consistent moisture for the first two weeks after sowing.
Temperature
Cool-season crops like spinach, radishes, and lettuce germinate best when soil temperatures are in the 55 to 65 degrees F range. USU Extension notes that soil temperatures above 80 degrees F significantly reduce spinach germination. Broadcast those seeds in midsummer and you'll get almost nothing. Timing your broadcast for early spring (4 to 6 weeks before last frost for cool-season crops) or late summer for a fall plot is not optional, it's the difference between a stand and a failure.
Light and weed pressure
Most food plot crops need full sun, which means 6 or more hours of direct sunlight. Throwing seed under trees or in partial shade almost never produces a usable harvest. Weed pressure is the other silent killer. Broadcast seed without any soil prep lands in competition with every weed seed already in the top inch of that ground. OSU Extension makes the point plainly: without preparing for weeds, broadcast-only seeding often fails because the crop seedlings can't outcompete established weed growth. A quick scalp mow or a round of cultivation before seeding matters more than most people think.
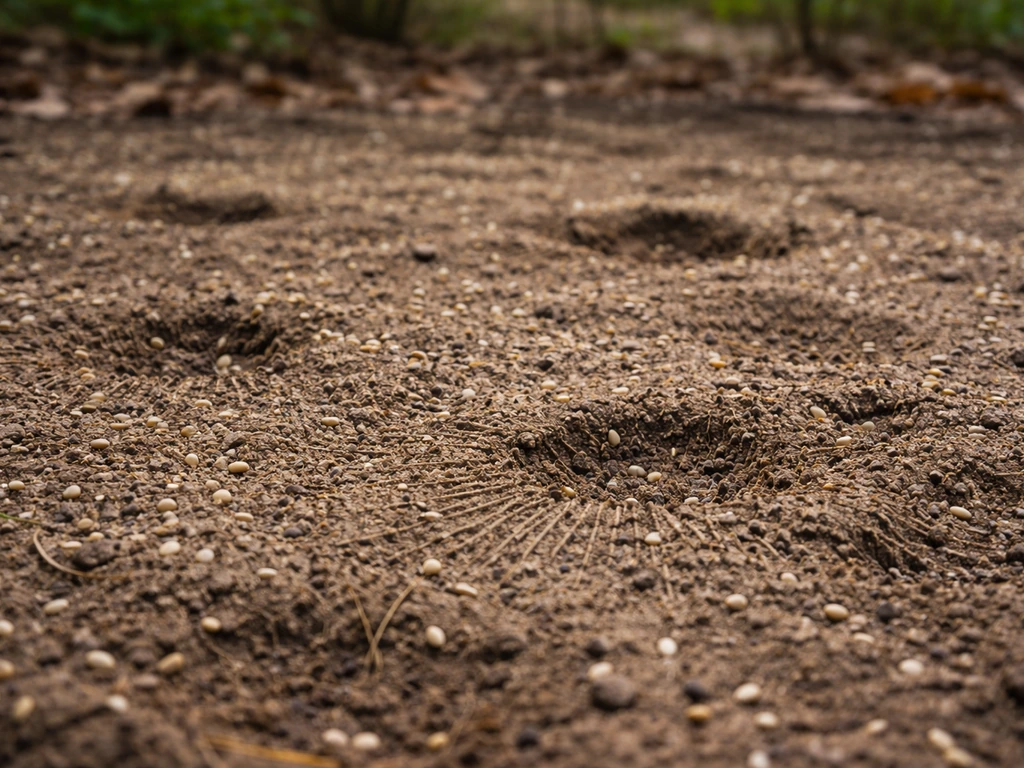
Birds, rodents, and surface predation
Seeds sitting on the surface are an easy meal. NRCS technical guidance specifically calls out bird and rodent predation as a real risk for surface-broadcast seed, especially before germination. Raking seed into the soil even slightly (half an inch for most crops) dramatically reduces losses. Covering the seeded area with a light layer of straw mulch after pressing also helps protect seed while retaining moisture.
Best crops to broadcast for an edible harvest
Not all vegetables are good candidates for broadcasting. Crops that tolerate shallow or uneven seeding depth, establish quickly, and handle direct competition are your best options for a throw-and-grow food plot.
| Crop | Broadcast Seeding Depth | Soil Temp for Germination | Days to Harvest | Notes |
|---|---|---|---|---|
| Radishes | 1/2 inch | 50–85°F (opt. ~65°F) | 25–35 days | Fast grower; thin to 1–2 inches after sprouting |
| Turnips | 1/4–1/2 inch | 50–85°F | 40–60 days | Leaves edible young; roots develop at 60 days |
| Lettuce | 1/8–1/4 inch | 40–75°F | 30–60 days | Needs light to germinate; don't bury too deep |
| Spinach | 1/2 inch | 45–65°F | 40–50 days | Fails above 80°F soil temp; cool season only |
| Kale | 1/4–1/2 inch | 45–75°F | 50–65 days | Tolerates frost; good fall broadcast crop |
| Cowpeas | 1–2 inches | 65–85°F | 60–90 days | Warm season; broadcast rate ~75–100 lb/acre |
| Annual rye (grain) | 1/2–1 inch | 34–77°F | 60–90 days | Excellent nurse crop; improves soil quickly |
| Buckwheat | 1 inch | 60–80°F | 70–90 days | Suppresses weeds; edible seeds; fast canopy |
Radishes and turnips are the workhorses of any throw-and-grow food plot. For deer, the same throw-and-grow approach can work well when you pick a deer-friendly seed mix and time the seeding for peak browsing Radishes and turnips are the workhorses of any throw-and-grow food plot.. They establish fast, produce in under 60 days, and the entire plant is edible. Lettuce and spinach are excellent for cool-season plots but require more consistent moisture management. For larger survival-style plots or mixed food-and-wildlife plots, a mix of cowpeas (warm season) or a brassica blend (cool season) gives you both fast cover and edible yield.
Step-by-step setup for a working throw-and-grow plot
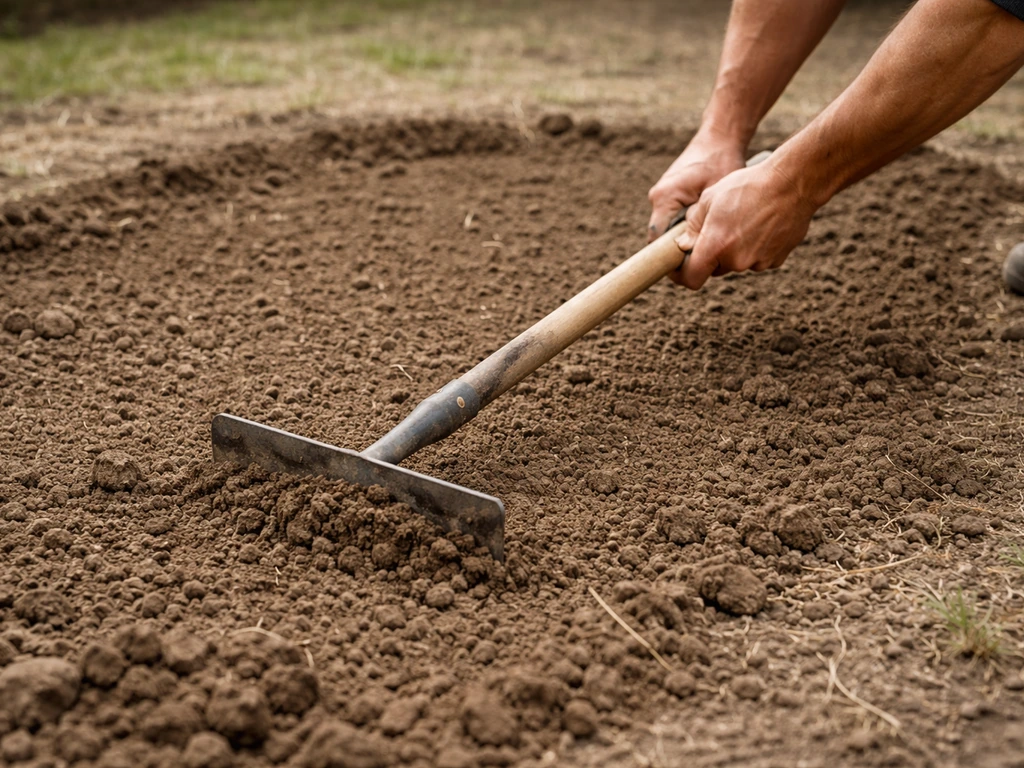
- Clear the area first. Mow existing vegetation as short as possible, or use a hoe or rake to scalp the top inch of soil. You don't need to till 8 inches deep, but you do need to break the surface crust and knock back existing weeds.
- Rough up the soil surface. Rake or drag the area to create a loose, crumbly top layer. Loose, fine-textured soil gives seeds somewhere to sit in contact with moisture. Clods and hard crust both work against you.
- Check and adjust your seeding rate. Broadcast rates should be 25 to 50 percent higher than the standard drill rate for the same crop. If the bag says 5 lb per 1,000 sq ft for drilling, broadcast at 7 to 8 lb per 1,000 sq ft. This compensates for seeds that land on unsuitable spots or get eaten.
- Broadcast the seed evenly. Walk the area in two directions (like mowing a lawn in a grid) to get even coverage. A hand-crank spreader works well for larger plots; hand-scattering works fine for small beds.
- Work the seed into the surface. Rake lightly to pull soil over the seed to a depth of about 1/4 to 1/2 inch for most crops (1/8 inch for lettuce). Don't rake too deep or you'll bury small seeds too far down.
- Press or firm the seedbed. Walk across it, drag a board over it, or use a roller. This step is underestimated. Firming the soil around seeds dramatically improves seed-to-soil contact and speeds up germination.
- Water thoroughly right away. Wet the seeded area deeply immediately after sowing, then keep it consistently moist until you see germination. For most food plot crops, that means watering once or twice daily if no rain comes.
After sowing: watering, covering, weeds, and early care
The first two weeks after broadcasting are the most critical. UGA Extension recommends keeping lettuce seedbeds moist but not waterlogged for the first two weeks after sowing, and that applies broadly to most broadcast food plot crops. Use a gentle spray (not a hard stream that displaces seeds) and water in the morning so the surface doesn't stay wet overnight, which can encourage mold.
A light covering of straw (about 1/4 inch, thin enough to see the soil through) is one of the best things you can do after seeding. It holds moisture, moderates soil temperature, reduces bird predation, and slows surface drying. Don't pile it on thick or you'll block light from crops like lettuce that actually need light to trigger germination. Seed before applying mulch so the seed stays in contact with soil, not sitting on top of the mulch layer.
Weeds will come up alongside your crop seedlings, especially in the first three weeks. The best strategy is to wait until your crop seedlings are identifiable (usually 1 to 2 inches tall), then hand-pull or lightly cultivate between them. Cultivating too early risks pulling up your own seedlings by accident. If you're broadcasting over a large plot and hand-weeding isn't practical, mowing to a height above the crop (for taller crops like kale or cowpeas) can keep weed competition in check without harming what you're growing.
Thinning is also part of early maintenance for broadcast plots. Broadcasting creates uneven density, so you'll often have clusters of seedlings that need to be thinned out. For radishes, thin to 1 to 2 inches between plants after sprouting. For kale and turnips, 4 to 6 inches is ideal. Don't skip this step: overcrowded seedlings compete for the same nutrients and moisture, and you'll end up with spindly plants and poor yields.
Troubleshooting: low germination, patchiness, and weed takeover
Almost nothing came up
If germination is very low, the most common culprits are soil that dried out in the first week (seeds started to sprout and then dried up before establishing), seeds sitting on hard surface without soil contact, or soil temperatures that were too hot for your chosen crop. Check whether you can still see seeds on the surface (means contact failed) and whether the soil has been consistently moist. If seeds are gone but nothing sprouted, consider bird or rodent predation. Re-seed with seeds raked in properly and keep the surface moist daily until germination.
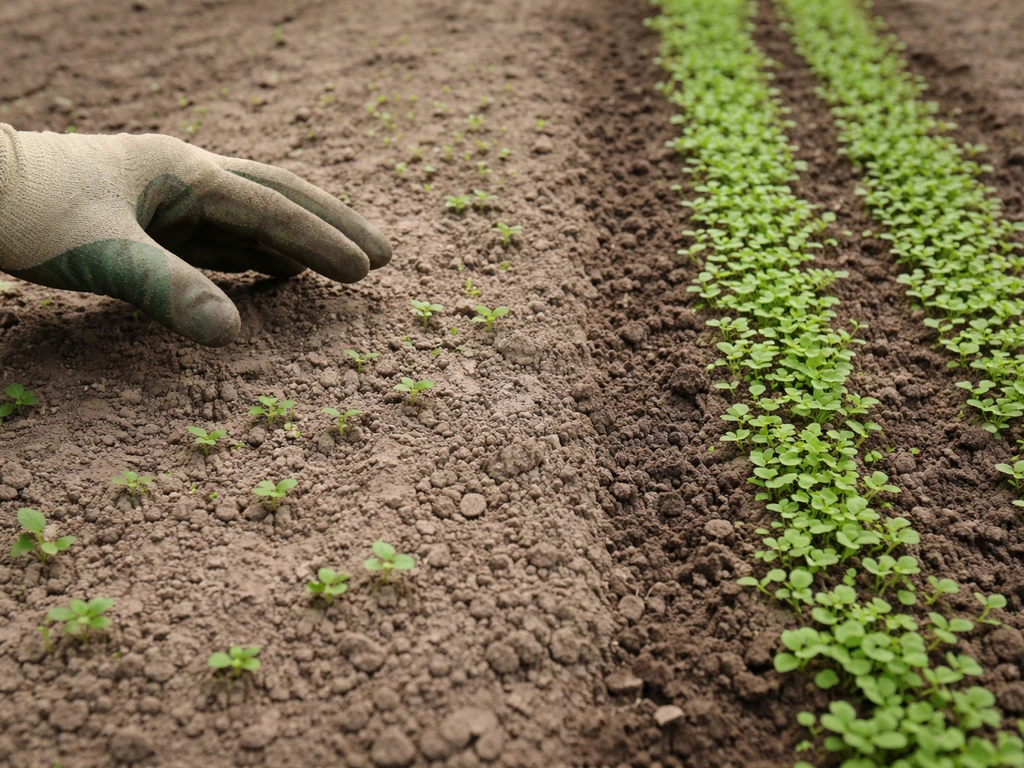
Patchy, uneven stands
Patchiness almost always means uneven seed distribution or an uneven soil surface with clods that caused variable seeding depth and moisture access. University of Minnesota Extension notes that clods on the surface can smother small seedlings and cause inconsistent germination. For the next sowing, take more time to break up the surface before broadcasting. For the current stand, fill in bare patches with a second pass of seed, raked in and watered consistently.
Weeds taking over
If weeds are winning, you either didn't knock them back before seeding, or your crop germinated slowly and weeds got ahead of it. The fix for a weed-overtaken plot depends on how far along things are. If your crop seedlings are still small and weeds are 4 to 6 inches tall, hand-pull or lightly cultivate weeds carefully. If weeds have completely dominated and your crop is not visible, it may be more efficient to mow everything, let the soil rest for 2 to 3 weeks to exhaust the first flush of weed seeds, then broadcast again into that cleared ground. OSU Extension calls this the "stale seedbed" approach, and it's highly effective for reducing weed pressure before a second seeding.
Realistic yields, timeline, and cost comparison
A well-executed throw-and-grow food plot can get you harvestable greens in 30 to 45 days (radishes, lettuce, spinach), root crops in 45 to 60 days (turnips, radishes), and legumes or grains in 60 to 90 days (cowpeas, buckwheat). These timelines are only slightly longer than traditionally planted crops, and in some cases identical, because broadcast seeding into a lightly prepared bed with adequate moisture can germinate as fast as a drilled seed.
Yield is where broadcast does take a hit. You'll typically see 10 to 25 percent lower yields per square foot compared to a well-spaced, drilled row crop, mainly because broadcast seeding creates uneven plant density and some seed never establishes. But you're also spending a fraction of the time and effort. For a 200 to 500 square foot food plot, broadcast seeding takes 20 to 30 minutes of actual work versus hours of row-by-row planting. The higher seed cost (from the 25 to 50 percent rate increase) is real but usually amounts to just a few extra dollars.
| Factor | Throw and Grow (Broadcast) | Traditional Row Planting |
|---|---|---|
| Soil prep required | Light surface raking/loosening | Deep till or row preparation |
| Seeding time (200 sq ft) | 15–25 minutes | 45–90 minutes |
| Seed cost | 25–50% more seed needed | Standard rate |
| Germination rate | 60–80% with good contact/moisture | 80–95% with proper depth |
| Yield per sq ft | 10–25% lower on average | Standard baseline |
| Time to first harvest | 30–90 days (crop dependent) | 25–85 days (crop dependent) |
| Weed management | More active early management needed | Easier to cultivate in rows |
| Best for | Fast plots, large areas, low-labor setups | Precision beds, maximizing yield |
For a self-sufficient grower or someone establishing a food plot on raw or rough ground, the broadcast approach is genuinely worth it. You trade a small yield reduction for a major reduction in labor and equipment. For a raised bed where you're trying to maximize every square inch, traditional row planting wins. For a 1,000 square foot survival garden or a new food plot on unbroken ground, throw-and-grow with proper technique is the practical choice. If you want the best throw and grow food plots, focus on seed-to-soil contact, consistent moisture soon after seeding, and a seed mix matched to your conditions.
Your starter plan: do this today
Here's the simple checklist to get a throw-and-grow food plot in the ground right now. If you want more throw and grow food plot tips beyond the checklist, consider reviewing the common setup mistakes and timing guidance next. If you want a quick walkthrough, follow these steps to learn how to use throw and grow food plot effectively. If you want the best throw and grow food plots, start by choosing the right crops for your season and matching the seeding method to your soil and moisture conditions. This works for a small backyard patch or a larger homestead plot.
- Pick your location: full sun (6+ hours), accessible to water, away from heavy weed infestations if possible.
- Check the weather forecast: you want a seeding window followed by overcast skies or rain in the next 5 to 7 days. Avoid seeding right before a heat wave.
- Choose your seed mix based on season: cool season (spring or fall) means brassicas, radishes, spinach, lettuce, kale. Warm season means cowpeas, buckwheat, or summer greens. Pick two or three compatible crops rather than a single species for a mixed food plot.
- Prepare the ground: mow or scalp existing growth, then rake or hoe the top 1 to 2 inches to break up the crust and create a loose, fine surface. Remove large clods.
- Calculate your seed rate: take the standard recommended rate for the crop and increase it by 30 to 50 percent for broadcasting.
- Broadcast evenly: walk the area in two directions to get uniform coverage.
- Rake seed in lightly: aim for 1/4 to 1/2 inch depth for most crops, shallower for lettuce (1/8 inch).
- Firm the seedbed: walk it, roll it, or drag a board over it.
- Apply a light straw mulch over the top if available (thin enough to see the soil through).
- Water immediately and keep the soil consistently moist until you see germination (typically 5 to 14 days depending on crop and temperature).
- Once seedlings reach 1 to 2 inches, hand-thin dense clusters and pull obvious weed competition.
Throw and grow is a real method that real growers use successfully every season. The honest expectation is that your first attempt might be 70 percent of what a perfectly planted row garden would produce, but you'll have it in the ground in an afternoon with minimal tools. Once you've done it once and seen what worked and what didn't, your second plot will be noticeably better.
If you're planning to expand your efforts, it's worth looking into which specific seed mixes perform best for edible harvests, how to refine your technique for different plot goals, and what crops consistently produce big results with minimal intervention. If you want to compare what other gardeners say about performance and results, reading throw and grow food plots reviews can help you choose the right approach and seed mix.
These same principles also guide choosing the best food plots to grow big bucks, since better stands and timing support more consistent browse and attraction big results with minimal intervention.
FAQ
Can you throw and grow seed on unprepared soil and still get a harvest?
Yes, but only if you can improve seed-to-soil contact. If your soil is truly bare and hard, do a quick surface break (hoe or rake) and then press or rake after broadcasting. Without that contact, you may get a brief germination flush followed by die-off as the surface dries.
Does throw and grow work in summer heat?
Midsummer usually fails for cool-season greens like spinach, lettuce, and many brassicas due to heat stress on germination. If you must seed in hot weather, switch to warm-season options that tolerate higher soil temperatures, and water lightly but frequently until seedlings establish.
What if I cannot guarantee rain or irrigation after seeding?
It depends on crop timing and your water source. If you do not have reliable irrigation or a forecasted rain within about a week, choose a crop that matches your window and keep the surface consistently moist for the first two weeks. For lettuce and spinach, daily checks and gentle morning watering matter a lot.
How much seed should I use for a throw and grow food plot?
The “best” amount varies by seed type and how evenly you broadcast, but the practical way to avoid wasting seed is to use the label rate for your crop and then adjust based on emergence. If you see repeated clusters and bare gaps, increase your coverage pass count, not just the total seeding rate.
How should I water after broadcasting seed?
Avoid hammering the area with a strong hose stream. Use a fine mist or gentle spray so seeds stay where you placed them, then water early so the soil surface does not stay wet overnight. Overnight wetness increases mold risk and can wash seeds slightly off contact.
Should I mulch immediately after I broadcast, and how thick should it be?
Do it right after seeding, before adding mulch, so the seed does not end up buried too deep or sitting above the mulch layer. A simple sequence is broadcast, then rake or walk/press, then apply a very thin straw layer (about a quarter inch) if needed.
When is the best time to weed a throw and grow plot?
If you see seedlings, wait until they are identifiable before you weed. For most crops, that is when seedlings reach about 1 to 2 inches tall. Cultivating earlier can pull up your crop before you can tell it from weeds.
Do I need to thin seedlings in a throw and grow plot?
Thinning is usually required because broadcast seeding creates uneven density. Don’t skip it, overcrowded seedlings compete for moisture and nutrients. Thin to roughly 1 to 2 inches for radishes, and about 4 to 6 inches for turnips and kale, then keep the surface lightly moist as the survivors “take off.”
What should I do if my plot is patchy after seeding?
Yes. If only a portion germinates, you can fill bare patches with a second broadcast, but first rake the surface to break clods and improve contact. Lightly press or rake in the second pass, then water consistently until you get emergence.
How can I stop birds and rodents from eating broadcast seed?
If seeds disappear with no sprouting, predation is a common cause. Reduce risk by raking/pressing for better contact, then adding a thin straw cover after pressing. Also consider timing the seeding when birds are less active and avoid leaving seed uncovered overnight.
What is the best weed-control approach if my plot is too big for hand weeding?
On small gardens, you can manage weeds with hand weeding or careful spot cultivation. On larger plots where hand weeding is not practical, mow at a height that does not hit the crop (once weeds are ahead) to reduce weed competition while letting the crop regrow.
Which crops are most compatible with throw and grow seeding?
Throw and grow works best for crops that tolerate shallow, uneven seeding and establish quickly. Great candidates include radishes, turnips, many brassicas, and some fast legumes. If your goal is maximum root uniformity or tight spacing for a premium yield, row planting usually performs better.
Should I re-seed right away if germination is low, and how do I decide why it failed?
Re-seed if you can confirm the issue is contact or early drying (for example, you can still find seeds on the surface, or the soil dried out within the first week). If you have warm temperatures, use seed suited to those temps. If predation is likely, fix the coverage and contact method before re-seeding so the second attempt does not repeat the same failure mode.
Is throw and grow always worse than row planting, or when does it make sense?
Broadcast can underperform on yield versus drilled rows (often around 10 to 25 percent), but it can still beat row planting when labor, equipment access, or soil roughness makes rows impractical. If you are working on very small raised beds where every square inch matters, row planting or precision placement typically gives the biggest returns.
Next Article
Throw and Grow Food Plot Tips: Step-by-Step Success Guide
Step-by-step throw-and-grow food plot tips: timing, seed choice, broadcast rates, soil prep, germination fixes, and weed