The best throw and grow food plot mix depends on three things: your site conditions (sun, soil, drainage), your climate and season timing (spring vs. fall, frost dates), and your goal (quick greens to eat now vs. a longer-term productive patch). If you nail those three variables, even a no-till broadcast seeding can give you a reliable harvest with very little effort. If you ignore them, no amount of premium seed will save you. Let me walk you through exactly how to choose, prep, and manage a throw-and-grow food plot from scratch.
Best Throw and Grow Food Plots: Mix, Setup, and Timing Guide

Marcus Hendrick
17 Apr 2026
What a throw and grow food plot actually is (and when it works)
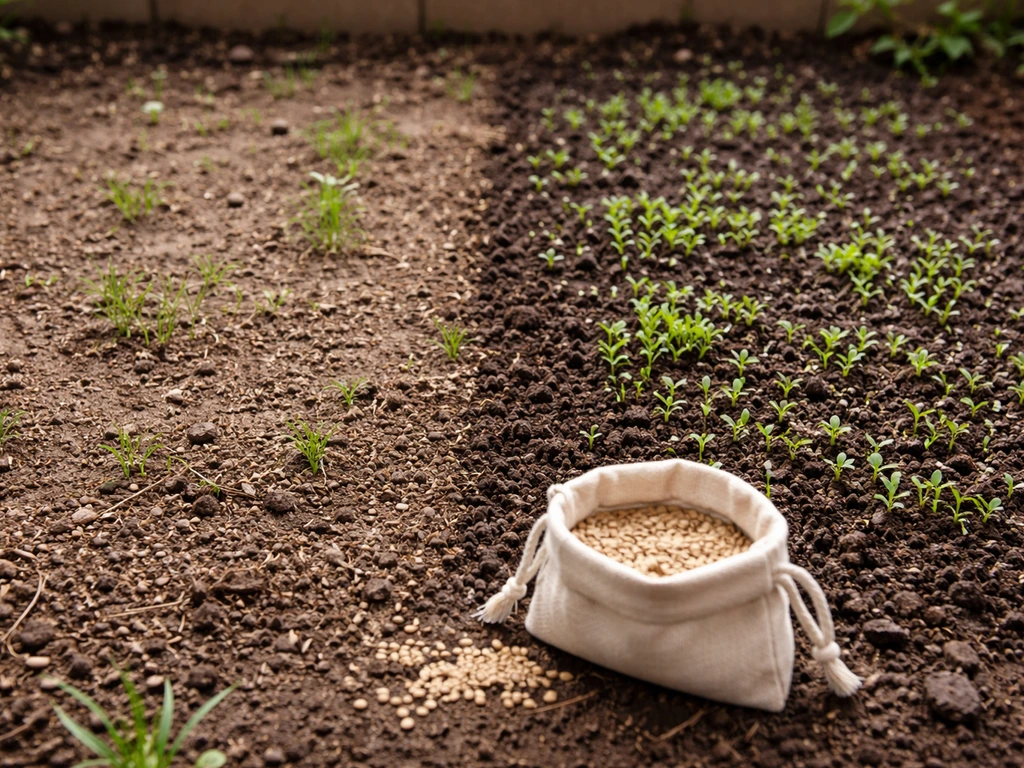
A throw-and-grow food plot is exactly what the name says: you broadcast seed over a minimally prepared area, ensure basic soil contact, keep it moist, and let it grow with almost no mechanical tillage. The idea is low-effort establishment, often using a mix of fast-germinating species that can push through without deep soil disturbance. It works best when your soil is already reasonably loose and free of heavy thatch or sod competition.
If you have bare soil after a light raking, a thin lawn edge, or a recently mowed area with exposed ground, you are in good shape. If you are throwing seed on top of thick grass or heavy leaf litter with zero soil contact, it will not work, period.
This method is well-suited for home gardeners who want a productive patch fast, especially in spots that are awkward to till, like slopes, tight corners, or areas near tree lines. It is also genuinely useful for building soil quickly because many throw-and-grow mixes include legumes that fix nitrogen. Before committing to a specific mix, it helps to understand whether throw and grow food plots actually work in real-world conditions, because success rates vary a lot based on how well you manage those three variables above.
Choosing the best mix for your goals and conditions
Not all throw-and-grow mixes are built the same. Some are designed primarily as wildlife attractants rather than edible food crops, so read the label carefully. You want a mix where the components are things you can actually harvest and eat, or at minimum, crops that build your soil while producing usable biomass. Here is how to think through the choice based on your situation.
Sun and shade conditions
Full sun (6+ hours) opens up the widest range of options: brassicas, clovers, ryegrass, radishes, turnips, and mustard greens all do well. Partial shade (3 to 5 hours) narrows your choices significantly. Leafy greens like collards and certain clovers tolerate some shade, but your germination speed and yield will drop. Deep shade under a canopy is not a good candidate for any food plot, throw-and-grow or otherwise. Some products are marketed as shade-tolerant with no-till placement, but the honest answer is that your yield will be a fraction of what you would get in full sun.
Soil type and drainage
Heavy clay drains slowly and can crust over after rain, which is one of the worst environments for broadcast seeding because seeds sit on top instead of making contact with loose soil particles. If you have clay, you need to at least scratch the surface with a rake before seeding. Sandy or loamy soils are ideal for throw-and-grow because they allow shallow seed-to-soil contact easily. Waterlogged or poorly drained spots should be avoided or planted with water-tolerant species like certain clovers; otherwise you will lose germination to rot. Well-drained, loose topsoil is the sweet spot.
Spring vs. fall timing
Fall is actually the better season for most throw-and-grow food plot mixes. Soil is warm enough to germinate quickly, weed competition slows as nights cool, and moisture is often more reliable. A fall mix typically leans on brassicas (turnips, radishes, kale, collards), clovers, and winter-hardy grains. Soil temperature is a key factor for brassica and leafy-crop germination, with cooler soil promoting germination and the risk of bolting changing as the soil warms [brassicas (turnips, radishes, kale, collards)](https://gardeninsider.
org/gardening/knowledge/soil-temperature-plant-growth/). Spring works well too, especially for cool-season greens, but weed pressure is higher and you need to move fast before summer heat sets in. Crimson clover, for example, flowers when day length exceeds about 12 hours, so timing your spring seeding matters if you want nitrogen fixation before the plant bolts. For most home growers in the northern half of the country, a fall seeding starting in late August through October is the most reliable throw-and-grow window.
Your main goal: quick harvest vs. soil building vs. wildlife
If you want greens on the table fast, prioritize annual ryegrass (germinates in 3 to 7 days under good conditions), radishes, and fast turnips. If your main goal is soil improvement with some harvest on the side, lean into legumes like crimson clover or ladino clover, which fix atmospheric nitrogen and leave the soil better than they found it. Products like MainBeam Seed's Throw and Grow mix use ladino clover as a core ingredient alongside other forages precisely because of this dual benefit. If you are splitting goals between feeding yourself and attracting deer, check out what food plots grow the biggest deer to understand how those priorities sometimes overlap and sometimes conflict.
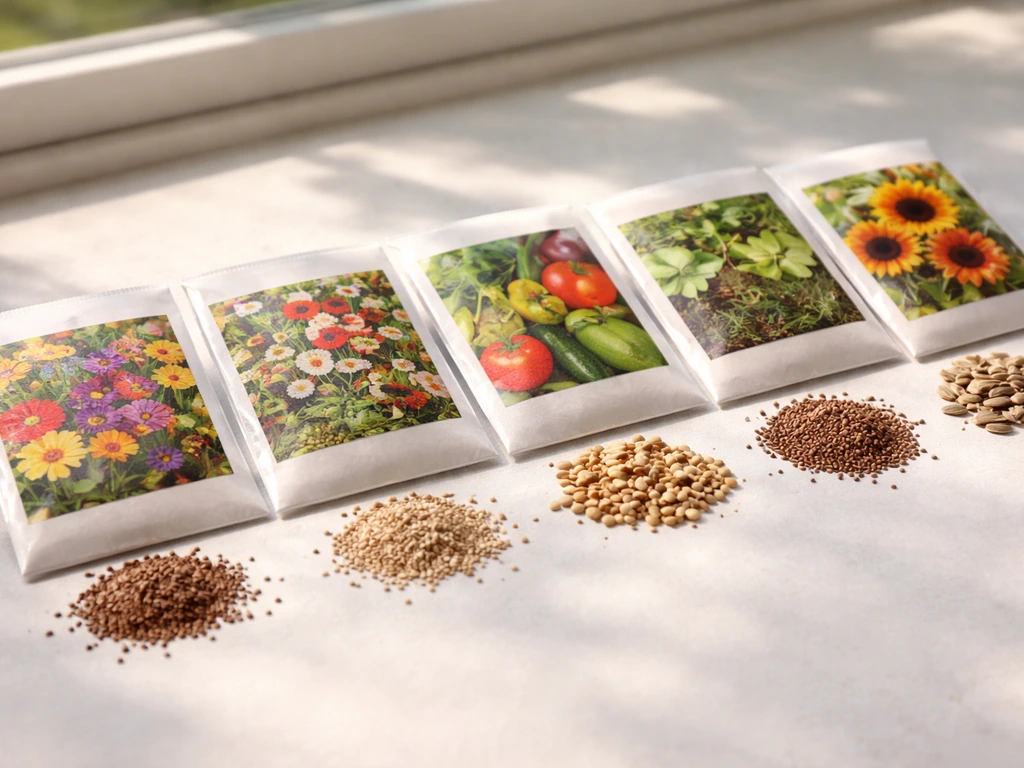
What to look for in the best seed and mixes
A good throw-and-grow mix needs several characteristics to perform well without intensive prep. Here is what I look for when evaluating a seed or mix.
- Fast germination: At least one component in the mix should germinate within 3 to 10 days under normal conditions. Annual ryegrass and radishes are reliable here.
- Small seed size: Small seeds establish better with shallow broadcast placement (1/8 to 1/2 inch depth is ideal). Large seeds need more soil coverage to germinate reliably.
- Weed suppression ability: Dense canopy-forming species like clovers and brassicas outcompete weeds once established, reducing your maintenance burden significantly.
- Drought and heat tolerance: If you are in a drier region or planting in late spring, seeds that can handle a dry stretch without dying off are essential.
- Edible components: Make sure the mix is designed for food production, not just cover or erosion control. Some 'no-till' mixes sold for revegetation contain species that are not edible.
- Legume content: Nitrogen-fixing legumes (clovers, vetches) improve soil for future plantings and reduce your need to fertilize.
- Verified germination rates: Buy from reputable suppliers that list germination percentages on the label. A mix with 85%+ germination on each component is a good standard.
When evaluating specific products, throw and grow food plot reviews from real growers are worth reading because labeled germination rates and real-world performance in varied soils can differ quite a bit. I have found that mixes with three to five complementary species almost always outperform single-species broadcasts because they cover more soil niches and hedge against any one species failing.
Comparing common throw-and-grow mix types
| Mix Type | Best Season | Germination Speed | Harvest Timeline | Soil Benefit | Best For |
|---|---|---|---|---|---|
| Brassica blend (turnip, radish, kale) | Fall | 5–10 days | 45–90 days | Low to moderate | Quick edible harvest, cool weather greens |
| Clover mix (crimson, ladino, red) | Spring or Fall | 7–14 days | 60–90 days to usable leaf mass | High (nitrogen fixation) | Soil building, long-term perennial patch |
| Ryegrass + clover blend | Fall or early Spring | 3–10 days | 30–60 days for greens | Moderate | Fast ground cover + some harvest |
| Brassica + clover + ryegrass combo | Fall | 3–14 days (mixed) | 45–75 days | High | Best all-around throw-and-grow for food + soil |
| Grain-heavy mix (oats, wheat, rye) | Fall | 7–14 days | 60–120 days | Moderate | Grain harvest, heavy biomass for compost |
My personal recommendation for most home growers is the brassica + clover + ryegrass combo. It germinates fast enough to show results in under two weeks, gives you edible greens by week six to eight, fixes nitrogen for next year's planting, and tolerates the kind of imperfect broadcast seeding that most people will actually do. If you want more tailored mix ideas for specific deer and wildlife overlap, the best throw and grow mix for deer covers species selection in that context well.
Step-by-step: how to prep and broadcast your seed

You do not need heavy equipment for this. Here is what I do, and what the research consistently backs up as the minimum effective process.
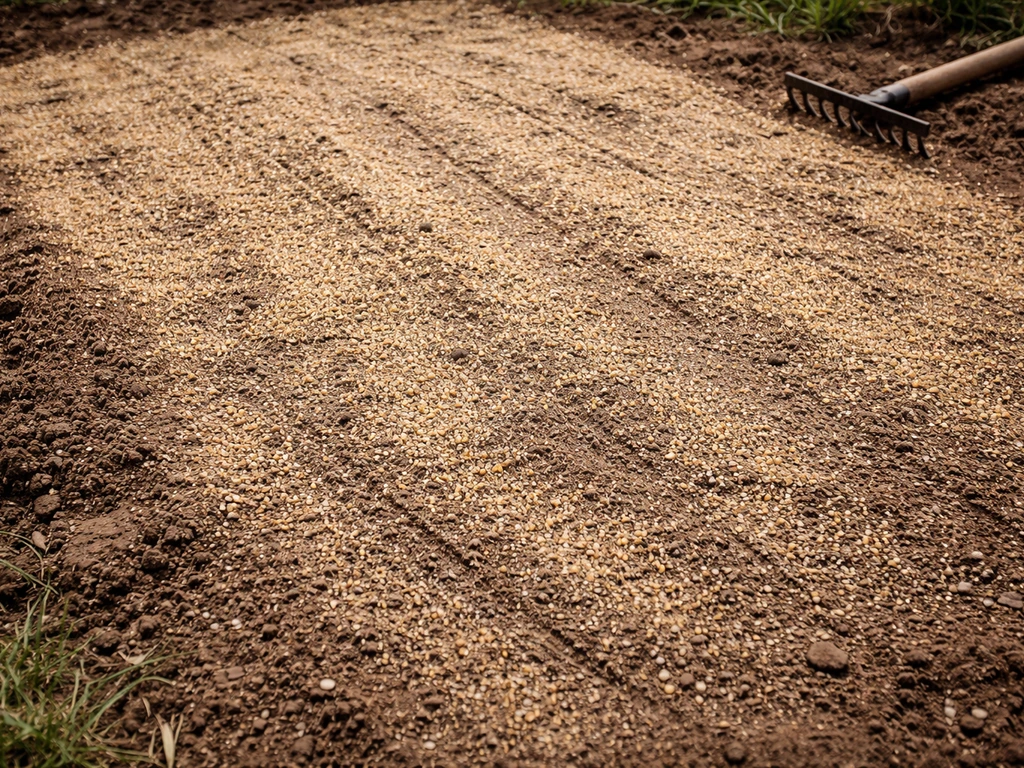
- Clear surface competition: Mow existing vegetation as short as possible, or use a string trimmer. Remove or rake away heavy thatch and debris. Seed sitting on top of dead grass mats will not germinate reliably because it never touches soil.
- Loosen the top layer: Rake the soil surface to break any crust and expose loose, bare ground. You do not need to till deeply. Scratching the top 1/8 to 1/4 inch is enough for small-seeded mixes. A firm but loose seedbed is the target.
- Check soil temperature: Brassica seeds (radish, turnip) need soil temps above 45°F. Collards germinate between 45°F and 85°F. Ryegrass germinates best at 50°F to 65°F. A cheap soil thermometer costs about $10 and removes all the guesswork.
- Broadcast at the right rate: For broadcast (as opposed to drilling), use 1.5 times the recommended seeding rate on the label. Broadcast seeding always has lower emergence efficiency than drilled seed, so compensate upfront.
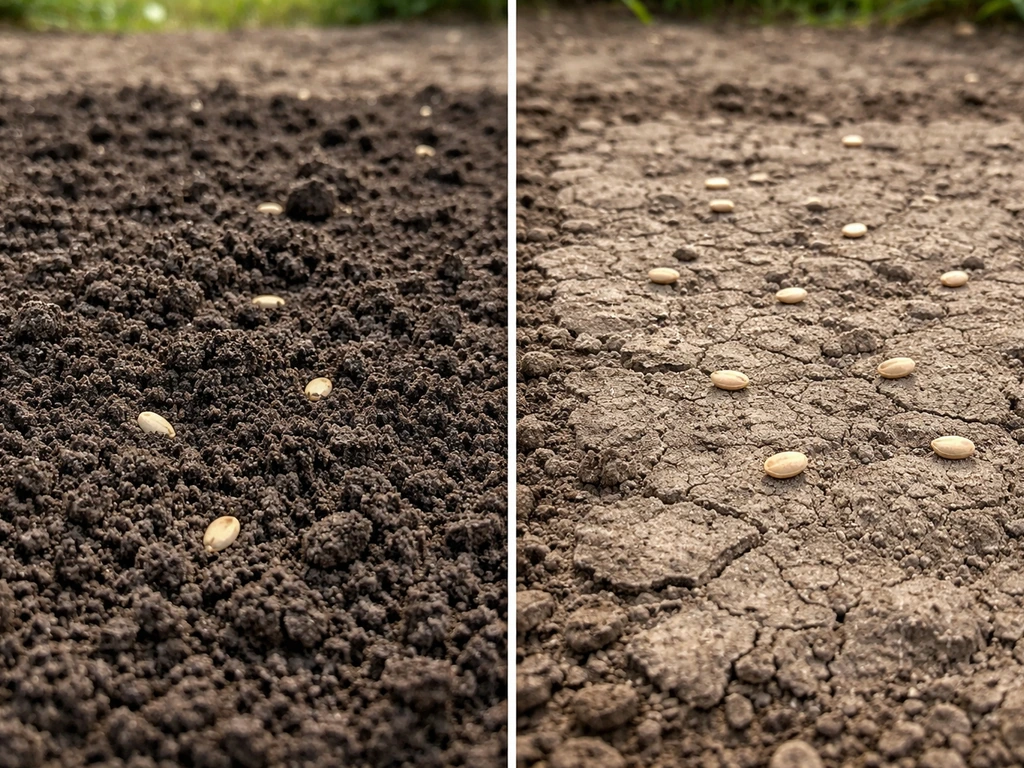
- Rake or drag lightly after seeding: This is the single most important step most people skip. After broadcasting, rake or drag the area lightly so seeds are pressed into approximately the top 1/8 to 1/2 inch of soil. No seed should be sitting visibly on top of the surface after this step.
- Roll or tamp if possible: If you have a lawn roller or even just walk over the area firmly, that light compaction improves seed-to-soil contact dramatically. Extension guidance consistently identifies poor soil contact as the top cause of broadcast seeding failure.
- Water immediately with a fine spray: Soak the seedbed gently so it is moist 2 to 3 inches deep. Avoid washing seeds into clumps. A fine mist setting on a hose nozzle works well for small areas.
If rain is in the forecast within 24 to 48 hours, time your seeding to take advantage of it. A half inch to 1 inch of natural rainfall right after seeding is about as good as it gets for broadcast establishment. If you are seeding a larger area and want more nuanced guidance on the process itself, this walkthrough on how to use a throw and grow food plot goes deeper on technique for different site types.
Watering, germination timeline, and first harvest
After seeding, your job is simple: keep the top inch of soil consistently moist until germination. That usually means watering once a day in dry conditions, or every other day if temperatures are cool and evaporation is low. Do not let the seedbed dry out completely in the first 7 to 10 days.
Annual Ryegrass Management (ARG quick guide) notes that germination happens in about 7, 10 days when soil temperature targets are met, and it also discusses planting when soil temperature is still above 60°F germination occurs in about 7–10 days when soil temperature targets are met.
That is when most broadcast seedings die, not from birds or bad seed, but from a 3-day dry stretch right after germination starts.
Here is a realistic germination and harvest timeline for a mixed brassica + clover + ryegrass plot seeded in fall:
| Timeframe | What to Expect |
|---|---|
| Days 3–7 | Annual ryegrass shows first green shoots. This is your earliest indicator the seeding worked. |
| Days 7–14 | Radish and turnip seedlings emerge. Crimson clover shows cotyledons if soil temp is right. |
| Days 14–21 | Plot fills in visibly. Thin spots become obvious; note them for re-seeding. |
| Week 4–6 | First light harvest possible from ryegrass and early radish tops. Do not strip plants; take outer leaves only. |
| Week 6–10 | Brassica roots (turnips, radishes) reach harvestable size. Full greens harvest from collards and kale if included. |
| Week 10–16 | Clover establishes as a productive ground layer for continued harvest and nitrogen fixation into the following season. |
First harvest expectations should be realistic. You are not going to pull 50 pounds of food from a 100-square-foot broadcast plot in week one. But by week six to eight under good conditions, a well-established mixed plot can yield a meaningful amount of greens and root vegetables. A 200-square-foot plot seeded with a good brassica mix can produce 15 to 30 pounds of mixed greens and roots in a single fall season, depending on soil fertility and moisture.
After-seeding care: weeds, re-seeding, and basic maintenance
The hardest part of managing a throw-and-grow food plot is not the seeding, it is staying on top of the plot for the first four to six weeks. Here is what matters most.
Weed management
Weeds are your biggest competition during establishment. Dense species like brassicas will out-shade most weeds once they canopy over (usually by week four to six), but until then, hand-pulling the most aggressive weeds is time well spent. Avoid using herbicides unless you know exactly what you are spraying and that it is safe for your mix's species. For most home gardeners, hand weeding the first two weeks followed by mulching thin spots with a light straw covering is enough to tip the balance in your favor.
Re-seeding thin spots
At the three-week mark, walk your plot and look for bare patches larger than about 6 inches across. Those are worth re-seeding. Scratch the surface lightly with a hand rake, broadcast a little extra seed, and water in. Doing this once in week three saves you from a half-productive plot at week eight. Some experienced growers keep a small amount of seed back specifically for this top-up seeding, which is a habit I strongly recommend.
Watering schedule after establishment
Once plants are 2 to 3 inches tall with established roots (usually week two to three), you can taper watering to every 2 to 3 days, or rely on natural rainfall if you are getting at least an inch per week. Overwatering established brassicas in clay soil can cause root rot, especially in fall when temperatures drop and evaporation slows. The goal after establishment is moist but not waterlogged soil.
For more ongoing management tactics once your plot is up and running, the practical throw and grow food plot tips article covers a range of techniques for keeping a broadcast plot productive through multiple seasons, including overseeding strategies and how to manage perennial clovers year over year.
Yield, cost, and what to do when things go wrong
Cost and yield reality check
A quality throw-and-grow seed mix for a 1,000-square-foot plot will typically run you $15 to $40 depending on species complexity and brand. Budget an extra $10 for soil amendments like a basic granular fertilizer or lime if your pH is off. Total setup cost for a basic home-scale throw-and-grow plot is usually under $60, which is a genuinely good deal when you consider the produce value. A well-managed 1,000-square-foot fall brassica plot can produce 80 to 150 pounds of mixed root vegetables and greens in a single season. At grocery store prices for organic brassicas, that is $100 to $250 worth of food from a $40 investment. The math works, but only if you get good establishment.
Common failure points and how to fix them
Most throw-and-grow failures trace back to a handful of predictable problems. Knowing them in advance means you can prevent them rather than diagnose them after the fact.
- Poor seed-to-soil contact: The number one cause of broadcast seeding failure. Fix it by raking and rolling after broadcast. Seed sitting on surface debris will not germinate.
- Wrong soil temperature: Seeding before soil warms to 45°F (for brassicas) or above 85°F in late summer heat will cause poor or no germination. Use a soil thermometer and wait for the right window.
- Drying out after seeding: A dry stretch in the first 7 to 10 days after germination starts is lethal. Water daily if needed during this window.
- Birds and small critters: Freshly broadcast small seed on bare soil is an easy meal. A light straw mulch layer or temporary bird netting over small plots reduces losses significantly.
- Too much competition from existing vegetation: Broadcast seeding into thick grass or heavy thatch without clearing it first means almost zero establishment. Mow short, rake out debris, and expose soil before seeding.
- Seeding too deep: Over-raking after broadcast can bury small seeds too deep. Most small-seeded mixes need to stay within the top 1/2 inch of soil. Deep burial (1 inch or more) kills germination in small-seeded species.
- Nutrient-deficient soil: If your soil pH is below 6.0 or nitrogen is very low, even the best mix will stall. A quick soil test ($15 to $20 from most county extension offices) before seeding is worth every penny.
If your first attempt does not go perfectly, do not write off the method. Broadcast seeding has a learning curve, and most growers improve dramatically in their second season once they understand what their specific soil and site actually need. Experiment with seeding timing, adjust your post-broadcast raking technique, and take notes on what germinated and what did not. That feedback loop is how you build a genuinely productive throw-and-grow patch over time.
FAQ
Can I throw-and-grow seed directly into existing grass without tilling?
Yes, but only if you can create at least shallow soil contact. Use a light rake to break the surface crust or scatter fine soil over the broadcast (a thin layer, not a buried layer). In very thick thatch, seed usually sits on top and fails, so either rake harder or do a minimal dethatch first.
When should I re-seed or overseed a throw-and-grow plot to fill gaps?
Overseeding usually helps only after the first canopy phase. If you top-dress seed too early, it competes with the new plants and often germinates unevenly. The most reliable “top up” window is around the three-week check for bare patches, when you can lightly scratch and water in.
If I seed in spring, how do I avoid legumes bolting before they help my soil?
Crimson clover and many annual legumes are sensitive to timing because they shift from vegetative growth to flowering when day length and temperature cues change. For spring use, target the cool-season window before sustained warm days, otherwise you will get less nitrogen fixation time before plants bolt.
Do I need fertilizer for the best throw and grow food plots, or will clover handle nitrogen?
Use fertilizer only if your soil pH and nutrient needs support it. If your pH is low (acidic) you can get poor uptake even with “food plot” fertilizers. A simple soil test is the best decision aid, because legumes still perform poorly when pH is far out of range.
What’s the best way to plan seeding around rain if the forecast is uncertain?
Wait until soil moisture is steady, not just after one rain. If you can, seed right before a gentle, sustained moisture period. For dry weather, plan to water daily for the first 7 to 10 days, because a short dry spell right as germination starts causes the biggest losses.
How much should I water after seeding, and how do I avoid overwatering in fall?
For fall plantings, don’t assume “cooler weather means you can water less.” As evaporation drops, you still need moisture in the top inch, but you should avoid soaking. A good rule is to water enough to keep the top inch consistently moist, then taper once plants are established and the soil is not waterlogged.
What should I do if my throw-and-grow area floods or stays wet after rain?
If you have drainage issues, focus on micro-site selection rather than trying to force the same mix everywhere. Choose spots with a gentle slope or areas where water moves away quickly. If you must use poor drainage, prioritize water-tolerant species and accept that roots and brassicas may underperform.
Can I use herbicides during establishment to control weeds faster?
The safest approach is to avoid broad herbicide use during establishment unless the product label explicitly supports the species in your mix. Even “targeted” sprays can damage young brassicas or clovers. For most home growers, hand weeding for the first two weeks plus light mulching over thin spots is the lower-risk path.
How do I know whether my throw-and-grow plot is failing or just slow to emerge?
Don’t judge the plot by week one. Many broadcast mixes show uneven germination early, especially where seed-to-soil contact was incomplete. A practical check is week two to three (2 to 3 inch plants forming roots), then week four to six (canopy shading reduces weed competition).
Can I keep a throw-and-grow plot productive for multiple seasons without starting over?
Yes, and it can be beneficial if you re-seed with the right cool-season mix and manage perennial clovers. The key is not letting clovers get choked out, and doing a small top-up seeding after winter dieback or spring thinning, when bare areas appear.
Should I completely redo the plot each year, or can I just maintain and replant parts?
Reuse is possible, but starting over is often more reliable when the soil surface is compacted, thatch is thick, or the mix has already completed its lifecycle. Before replanting, rake to improve seed-to-soil contact, then top up only where the stand is truly thin, based on a bare-patch check.
What’s the smartest way to test a throw-and-grow mix before scaling up?
Start with a smaller test area if you’re experimenting with a new mix or a new site condition (like partial shade or heavy clay). A 100 to 200 square foot strip lets you evaluate germination speed, weed pressure, and moisture needs before you invest in seed for the whole area.
Next Article
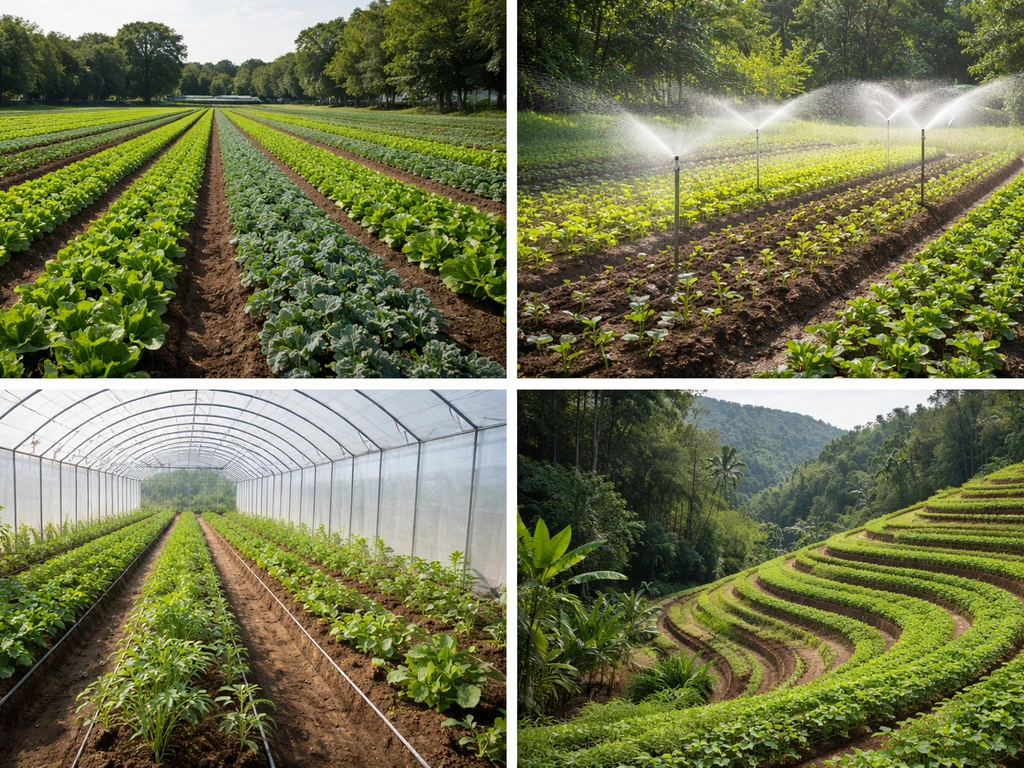
How Do Farmers Grow Food Around the World: Methods and Tips
Learn how farmers grow food worldwide: soil, water, crops, pests, harvest, and how to scale it for home gardens.