If you searched 'top grow agro,' you are most likely looking for one of two things: a specific brand or product (there are several businesses and grow-shop retailers using variations of 'TopGrow' or 'TopGrow Agro' as a name), or a practical, high-yield approach to growing vegetables at home the way a small-scale agro operation would. Either way, the most useful thing I can do is cut through the confusion and give you a real, workable growing plan you can start today.
Top Grow Agro Guide: Setup, Soil, Feeding, and Harvest

Marcus Hendrick
4 Jun 2026
What 'Top Grow Agro' actually refers to (and why it matters)
The phrase 'top grow agro' is genuinely ambiguous, so let me sort it out. 'Topgrow' shows up as the name of a Spanish online grow shop selling seeds, fertilizers, and grow equipment (their catalog leans heavily toward cannabis/CBD cultivation). There is also 'Topgrow Agro and Infrastructure Private Limited,' a registered Indian agribusiness entity. And on Polish horticultural supply sites, 'TopGrow' appears as a product brand in the broader agro/horticulture category. So if you were trying to track down a specific retailer or brand, those are the main players using that label.
That said, if you landed here as a home gardener, what you probably want is the other interpretation: a top-performing, agro-style growing system for food crops at home. That is what the rest of this guide delivers. Products like 'Top Veg' and 'Top Roots' by the brand Top Crop do come up in that grow-shop ecosystem, and I will reference their use patterns where they apply to a vegetable feeding plan. But the core of this guide is method, not brand loyalty.
Pick the right growing setup for your space
Before you buy a single seed or bag of soil, decide where and how you are growing. Your space determines everything else, including how much you water, how you feed, and what yields are realistic. Here are the four main options:
| Setup | Best for | Key requirement | Typical yield potential |
|---|---|---|---|
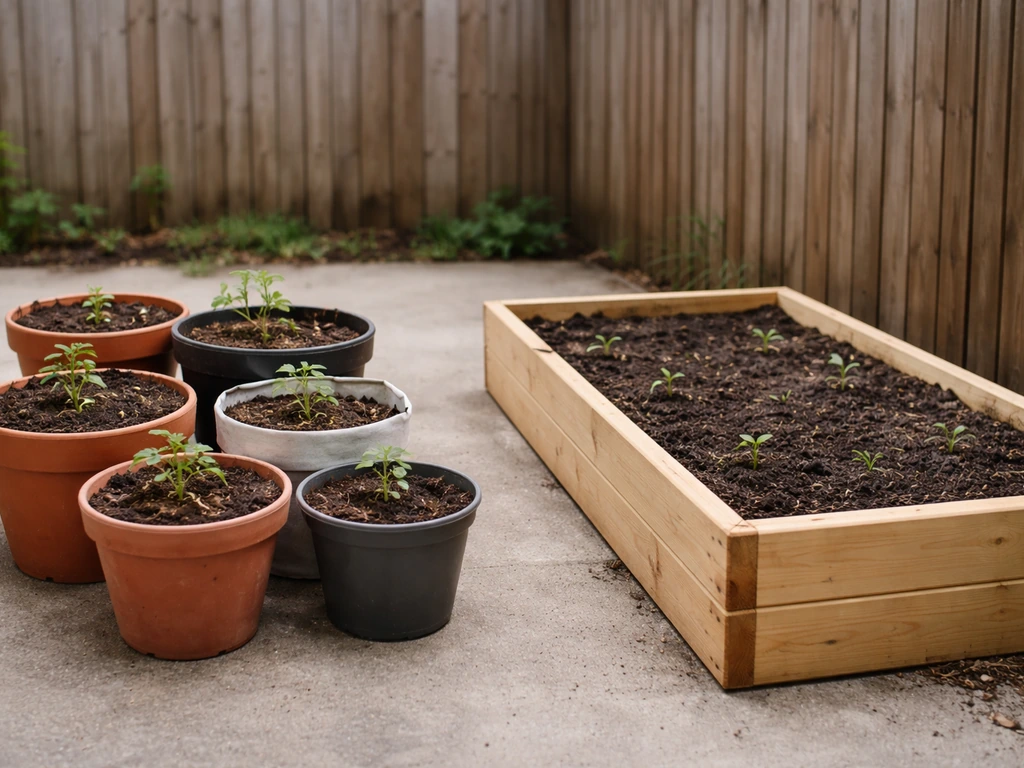
| Containers (5–15 gal pots) | Patios, balconies, renters, small spaces | 6–8 hours direct sun, drainage holes, quality potting mix | Moderate; great for tomatoes, peppers, lettuce, herbs |
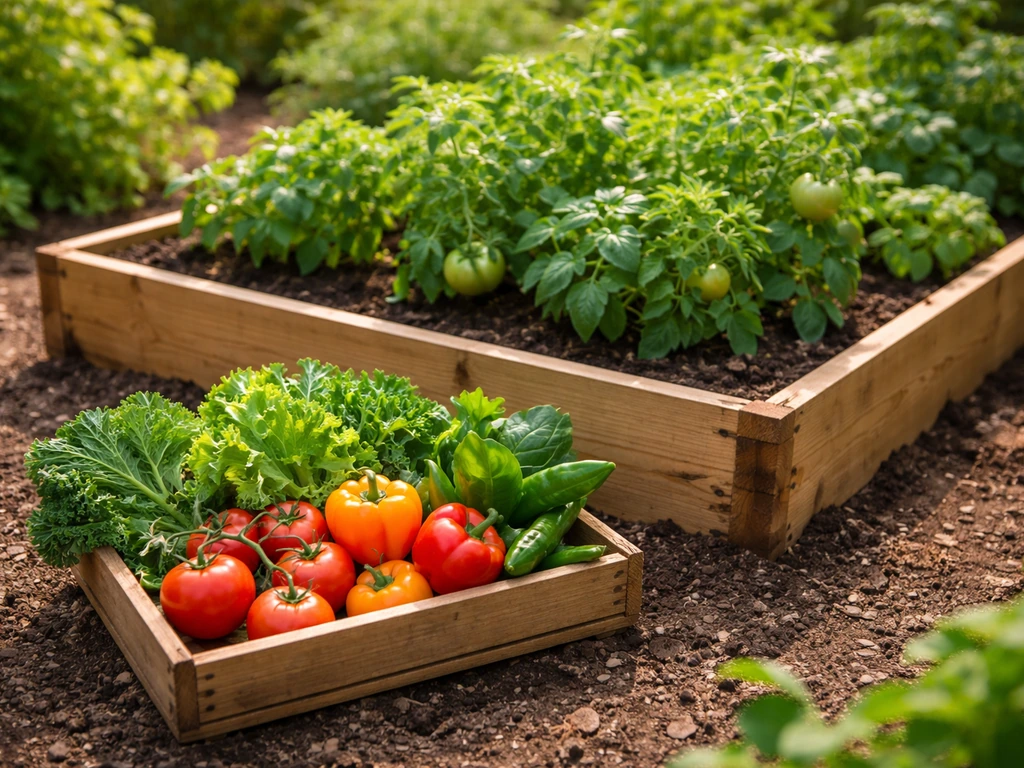
| Raised beds (12+ inches deep) | Backyards, poor native soil, high weed pressure | 12 in. minimum depth (or open bottom to native soil) | High; best all-around home food production setup |
| In-ground rows or beds | Larger lots, grain crops, established homesteads | Decent native soil or amendment budget | Highest volume potential, lowest setup cost |
| Greenhouse or cold frame | Year-round or cold-climate growing | Adequate ventilation, heat management in summer | Extends season significantly; great for starts and greens |
A couple of practical notes. On containers: never fill them with plain garden soil. For containerized vegetables, UNH Extension notes they need at least 6, 8 hours of direct sunlight at least 6–8 hours of direct sunlight. It compacts badly in a pot, kills drainage, and suffocates roots. Use a quality potting mix designed for containers. On raised beds: if your bed is shallower than 12 inches, build it without a solid bottom so roots can push down into the native soil below. A tomato plant in a 10-inch raised bed with a solid bottom is a stressed tomato plant. Oregon State Extension data confirms container plants dry out faster than in-ground crops, which directly shapes how often you water and feed. Plan for that from the start.
Build your soil right the first time
Soil is where yields are made or lost. For containers and raised beds, start with a quality potting or raised-bed mix (coarse-textured, lots of perlite or pumice for drainage and aeration). For in-ground beds, work in 3–4 inches of finished compost and till to 8–12 inches deep before your first planting season.
pH: the invisible yield lever
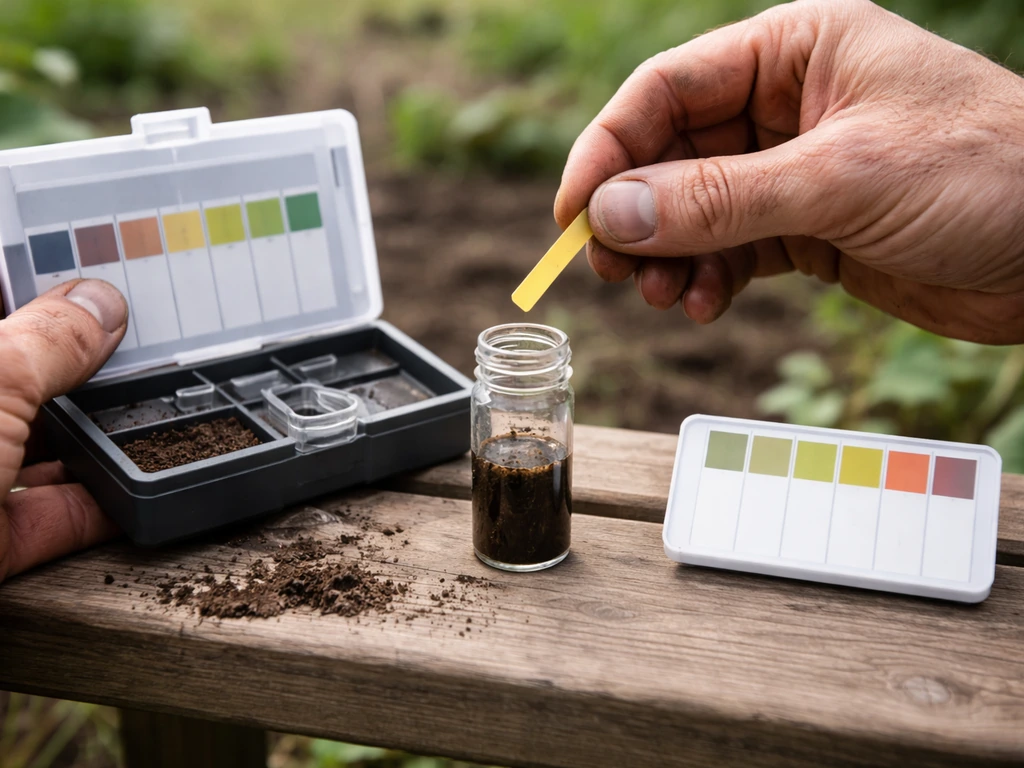
Most vegetables perform best when root-zone pH sits between 5.5 and 7.0. Outside that range, nutrients lock up in the soil and plants starve even when you fertilize. Get a basic pH test kit (under $15 at most garden centers) and test before you plant. If you are growing tomatoes, aim for 6.0–6.8. Potatoes want it more acidic at 5.0–6.0. Watermelon is comfortable between 5.5 and 6.2. To raise pH, work in garden lime. To lower it, use elemental sulfur or acidifying fertilizer. Neither works overnight, so test and amend at least 2–4 weeks before planting if possible.
Compost, amendments, and what to add
- Finished compost (not raw manure): adds organic matter, improves drainage and water retention, feeds soil biology. Use composted manure only, not fresh.
- Balanced granular fertilizer (NPK like 10-10-10 or 5-5-5): worked into soil at planting time gives a baseline nutrient charge.
- Perlite or coarse sand: opens up heavy soil; critical in containers.
- Lime or sulfur: adjusts pH to target range for your crops.
- Worm castings: optional but excellent for micronutrients and beneficial biology, especially in containers.
Containerized roots cannot 'mine' the soil the way in-ground roots do. They run out of nutrients faster, and they rely entirely on what you give them. That means your feeding plan matters more for containers than for any other setup.
From seed to harvest: timelines, spacing, and depth
Starting from seed indoors gives you a head start of 4 to 12 weeks depending on the crop. Tomatoes and peppers need 6–10 weeks indoors before they are ready for the garden. Fast crops like lettuce can go from direct sow to harvest in as little as 35–40 days. Cucumbers are typically ready in 55–65 days from transplant.
Seed depth and starting rules
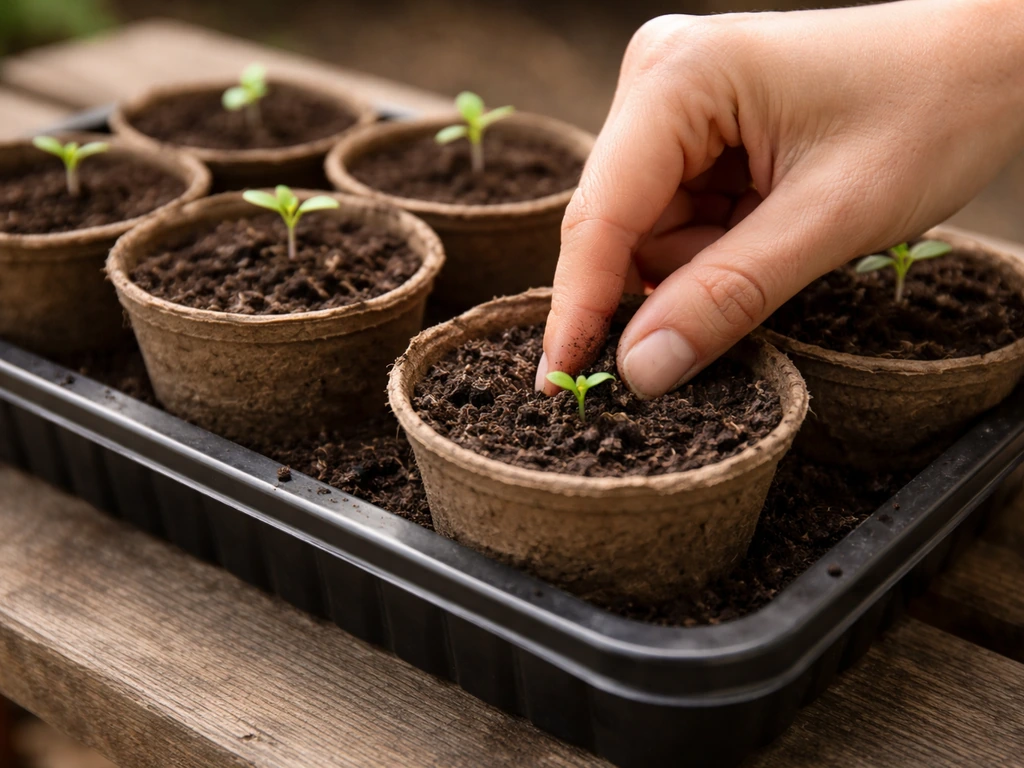
The standard rule is: cover seeds to a depth of about twice their diameter. A tiny lettuce seed barely gets covered. A bean seed goes in an inch or more. This rule holds up well across most vegetables. Sow seeds 6–8 weeks before your planned transplant date and start hardening off about 1–2 weeks before you plan to put them outside. Hardening off means gradually exposing transplants to outdoor sun, wind, and temperature swings over 7–14 days so they do not go into shock when you plant them out.
Spacing basics for common crops
| Crop | Spacing (in-row) | Container minimum | Days to maturity (approx.) |
|---|---|---|---|
| Tomatoes | 18–24 inches | 5-gallon (determinate), 10+ gal (indeterminate) | 60–85 days from transplant |
| Peppers | 12–18 inches | 3–5 gallon | 70–90 days from transplant |
| Leaf lettuce | 4–6 inches | 6–8 inch depth minimum | 35–40 days from seed |
| Cucumbers | 12 inches | 5-gallon minimum | 55–65 days from transplant |
| Beans (bush) | 4–6 inches | One plant per 5-gallon pot | 50–60 days from seed |
| Peas | 2–4 inches | One sprouted seedling per 5-gallon pot | 60–70 days from seed |
Do not crowd plants. Tight spacing feels efficient on paper but it reduces airflow, invites disease, and tanks your per-plant yield. You get more food from 6 well-spaced tomatoes than 10 crammed ones.
Your feeding and watering plan
Feeding and watering are the two places most home gardeners go wrong, and both problems usually come from inconsistency rather than ignorance. Here is how to get both right.
Watering: the 10% drainage rule
For containers, water until about 10% of what you put in drains out the bottom. That tells you the root zone is fully saturated without sitting in waterlogged soil. In raised beds and in-ground plots, water deeply and less frequently rather than a little bit every day. Deep watering trains roots to go down. Shallow daily watering keeps roots near the surface where they are vulnerable to heat and drought. Moisture consistency also directly affects problems like blossom-end rot in tomatoes and peppers, which is a calcium-delivery disorder triggered by uneven watering, not just a soil calcium deficiency.
Fertilizer schedule
Think in phases. In the early rooting and establishment phase (first 1–3 weeks after transplanting), focus on root-building inputs rather than heavy nitrogen. Products like Top Roots by Top Crop are formulated specifically for this window, supporting root development when the plant is getting established. Once plants are actively growing and have set roots, shift to a balanced growth fertilizer. Top Veg by Top Crop, as an example of this type of product, suggests starting applications in the third week after planting at 2 ml per liter of water and increasing gradually to 4 ml per liter as growth intensifies. That kind of gradual ramp-up approach applies to most liquid fertilizers: start low, increase incrementally, and watch the plant for signs of overfeeding (dark green, curled, or burned leaf tips mean back off).
- Weeks 1–3 after transplant: root-support fertilizer or half-strength balanced liquid feed once per week.
- Weeks 3–6 (vegetative growth): full-strength balanced NPK liquid feed (or granular side-dress) every 7–10 days.
- Flowering and fruiting stage: switch to a lower-nitrogen, higher-phosphorus and potassium formula (like a tomato or bloom fertilizer) to direct energy into fruit rather than leaves.
- Late season: taper off feeding 2–3 weeks before final harvest to let fruit ripen fully.
For organic growers, composted manure, fish emulsion, and worm casting teas cover most of these phases effectively. The key is not to skip applications when plants are in heavy growth or fruiting; that is when the nutrient demand is highest and container plants especially will run dry fast.
Keeping pests and disease from tanking your harvest
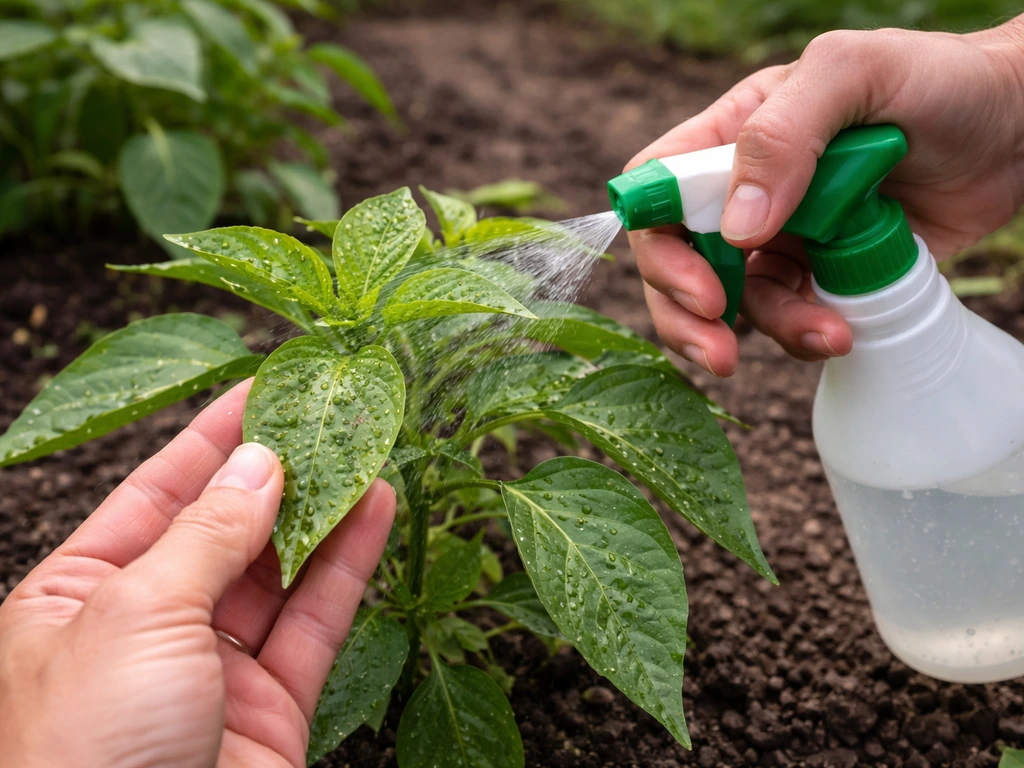
The best pest and disease management is prevention, and the best prevention is healthy plants with good airflow, correct spacing, and consistent watering. That said, problems happen to every garden. Here is how to handle the most common ones without reaching for harsh chemicals first.
Integrated approach (IPM)
The EPA's Integrated Pest Management framework boils down to this: use multiple approaches, start with the least harmful interventions, and monitor regularly so you catch problems early. For home gardens that looks like: inspect plants every 2–3 days, hand-pick larger insects (cabbage worms, hornworms), use row cover to exclude flying pests, and only escalate to sprays when physical methods are not keeping up.
Common problems and home-friendly solutions
| Problem | Signs | First response | Escalation option |
|---|---|---|---|
| Aphids | Sticky residue, curled leaves, clusters of small insects | Strong water spray to knock off, introduce ladybugs | Neem oil spray |
| Cabbage worms/caterpillars | Ragged holes in leaves, frass (droppings) visible | Hand-pick, use row cover | Bt (Bacillus thuringiensis) spray, safe and targeted |
| Powdery mildew | White powdery coating on leaves | Improve airflow, reduce overhead watering | Potassium bicarbonate or sulfur fungicide spray |
| Downy mildew | Yellow patches on top of leaves, grey fuzz underneath | Remove affected leaves, improve drainage and airflow | Copper or phosphorus-based organic fungicide |
| Blossom-end rot | Dark, sunken spot on bottom of tomato/pepper fruit | Consistent deep watering, check calcium levels | Calcium foliar spray as short-term fix |
Bt (Bacillus thuringiensis) is worth keeping on hand if you grow any brassicas. It is a biological insecticide that targets caterpillars specifically and is safe around beneficial insects, pets, and people. Neem oil handles a broad range of soft-bodied insects and early fungal issues and is one of the most versatile tools in a home garden toolkit.
Realistic yields, troubleshooting, and how to scale up
Here is what you can realistically expect from a well-managed home setup per season. If you are using FoxFarm Grow Big, the dose and schedule you choose will affect how much size and yield you can realistically get how much fox farm grow big. One determinate tomato plant in a 10-gallon container, fed and watered consistently, will produce 10–15 pounds of fruit. A 4x8 raised bed can yield 20–30 pounds of mixed vegetables across a season if you succession-plant. Bush bean plants in 5-gallon containers can yield 0.5–1 pound of beans each over several weeks of picking. Cucumbers, harvested every 2–3 days once producing, can keep going for 6–10 weeks before the plant exhausts itself.
The most common failure points
- Underwatering containers: container plants can go from moist to bone dry in a single hot day. Check soil moisture daily in summer.
- Wrong pH: plants look nutrient deficient even after fertilizing. Always test pH first before buying more fertilizer.
- Planting too early: cold soil slows germination and stresses transplants. Wait until soil hits the optimum temperature for your crop (tomatoes want at least 60°F at root zone).
- Overcrowding: biggest single killer of yields. When in doubt, give plants more space.
- Skipping hardening off: transplanting seedlings directly from a grow light to full outdoor sun almost always causes leaf scorch and sets plants back 2–3 weeks.
Keep a growing journal and scale with intention
If you want to improve every season, keep a simple notebook or spreadsheet. Record planting dates, varieties, spacing, fertilizer types and rates, harvest dates, and total yield per plant or bed. After one full season you will have more useful information about what works in your specific microclimate than any generic guide can give you. Scaling up is straightforward: add one or two raised beds per season rather than trying to triple your space at once. The biggest limitation is almost always time and water management, not space.
If you are thinking about expanding beyond vegetables into more specialized production like a full farm operation, insect farming, or grain growing, those are naturally connected rabbit holes from here. If you are specifically wondering what they grow at Kingman Farms, the best place to start is their crop list and growing schedule. Insect farming has similar fundamentals, but the setup and feeding schedule are tailored specifically to the species. Cricket farming follows many of the same logic as scaling a farm: match your inputs to the life cycle, keep conditions consistent, and track results in a simple record insect farming. If you want to scale your results beyond a home garden, a grow good farm approach can help you plan inputs, space, and yields more systematically. If you want the next step toward how to grow a farm, start by scaling your soil, water, and crop planning from small beds to a consistent system you can maintain year-round. And if you are curious about commercial-style liquid nutrient programs like Fox Farm Grow Big, the feeding schedule principles I described above translate directly to those products as well. The fundamentals stay the same: healthy soil, correct pH, consistent water, and a phased feeding plan matched to where your plants are in their growth cycle.
FAQ
How do I choose between growing in containers, raised beds, and in-ground soil for the highest success rate?
Pick based on your time and watering reliability. Containers and shallow raised beds are higher control but dry out faster and require more frequent checks. In-ground is more forgiving if your irrigation is inconsistent, because deeper native soil buffers moisture swings. If you can only check daily, use larger containers (10 gallons or more) and mulch, otherwise prefer in-ground or deeper beds.
What potting mix should I avoid for “top grow agro” style feeding (and why)?
Avoid mixes that are mostly fine peat or garden soil blends, and avoid anything labeled “potting soil” that is really an amended topsoil. Fine, dense mixes hold water too tightly in pots, reducing oxygen to roots. Look for a container mix with clear drainage ingredients (perlite or pumice) and use it without adding heavy compost back into the pot at high ratios.
Do I really need to test pH if I’m buying pre-mixed compost or potting mix?
Yes, at least for your first season. Pre-mixed media can vary by batch, and local water can shift root-zone pH over time. If your pH is outside the 5.5 to 7.0 range, fertilizers can still fail because nutrients become less available. Test before planting and retest after major amendments or if growth stalls despite correct feeding.
How soon after amending pH should I plant?
If you are raising pH with lime or lowering it with sulfur or acidifying inputs, plan a waiting period of at least 2 to 4 weeks before seeding or transplanting when possible. Applying and planting immediately can cause temporary nutrient lockups and uneven pH zones, especially in small containers.
What’s the best way to water containers to prevent issues like blossom-end rot?
Use a “saturate, drain, then re-check” rhythm. Water until about 10% drains out, then wait until the top inch feels dry before watering again. Tomato and pepper problems linked to calcium delivery usually follow irregular moisture, so consistency matters more than adding extra calcium products.
Can I fix overfeeding, if my leaves are getting too dark or starting to burn?
Yes. Stop increasing fertilizer immediately, flush the container with plain water until excess drains, and resume at a reduced rate once new growth looks normal. If you’re using liquid feeds, also check dilution and make sure you are not stacking products (for example, base fertilizer plus a high-nitrogen supplement at the same time).
How do I tell nutrient deficiency from disease or watering problems?
Start with watering consistency and root health before changing fertilizer. If wilting happens right after watering, or soil is staying wet or sour-smelling, the issue is likely root oxygen or moisture, not nutrients. Then compare symptom timing: deficiencies often show up gradually on older leaves first for many minerals, while pests and early blights usually create patchy or rapidly expanding patterns.
What spacing and airflow rules should I follow to avoid pests and fungal outbreaks?
Treat spacing as a disease-control tool, not just a yield-efficiency choice. Leave enough room for air movement between leaves, and avoid dense clustering of the same crop. If you notice leaf wetness staying on foliage longer than a few hours, increase spacing, thin plants, or shift to pruning that improves airflow inside the canopy.
Do I need to spray neem or Bt preventively, or only when I see pests?
Use prevention, but target it. Bt is most effective when caterpillars are actively feeding, so apply based on pest presence and timing. Neem can be helpful for early soft-bodied insect pressure and early fungal issues, but repeated applications can stress some plants and disrupt beneficial insects, so monitor first and use it only when you have a reason.
How do I structure a seasonal feeding schedule across different vegetables in the same raised bed?
Group plants by growth stage and nutrient demand. Early after transplanting, prioritize establishment-focused feeding for the whole bed, then shift to a balanced program once most plants are actively growing. For fruiting crops (tomatoes, peppers, cucumbers), increase feed modestly during flowering and fruit set, while lighter-feeders (leafy greens) usually need less once they are producing.
What record-keeping actually matters for improving yields next year?
Track five items consistently: actual transplant or sow dates, container or bed volume, watering frequency and method, fertilizer type and exact dilution or dose, and first/peak harvest dates. Total yield is useful, but timing plus input details often explains the biggest differences between seasons.
Can I reuse potting mix or compost after harvest?
You can reuse only with caution. Potting mix in containers depletes and can accumulate salts from fertilizers. If you reuse, don’t just refill at full strength, instead refresh with fresh container mix and consider a salt management step (a periodic thorough flush with water). For raised beds, compost can be refreshed seasonally, but avoid mixing in contaminated material or anything with major disease history.
Next Article
How to Grow Insects for Food at Home Step by Step
Step-by-step guide to grow mealworms, crickets, and black soldier fly larvae at home, harvest safely, then cook and stor