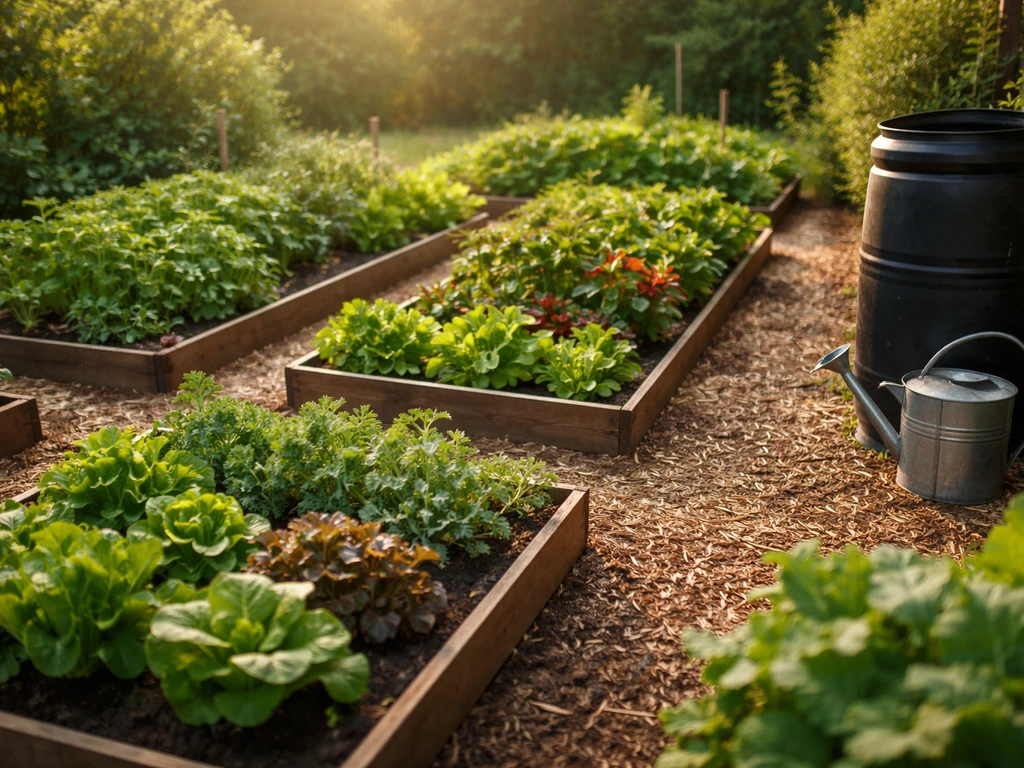
Growing a farm at home starts with one decision: pick a scale you can actually manage, build healthy soil, choose crops that fit your climate, and plant in a way that keeps food coming all season. You do not need acres of land or a tractor. A few raised beds, a solid planting plan, and consistent watering can produce hundreds of pounds of vegetables a year from a backyard, a patio, or even a balcony. Here is exactly how to do it, step by step.
How to Grow a Farm: Step-by-Step From Soil to Harvest

Marcus Hendrick
29 Apr 2026

Choosing your farm scale and goals
Before you order seeds or build anything, get honest about two things: how much space you have, and what you actually want to produce. These two factors shape every decision after this. Growing a farm does not mean the same thing to everyone. For one family it means a dozen containers on a sunny deck producing fresh herbs and tomatoes. For another it means 1,000 square feet of raised beds covering most of their vegetable needs. For a homesteader it might mean a half-acre plot with grains, root crops, and perennials.
A useful way to think about scale is in tiers. Container and small-bed setups (under 100 square feet) work well for renters, urban gardeners, or complete beginners who want low-commitment learning. Mid-scale setups (100 to 500 square feet) can meaningfully offset a family's produce bill. Large backyard or homestead setups (500 square feet and up) can cover the bulk of vegetables and some staple crops for a household. Start one tier below where you think you want to be. You can always expand; it is much harder to walk back an overbuilt farm in year one when you are overwhelmed.
Set a goal that is concrete, not vague. 'Grow some food' is not a goal you can plan around. 'Grow enough salad greens and tomatoes to skip buying them from June through September' is. Your goal determines what crops you prioritize, how much bed space you need, and whether the effort is worth it financially, which we will cover in the budgeting section.
Planning: site, sunlight, water, and layout
Site selection is the most consequential decision in your whole farm plan, and it costs nothing to get right before you build anything. Most food crops need a minimum of 6 hours of direct sunlight per day, and 8 hours is better. Fruiting crops like tomatoes, peppers, squash, and cucumbers are especially hungry for light. Leafy greens and root crops tolerate partial shade (4 to 6 hours), but they still produce better in full sun. Walk your potential growing space at different times of day and note where shadows fall from buildings, fences, or trees. If your best sunny spot is a patio or driveway, containers and fabric grow bags are your answer.
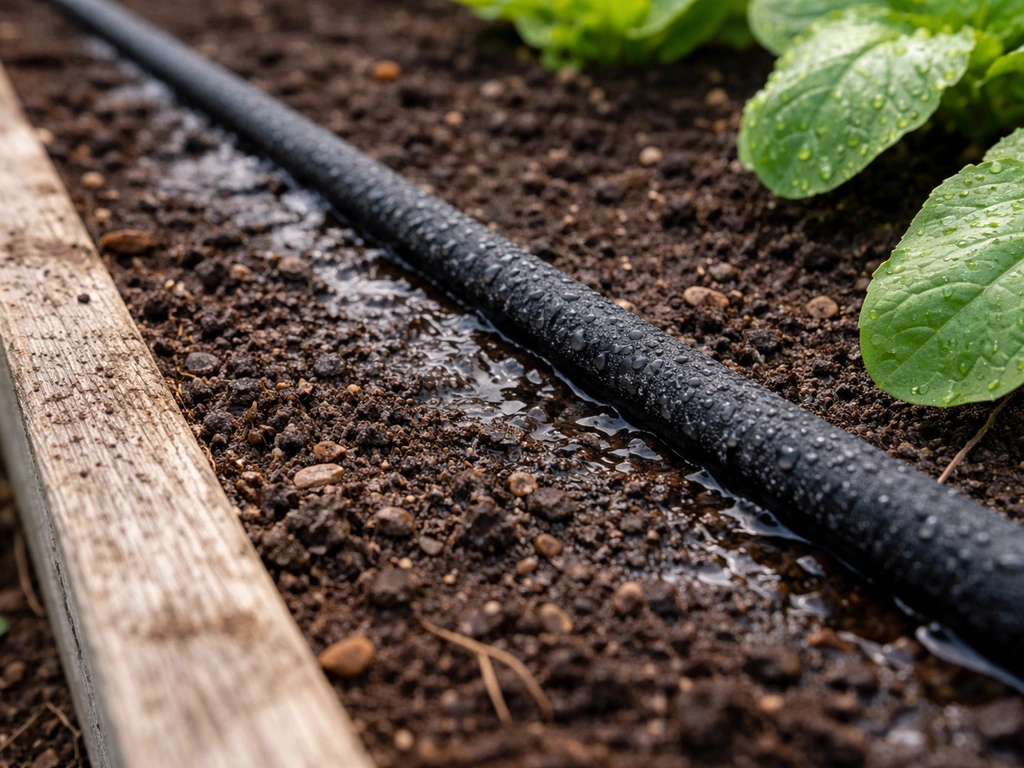
Water access matters more than most beginners expect. Carrying watering cans from a kitchen faucet to beds at the far end of a yard is exhausting and leads to under-watering, which tanks yields. Locate your beds as close to an outdoor spigot as practical. If you are setting up drip irrigation (which I strongly recommend for anything over 50 square feet), plan your hose runs before you finalize bed placement.
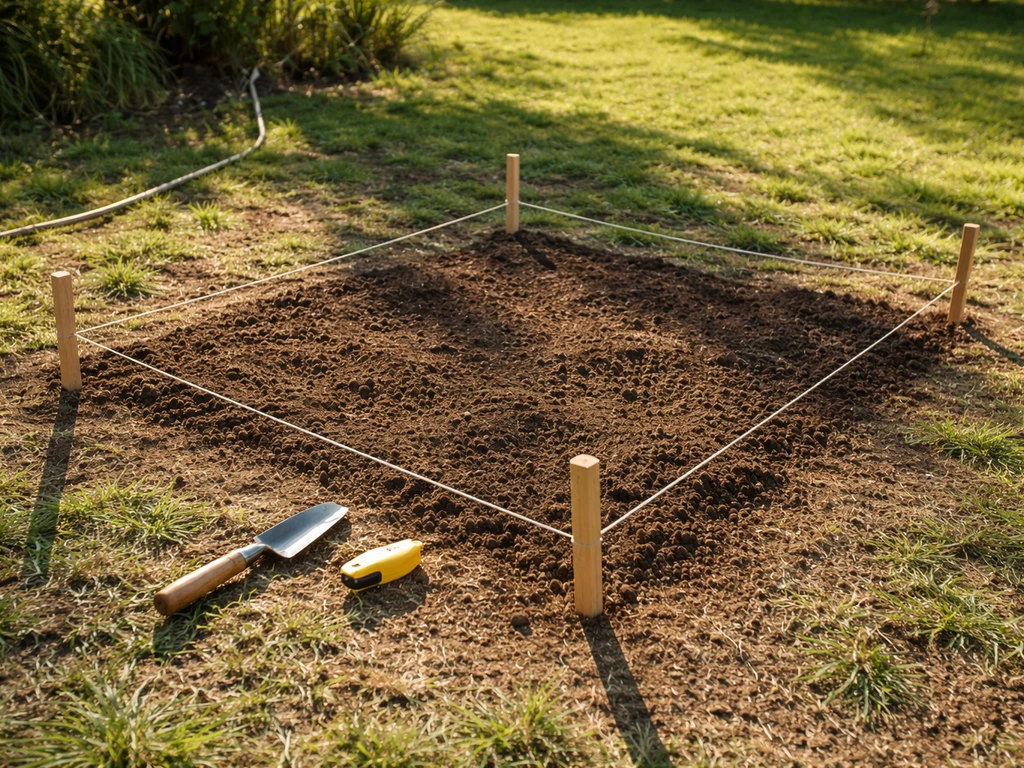
Layout comes down to access and efficiency. Beds wider than 4 feet make it hard to reach the center without stepping inside, which compacts soil. Keep beds 3 to 4 feet wide maximum. Paths between beds should be at least 18 inches wide, 24 inches if you will use a wheelbarrow. Orient long beds north to south so plants do not shade each other as much. Group heavy feeders together so fertilizing is efficient, and put tall plants (corn, staked tomatoes, sunflowers) on the north end of beds so they do not block light from shorter neighbors.
Soil setup and bed or container building
Soil is where farms succeed or fail. The single biggest mistake beginners make is filling raised beds with cheap topsoil or native clay and wondering why nothing thrives. Good growing soil is loose, drains well, holds moisture, and is packed with organic matter. Top Grow Agro can help you source the right agro inputs so your crops get what they need Good growing soil is loose, drains well, holds moisture, and is packed with organic matter.. You can build this from scratch.
Raised bed depth and materials
For raised beds, height matters. Most vegetable roots need at least 6 to 12 inches of loose soil to develop properly, and 10 to 18 inches is the sweet spot recommended by extension services. Shallow beds restrict root growth and dry out too fast. Build or buy beds at least 10 inches tall if you can. For materials, untreated cedar or redwood lasts 10 to 20 years and does not leach anything into your soil. Galvanized metal beds are durable and increasingly popular. Avoid pressure-treated lumber with older preservatives; modern ACQ-treated lumber is considered safe by most extension services, but cedar is still my first choice.
To calculate how much soil mix you need, multiply width (feet) by length (feet) by depth (feet). A 4x8 bed filled to 12 inches deep needs 32 cubic feet of mix. That sounds like a lot until you price it out against buying bags of vegetables for a season.
What to fill beds with
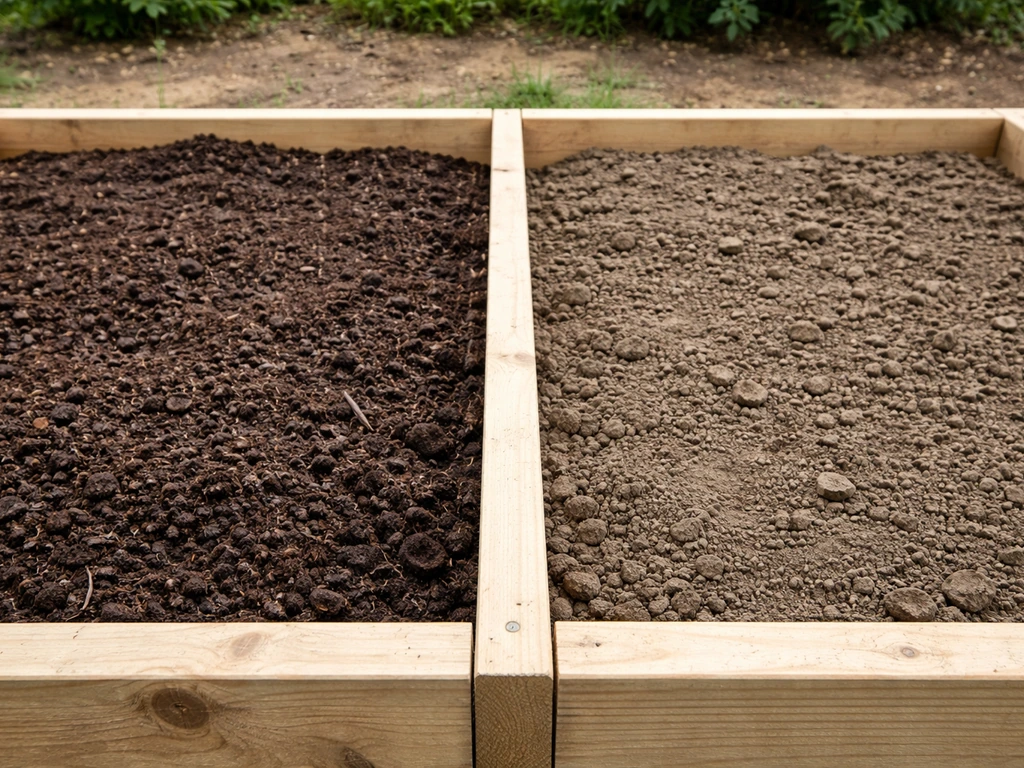
Fill raised beds with a 1:1 mixture of quality compost and a suitable base medium (either a soilless mix like peat/perlite blends, or screened native topsoil if yours drains well). Straight compost tends to compact and shrink fast. Straight topsoil can be heavy and poorly draining. The 50/50 blend gives you the organic richness of compost with enough structure to support roots. Expect to top off beds with 1 to 2 inches of fresh compost each season because organic components break down and beds settle over time. That annual refresh also keeps fertility up.
For containers, use a quality potting mix (not garden soil, which compacts in pots). Size up containers generously: tomatoes want at least a 5-gallon pot, and 10 to 15 gallons produces significantly better yields. Root vegetables like carrots need at least 12 inches of depth. Fabric grow bags are excellent for containers because they air-prune roots and prevent waterlogging.
Crop selection by climate and season
The fastest way to get discouraged is to grow the wrong crops for your climate and season. Every crop has a temperature range where it thrives, and fighting that range is a losing battle. Learn your USDA hardiness zone and, more practically, your average last frost date in spring and first frost date in fall. These two dates define your growing windows.
Cool-season crops (lettuce, spinach, kale, peas, carrots, radishes, broccoli) grow best when daytime temperatures are 45 to 75 degrees Fahrenheit. They can handle light frost and actually taste better after one. Plant them in early spring (4 to 6 weeks before last frost) and again in late summer for a fall harvest. Warm-season crops (tomatoes, peppers, cucumbers, squash, beans, corn) need soil above 60 degrees and air temperatures above 65 to really perform. They die at frost. Plant them after your last frost date when soil has warmed.
| Crop | Season | Days to Harvest | Space per Plant | Notes |
|---|---|---|---|---|
| Lettuce (loose-leaf) | Cool | 30–45 days | 6 inches | Cut-and-come-again; very productive per sq ft |
| Kale | Cool | 50–65 days | 12–18 inches | Harvest outer leaves; plant lasts months |
| Radishes | Cool | 22–30 days | 2–3 inches | Fastest return; great gap filler |
| Spinach | Cool | 40–50 days | 4–6 inches | Bolts in heat; focus on spring and fall |
| Bush beans | Warm | 50–60 days | 4–6 inches | Direct sow; very productive |
| Zucchini | Warm | 50–55 days | 24–36 inches | One plant produces generously |
| Cherry tomatoes | Warm | 60–75 days | 18–24 inches | Highest yield per square foot of any tomato |
| Cucumbers | Warm | 55–65 days | 12 inches (trellised) | Trellis to save space; needs consistent water |
| Peppers | Warm | 70–90 days | 18 inches | Long season; worth starting indoors |
Zone-specific reality check: if you are in zone 9 or 10 (California, Texas Gulf Coast, Florida), your cool season runs October through March, and summer heat shuts down most vegetables. If you are in zone 4 or 5 (upper Midwest, New England), you have a shorter warm season and need to start tomatoes and peppers indoors 6 to 8 weeks before last frost to get full harvests before fall. What works perfectly in one zone can be a struggle in another, so adjust timing to your own local last frost dates, not generic instructions.
Planting plan, spacing, and succession for steady harvests
One of the most common beginner mistakes is planting everything at once and then having a glut in July and nothing in August. Succession planting solves this: instead of seeding all your lettuce on one day, sow a short row every 2 to 3 weeks. You get a continuous harvest instead of a feast-and-famine cycle. This works especially well with fast-maturing crops like lettuce, radishes, spinach, cilantro, and bush beans.
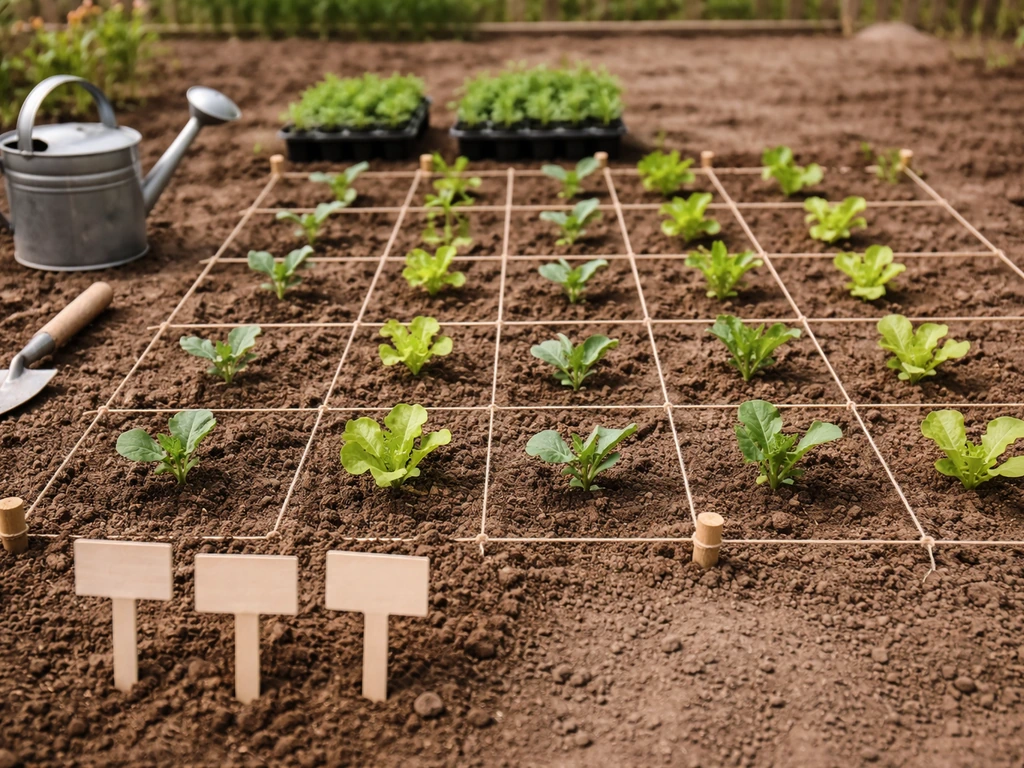
Spacing is not optional. Crowded plants compete for light, water, and nutrients, and they are more vulnerable to disease because of poor air circulation. Follow the seed packet spacing, and if you are using square-foot gardening grids, the standard spacings (1, 4, 9, or 16 plants per square foot depending on crop size) are a reasonable shorthand. Thin seedlings ruthlessly. Leaving an extra plant because it feels wasteful usually means two mediocre plants instead of one productive one.
A practical planting plan for a beginner 4x8 raised bed (32 square feet) might look like this: dedicate one half (16 sq ft) to a warm-season rotation (2 tomato plants, 1 zucchini, 4 pepper plants) and the other half to cool-season crops (two rows of lettuce, one row of kale, one row of radishes). As the cool-season half gets harvested and bolts in early summer, replant it with beans or cucumbers. In late summer, pull warm-season crops as they wind down and replant with fall kale, spinach, and carrots. A single 4x8 bed, managed with succession, can produce three distinct harvests per year in most climates.
Feeding and protecting crops: compost, irrigation, pests, diseases, and companion planting
Fertilizing without overcomplicating it
If you started with a good compost-rich soil mix, your beds have a solid nutrient base. But heavy feeders like tomatoes, corn, and squash need supplemental feeding through the season. A balanced granular fertilizer (something like 10-10-10 or 13-13-13) applied at planting gives roots a boost.
For a 4x4 bed, about half a cup of a balanced granular fertilizer worked into the top few inches at planting is a reasonable starting rate, with a follow-up application of roughly a third of a cup a few weeks later for long-season crops. If you want to go beyond basic feeding, you can also look up fox farm grow big how to use as a targeted option for boosting plant growth.
Leafy greens respond especially well to nitrogen; a side-dressing of compost or a liquid fish emulsion every 3 to 4 weeks keeps them producing. Avoid over-fertilizing with nitrogen on fruiting crops: you get beautiful foliage and very little fruit.
Compost is your most reliable long-term soil builder. If you have any outdoor space at all, start a compost pile. Kitchen scraps, yard waste, and spent plant material turn into free soil amendment in 2 to 6 months. Topping beds with an inch of finished compost each season improves drainage, water retention, and microbial activity simultaneously.
Watering the right way
Most vegetables need about 1 inch of water per week, more during hot stretches. Inconsistent watering is responsible for a huge range of problems: blossom end rot in tomatoes, bitter lettuce, bolting, and cracked fruits. Drip irrigation or soaker hoses on a timer are the single best investment you can make for a productive garden. They deliver water at the root zone, keep foliage dry (which reduces fungal disease), and do the work even when you are busy. If you hand-water, water deeply and less frequently rather than shallowly every day. Deep watering encourages roots to go down; shallow daily watering keeps roots near the surface where they dry out fast.
Handling pests and diseases
The most effective pest management is observation. Walk your garden every day or two and look at the undersides of leaves, the soil surface, and the bases of stems. Catching problems early when they are small makes them easy to handle. Common culprits include aphids (knock them off with a strong water spray or use insecticidal soap), caterpillars (hand-pick or use Bt, a naturally occurring bacteria that is safe for beneficial insects), and slugs (beer traps or diatomaceous earth around bed edges). For fungal diseases like powdery mildew, improve air circulation by spacing plants properly and watering at the base, not overhead.
Companion planting basics
Companion planting is the practice of growing certain plants together because they benefit each other. It is genuinely useful, not just folklore. The classic example is the Three Sisters: corn, beans, and squash grown together. Corn provides a trellis for beans, beans fix nitrogen that feeds corn and squash, and squash leaves shade the soil to retain moisture and suppress weeds. Other practical pairings: basil planted near tomatoes is said to repel aphids and whiteflies. Marigolds (especially French marigolds) planted around the perimeter of beds deter nematodes and attract beneficial insects. Nasturtiums act as trap crops, drawing aphids away from more valuable plants. None of these are magic, but they add up across a whole growing season.
Yield expectations and cost-benefit budgeting
Growing food at home can absolutely save money, but the math depends heavily on what you grow. High-value crops that are expensive at the store but easy to grow (cherry tomatoes, herbs, salad greens, peppers) give you the best return per square foot. Low-value bulk crops that take a lot of space (corn, potatoes, winter squash) are harder to justify financially at small scale, though they can make sense at homestead scale.
Here are realistic yield estimates for common crops in a well-managed raised bed. These assume healthy soil, adequate water, and appropriate spacing. Yields vary by variety, climate, and season length, but these numbers reflect what a competent home grower can achieve in a moderate climate.
| Crop | Yield per 10 sq ft | Retail Value (approx.) | Seed/Start Cost | Net Value per 10 sq ft |
|---|---|---|---|---|
| Cherry tomatoes | 15–20 lbs | $30–$45 | $3–$5 | $25–$42 |
| Lettuce (cut-and-come-again) | 5–8 lbs per cycle, 2–3 cycles | $20–$35 per cycle | $2–$3 | $38–$100+ |
| Zucchini | 20–30 lbs per plant | $20–$30 | $2–$3 | $17–$28 |
| Bush beans | 1–1.5 lbs per linear ft | $15–$20 per 10 sq ft | $2–$3 | $12–$18 |
| Kale | 3–5 lbs per plant over season | $10–$18 per plant | $2–$3 | $8–$16 |
| Fresh basil | 1–2 lbs | $20–$40 | $2–$3 | $17–$38 |
| Peppers (bell) | 10–15 fruits per plant | $15–$25 | $3–$5 | $10–$22 |
Startup costs for a 4x8 raised bed run roughly $80 to $200 depending on materials: lumber or metal bed frame ($40 to $120), soil and compost mix ($40 to $80 for bulk delivery or bags), seeds and starts ($15 to $30). That investment pays back within one growing season if you focus on high-value crops. In year two and beyond, costs drop sharply because the bed is built and soil just needs topping off with an inch or two of compost.
To build a simple budget, list the crops you plan to grow, estimate yields using the table above, and look up what those same items cost at your grocery store. A family that spends $60 a month on salad greens, herbs, and tomatoes from June through October ($300 over a season) can realistically cover most of that from two well-managed 4x8 beds. That is not a theoretical number: it is what consistent succession planting of lettuce, kale, and cherry tomatoes produces.
One honest caveat: your first season will not be your most productive. You are learning the quirks of your site, your soil, and your local pest pressure. Treat year one as paid education. Most growers double their yields from year one to year two simply by knowing what to plant when, how to water, and which crops perform well in their specific conditions. The learning curve is real, but it is not steep, and every mistake teaches you something you can act on next season.
Your next steps starting today
The best time to start is right now, whatever scale you can manage. Here is a simple action sequence to get moving this week.
- Go outside and time the sun in your best potential growing spot over the course of a day. Write down the hours of direct sun.
- Measure the space and decide on a scale: containers, one or two raised beds, or a larger plot.
- Order or buy lumber, metal beds, or large containers before supply runs short in the growing season.
- Source bulk compost and potting mix locally (landscape supply yards are usually cheaper than bags).
- Make a crop list of 5 to 8 crops you actually eat regularly, then check which are in season for your zone right now.
- Buy seeds or starts for your first round and get them in the ground or containers within a week of your setup being complete.
- Set up a watering system, even if it is just a hose with a wand, and commit to checking plants every other day.
Growing your own food is one of the most practical skills you can build. If you want to grow good farm results, plan for healthy soil, steady watering, and crop timing from the start grow your own food. It does not require perfection in year one; it requires showing up, paying attention, and planting again when something does not work. Start small, build good soil, choose crops that fit your climate, and keep succession planting on your calendar.
If you want extra protein in your home food system, learn how to grow insects for food alongside your garden. The rest follows naturally from there. If you also want to boost growth with specific nutrients like how much fox farm grow big, treat it as an add-on to your soil, watering, and light plan rather than a substitute.
At Kingman Farms, people typically grow a mix of seasonal produce such as vegetables and herbs based on what does best in their local conditions. If you want to raise crickets for feed or human food, you can apply the same planning mindset and set up a dedicated cricket farm space with the right environment and routine care The rest follows naturally from there..
FAQ
Can I grow a farm on a patio or balcony instead of in beds?
Yes, but treat it as a separate system from your ground beds. Use a potting mix, containers with drainage holes, and plan for faster drying (often every 1 to 3 days in hot weather). Also size up based on crop depth needs, for tomatoes at least 5 gallons and carrots at least about 12 inches of depth.
What tools do I really need to start growing a farm at home?
Start with the minimum equipment that prevents the most common failure points: a hose timer or soaker/drip setup, a trowel and hand pruners, a soil thermometer (optional but helpful), and a simple way to check moisture (finger test or basic probe). Avoid buying lots of amendments before you know what your soil actually needs.
How do I set up irrigation correctly so I do not waste water or under-water?
If you install drip or soaker hoses, flush the line and run water before planting to confirm coverage, then place emitters so water lands in the root zone, not on leaves. Leave enough slack to adjust plants as you thin seedlings, and plan one zone per watering schedule (warm-season beds often need more consistent moisture than cool-season beds).
Do I need a soil test, and what should I test for when growing a farm?
Soil testing helps you avoid “guessing” with compost and fertilizer. Before you spend on amendments, check pH and basic nutrient levels, then adjust with targeted additions (lime for low pH, sulfur for high pH, nitrogen or compost for low fertility). If you are using a quality compost and a 50/50 mix, you may need less correction than if you started with cheap topsoil.
How can I tell if my watering problem is too much, too little, or inconsistent?
Watch for signs that you are watering at the wrong frequency rather than only the amount. Wilting at midday plus dry top inches usually means under-watering, while constantly wet soil and slow growth can indicate over-watering or poor drainage. For tomatoes and peppers, blossom end rot often points to irregular watering, not simply “not enough calcium.”
Is it possible to grow food year-round, and what changes in winter or summer?
Yes, but align harvest goals with your climate. If you want year-round production, plan winter crops that tolerate cool weather (greens, roots) and use succession planting, or use low-cost protection like row cover for cold snaps. In warm zones with low winter growth, year-round may mean continuous summer crops and shade management, not truly winter harvests.
How do I choose crops that maximize results for my time and budget?
For many families, the first step is to map “your groceries” into seasons, then choose the highest return crops first. Prioritize salad greens and herbs for quick turnover, then add fruiting crops like tomatoes for higher value. Skip low-value bulk crops until you have a scale that justifies space.
Should I rotate crops in raised beds, and how do I do it simply?
If you have disease pressure or lots of pests, your crop plan should include rotation, not just replanting the same bed. Rotate families between seasons (for example, move tomatoes and peppers away from where they were last year), and do not rely only on companion planting to solve recurring problems.
What are the most common raised-bed soil problems, and how do I fix them?
Moldy soil or persistently soggy beds usually mean drainage issues, not just “needing more fertilizer.” Confirm bed depth and mix structure, then improve drainage by increasing organic matter structure and using a base medium that does not stay waterlogged. Raised beds can still fail if the fill compacts or if the bottom layer drains poorly.
Why do my lettuce and greens bolt, and what should I do instead?
If your plants bolt (especially leafy greens), it is usually heat, day length, or stress from inconsistent moisture. Shift to earlier sowing, use shade cloth during peak heat, water more consistently, and succession plant shorter batches more frequently so you do not end up with a single massive harvest window.
What mistakes most often prevent beginners from getting steady harvests?
Beginner yield killers are often spacing, uneven watering, and starting too many crops at once. Use seed packet spacing, thin seedlings promptly, and avoid planting the warm-season half too early. If you see a glut later, adjust timing with shorter, staggered sowings every 2 to 3 weeks next season.
How can I budget realistically so I do not overspend in year one?
If you want to save money without getting overwhelmed, use a “small batch plus repeat” approach: buy or start enough seed for a few successions, then expand only after you see which crops thrive. Also budget for annual compost top-off (1 to 2 inches) because it is part of maintaining yields over time.
Next Article
Grow Good Farm: Step-by-Step Guide to Reliable Home Yields
Step-by-step plan to build a productive home farm, improve soil, plan rotations, manage water pests, and boost yields.