Yes, feed wheat can grow. Plenty of home gardeners have planted grain-bin wheat and gotten a decent crop out of it. But whether it will grow reliably, at what germination rate, and what you end up with at harvest depends entirely on what's actually in that bag, and that's where most people run into trouble. Feed wheat is not selected or tested for planting performance, it may have been stored in ways that reduce viability, and in some cases it could be chemically treated. Before you scatter a single seed, it's worth spending 10 minutes figuring out what you actually have.
Will Feed Wheat Grow? How to Plant and Troubleshoot It

Marcus Hendrick
28 Apr 2026

What 'feed wheat' actually is (and why it might not grow)
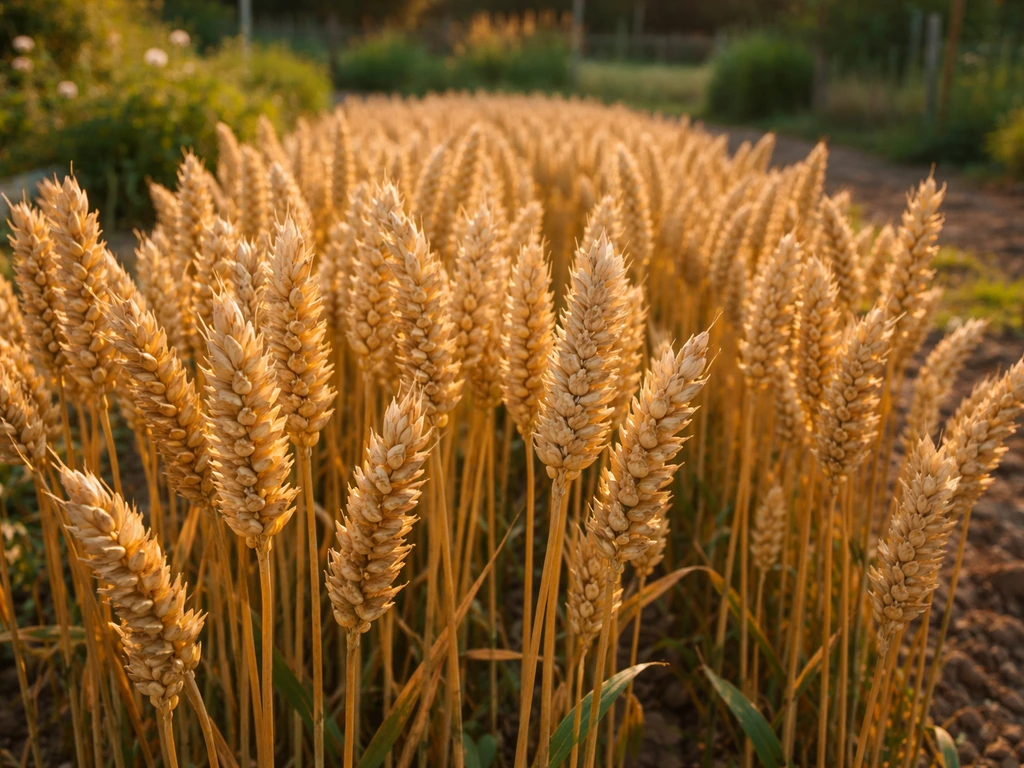
Feed wheat is commodity grain, the same species as bread wheat (Triticum aestivum), but sold for animal feed or processing rather than planting. It hasn't been cleaned, conditioned, or lab-tested to meet any germination standard. Certified seed wheat, by contrast, goes through a formal process: it's cleaned to remove impurities, tested in a seed lab, and must meet minimum germination and disease thresholds before it can be labeled certified. Feed grain skips all of that.
That matters for a few reasons. The grain may be a mix of varieties with no known cold-hardiness or disease resistance. It could have come from a poor harvest year with low test weight or pre-harvest sprouting, both of which tank germination rates. It may have been stored in bulk for months under variable conditions. And critically, nobody ran a germination test on it before it ended up in the feed store. The result is that feed wheat germination can range anywhere from 50% to 90%+ depending on the lot, you genuinely don't know until you test it.
How to tell feed grain from seed wheat before you plant
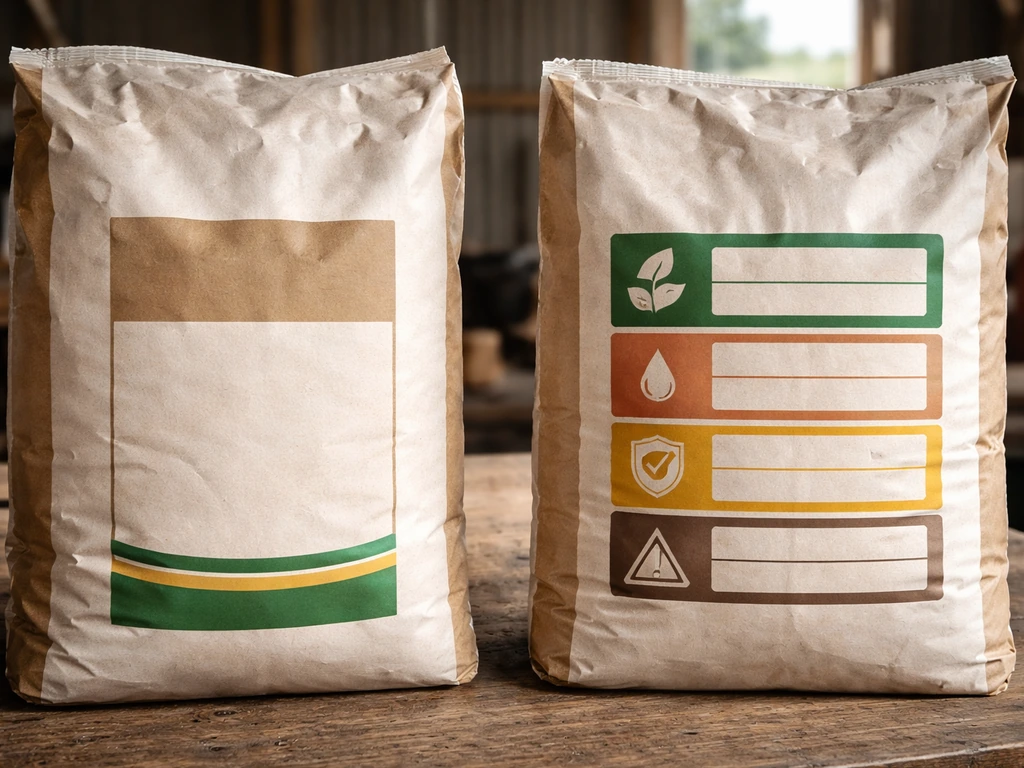
The label is your first stop. Under the Federal Seed Act, any seed sold for planting must carry specific label information: germination percentage, purity, noxious-weed seed content, chemical treatment disclosure (if applicable), and variety identification. If your bag doesn't have a germination percentage printed on it, it was not sold as seed, it's grain. Feed grain bags will sometimes say things like 'not intended for seeding purposes,' 'for processing only,' or similar language. That's the legal way of flagging that it's outside seed-law standards.
Chemical treatment is the bigger safety concern. Seed wheat sold for planting is sometimes coated with fungicides (and occasionally insecticides) to protect against soil-borne diseases at emergence. Treated seed must be disclosed on the label under federal law, and treated seed bags are typically colored (often pink or blue) with clear 'Do Not Eat' warnings. Feed grain from a farm supply or grain elevator is almost never treated, treatment is an added cost applied specifically to seed lots. But if you're sourcing from an unknown origin, look for any unusual coloring on the grain kernels or a chemical smell. Bright pink or green-tinted grain almost always means fungicide treatment and should not be planted where you'll harvest grain for human food, and arguably not at all for eating.
Run a germination test before you commit to planting
This is the single most useful thing you can do today if you're staring at a bag of feed wheat and wondering whether it's worth planting. A wet paper towel germination test takes about a week and tells you exactly what you're working with.
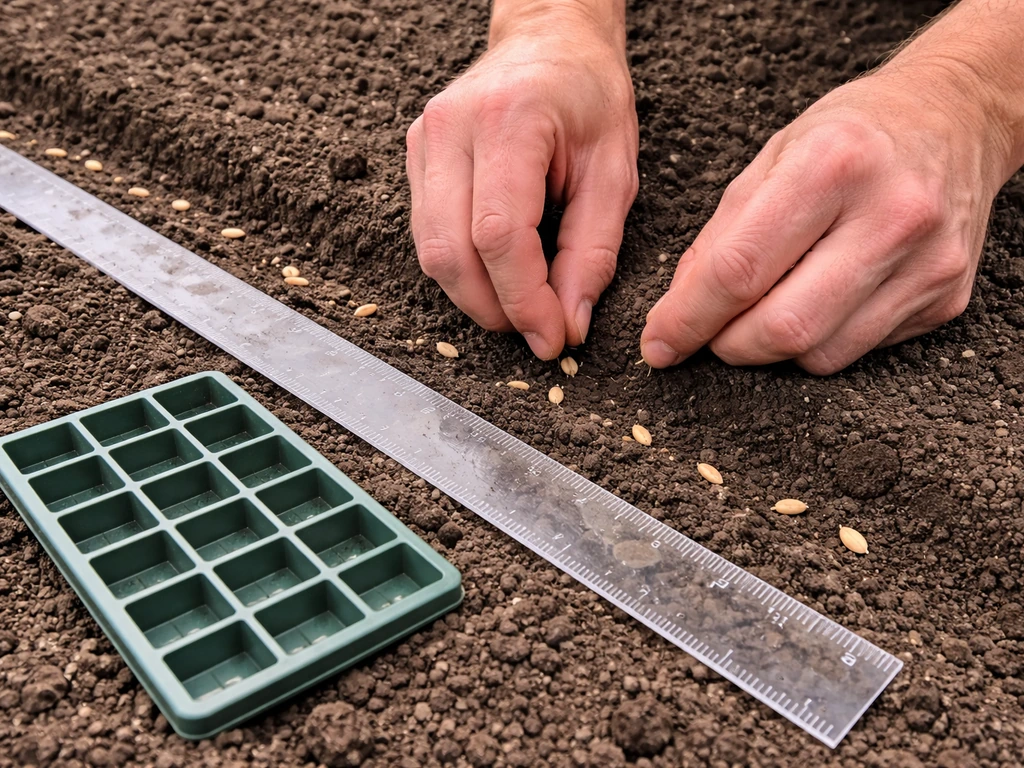
- Count out 25–100 seeds from your sample. More seeds give you a more reliable result; the University of Alaska Fairbanks recommends 100 seeds for small grains for accurate percentages.
- Wet a paper towel thoroughly, then wring it out so it's damp but not dripping.
- Spread the seeds evenly across half the towel, fold the other half over them, and roll or fold the towel loosely.
- Place it in a plastic bag or sealed container at room temperature (around 65–75°F is ideal).
- Check after 4 days and count daily for the next 3–4 days. A normal seedling has a shoot longer than about 1.5 inches and at least one strong root.
- Divide normal seedlings by total seeds tested and multiply by 100 to get your germination percentage.
Here's the benchmark to use: certified seed wheat is typically warranted at 85–90% germination. Michigan State Extension advises against using grain as seed if the germination test comes in below 80%, and suggests that below 65% vigor is a strong signal to find better seed instead. If your feed wheat tests at 75% or higher, it's worth planting with an adjusted seeding rate. Below 60%, you'll be fighting thin stands from the start. Run the test on a few separate samples from different parts of the bag if you can, Agriculture Victoria recommends testing at least 3 separate lots of 100 seeds for the most reliable read.
Timing and conditions that give wheat its best shot
Wheat is planted in two windows depending on type. Winter wheat goes in the ground in fall (typically September through early November across most of the US), overwinters, and heads up the following spring for a summer harvest. Spring wheat is planted as early as the soil can be worked, Bayer Crop Science recommends waiting until average 2-inch soil temperature exceeds 40°F. If you're unsure what does wheat need to grow in your setup, start with soil temperature like winter and spring wheat timing guidelines below. If you're in the northern states, that's usually March to early April. If you're in the south or a mild climate, winter wheat is usually the more productive choice.
Winter wheat has one important biological requirement: vernalization. It needs 4–8 weeks of temperatures below 48°F (Penn State Extension's guidance) to trigger the transition to reproductive growth and actually form a grain head. Skip vernalization by planting too late in fall or planting it as if it were spring wheat, and you'll get a beautiful green mat with no grain. Feed wheat from a generic lot is probably winter wheat (most US commodity wheat is), but if you don't know the variety, planting in early fall gives you the safest outcome regardless.
Temperature also affects germination speed directly. Research on wheat germination across temperature ranges shows that it proceeds most reliably between 10°C and 25°C (50–77°F). Utah State University Extension also notes that once soils stay consistently above about 50°F, emergence can be expected in a week or less. Cold soils slow things down significantly; hot soils (above 30°C / 86°F) can suppress germination entirely or trigger dormancy. In practical terms: don't plant into frozen ground, and don't plant spring wheat into soils that are already baking in late spring.
Soil prep, depth, seeding rate, and water
Getting the soil ready
Wheat isn't fussy, but it grows best in mildly acidic to near-neutral soil. University of Delaware puts the ideal soil pH for wheat at around 6.0, with a critical floor of about 5.5. Below that, aluminum toxicity and nutrient availability issues start to limit yield. If you've been growing vegetables in raised beds, your soil is probably fine. If you're breaking into a lawn or uncultivated ground, a quick pH test (available at any garden center for a few dollars) is worth the effort. Loosen the top 4–6 inches, break up any hard clods, and rake it reasonably smooth, you're not looking for perfection, just good seed-to-soil contact.
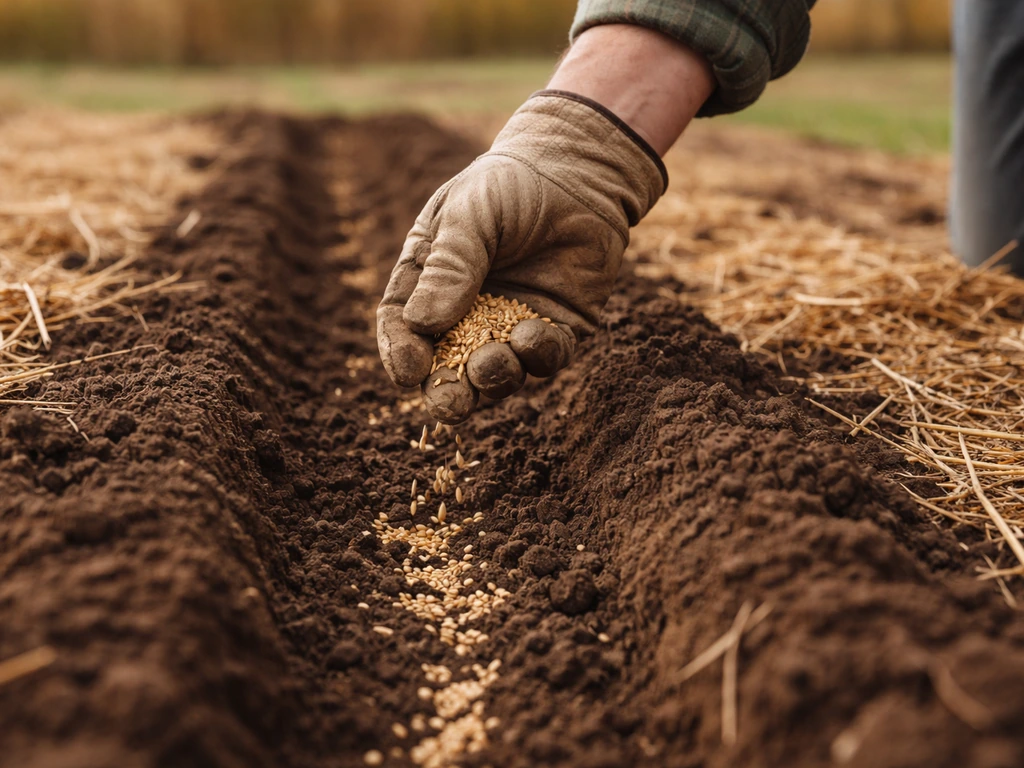
Depth and seeding rate
Plant wheat at 1 to 1.5 inches deep. Both University of Minnesota Extension and Mississippi State Extension land on this range for small grains, and it holds true whether you're drilling into a field or hand-seeding a garden bed. Shallower than 1 inch and seeds dry out quickly; deeper than 2 inches and emergence slows, especially in heavier soils. If your top 2 inches are dry at planting time, Mississippi State recommends planting at about 1 inch and waiting for rain to germinate rather than going deeper.
For home-scale planting, aim for roughly 20–25 seeds per square foot. University of Minnesota's target stand for winter wheat is 21–23 plants per square foot under normal conditions, increasing to 23–25 if planting late or conditions are rough. Since feed wheat germination is unknown or variable, I'd plant at the higher end and thin if you somehow get an unusually dense stand (you almost certainly won't need to). For a 100-square-foot trial bed, that works out to about 2,000–2,500 seeds, which is roughly a pound of wheat grain depending on seed size.
Watering and fertilizing
Wheat needs consistent moisture at germination but is fairly drought-tolerant once established. Keep the seedbed moist (not waterlogged) for the first two weeks. After that, water deeply but infrequently. For a small garden plot, this usually means checking every few days and watering when the top inch or two goes dry.
Nitrogen is the nutrient that moves the needle most on wheat yield. For home-scale growing, a handful of balanced fertilizer worked into the bed before planting is a reasonable start. If you're growing on ground that's had vegetables or cover crops, existing organic matter may be enough for a trial planting. Avoid applying nitrogen fertilizer directly with the seed, University of Minnesota Extension found that N rates over 25 lb/acre as urea placed with the seed can reduce germination, especially in dry conditions. Side-dress or top-dress with nitrogen in early spring instead when growing winter wheat.
Problems to watch for from emergence to harvest
Feed wheat grown from untested grain tends to show its weaknesses most in the first few weeks. Here are the main issues to watch for and what to do about them:
- Patchy or slow emergence: Usually means low germination in the grain lot, poor seed-to-soil contact, or soil that's too wet or too cold. If patches don't fill in after two weeks, those spots probably won't catch up. Note the percentage of bare area — if more than 30–40% of your bed looks thin, you've confirmed the viability problem and can adjust for your next planting.
- Damping-off (seedlings emerge, then collapse): Caused by soil-borne fungi, especially in cold, wet conditions or very dense planting. University of Utah Extension notes the risk goes up when seedlings are kept excessively wet. Improve drainage, thin dense areas slightly, and avoid overwatering. Damping-off pathogens are less of a problem as plants get established — getting past the first true leaf stage usually means you're in the clear.
- Yellowing in winter: If winter wheat turns yellow or purple in cold weather, that's often just cold stress and normal phosphorus uptake slowdown. It usually greens back up in spring. Persistent yellow with stunted growth can indicate nitrogen deficiency or soil pH issues.
- Leaf rust (orange pustules on leaves): More likely if you're in a warm, humid region or if spring is wet. Nebraska CropWatch notes leaf rust develops faster under warm conditions. Feed wheat of unknown variety has no guaranteed rust resistance. For a small home plot, tolerating some rust is usually fine. Planting earlier to allow the crop to get ahead of the disease cycle helps.
- Lodging (plants falling over before harvest): Happens with overly rich soil, late nitrogen, or dense planting. Not usually a major issue at small home-garden scales but worth knowing — if your plants fall over, wait until they dry down and harvest them anyway.
- Head not forming: Almost always a vernalization failure in winter wheat. If it's spring and your wheat is lush and green with no signs of a head forming by late April or May, it likely didn't get enough cold. Nothing to do but note it and adjust timing next year.
Is the grain you harvest safe to eat?
If your feed wheat was not chemically treated (and most feed grain isn't), then yes, grain you harvest from it is just wheat. There's nothing inherently unsafe about eating wheat grown from feed-grade seed. The resulting grain is nutritionally the same as wheat grown from certified seed. If you're milling it for flour or feeding it to chickens, it works the same either way.
The quality caveat is variety. Feed wheat is often a commodity blend of multiple varieties, not a specific milling wheat bred for high protein content or baking performance. If bread quality matters to you, the flour you mill from unknown-variety feed wheat may be lower in protein and produce a denser loaf than what you'd get from a named hard red winter wheat bred specifically for bread. If you want the best wheat to grow for bread, choose a named variety bred for baking quality rather than an unknown feed blend. For home baking trials, it's perfectly usable, just don't expect artisan results. For animal feed from your harvest, quality expectations don't matter at all.
The one scenario where the harvested grain is genuinely not safe for human food is if the original seed was chemically treated (treated with fungicide or insecticide). Those treatments are systemic or surface coatings designed to protect the seed at germination, they are not labeled for human consumption, and the pesticide residues do not simply disappear during the growing season in the same predictable way as field-applied pesticides. If you planted treated seed and aren't sure, the conservative call is to use that harvest for animal feed only, not for human food.
Comparing feed wheat vs certified seed wheat for home growing
| Factor | Feed Wheat | Certified Seed Wheat |
|---|---|---|
| Cost | Cheaper, often $10–15 for 50 lb | More expensive, often $25–50+ for 50 lb |
| Germination guarantee | None; no label data | 85–90% minimum, tested and labeled |
| Chemical treatment risk | Rare but possible; check grain color/smell | Always disclosed on label |
| Variety known | No; commodity blend | Yes; labeled variety with known traits |
| Disease resistance | Unknown | Known for the labeled variety |
| Baking/milling quality | Variable; often lower protein | Predictable for variety |
| Best use case | Trials, animal feed crop, low-cost experimentation | Reliable home grain production for food |
The short recommendation: use feed wheat for a trial run to learn the process, confirm you can grow wheat in your specific conditions, and see what germination you get. Once you've done that successfully, switch to a named certified variety suited to your region for any planting where yield and quality matter. If you're planning a serious home grain operation to feed your family, certified seed is the better investment. If you're just curious whether wheat will grow in your backyard, feed wheat is a perfectly reasonable place to start. If you want to understand the full process, you can also review how wheat grows from seed to harvest whether wheat will grow in your backyard.
Your action plan: do this today
Here's the practical sequence if you've got a bag of feed wheat and want to know what to do with it right now:
- Check the label or bag for any germination percentage, treatment disclosure, or 'not for seeding' language. Colored grain (pink, blue, green) means treated — set it aside for now.
- Run a germination test on 50–100 seeds using the damp paper towel method. Check at day 4 and count through day 7. Calculate your germination percentage.
- If germination is 75% or higher: proceed to plant, but increase your seeding rate by 10–20% to compensate for the lower viability vs certified seed.
- If germination is 60–74%: you can still plant a trial, but expect thin spots and lower yield. Increase seeding rate by 25–30% and manage your expectations.
- If germination is below 60%: the grain is not worth planting for any serious purpose. Source certified seed wheat instead. For your region, contact your local extension office or farm supply store and ask for a named winter or spring wheat variety suited to your climate.
- Pick a small bed (100–200 square feet) for a trial planting regardless of germination result — this is a learning run. Prep soil to 4–6 inches, check pH if you haven't, and plant at 1 to 1.5 inches deep.
- Plant winter wheat in early fall before your average first frost (September–October for most of the US). Plant spring wheat as soon as soil hits 40°F in spring.
- Track what you observe: days to emergence, stand density, any disease, and final yield. This data is gold for your next planting.
Growing your own wheat at home is genuinely achievable, even on a small scale, and working out how much you need to grow per person or per family is a natural next step once you've confirmed your grain will sprout. A quick calculation of how much wheat to grow per person can help you plan the bed size, expected harvest, and how much flour you’ll end up with. Once you know your seed will sprout, you can estimate how much wheat to grow for a family of 4 based on your expected yield and how much flour you want to produce. Feed wheat is a legitimate starting point for experimentation, but the clearest path to a reliable, harvestable crop every year is knowing exactly what variety you're growing and what it needs. A single successful trial planting, even from feed grain, teaches you more about your soil, timing, and conditions than any guide can. Start small, test your seed, and build from there.
FAQ
If my feed wheat bag has no germination percentage, can I still figure out whether it’s viable without a lab test?
Yes. Do a wet paper towel germination test and test multiple spots from the bag, because viability can vary within the same shipment. If results are low, you can often improve your odds by planting at the higher end of the seeding rate and keeping the seedbed consistently moist for the first two weeks.
How many seeds should I germination-test, and how should I handle the results?
Use several separate samples (for example, at least a few hundred seeds total across the bag) so you don’t overreact to one weak section. Treat the overall percentage as your planning number for seeding rate. Also note that low germination plus low vigor (slow, uneven sprouting) usually leads to a thinner, less uniform stand even if some seeds eventually sprout.
Can treated-looking grain be planted for home use if I rinse or soak it first?
Rinsing or soaking is not a reliable safety fix. If the grain appears chemically treated (for example, unusual bright coloration and warnings), the safer approach is to use it for animal feed only or discard it for human use. Seed coatings can be designed to persist through germination.
What’s the practical difference between “germination” and “vigor,” and why does it matter for feed wheat?
Germination counts whether seeds sprout, vigor reflects how quickly and uniformly they sprout under real conditions. With feed wheat, vigor is often the hidden problem, so even if germination seems “okay,” slow uneven emergence can reduce yield and make winter wheat stand establishment weaker.
Is it better to plant deeper or shallower if the topsoil is dry?
If the top 1 to 2 inches are dry, planting too deep often delays emergence further and can fail entirely if moisture never reaches the seed. A common adjustment is to plant closer to 1 inch and wait for a germinating rain, then keep the seedbed from drying out during the first two weeks.
Should I fertilize before planting, or can I rely on compost and soil organic matter?
For a trial, light pre-plant feeding is fine, but wheat yield is usually most sensitive to nitrogen timing rather than just total nutrients. Avoid placing concentrated nitrogen directly with the seed. If you have limited organic matter or you’re growing on grass-lawn soil, plan to side-dress or top-dress in early spring (especially for winter wheat).
Can I plant feed wheat in a raised bed or container?
You can grow it in raised beds, but containers are tricky because wheat needs consistent moisture during germination and enough rooting depth for good tillering. Loosen and prepare at least several inches of workable soil, and avoid letting the medium dry out between waterings during establishment.
How do I tell winter wheat versus spring wheat before harvest?
The most practical way is to observe whether it heads in the season you planted it versus after winter. Winter wheat typically needs cold exposure (vernalization) to form heads, so if you plant a “winter-type” too late or skip cold conditions, you may end up with lush growth but little or no grain.
What should I do if my stand is thin after emergence?
First, don’t assume the worst immediately. Wheat that emerges later can still contribute if conditions are favorable. For thin stands from low viability, the decision is usually between living with it or overseeding into the bed. If you overseed, match timing to your local window and avoid heavy disturbance that damages existing shoots.
Is it safe to eat wheat harvested from feed wheat if I never noticed treated coloring?
Often yes, if the original grain was not treated. The nutritional profile should be similar because the plant is still wheat (Triticum aestivum). However, if you see indicators of treatment or you’re sourcing grain of unknown origin, the conservative choice for human food is to avoid using that harvest and reserve it for animal feed.
Can I save seed from a feed-wheat harvest to plant next year?
You can, as long as the grain wasn’t chemically treated and you’re comfortable that the variety is unknown. Saving seed also means you should re-test germination next year because storage conditions still affect viability. Expect the next planting to behave like an unselected, commodity blend rather than a consistent bread-quality line.
Will feed wheat produce good bread flour, or am I wasting my time?
It might produce usable flour, but don’t expect consistent artisan bread results because feed wheat is often a mixed, non-bred commodity blend. If bread quality matters, prioritize a named baking variety after your trial confirms you can grow wheat well in your conditions.
Next Article
Best Wheat to Grow for Bread: Varieties and Steps
Choose bread-baking wheat varieties and follow step-by-step planting, care, harvest, threshing, and milling for great fl