Wheat needs six things to grow well: decent soil with the right pH, adequate nutrients (nitrogen above all, but also phosphorus, potassium, and a handful of micronutrients), consistent moisture, full sun, the correct temperature range for the variety you're planting, and seeds placed at the right depth. Get all six reasonably right and wheat is genuinely one of the easier grains to grow at home. Miss one or two and you'll end up with thin, pale plants that barely tiller and produce almost nothing. This guide walks through every requirement in practical terms so you can start planting with confidence.
What Does Wheat Need to Grow? Soil, Nutrients, and Care

Marcus Hendrick
19 Apr 2026
Wheat's core growth requirements (beyond nutrients)
Before you reach for a bag of fertilizer, the physical growing conditions need to be right. Nutrients can't save wheat that's planted too deep, waterlogged, or sown at the wrong time of year. Think of these as the foundation everything else sits on.
Sunlight
Wheat is a full-sun crop. It needs at least six to eight hours of direct sunlight per day, and more is better. Shaded beds produce weak, etiolated plants that can't photosynthesize efficiently enough to fill out grain heads. If you're working with a small garden plot, pick the most open, unshaded spot you have.
Temperature and vernalization
This is where wheat splits into two camps: winter wheat and spring wheat. Spring wheat is straightforward, plant when soil temperatures are above about 40°F (4°C) in early spring and it grows through to summer harvest. Winter wheat is more involved. It's planted in fall, grows a little, then requires a cold period called vernalization before it can switch from vegetative growth to reproductive growth (i.e., forming grain heads). Research from NDSU puts the vernalization window at roughly 30 to 75 days at low temperatures, with variability depending on the variety. If you skip or short-circuit that cold exposure by planting too late in fall or choosing the wrong variety for your climate, winter wheat won't head out properly. For home growers, the practical takeaway is: know which type you're growing and plant on the right schedule for your region.
Planting depth and spacing
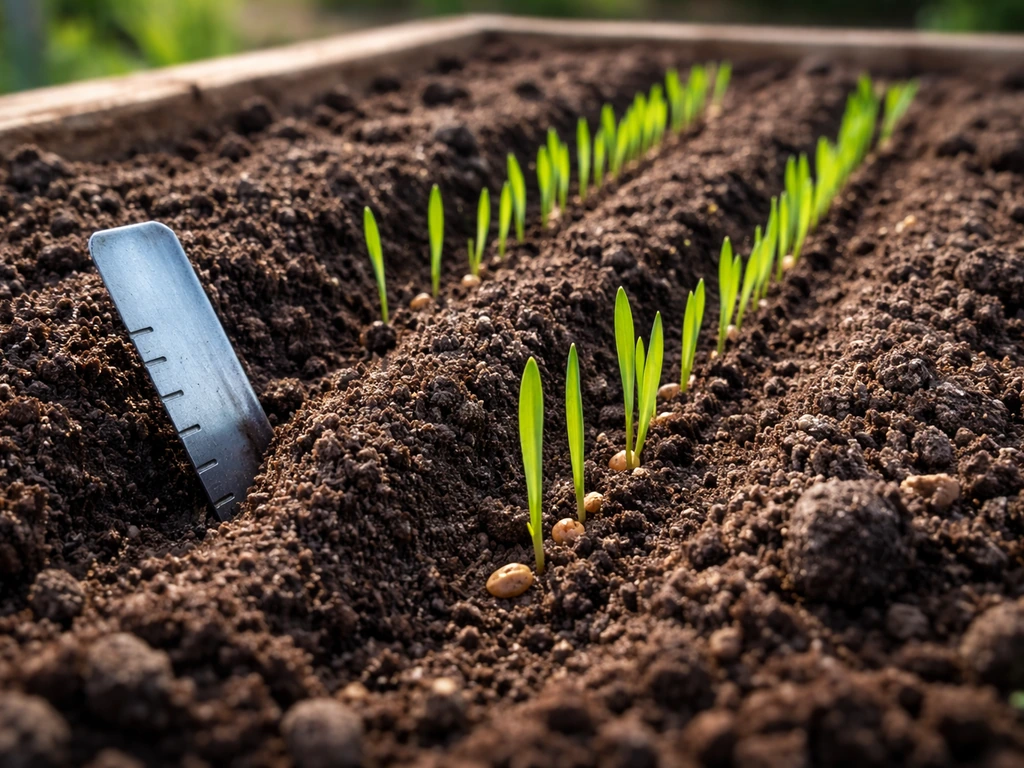
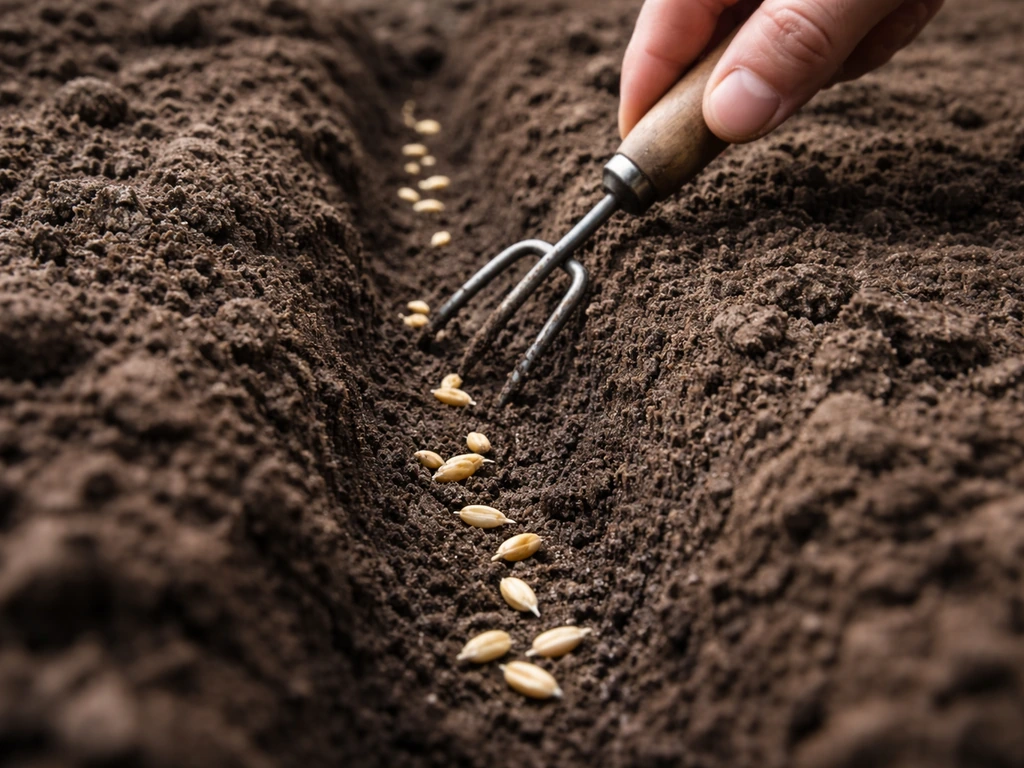
For most semi-dwarf varieties, plant seeds about 1 to 1.5 inches deep. Shallower than 1 inch and seeds may dry out before germinating; deeper than 1.5 to 2 inches and emergence slows dramatically, burning up seed energy before the seedling breaks the surface. UMN Extension recommends an optimum seeding depth of about 1.5 to 2 inches for wheat and barley, and notes that cooler seed-zone temperatures can increase emergence time emergence slows dramatically. In dry conditions you might nudge slightly deeper to reach moisture, but 1.5 inches is a reliable target for most home garden situations. Broadcast seeding works for small beds, but you'll get better moisture contact and more even emergence if you use a simple hand seeder or make furrows with a stick or hoe handle. Aim for roughly 20 to 25 seeds per square foot when broadcasting.
Drainage and soil structure
Wheat does not tolerate waterlogging. When soil floods or stays saturated, oxygen depletes rapidly from the root zone, and roots lose their ability to take up both water and nutrients. Interestingly, this can produce symptoms that look exactly like nutrient deficiency, even when your soil fertility is fine. If your plot has poor drainage, build raised beds or incorporate organic matter to improve soil structure before worrying about fertilizer programs.
Soil testing: find your pH and fertility first
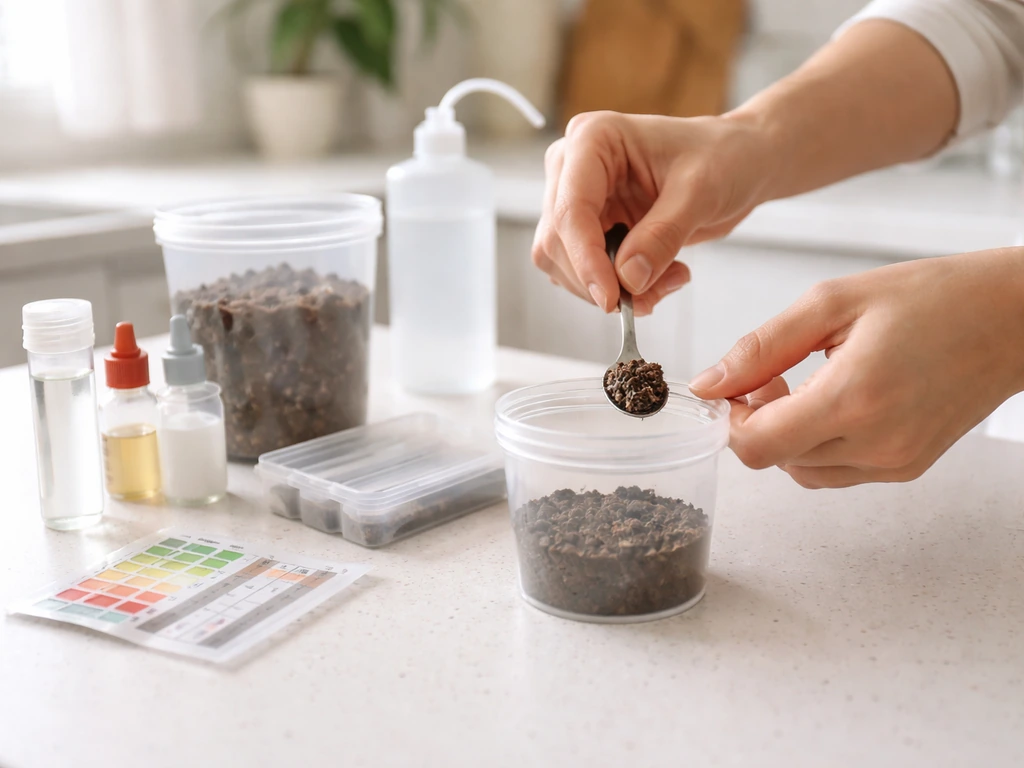
Don't skip this step. A soil test is the single most useful thing you can do before planting wheat, and it costs between $15 and $30 through your local cooperative extension office. Testing tells you your soil's pH (critical for nutrient availability), phosphorus and potassium levels, and often organic matter content. Without it, you're guessing at amendments, and guessing is how people over-apply nitrogen and burn their seedlings or lime soils that don't need it.
Wheat grows best in soil with a pH between 6.0 and 7.0. That's the window where all the major nutrients are most available and where aluminum and manganese toxicity (common problems in acid soils) stay suppressed. If your pH drops below 5.5, lime application becomes important, and Oklahoma State Extension guidelines specifically recommend raising acid soils toward around 6.5 for wheat production. Oklahoma State University Extension notes that for most crops, including wheat, a slightly acid soil around pH 6.5 is desirable, and their fact sheet provides a wheat pH range of about 5.5 to 7.0 Oklahoma State Extension guidelines specifically recommend raising acid soils toward around 6.5 for wheat production.. If your pH is above 7.0 to 7.5, some micronutrients like iron and manganese start locking up, and you may need to add sulfur to gently acidify.
When you get your soil test back, look at these categories for phosphorus and potassium. Rutgers NJAES and University of Delaware extension guidance both use interpretation categories that generally run from Low to Medium to Optimum (sometimes called High or Sufficient). If your P and K are in the Low range, you need to add amendments. If they're Optimum or above, skip those amendments and focus on nitrogen, which is almost always the limiting nutrient in wheat production. Your extension report should give you specific ppm numbers alongside the interpretation.
Nutrients wheat needs: roles of N-P-K and key micros
Wheat isn't a particularly fussy feeder compared to heavy crops like corn or tomatoes, but it does have clear nutrient needs and will show you exactly when something is missing if you know what to look for.
The big three macronutrients
| Nutrient | Main role in wheat | Deficiency symptoms |
|---|---|---|
| Nitrogen (N) | Drives leafy growth, tillering, and ultimately grain protein content | Overall yellowing (chlorosis) starting on older leaves; poor tillering; pale green plants |
| Phosphorus (P) | Root development, early establishment, energy transfer, and winter hardiness | Stunted plants, poor root development, sometimes purplish-red leaf coloring |
| Potassium (K) | Drought and disease tolerance, stem strength, starch formation in grain | Yellowing and browning along leaf margins, starting on older leaves; weak stems |
Secondary nutrients and micronutrients
Sulfur is increasingly important, especially in gardens that haven't received much organic matter. It's tied closely to nitrogen metabolism, and sulfur deficiency looks almost identical to nitrogen deficiency at first glance, with one key difference: sulfur deficiency tends to show up on young leaves first, while nitrogen deficiency starts on older tissue. Calcium is critical for root tip development and cell wall integrity; deficiency shows as poor root growth and occasional leaf tip dieback. Magnesium is part of the chlorophyll molecule, and a shortage produces a classic mottled yellowing between leaf veins. Iron deficiency causes interveinal chlorosis on young leaves, often with bronzing or necrosis in severe cases, and is most common in high-pH soils. Zinc deficiency can cause stunting and streaky discoloration and is more likely in sandy or over-limed soils.
For a home garden with decent compost-amended soil, sulfur, calcium, and magnesium are usually handled adequately. Iron and zinc are worth watching if your soil pH is above 7.0, since high pH binds these micronutrients and makes them unavailable regardless of how much is in your soil.
How to feed wheat at home: amendments and timing
The fertilization approach for wheat at home breaks into two phases: what you do at or before planting, and what you do in early spring (for winter wheat) or mid-season (for spring wheat) as the plant kicks into active growth.
Before planting: building baseline fertility
If your soil test shows low phosphorus, this is the time to fix it. Phosphorus moves slowly in soil and needs to be incorporated before planting so roots can find it during early establishment. Good organic options include bone meal (roughly 3-15-0, apply according to package rates based on your soil test deficit) or rock phosphate (slower release, good for a multi-year fix). For a conventional approach, a granular superphosphate or triple superphosphate works well. Cornell CALS guidance for small grains recommends getting most of your phosphorus and some of your potassium into a starter band at or near the seed at planting, because young wheat roots are short and need nutrients close by.
Pioneer's agronomic guidance suggests a starter with around 20 to 30 pounds of phosphorus per acre placed with or near the seed, which translates to roughly 0.5 to 0.7 ounces of actual P2O5 per 100 square feet. Don't worry about memorizing that number, just follow your soil test recommendation. If your P is already at optimum, skip the phosphorus amendment entirely.
Potassium deficiency at planting? Work in greensand (slow release, good for sandy soils), kelp meal, or a balanced granular potash (0-0-60 or similar). If your K is already medium or optimum on your soil test, you likely don't need to add any.
For nitrogen at planting, go light. A small starter amount of nitrogen helps early establishment, but loading on nitrogen in fall before winter wheat goes dormant is mostly wasteful and can increase disease risk. Work in a modest amount of compost (2 to 3 inches tilled in) and maybe a sprinkle of balanced granular fertilizer. Save the bulk of your nitrogen investment for topdressing.
Topdressing nitrogen: the most important fertilizer timing
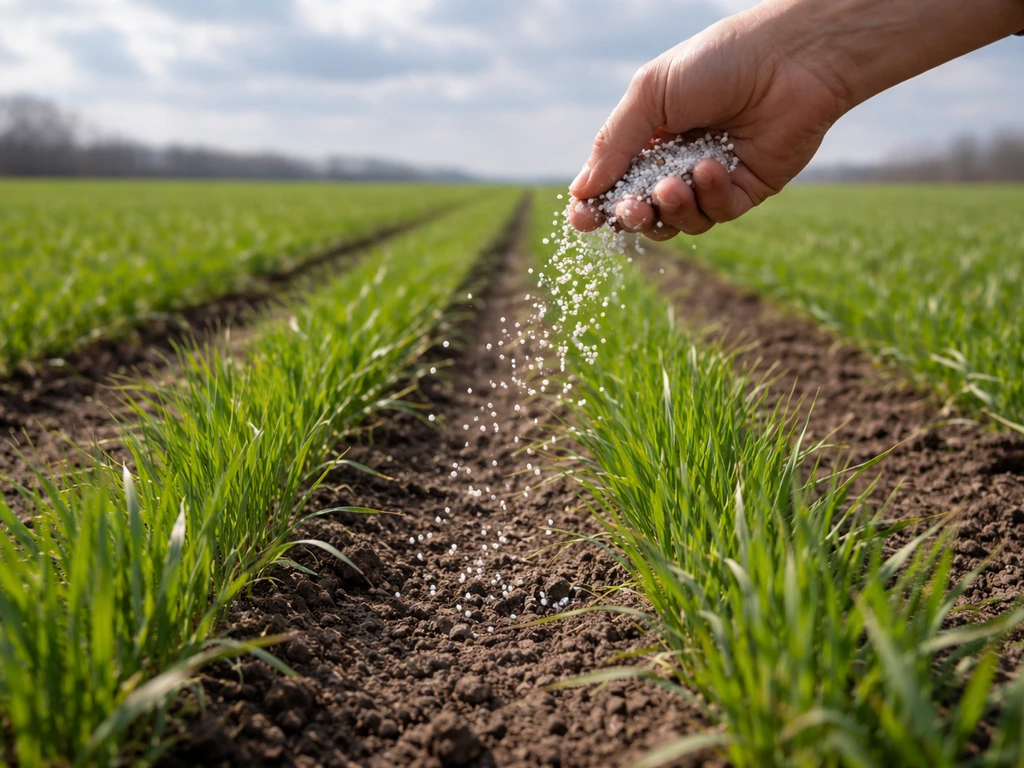
For winter wheat, the topdress nitrogen application in early spring is where most of your yield potential is built. Apply nitrogen as soon as the ground thaws and the wheat begins actively growing again, well before jointing (the stage where the first node becomes detectable on the stem). Nebraska CropWatch is explicit about this: topdressing should be completed before jointing. Once the plant joints, the growing point is exposed and a late nitrogen blast can cause lodging (falling over) and uneven growth.
For home gardeners, MSU Extension notes that common nitrogen forms including urea, ammonium nitrate, UAN solution, and ammonium sulfate all produce similar results when applied as topdress. Urea (46-0-0) is widely available and cost-effective. Blood meal and fish meal are organic alternatives that release nitrogen more slowly but work fine if you apply them a few weeks ahead. A general starting rate for wheat without a soil test is around 60 to 90 pounds of actual nitrogen per acre, which works out to roughly 1.5 to 2 ounces of actual N per 100 square feet. If you have a soil test result with a specific recommendation, use that instead.
Potassium, if needed, is best applied at or before tillering. California fertilization guidelines indicate that wheat takes up most of its potassium between jointing and heading, so getting it into the soil before that window opens ensures it's available when the plant needs it most.
pH correction: lime and sulfur
If your soil test shows pH below 5.5, apply agricultural lime (calcium carbonate) at the rate your test recommends, aiming for a pH around 6.5. Lime takes time to work, ideally three to six months, so fall application before spring wheat or the previous season before winter wheat is best practice. If your soil is too alkaline (above 7.5), elemental sulfur lowers pH slowly over several months. Apply it in fall and retest before planting. Don't try to make big pH swings quickly; it's better to make incremental corrections and retest each season.
Moisture, sunlight, and temperature: how they affect nutrient uptake
You can have perfect soil fertility and still see nutrient deficiency symptoms if your water and temperature conditions are off. This is one of the most misunderstood aspects of growing wheat at home.
Drought stress directly tanks nutrient uptake. Research published in the Journal of Plant Nutrition found that early drought stress reduced wheat nitrogen uptake by about 38% and phosphorus and potassium uptake by roughly 49% and 37% respectively. Late-season drought was even worse, cutting nitrogen uptake by about 46% and P and K by around 51%. What that means in practice: if your wheat starts showing yellowing during a dry stretch, the first question to ask is whether the plants are getting enough water, not whether you under-fertilized.
On the other end, waterlogged soil depletes oxygen in the root zone quickly, and roots without oxygen lose their ability to absorb water and nutrients. The result looks like nutrient deficiency but is really a drainage problem. UMN Extension research on wheat flooding confirms this: the disruption to nutrient uptake and root-to-shoot hormone signaling from waterlogging is significant and rapid. If your plants are yellowing after heavy rain in a low spot, check your drainage before reaching for fertilizer.
Temperature affects nutrient uptake too. Cold spring soils slow the uptake of phosphorus in particular, which is why seedlings sometimes show purplish coloring early in the season even in phosphorus-adequate soil. This usually corrects itself as soils warm past 50°F (10°C). Don't panic and over-apply phosphorus just because seedlings look purple in a cold April.
Common nutrient problems and quick troubleshooting
Most wheat problems in the home garden come down to a short list of root causes. Here's a practical diagnostic framework. Start by asking what the plant looks like, then cross-check against the most likely cause before applying any fix.
| Symptom | Most likely cause | First step to check |
|---|---|---|
| Overall yellowing, poor tillering, pale plants | Nitrogen deficiency (or drought stress reducing N uptake) | Check soil moisture first; if moisture is fine, apply topdress N before jointing |
| Purple or reddish leaf color, stunted seedlings | Phosphorus deficiency or cold soil temperature | Check soil temperature; if above 55°F and still purple, test for P deficiency |
| Yellow/brown leaf margins starting on older leaves | Potassium deficiency or drought | Check watering; if moisture is adequate, soil test for K |
| Yellowing all over including veins on young leaves | Sulfur deficiency | Amend with gypsum (calcium sulfate) or ammonium sulfate fertilizer |
| Interveinal chlorosis (yellow between veins) on new leaves | Iron or manganese deficiency, often from high pH | Test soil pH; if above 7.0, acidify or apply chelated iron foliar spray |
| Mottled yellowing between veins on older leaves | Magnesium deficiency | Apply Epsom salt (magnesium sulfate) as a soil drench or foliar spray |
| Pale, stunted plants with no other pattern after rain | Waterlogging/drainage problem mimicking deficiency | Check drainage; improve soil structure or raise bed |
| Suddenly pale plants after a dry spell | Drought-induced nutrient stress (not true deficiency) | Water deeply and consistently; symptoms should improve within a week |
Bayer Crop Science recommends scouting wheat weekly for nutrient deficiency symptoms, and that's good advice even in a home garden setting. Walk your plot once a week and look at the flag leaves and lower leaves. If symptoms are ambiguous, tissue sampling through a lab can confirm exactly which nutrient is short. It's a step most home growers skip, but it's worth doing at least once when you're learning your soil.
The most common mistakes to avoid
- Applying heavy nitrogen in fall before winter wheat goes dormant — it mostly goes to waste and can increase disease pressure
- Liming without a soil test — if your pH is already 6.5, adding lime raises it further and locks out micronutrients
- Planting too deep (over 2 inches) — seedlings run out of energy before breaking the surface
- Ignoring drainage — waterlogged roots can't absorb nutrients regardless of how fertile your soil is
- Treating a drought stress symptom as a deficiency symptom — fix water first, then reassess
A practical step-by-step plan to start growing wheat
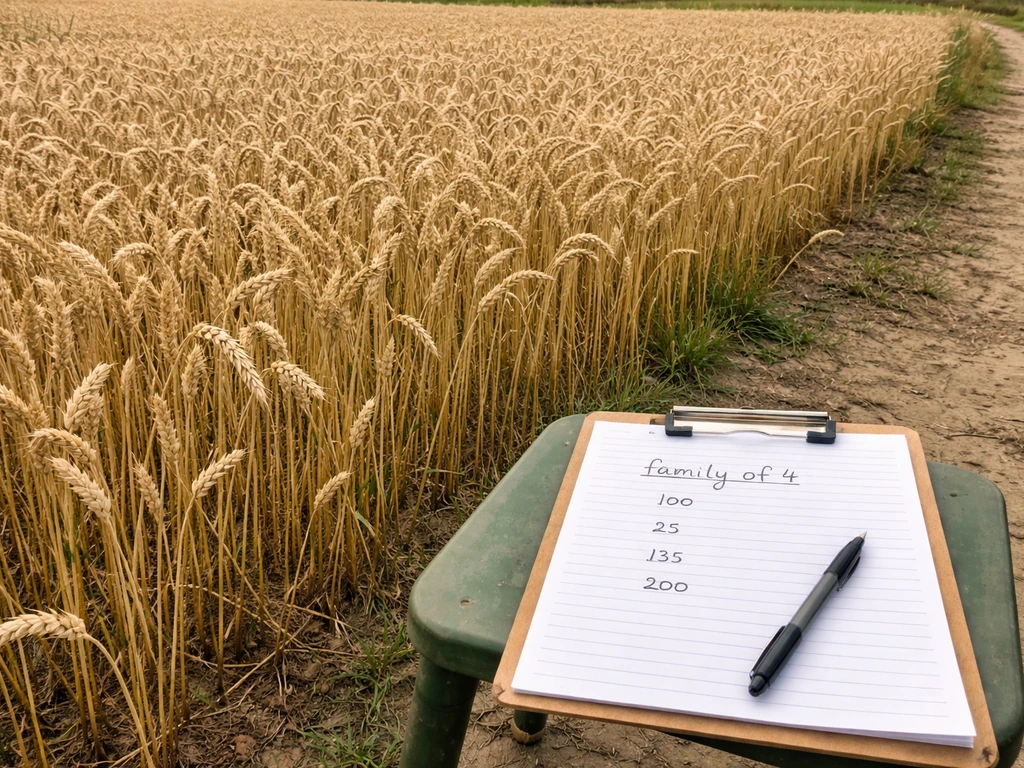
Here's how I'd approach it if I were starting a wheat bed today. Bread starts with growing the right wheat grain, which depends on getting soil, sunlight, temperature, and moisture right how bread grows. This works whether you're growing a small 100-square-foot test plot or a quarter-acre homestead patch. For a family of 4, you can use your expected yield per square foot and the amount you want to eat to estimate how many seeds and how much growing area you need.
- Test your soil first. Send a sample to your local extension office. Ask for pH, phosphorus, potassium, and organic matter at minimum. Results take 1 to 2 weeks and cost $15 to $30. This single step tells you exactly what to add and what to skip.
- Correct your pH if needed. If pH is below 5.5, apply lime at the recommended rate and work it in. Ideally do this a season ahead, but even a few weeks helps. Target 6.0 to 6.5.
- Build your phosphorus and potassium before planting. If your test shows low P, work in bone meal or rock phosphate. If K is low, add greensand, kelp meal, or a granular potash. Till amendments into the top 4 to 6 inches.
- Add compost. Regardless of your soil test, 2 to 3 inches of finished compost worked in improves soil structure, water retention, and provides a slow-release nutrient base. This alone handles most secondary nutrient needs.
- Apply a modest starter nitrogen. A light application of a balanced fertilizer or compost at planting gives early establishment a boost without the risks of over-fertilizing in fall.
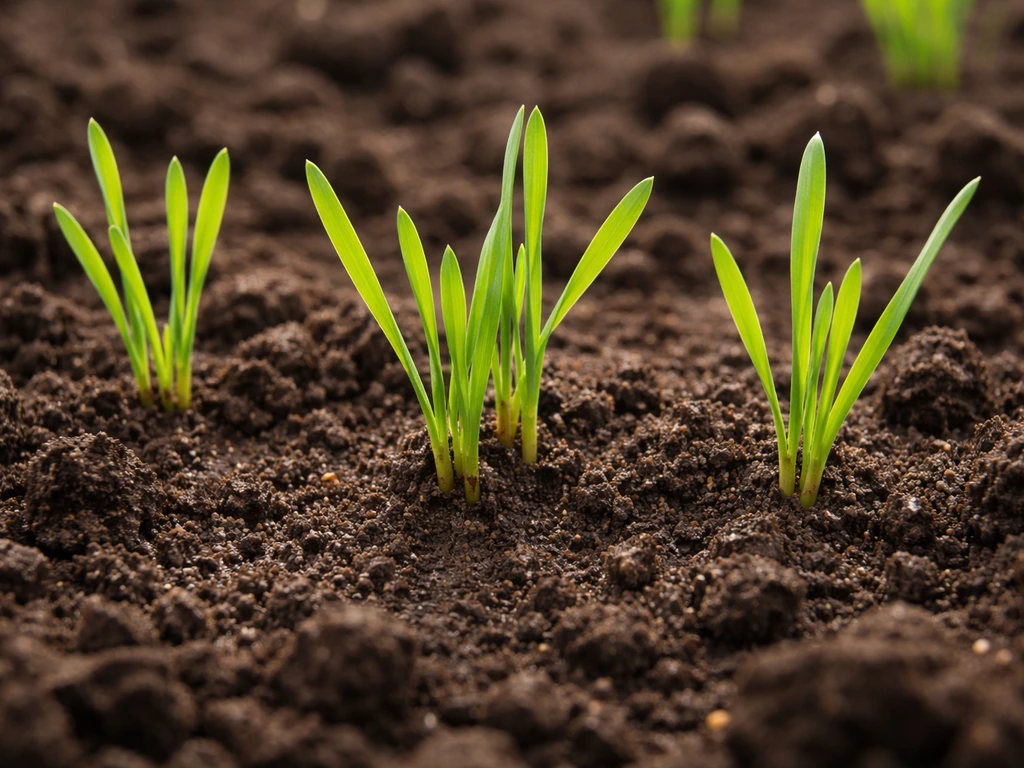
- Plant seeds at 1 to 1.5 inches deep. For winter wheat, plant in fall about 6 weeks before your first hard frost. For spring wheat, plant as soon as soil is workable and above 40°F. Aim for 20 to 25 seeds per square foot when broadcasting.
- Water after planting to ensure good seed-to-soil contact, then maintain consistent moisture throughout germination and early growth. Wheat doesn't need irrigation the way vegetables do, but dry spells during germination or jointing will hammer your yield.
- Topdress with nitrogen in early spring (for winter wheat) or at tillering (for spring wheat). Apply before jointing. Use urea, ammonium sulfate, blood meal, or fish meal at roughly 1.5 to 2 ounces of actual nitrogen per 100 square feet if you don't have a specific soil test recommendation.
- Scout weekly from emergence through heading. Look for any yellowing, purpling, or chlorosis patterns. Cross-reference with the troubleshooting table above. Most problems at this point are either moisture-related or a nitrogen timing issue.
- Harvest when grain moisture drops to about 14% or less, usually when the stems have gone golden and the heads are fully dry. For a 100-square-foot bed, expect roughly 1 to 2 pounds of grain from a well-managed plot.
Growing wheat at home isn't complicated once you understand what the plant is actually asking for. If you're wondering what it will take to will feed wheat grow for your household, plan the acreage and yield expectations alongside your nutrient program. The nutrient side of it is mostly about getting nitrogen timing right and making sure your pH isn't blocking everything else. The non-nutrient side is about choosing the right type (winter vs. spring) for your climate, planting at the right depth, and keeping roots in well-drained, aerated soil. If you're also thinking about how much wheat to actually grow to feed your household, or which variety makes the best bread flour, those are worthwhile next questions to dig into after you've got your soil program sorted. If you're also thinking about how much wheat to actually grow per person, plan the acreage and yield expectations alongside your nutrient program. For bread, the best wheat to grow is typically a hard wheat type with strong baking qualities best wheat to grow for bread.
FAQ
What is the minimum soil pH wheat can tolerate, and what happens if it is too low?
Wheat performs best around pH 6.0 to 7.0, and below about 5.5 you should expect reduced nutrient availability and higher risk of aluminum and manganese issues. If you cannot lime before planting, do the correction early next season and avoid heavy nitrogen until the pH starts improving, because poor uptake can make plants look “nutrient starved” even when fertilizer is present.
If my seedlings look purple, do I need to add more phosphorus right away?
Not necessarily. Cold spring soils slow phosphorus uptake, so purpling can show up even when phosphorus is adequate. Wait until temperatures rise (often once soils warm past about 50°F/10°C), then reassess before adding phosphorus, since over-applying can waste money and can still not fix the real issue if cold is the limiting factor.
How do I tell the difference between nitrogen deficiency and sulfur deficiency?
Look at which leaves change first. Nitrogen deficiency usually shows on older leaves first, while sulfur deficiency tends to appear on young leaves first. If the yellowing pattern matches young leaves and your soil is low in organic matter, prioritize sulfur before increasing nitrogen.
Can I just broadcast wheat seed and skip furrows or hand seeders?
You can, but even emergence is harder when seeds do not get uniform soil contact and depth. If you broadcast, increase attention to rolling or light covering so seeds contact moist soil. Uneven stands then lead to uneven tillering, which often makes later nutrient timing less effective.
How soon can I topdress nitrogen after winter wheat starts growing again?
Apply when the ground thaws and growth becomes active, but make sure it is finished before jointing, when the first node becomes visible. If you wait until after jointing, late nitrogen can raise lodging risk and can create patchy head development.
What if my soil test says phosphorus and potassium are already “optimum,” should I still add starter fertilizer?
Generally, no for phosphorus, because young roots benefit from proximity only when those nutrients are limiting. If P and K are already in the optimum range, focus fertilizer money on nitrogen timing instead. Adding extra P or K in that situation mostly increases cost and can encourage nutrient buildup without yield gains.
How can I avoid nutrient deficiency symptoms that are caused by water problems?
Before applying fertilizer, check drainage and recent rainfall history. Yellowing after heavy rain in low spots often signals waterlogging, oxygen loss, and impaired uptake, symptoms that can mimic deficiency. A raised bed or improved soil structure (for example, adding organic matter and correcting compaction) can fix the root cause more reliably than amendments.
How deep should I seed wheat if my soil is very dry or crusty?
A common target is about 1 to 1.5 inches for many home-garden situations, but in very dry conditions you may need to place seeds slightly deeper to reach moisture. In crusty soils, avoid going too deep, because emergence can slow and seedlings may lose vigor before they reach the surface.
Do I need to worry about micronutrients like iron and zinc, or only the big three (N-P-K)?
Micronutrients become important if your pH is above about 7.0, because high pH can lock up iron and zinc regardless of how much is present in the soil. If your soil test shows elevated pH, plan on monitoring for interveinal chlorosis (iron) or stunting and streaky discoloration (zinc) rather than assuming micronutrients are always “automatically” available.
Should I fertilize wheat even if I skipped a soil test?
You can, but it increases the chance of the wrong product or wrong rate. If you must proceed without a test, keep nitrogen modest at planting, then plan your main nitrogen investment around spring growth for winter wheat or mid-season for spring wheat, and avoid heavy blanket phosphorus unless you have a reason to believe it is low.
What is the biggest timing mistake home growers make with wheat nutrients?
Applying nitrogen at the wrong time, especially topdressing too late (after jointing for winter wheat). Late nitrogen increases lodging risk and can lead to uneven growth and head fill. The second common timing error is trying to solve poor fertility with fertilizer while drought or waterlogging is limiting uptake.
Next Article
How Much Wheat to Grow for a Family of 4: Plan Your Acres
Calculate acres to grow enough wheat for a family of 4, with yield, unit conversions, planting, and harvest steps.