Whatever you consistently give attention, resources, and energy to in your garden will grow. That's the whole idea. Feed your soil with compost, keep moisture consistent, and your vegetables thrive. Ignore your beds, leave soil bare, overwater, or dump on too much nitrogen, and you'll feed weeds, pests, and disease instead. The proverb sounds abstract, but in a garden it's almost literally true: inputs determine outcomes. The question is just whether you're directing those inputs toward what you actually want to harvest.
What You Feed Will Grow: Practical Garden Inputs to Boost Plants

Marcus Hendrick
23 Apr 2026
What the Proverb Actually Means in the Garden
The saying 'what you feed will grow' is about intention and consequence. In life it might mean attention or habits. In a garden, it means physical inputs: water, nutrients, light, soil structure, warmth, and space. Every one of those inputs either helps your crops or helps something else. There's no neutral ground. Bare, compacted soil with no organic matter will grow weeds the moment seeds blow in. Waterlogged beds with poor drainage will grow root rot. A garden smothered in high-nitrogen fertilizer will grow aphids as fast as it grows vegetables. The proverb is a diagnostic tool. When something is thriving in your garden that you didn't intend to grow, ask yourself: what am I feeding it? Almost always there's a clear answer.
For home gardeners and homesteaders, this reframe is genuinely useful because it shifts focus from reactive spraying and pulling to proactive input management. Instead of asking 'how do I kill these weeds,' you ask 'what am I doing that lets them win?' Instead of 'why are my tomatoes struggling,' you ask 'what's missing from what I'm giving them?' That shift in thinking is worth more than any single product or trick.
What You're Actually Feeding: Soil Nutrients, Biology, and Structure
Plants don't eat food the way we do. They pull water and dissolved minerals through their roots, and manufacture energy from sunlight. So when we talk about 'feeding' plants, we're really talking about building and maintaining the medium those roots live in. Soil is a living system, and the three pillars you're managing are chemistry (nutrient availability and pH), biology (the microbial and fungal communities that process nutrients), and structure (the physical arrangement that lets roots penetrate, water drain, and air move).
pH: The Master Switch for Nutrient Availability
Soil pH is the single most overlooked factor in home vegetable gardens. Most vegetables thrive at a pH between 6.0 and 7.0, with 6.5 being the sweet spot where nutrient availability is genuinely at its best. Outside that range, nutrients physically lock up in the soil and plants can't access them no matter how much you've added. If your pH drops below 6.0, phosphorus availability tanks. Go too alkaline above 7.5 and you lose iron and manganese. You can pour on compost and fertilizer and still starve your plants if pH is off. Get a soil test first. University extension programs typically offer them for $15 to $30, and the UMN Extension recommends retesting every three to five years, or whenever you're converting a new bed.
Soil Structure: Where the Biology Lives
Soil structure refers to how particles clump together into aggregates. Good aggregates, built by fungal threads, earthworm secretions, and organic matter, create pore spaces that hold both air and water. Roots grow deeper, water infiltrates instead of running off, and the beneficial microbial communities that process nutrients into plant-available forms can thrive. Compaction, excessive tilling, and low organic matter destroy those aggregates. Avoid working wet soil, minimize unnecessary tillage, and keep adding organic matter annually. That's the whole strategy for structure.
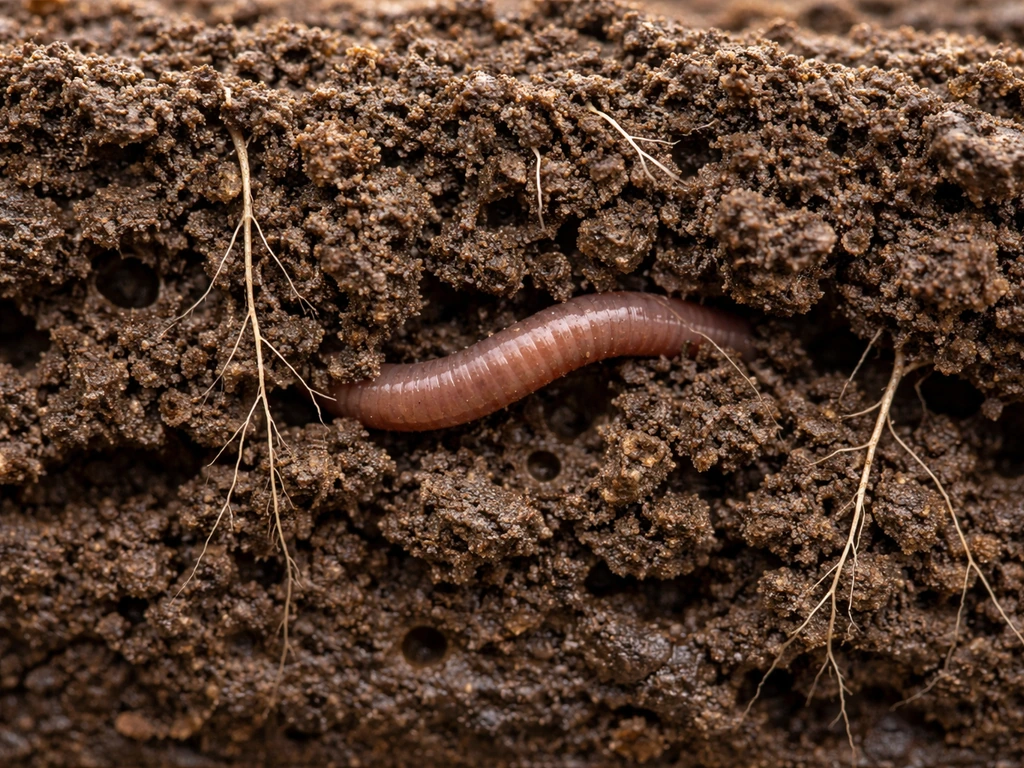
Soil Biology: The Workforce You're Managing
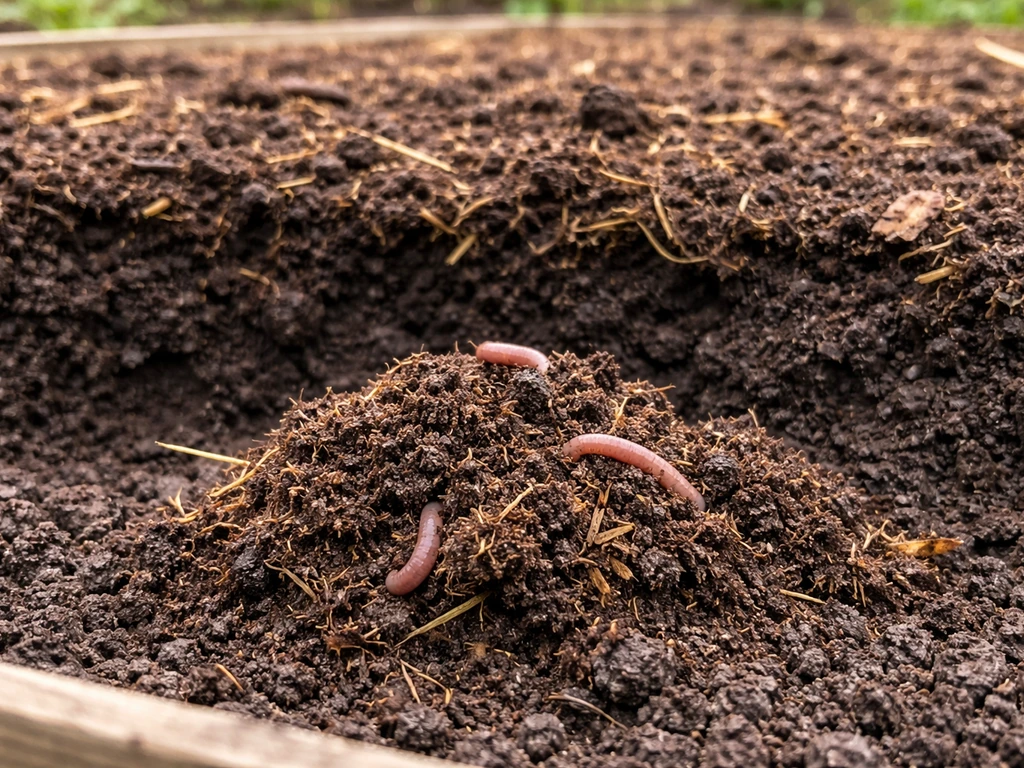
Bacteria, fungi, nematodes (beneficial ones), and earthworms are your unpaid labor force. They break down organic matter, fix nitrogen, suppress some pathogens, and deliver nutrients to root surfaces. Compost feeds them directly. Bare soil and synthetic-only fertilizer programs slowly starve them. You don't need expensive inoculants. Products claiming to add mycorrhizae or other organisms to established soil have weak evidence behind them, according to University of Maine and University of Arizona extension research. What does work is simply adding finished compost and keeping soil covered.
Feeding Your Plants the Right Way
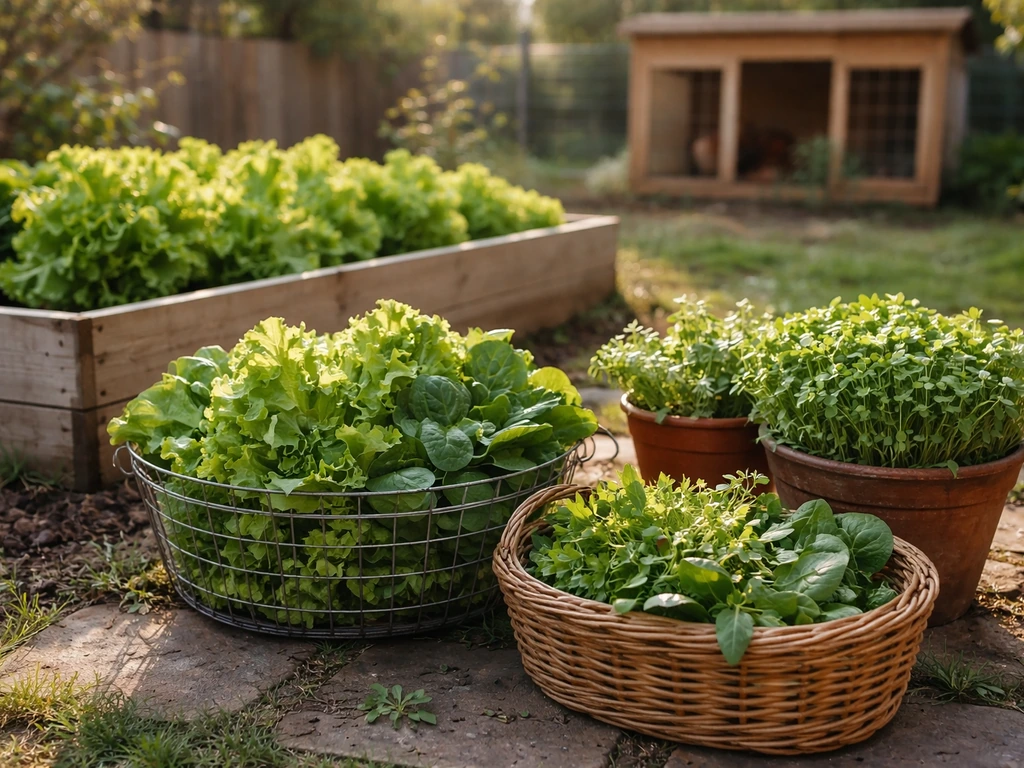
Compost: Your Best All-Around Input
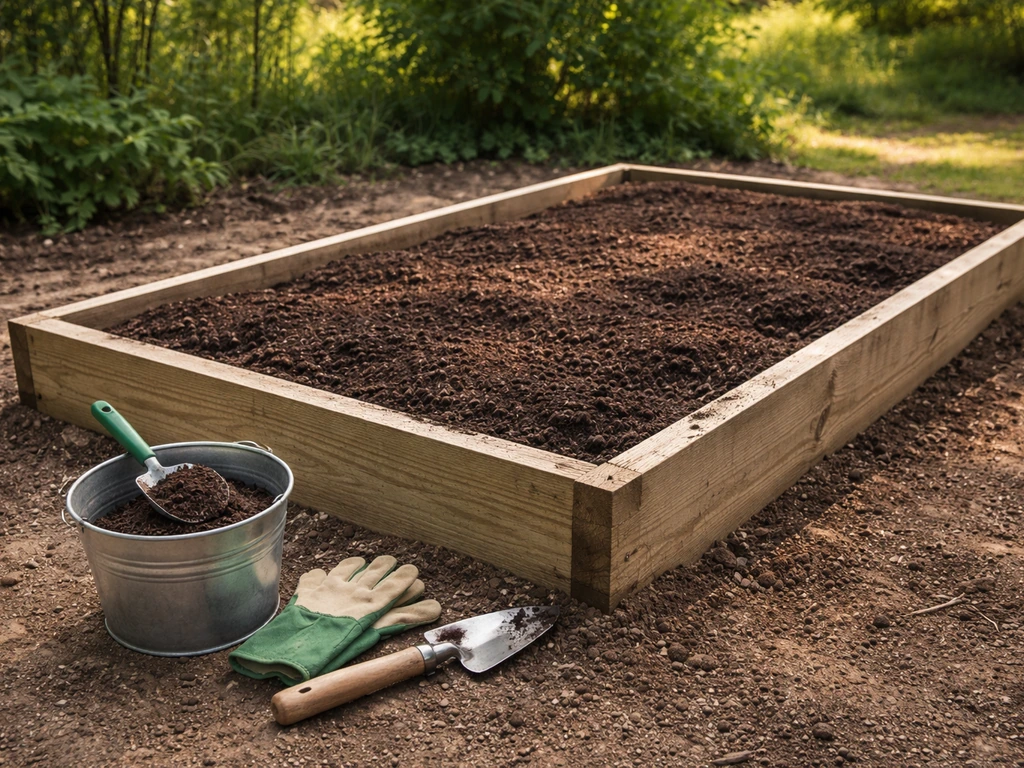
Finished compost improves soil structure, feeds beneficial microbes, improves moisture retention, reduces nutrient loss, and can even suppress certain soilborne diseases. Missouri Extension recommends roughly 1 to 2 pounds of compost per square foot when initially building a new bed, which works out to about 10 to 20 tons per acre for larger operations. For established beds, a 1-inch top-dressing each season is usually sufficient. The critical word here is 'finished.' Half-composted material can introduce weed seeds and pathogens. A proper hot compost pile reaches 131 to 160 degrees Fahrenheit in the thermophilic phase, which kills most weed seeds and pathogens. If you're not confident yours got hot enough, use it as mulch around established plants rather than mixing it into the seed zone.
More is not better with compost. Penn State Extension specifically warns that over-application moves excess nitrogen and phosphorus into groundwater and nearby waterways. CSU Extension echoes this, advising that you reduce application rates as soil organic content builds over the years. Think of it as a bank account: you want to keep depositing, but you don't need to dump in a year's salary every month once the balance is healthy.
Fertilizers: Match the Nutrient to the Need
Fertilizers fill gaps that compost and your existing soil biology can't cover on their own. The key is matching the nutrient to what's actually deficient, which is another reason soil testing matters. Nitrogen drives leafy growth. Phosphorus supports roots and flowering. Potassium affects overall plant resilience. Timing matters as much as the amount: apply nitrogen when plants are actively growing and can use it, not on frozen ground or just before heavy rain. UNR Extension is clear that granular fertilizers need to be watered in after application to release nutrients and prevent burning. UNH Extension recommends sidedressing nitrogen (applying it alongside growing plants mid-season) rather than loading it all in at planting, especially for heavy feeders like corn and tomatoes.
Excess nitrogen is a real problem, not just a theoretical one. UC IPM documents that too much nitrogen can kill fine roots, increase susceptibility to root-feeding nematodes, and invite root decay pathogens. High nitrogen also produces lush, soft plant tissue that aphids find irresistible. UC IPM specifically notes that elevated nitrogen levels favor aphid reproduction. The lesson: fertilize to support the plant's actual growth stage, not to push it as hard as possible.
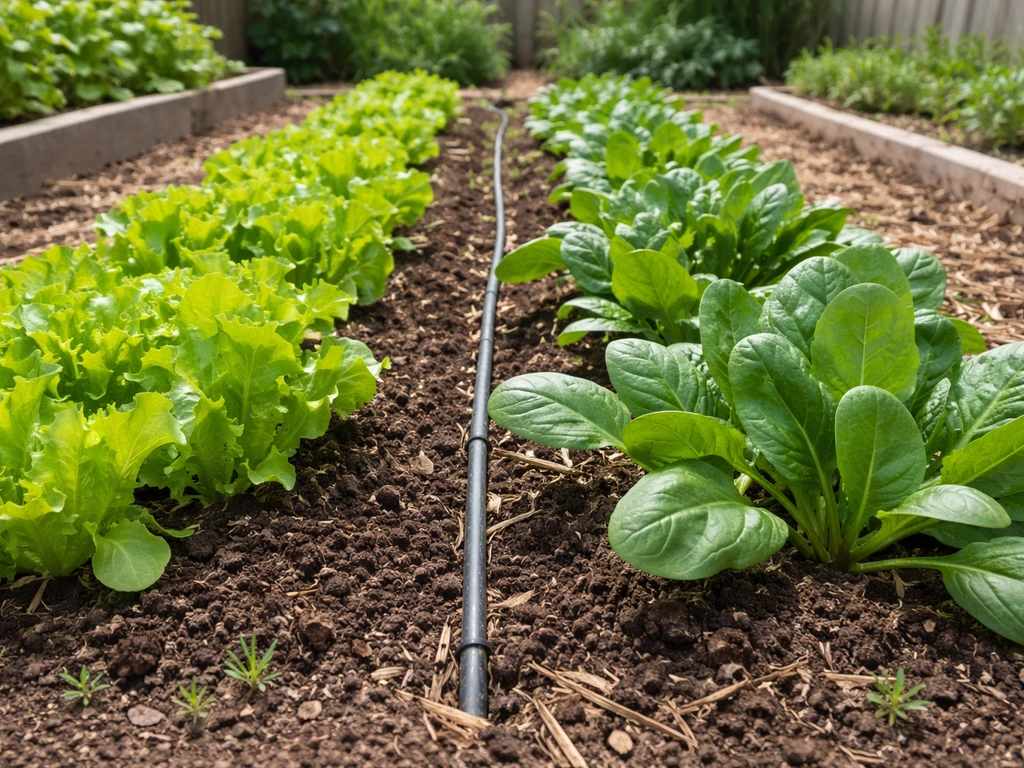
Mulch: The Underrated Workhorse
A 3 to 4 inch layer of organic mulch (straw, wood chips, shredded leaves) does several jobs at once: it holds soil moisture, moderates temperature, suppresses weed germination, and breaks down slowly to feed soil biology. UC ANR guidance recommends keeping mulch at roughly that 3 to 4 inch depth to effectively suppress weed germination. The one rule from SDSU Extension: apply mulch only to weed-free soil. Mulching over existing weeds just traps moisture around them and gives them ideal germination conditions underneath. Clear first, then mulch.
Water: Enough Is Not More
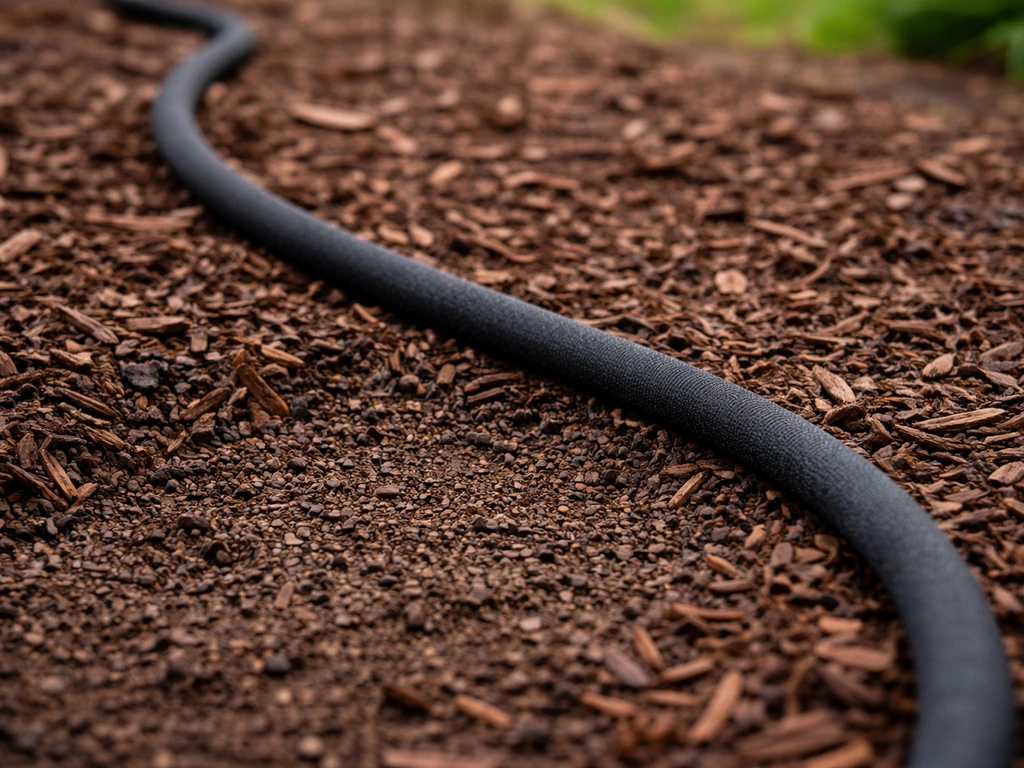
Overwatering is one of the most common ways gardeners accidentally feed disease. UC Davis research on soil health states clearly that waterlogged roots lack oxygen, reducing yields and increasing susceptibility to root rot and other pathogens. Most vegetables need consistent moisture in the top 6 to 12 inches of soil, not perpetually saturated conditions. A simple test: push your finger 2 inches into the soil. If it's moist there, you don't need to water yet. If you're running drip or soaker hose irrigation, you're automatically ahead of overhead watering in terms of reducing foliar disease pressure.
What You're Feeding When Things Go Wrong
This is the half of the proverb most gardeners don't think about. Weeds, pests, and diseases all have inputs they depend on. Cut off those inputs and you're not fighting them anymore, you're just not feeding them.
What Feeds Weeds
- Bare soil: any exposed soil surface is a weed seed germination opportunity. Cover it with mulch, a cover crop, or a living groundcover.
- Immature compost: half-composted material that didn't reach thermophilic temperatures can be loaded with viable weed seeds. Hot compost (131 to 160°F sustained) kills them.
- Tilling before you're ready to plant: every pass of a tiller buries weed seeds at perfect germination depth and exposes fresh ones to light.
- Overhead watering of paths and non-planted areas: you're watering weeds too. Drip irrigation targeted at your crop row reduces this.
What Feeds Pests
- Excess nitrogen: produces soft, lush growth that is exactly what sucking insects like aphids want. UC IPM notes high nitrogen directly favors aphid reproduction.
- Growing the same plant family in the same spot year after year: this gives soil-dwelling pests a reliable host and allows populations to build. UW-Madison Extension is explicit that crop rotation interrupts pest and disease lifecycles.
- Garden debris left in beds over winter: overwintering sites for insects, eggs, and disease spores. Clean up at season's end.
- Stressed plants: plants under water stress, pH imbalance, or nutrient deficiency are more vulnerable to pest and disease pressure. A well-fed, correctly pH'd plant resists more than a struggling one.
What Feeds Disease
- Overwatering and poor drainage: creates anaerobic conditions that root rot pathogens love.
- Wet foliage: overhead watering in the evening leaves leaves wet overnight, which is ideal for fungal disease. Water at the base in the morning.
- Monoculture planting without rotation: UMass Extension recommends at minimum a one-year rotation away from susceptible crops to break disease cycles.
- Compromised plant tissue from nutrient excess: UC IPM links excess nitrogen directly to increased susceptibility to root decay pathogens and nematodes.
Simple Routines That Keep You on the Right Side of the Proverb
You don't need a complicated system. You need consistent observation and a handful of quick actions. Rutgers Extension recommends scouting vegetable gardens at least twice a week, thoroughly inspecting plants for pest buildup. That habit alone catches problems before they explode. Here's a weekly routine that works at any scale:
- Monday/Tuesday: Walk every bed. Look at leaf undersides for aphids, check soil moisture, and note anything that looks off (yellowing, wilting, spots). Five minutes is enough.
- Mid-week: Water if needed based on your finger test, not a schedule. Pull any weeds you noticed before they set seed.
- Weekend: Bigger tasks: add mulch where bare soil is exposed, turn compost, pull spent plants, add compost tea or a sidedress of fertilizer if plants are in a heavy feeding stage.
- Monthly: Check mulch depth and top up to 3 to 4 inches. Review what's thriving and what isn't and ask why.
- Seasonally: Rotate crop families to new beds. Add 1 inch of compost to beds after clearing them. Soil test every 3 to 5 years or when moving to a new growing area.
The observation habit is non-negotiable. You can't adjust what you can't see. Most pest infestations, water problems, and nutrient imbalances give you plenty of warning signs before they become disasters. The twice-weekly walk is how you catch them.
Common Beginner Mistakes (and How to Fix Them Fast)
| Mistake | What It's Actually Feeding | Quick Fix |
|---|---|---|
| Adding lots of compost every season without soil testing | Excess phosphorus and potassium buildup, possible nutrient lock | Soil test first, apply only what's needed based on results |
| Watering on a fixed daily schedule | Root rot pathogens, anaerobic conditions | Switch to finger-test or moisture meter before watering |
| Leaving soil bare between plants | Weed seeds, soil crust, moisture loss | Mulch to 3 to 4 inches immediately after planting |
| Using too much nitrogen to push growth | Aphids, root decay pathogens, soft tissue vulnerable to disease | Sidedress small amounts at growth stages instead of loading at planting |
| Growing tomatoes in the same bed every year | Soilborne disease, nematodes, blight spores | Rotate by plant family each season (tomato family, brassicas, legumes, roots) |
| Applying fertilizer before rain or on frozen ground | Nutrient runoff into waterways, wasted money | Check forecast, apply when rain is not expected within 24 to 48 hours |
| Mulching over weedy soil | Warm moist conditions that help weeds germinate under the mulch | Clear weeds thoroughly before applying any mulch |
Turning This Into a Real Garden Plan
Container and Small-Space Gardens (Under 100 Square Feet)
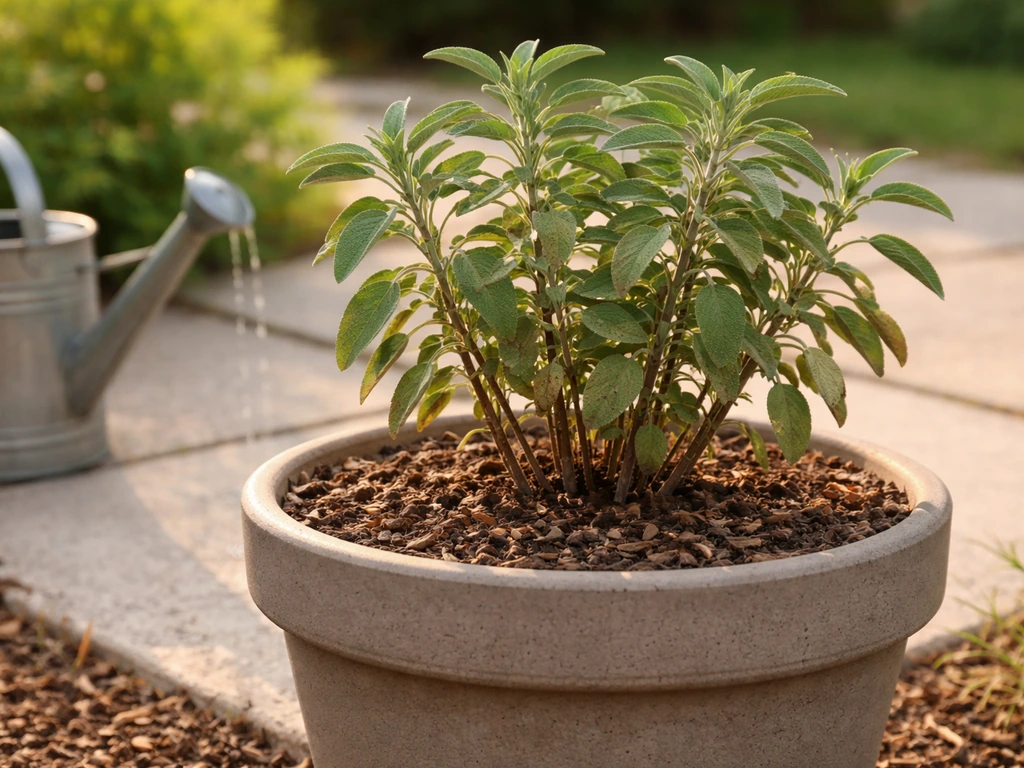
In containers, you control the entire growing medium, which is both an advantage and a responsibility. Use a quality potting mix with perlite for drainage, and mix in 20 to 30 percent finished compost by volume when filling. pH drifts quickly in containers, so test or use pH-adjusted water if you notice yellowing. Fertilize lightly every two to three weeks with a balanced liquid fertilizer rather than loading granular at the start of the season. Keep containers mulched with a thin layer (1 to 2 inches) of shredded leaves or straw to reduce moisture loss. Watch for aphids on new growth; they love container-grown herbs and brassicas especially when the plants are overfed.
Mid-Size Garden Beds (100 to 1,000 Square Feet)
This is where crop rotation becomes essential and where you start building a multi-year soil program. Map your beds by plant family and rotate them each season: nightshades (tomatoes, peppers, eggplant) in bed A this year, legumes next year, brassicas the following year, and so on. Apply 1 inch of finished compost to each bed at the start of the season and again after clearing it in fall. Mulch all paths and planted areas. Install drip or soaker irrigation if you can, it pays back in disease reduction and water savings within a single season. Do a soil test on any new bed and retest every three to five years.
Homestead Scale (1,000 Square Feet and Up)
At homestead scale, your compost system becomes a production system, not just a cleanup tool. You need enough throughput to generate finished compost for your annual bed amendments. A two- or three-bin system, with one actively building heat, one curing, and one ready to use, keeps you ahead of your needs. If you're raising chickens, the connection between growing food and feeding your flock is a direct one. Crops like sunflowers, kale, cucumbers, and zucchini can all be grown specifically as <a data-article-id="26619CF5-994A-4B79-9A45-E647CA03B2CE">supplemental chicken feed</a>, and the manure goes back into the compost to feed the garden. That closed loop is the proverb made physical: you feed the soil, the soil feeds the plants, the plants feed the flock, the flock feeds the soil. If you also want to plan for birds, looking up the best grains to grow for chickens is a useful adjacent step so your grain and garden rotations support each other. If you also want to plan for birds, looking up the best greens to grow for chickens is a useful adjacent step so your grain and garden rotations support each other. At this scale, <a data-article-id="11B4828C-9A8A-4E09-B04C-BE2E16CA9414">grain growing for chickens</a> becomes a realistic option, and choosing the best grains and greens for your flock can be planned alongside your vegetable rotation.
Regardless of scale, the plan always starts with the same question: what are you feeding, and what do you want to grow from it? Get the soil right first, observe constantly, rotate your crops, keep soil covered, and apply inputs in amounts the plants can actually use. Do those things and the proverb works in your favor every season.
FAQ
If pH is the “single most overlooked factor,” how often should I test, and where should I sample from?
Aim for a soil test before you add fertilizer, then test again only when you have a reason (after major amendments, before a new rotation cycle, or if plants show repeated deficiencies). Also take samples from multiple spots in each bed and mix them, because one “good” or “bad” corner can otherwise hide the real pattern.
What’s the simplest way to avoid overwatering while still keeping plants consistently hydrated?
Use a moisture check before watering, then water deeply enough to wet the top root zone (often 6 to 12 inches for many vegetables). If you use drip or soaker irrigation, run it for longer, less frequently, rather than brief daily pulses that keep the surface wet and encourage shallow roots.
How can I tell whether my compost is finished enough to mix into beds, and what should I do if I’m not sure?
When compost is not fully finished, weed seeds and pathogens survive, and you can also “tie up” nitrogen while the material continues breaking down. If you are unsure your compost reached a hot, finished state, keep it as mulch around established plants rather than mixing it into the seed row or potting mix.
What signs suggest I’ve added too much nitrogen, and what should I change first?
Over-application usually shows up as soft, fast leafy growth, dark green color, and lots of aphids, even when the plant looks “healthy.” If that happens, pause nitrogen inputs and switch to compost-only or a low-nitrogen balance while you confirm soil test results.
Can I apply the same compost and fertilizer approach to containers, or do I need a different strategy?
Yes, but do it gently. Containers need lighter, more frequent feeding, and pH can drift quickly. If yellowing appears and you have already added compost, first check pH and drainage, then adjust fertilizer strength, rather than increasing solids all at once.
If my soil is compacted, should I just till more to improve structure?
If you must till, do it minimally and only when soil is workable, not wet. Better options are surface mulching, compost top-dressing, and targeted loosening. Constant deep tilling breaks aggregates, speeds organic matter loss, and can reduce the microbial network you are trying to build.
What’s the correct way to mulch if my bed has weeds already growing?
Mulch can work as long as the weeds are cleared first, because covering over live weeds protects them from drying and can let them regrow underneath. If you’re late and weeds already emerged, remove them now (hoe or pull when small), then apply mulch at the recommended depth to reduce new germination.
What should I look for during weekly scouting, and how do I inspect effectively without missing the early signs?
Scouting works best when you inspect both sides of leaves and check the soil line and new growth. Make your first pass fast, then pause on anything that’s changing, like curled leaves, stippling, or clusters of insects, and note whether it’s happening on one plant or across a row.
How do I know when “more compost” or “more fertilizer” stops helping and starts causing problems?
Treat compost and fertilizer like inputs with limits. If you are still building soil organic matter, use a consistent baseline (like annual top-dressing), but avoid stacking extra amendments “just in case.” Re-check your plan after each soil test, because phosphorus buildup can become a water-quality issue.
Next Article
What Can I Grow to Feed My Chickens at Home
Grow leafy greens, herbs, grains and forage in containers or small plots to cut chicken feed costs safely.