The best greens to grow for chickens are kale, leaf lettuce, spinach, Swiss chard, mustard greens, and arugula. If you want more detail beyond greens, this guide on what to grow for chickens walks through the best options and timing. If you’re wondering what to grow specifically for chicken feed, leafy greens are usually the easiest high-value option what to grow for chicken feed. All of them are fast-growing, nutritious, and tough enough to keep producing through cool spring and fall weather when your chickens need supplemental food most. Kale is probably the single best pick: it regrows after cutting, handles light frost, and chickens go absolutely nuts for it. But a mix of two or three varieties planted on a two-week rotation will give you a more consistent supply than any single crop alone.
Best Greens to Grow for Chickens: How to Grow Them

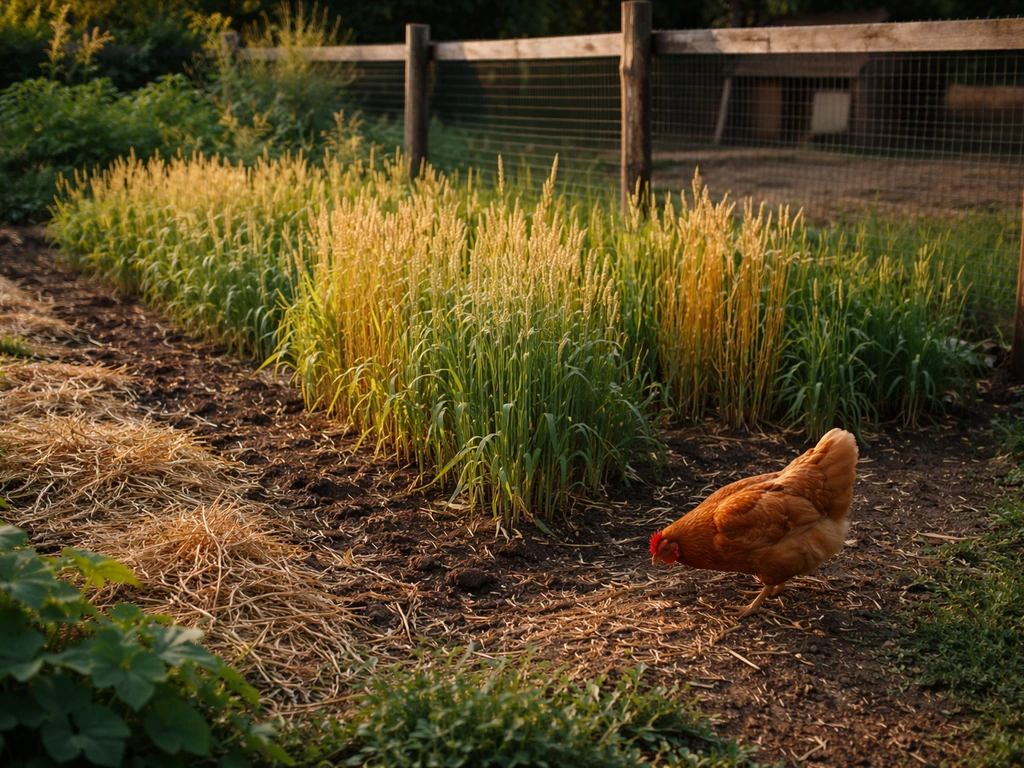
Best greens to grow for chickens
Not every leafy green is worth your time when you're growing specifically for chickens. You want crops that mature quickly, regrow after harvest, tolerate less-than-perfect conditions, and deliver real nutritional value: vitamins A, C, and K, plus calcium and protein to support egg production. Here's what I actually grow and recommend.
| Green | Days to Harvest | Best Season | Key Benefit | Notes |
|---|---|---|---|---|
| Kale | 40–60 days | Spring, Fall, Winter | High calcium and vitamins; cut-and-come-again | Most productive per square foot; handles frost well |
| Leaf Lettuce | 40–50 days | Spring, Fall | Fast, easy, high water content | Bolts in heat; stick to loose-leaf types, not head lettuce |
| Spinach | 45–60 days | Spring, Fall | Iron, vitamins, protein-boosting | Bolts quickly in summer; best as a cool-season staple |
| Swiss Chard | 50–60 days | Spring, Summer, Fall | Heat-tolerant, prolific regrowth | Bridges the gap when kale and spinach bolt |
| Mustard Greens | 30–45 days | Spring, Fall | Very fast; strong flavor chickens love | Can bolt quickly; great for quick succession planting |
| Arugula | 30–40 days | Spring, Fall | Fast, spicy, high in calcium | Bolt-prone in heat; excellent for early spring plantings |
| Beet Greens | 30–40 days | Spring, Fall | Double crop: greens and roots | Harvest outer leaves so root keeps growing |
| Sunflower Sprouts / Microgreens | 7–21 days | Year-round (indoors) | Ultra-fast; nutritious year-round treat | Grow on trays indoors; use about 10–15g seed per 12x20" tray |
A note on what to skip: head lettuce, broccoli heads, and dense brassicas are fine occasionally but not efficient enough for a dedicated chicken garden. You want leaves, and lots of them, fast. Also avoid rhubarb leaves, raw potato greens, and tomato leaves, which are toxic to chickens.
If you're also growing grains for your flock (things like sunflowers, corn, or wheat), greens work as the perfect nutritional complement since grains are energy-dense but lower in vitamins and fresh fiber. If you want the best grains to grow for chickens, focus on varieties that are easy to harvest, reliable in your climate, and useful both for feeding and scratching grains for your flock. The two approaches together get you much closer to a complete home-grown diet.
Quick-start growing plan: what to plant and when
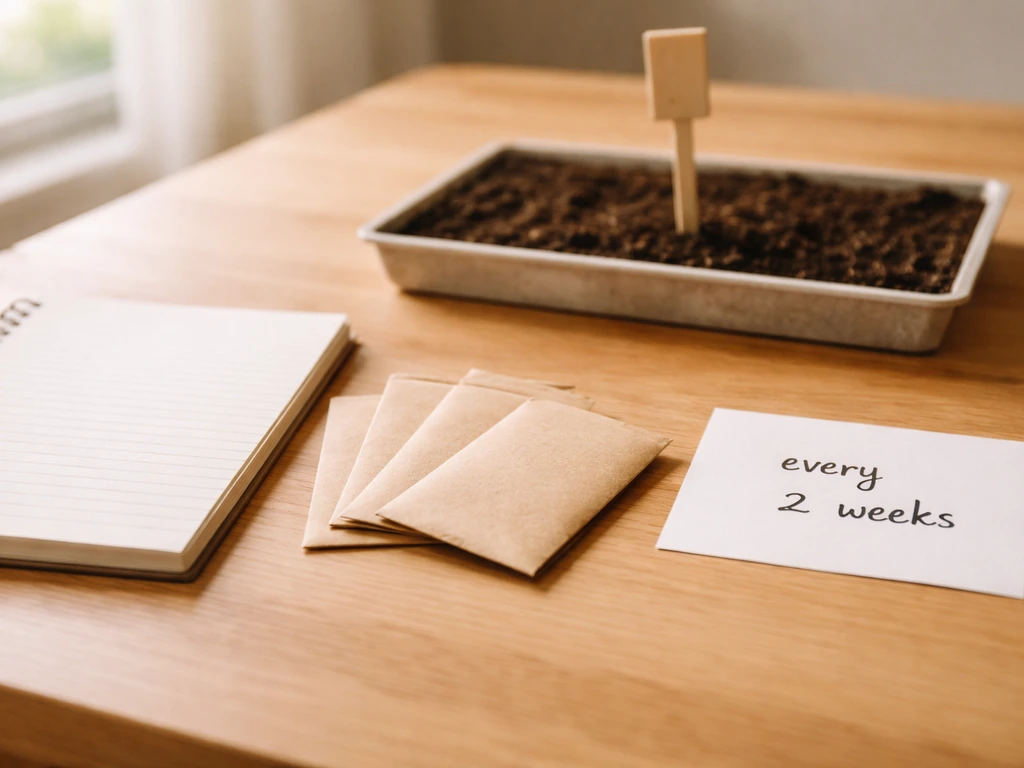
The key to a steady supply of chicken greens is succession planting: sowing a small amount every two weeks instead of one big planting that all matures at once. Most leafy greens mature in 30 to 60 days depending on crop and temperature, so two-week intervals keep harvests rolling in continuously rather than giving you a feast followed by a famine.
Here's a simple schedule built around two main growing windows. Adjust your specific dates about 2 weeks earlier or later depending on your zone and your last/first frost dates.
Spring window (cool season)
- 6 weeks before last frost: Start kale and spinach indoors, or direct-sow under row cover outdoors
- 4 weeks before last frost: Direct-sow arugula and mustard greens (both handle light frost fine)
- 2 weeks before last frost: Sow leaf lettuce and beet greens outdoors
- At last frost: Sow second wave of kale, lettuce, and chard
- 2 weeks after last frost: Sow third wave; focus on chard as temperatures climb
- Continue sowing chard every 2–3 weeks through early summer; pause cool-season crops when daytime temps stay above 80°F
Fall window (cool season)
- 10–12 weeks before first fall frost: Start kale and chard (this becomes your workhorse into winter)
- 8 weeks before first frost: Direct-sow spinach and arugula
- 6 weeks before first frost: Sow a fast wave of mustard greens and leaf lettuce
- 4 weeks before first frost: Last lettuce sowing; cover with row cover to extend harvest
- After first frost: Kale and chard under row cover will keep producing in light freezes; harvest spinach before hard freezes unless under protection
For year-round feeding, grow microgreens (sunflower, pea shoots, or wheat grass) on trays indoors. They're ready in 7 to 21 days, require no outdoor space, and give your chickens fresh greens even in the middle of January. Use about 10 to 15 grams of seed per standard 12x20 inch tray, which produces a solid handful of greens per harvest.
How to grow greens: soil, light, and watering
Soil
Leafy greens are forgiving, but they grow fastest in loose, well-draining soil with plenty of nitrogen. Work in 2 to 3 inches of finished compost before planting every season. If your soil is heavy clay, raised beds or containers with a quality potting mix will dramatically improve germination and root development. Aim for a pH of 6.0 to 7.0: most leafy greens sit comfortably in that range. If you're growing in containers, a standard vegetable potting mix works fine. Add a slow-release balanced fertilizer at planting, then a light top-dress of compost or liquid fish fertilizer every 3 to 4 weeks to keep nitrogen levels up for fast leaf production.
Light
Most leafy greens prefer full sun (6 or more hours per day), but they'll tolerate partial shade, especially in hot climates where afternoon shade actually helps prevent bolting in summer. In really hot zones, a spot that gets morning sun and afternoon shade will extend your spring harvest by 2 to 3 weeks compared to a full-sun location. For cool-season crops grown in fall, maximize sun exposure to compensate for shorter days and slower growth.
Watering
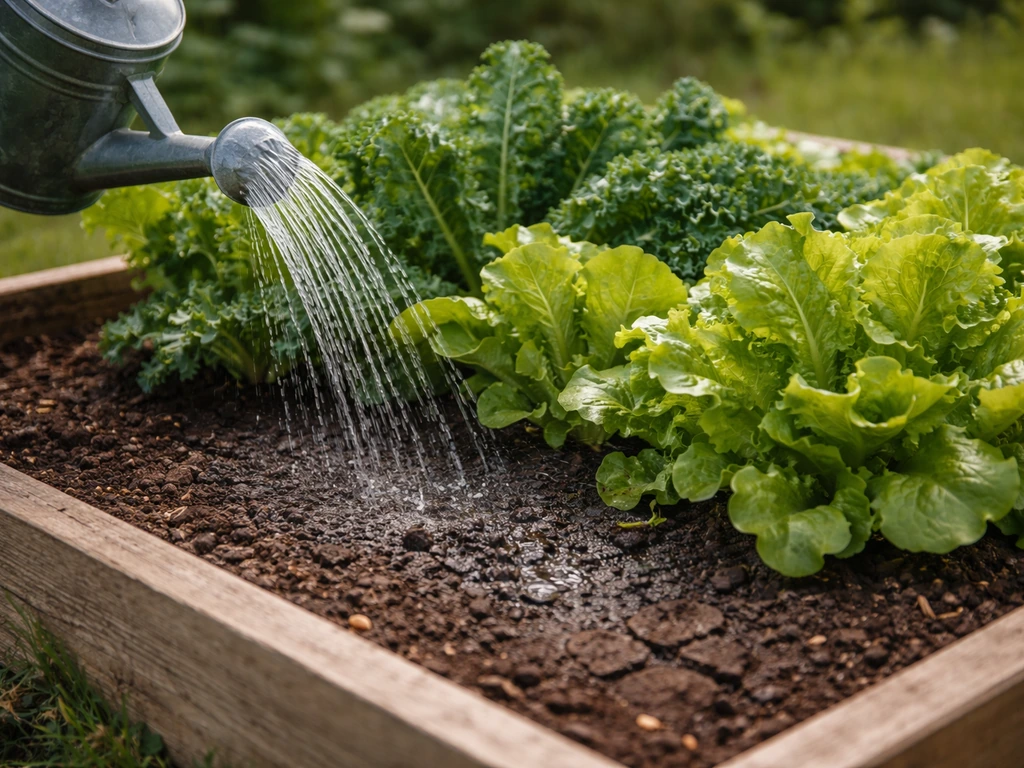
Consistent moisture is more important than total water volume. Most leafy greens do well with about 1 inch of water per week. Let the top half-inch of soil dry out between waterings rather than keeping it constantly soggy, which invites root rot and damping-off in seedlings. Water at the base of plants when possible, not overhead on the leaves, to reduce disease pressure. In hot weather, you may need to water every 2 to 3 days; in cool fall weather, once or twice a week is usually plenty. Mulching with straw or wood chips around plants cuts moisture loss significantly and reduces how often you need to water.
Spacing
For a chicken garden, you can plant more densely than typical vegetable garden spacing since you're harvesting leaves rather than waiting for a full plant to develop. Kale: space transplants 12 to 18 inches apart. Lettuce and arugula: 4 to 6 inches apart (or broadcast-sow and thin to that spacing). Spinach: 3 to 6 inches apart. Swiss chard: 6 to 12 inches apart. Mustard greens: 4 to 6 inches apart. Tighter spacing works well for baby-leaf harvests; wider spacing is better if you want full-sized cut-and-come-again plants.
Planting methods and succession for constant harvests
There are two practical planting approaches: direct seeding and transplanting. For most backyard growers, a combination of both works best.
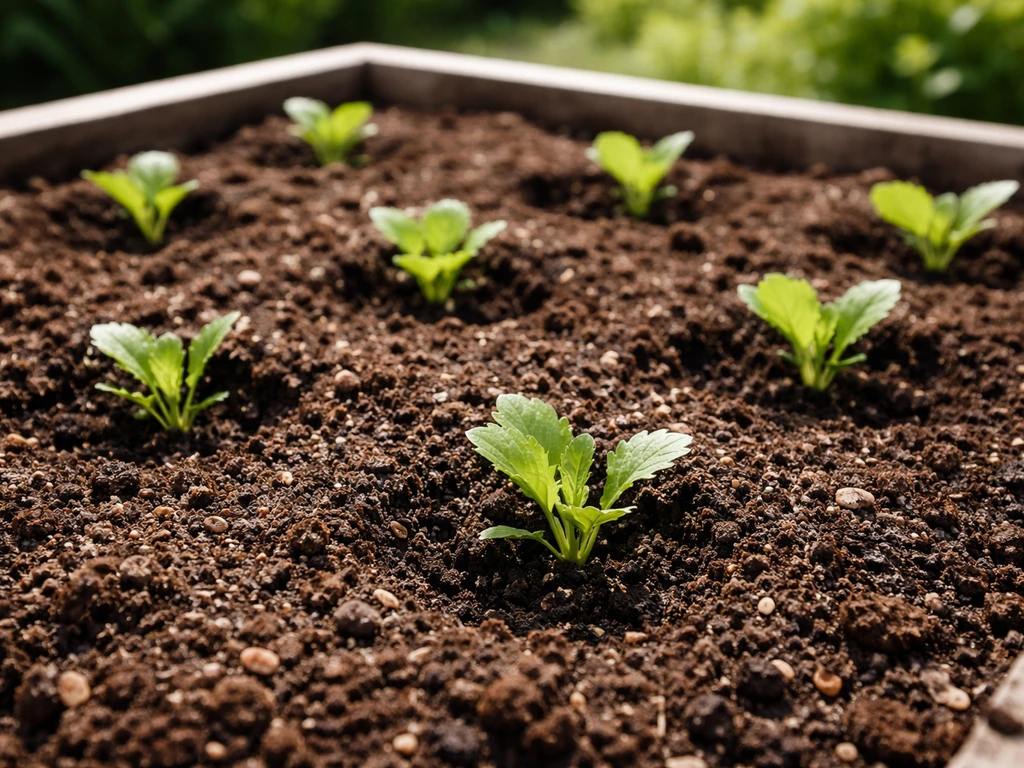
- Direct seeding: Works great for spinach, arugula, mustard greens, lettuce, and beet greens. Sow seeds about twice as deep as they are wide, water gently, and thin to proper spacing once seedlings are 2 to 3 inches tall. Fast and low-cost, but vulnerable to damping-off if conditions are too wet and cold.
- Transplanting: Best for kale and chard. Start seeds indoors 4 to 6 weeks before outdoor planting time, then move transplants outside once they have 2 to 3 true leaves. Transplants establish faster in the garden and give you a head start in both spring and fall.
- Succession planting: The core strategy. Divide your growing space into 3 to 4 small sections and stagger plantings every 2 weeks. This way, you always have plants at different stages: some just germinating, some growing fast, and some ready to harvest.
- Container growing: If outdoor space is limited, 5-gallon buckets or window boxes work well for lettuce, spinach, arugula, and mustard greens. Kale and chard need at least 3 to 5 gallons of soil volume per plant to produce well.
- Microgreen trays: For winter months, fill 12x20-inch trays with a shallow layer of potting mix, broadcast seed densely (10 to 15g per tray), mist daily, and harvest with scissors in 7 to 21 days. Pea shoots, sunflower sprouts, and wheat grass are all chicken favorites.
Row covers are one of the most useful tools for extending your greens season at both ends. A lightweight floating row cover (around 0.5 oz per square foot) blocks insects and provides 2 to 4°F of frost protection. A heavier cover (1.5 oz) can protect plants down to about 24°F. You can lay them directly on plants from seeding through harvest without harming most leafy greens, which means less work and longer harvests with minimal extra effort.
Harvesting, feeding amounts, and chicken-safe handling
How to harvest
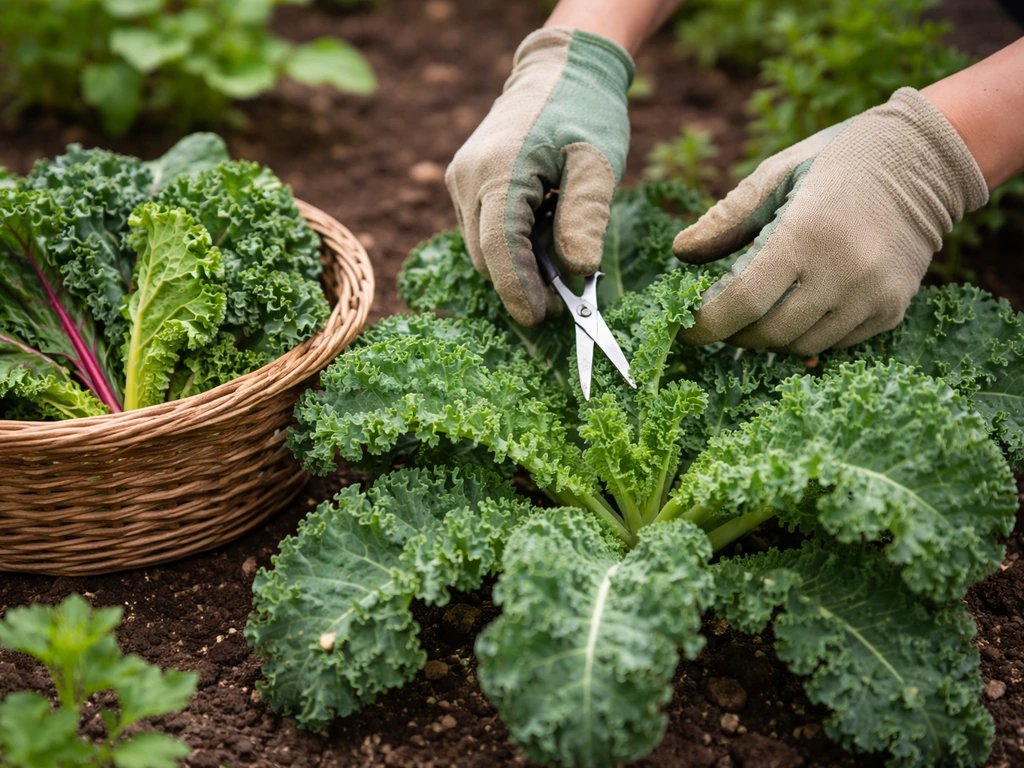
The single most useful harvesting technique for a chicken garden is cut-and-come-again: instead of pulling the whole plant, use scissors or a sharp knife to cut the outer leaves, leaving the center growing point intact. The plant regrows within 1 to 2 weeks and you can harvest from the same plant multiple times before it bolts or declines. This works best with kale, Swiss chard, spinach, lettuce, arugula, mustard greens, and beet greens. For microgreens, you cut the whole tray at once just above the soil line.
For kale and chard especially, I target the large outer leaves first and leave the center intact. A single established kale plant can be harvested every 1 to 2 weeks for months. Harvest in the morning when leaves are most hydrated and nutritious. If you're harvesting a lot at once, store extras in the fridge in a damp cloth or bag for up to a week.
How much to feed and how to transition chickens
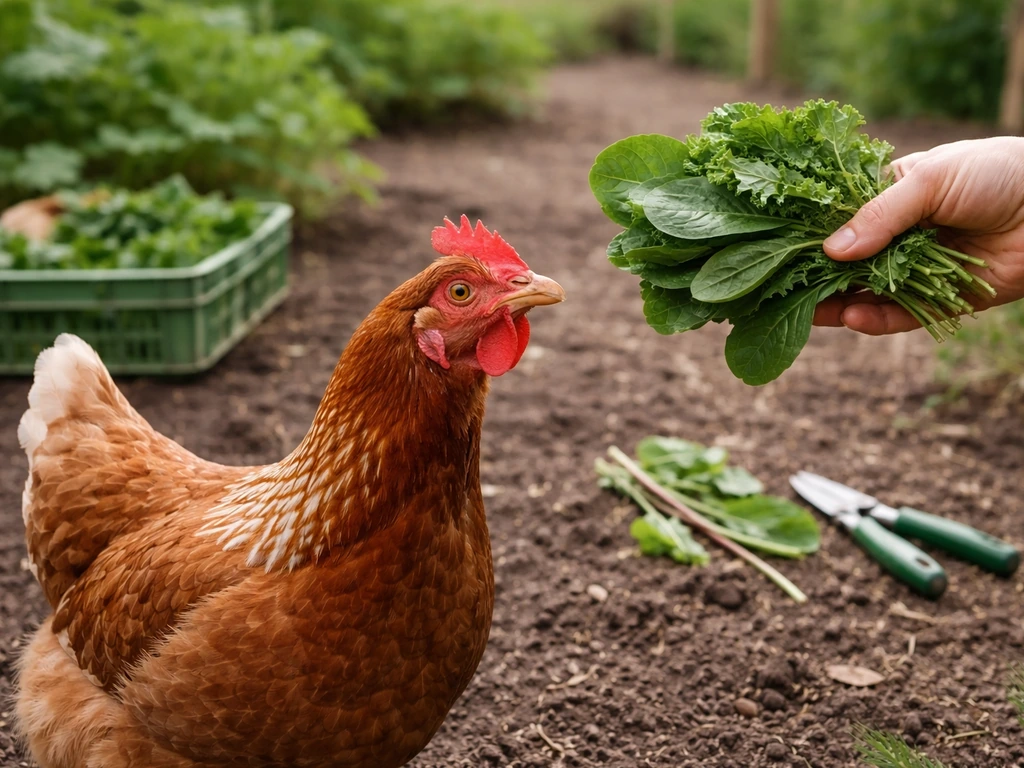
Greens should be supplemental, not a replacement for a complete feed. When you feed your flock greens, remember that what you feed will grow in your chickens' health and daily routine. Oregon State University Extension is clear on this: excessive greens and table scraps are not beneficial to laying hens and can dilute the balanced nutrition in their main diet. Oregon State University Extension (Ask Extension) notes that rhubarb leaves can be toxic because of their oxalic acid content blank" rel="noopener noreferrer">rhubarb leaves can be toxic due to their oxalic acid content. A practical rule of thumb from extension poultry research is to offer greens (and any other supplements) as no more than what your flock can finish in about 20 minutes. That gives chickens a real nutritional boost without displacing the protein and calcium they need from their formulated layer feed.
For a small flock of 4 to 6 birds, that usually means a large double handful of fresh greens per day, roughly equivalent to a salad bowl full. You can feed greens by tossing them directly into the run, hanging a bunch of kale or chard from a string at head height (this keeps them engaged and prevents them from trampling it), or putting loose greens in a shallow dish. Hanging works especially well with kale: it becomes a pecking toy and keeps the greens clean.
If your chickens have never had fresh greens before, start with a small amount and increase over 5 to 7 days. Sudden large amounts of fresh greens can cause loose droppings until their digestive systems adjust. Once they're used to it, daily greens are completely fine and genuinely beneficial for egg yolk color, health, and behavior.
Safe handling
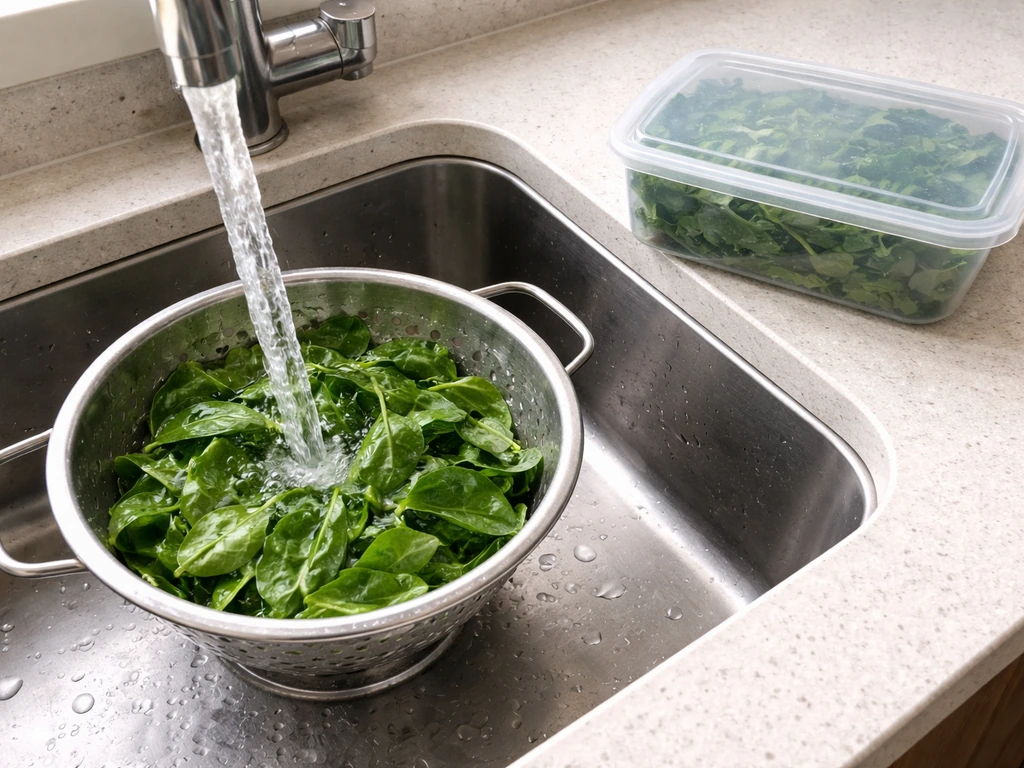
- Never feed wilted, slimy, or moldy greens. Remove any uneaten fresh greens from the coop or run within a few hours, especially in warm weather, to prevent mold growth.
- Wash greens if you've used any sprays in the garden, even organic ones, before feeding.
- Avoid greens that have bolted and turned bitter or tough: chickens will often reject them anyway, and very mature bolted plants have lower nutritional value.
- Do not feed rhubarb leaves, raw potato or tomato plant leaves, or avocado: all are toxic to chickens.
- Oxalic acid in spinach is fine in normal feeding amounts but don't make spinach the only green you feed every single day; variety is better.
Troubleshooting common problems and boosting yields
Poor germination
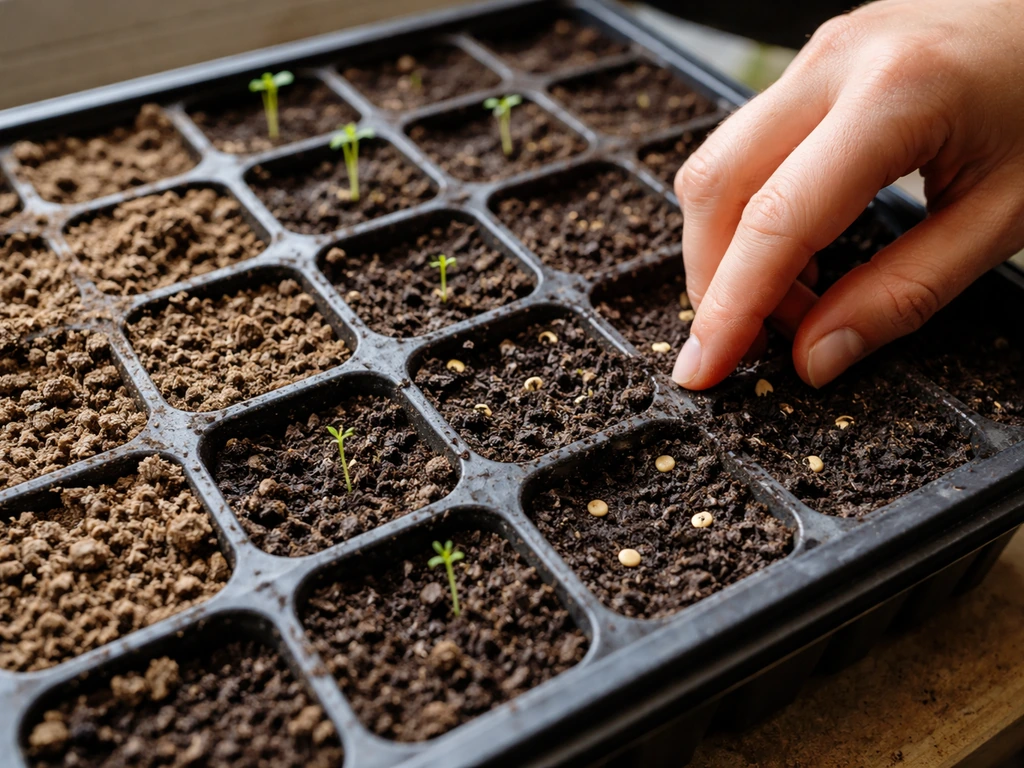
The most common cause is planting too deep or keeping the soil too wet or too cold. Most leafy green seeds germinate best at soil temperatures of 50 to 75°F. Spinach and kale will germinate in cooler soil (down to about 40°F), but lettuce and arugula stall in cold, wet ground. If germination is spotty, check that you're seeding shallowly (about 1/4 inch deep for small seeds), that soil isn't crusting over, and that temperatures are in range. Using a cold frame or row cover can warm soil by several degrees and dramatically improve spring germination rates.
Damping-off in seedlings
Damping-off is a soilborne fungal problem that kills seedlings at the soil line, making them look like they've been pinched off. It spreads through contaminated potting media and shared irrigation water. Prevention is straightforward: use fresh, sterile potting mix for indoor starts (never reuse old mix without sterilizing it), ensure good airflow around seedlings with a small fan, water from below when possible, and don't overwater. If one tray gets damping-off, keep it isolated from others since the pathogens can move through shared water. Outdoors, avoid planting in waterlogged spots and rotate where you grow greens each season.
Bolting
Bolting (when a plant shoots up a flower stalk and turns bitter) is the main enemy of cool-season greens in summer. Once a plant bolts, leaves become tough and unpalatable to chickens. The fix is mostly in the timing: plant cool-season crops early enough in spring that they mature and get harvested before summer heat arrives, then wait and replant in late summer for fall. Swiss chard is your best bridge crop since it handles heat far better than spinach or lettuce. Choosing bolt-resistant varieties also helps: look for 'Tyee' or 'Bloomsdale' spinach, 'Red Sails' or 'Oak Leaf' lettuce, and any 'slow bolt' labeled variety.
Pest damage
Aphids, cabbage loopers, and flea beetles are the most common leafy green pests. Row cover from day one prevents most of them without any sprays. If you find aphids, a strong stream of water knocks them off effectively. Hand-pick caterpillars. For flea beetles (tiny holes in leaves), row cover is genuinely your best tool. Because you're growing for chickens and not for visual perfection, a bit of pest damage doesn't disqualify a crop: chickens don't care if their kale has a few holes in it.
Boosting yield from the same space
- Fertilize consistently: leafy greens are nitrogen-hungry. A liquid fish or kelp fertilizer every 3 to 4 weeks keeps growth rates high after cutting.
- Don't let plants get too large before harvesting: the more regularly you cut, the more the plant redirects energy into new leaf growth.
- Interplant fast and slow crops: sow quick arugula or mustard greens between slower kale transplants. Harvest the fast crops before they crowd the kale.
- Use every available season: spring, fall, and winter (under cover) are all viable production windows. Summer is the hardest, so lean into chard and microgreens indoors during that gap.
- Keep a growing journal: note which varieties performed best in your specific conditions, when bolting started, and what pests showed up. Two seasons of notes will make you dramatically more efficient than any single article can.
FAQ
Can I grow greens specifically for chickens if my yard is mostly shaded?
Yes, but choose heat-tolerant crops (Swiss chard, kale, arugula) and aim for morning sun at minimum. Even partial shade usually works best to prevent bolting in summer, but you may get slower growth, smaller leaves, and fewer cuttings, so use a tighter succession schedule to keep supply steady.
What’s the best way to prevent greens from rotting or getting moldy in the run?
Offer greens in smaller batches and remove leftovers after about 2 hours in warm weather (so they do not sour). For larger harvests, store in the fridge wrapped in a damp cloth or in a breathable bag, then feed them promptly rather than leaving big amounts outdoors overnight.
How much of each green should I feed, or is one type enough?
One crop can work, kale especially, but chickens do better with variety. Rotate 2 to 3 greens on a two-week rhythm so you always have something at the right growth stage, and to reduce the chance that one crop becomes too bitter or too fibrous due to heat or age.
Are baby-leaf greens better than full-size leaves for chickens?
Baby leaves are often easier to manage and more consistent if you harvest frequently, and they tend to be more tender. If you want the most extended cut-and-come-again production, keep plants at a leaf-harvest height and avoid letting them mature too long, which can increase toughness.
Can chickens eat the stems and leaf ribs, or should I only feed the leaf blades?
Chickens can eat the stems and ribs, especially for kale, Swiss chard, and mustard greens, and they will usually strip leaves off the stems. If your flock is new to greens, start with softer, leafier portions first, then gradually include more stem as they adjust.
What’s the safest way to introduce greens if my chickens have only had commercial feed?
Start with a small portion you can finish in about 20 minutes, then increase gradually over 5 to 7 days. If you see loose droppings, pause or reduce the greens for a day, then restart with smaller amounts. Avoid sudden changes on hot days when digestion can be more sensitive.
Will row covers work for my edible greens, or do I risk trapping pests anyway?
Row covers work best when installed at seeding and left on until harvest, since that prevents pests from laying eggs. If you remove covers early or lift them frequently, insects can get in, especially flea beetles and caterpillars, and damage can appear within days.
How deep should I sow seeds for different greens so they actually germinate?
Use shallow seeding, generally about 1/4 inch for small seeds, and avoid burying seeds deeper “to be safe.” Lettuce and arugula are particularly sensitive to crusting and cold, wet soil, so press the soil lightly, keep it evenly moist until germination, then thin to your target spacing.
My greens bolt quickly in summer, what should I change first?
Adjust timing and choose a better “bridge” crop. Start cool-season greens early so you can harvest before heat peaks, then replant in late summer. Swiss chard usually outlasts spinach and lettuce, and slow-bolt varieties reduce sudden bitterness.
Can I water from above, like with a sprinkler, or does it cause disease?
You can, but base watering is safer for preventing leaf diseases and seedling damping-off. Overhead watering keeps foliage wet longer, which can increase problems like rot in dense plantings. If you must use a sprinkler, water early in the day so leaves dry quickly.
What should I do if seedlings get damping-off after germinating?
Isolate affected trays immediately since pathogens can spread through shared water. Discard the worst trays, do not reuse the same soil, improve airflow, and stop overwatering. For future starts, use fresh sterile mix and consider watering from below to keep the stem area drier.
How do I harvest so the plants keep producing for months without becoming bitter?
Use cut-and-come-again by taking outer leaves and leaving the center growing point intact. Harvest in the morning, remove only a portion of the plant each time, and keep plants from sitting too long in heat, since mature foliage tends to get tougher and more bitter.
Can I feed microgreens and outdoor greens together in the same day?
Yes, and it can smooth out your supply, microgreens help you get fresh nutrition even when outdoor production slows. Just keep the total “supplement” portion within what the flock can finish in about 20 minutes, so you do not crowd out the formulated layer feed.
Best Grains to Grow for Chickens: What to Plant and When
Best grains for chickens to grow: what to plant, when, how to sow, harvest, dry, store, and feed for yields