You can absolutely start growing your own food this season, even if you have never planted anything before. The basic process looks like this: pick a few beginner-friendly crops that match your climate and space, prepare decent soil, plant on the right schedule for your area, water consistently, deal with the occasional pest, and harvest before things bolt or freeze. Grow crops at home by planning what you want, choosing varieties that match your climate, preparing the right soil, and then planting, watering, and harvesting consistently growing your own food. Once your home garden is producing, it can start to resemble a small-scale farm with steady crop harvests throughout the season farmers grow crops. That is the whole loop. Everything else is just detail work on top of those steps.
How to Grow Crops Once Human: Beginner Home Garden Guide

Translate the goal into a home-gardening plan
Before you buy a single seed packet, spend 20 minutes thinking through what you actually want out of a garden. Are you trying to cut the grocery bill? Have tomatoes that taste like tomatoes? Build toward more serious food self-sufficiency over the next few years? The answer shapes every decision that follows. A production goal, like growing enough salad greens to skip buying them from May through October, is a lot more useful than a vague goal like 'grow some vegetables.'
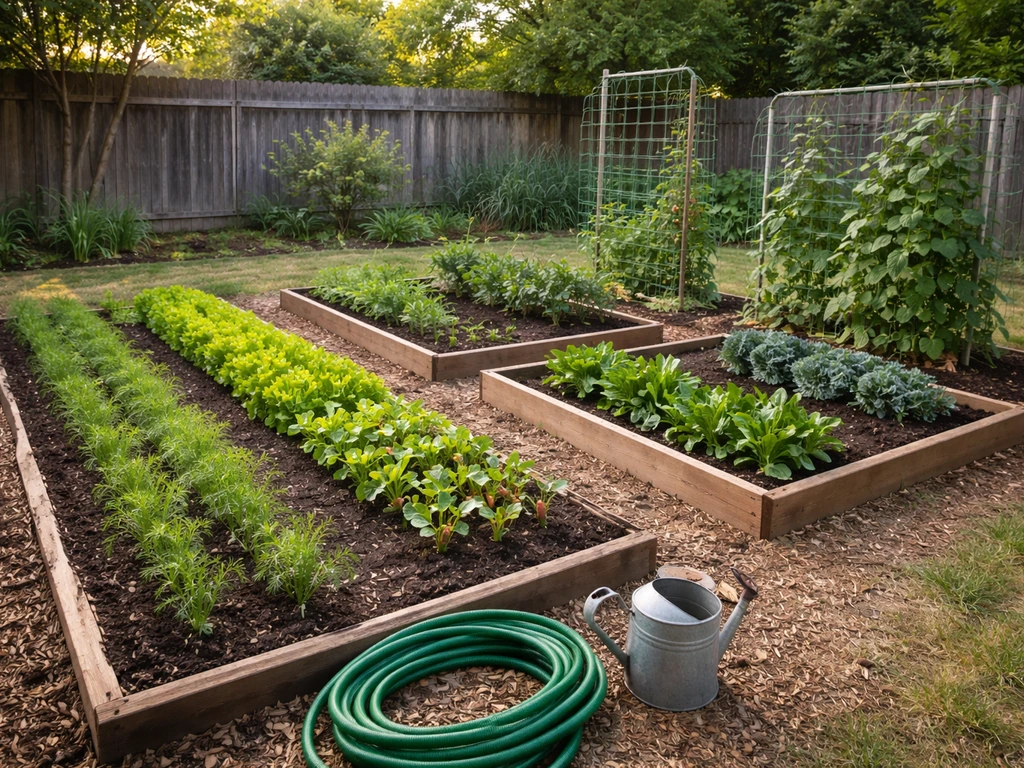
Extension advisors consistently recommend that beginners start small and expand later rather than overcommitting in year one. A 4x8-foot raised bed, a few large containers on a patio, or even a 10x10-foot in-ground patch is plenty to learn the system without burning yourself out. If space and time are genuinely limited, focus on crops that are exceptionally tasty when fresh-picked and hard to find at the store in quality form, things like dry-farmed cherry tomatoes, freshly-pulled carrots, or baby lettuce mix. You will actually eat them and feel the payoff.
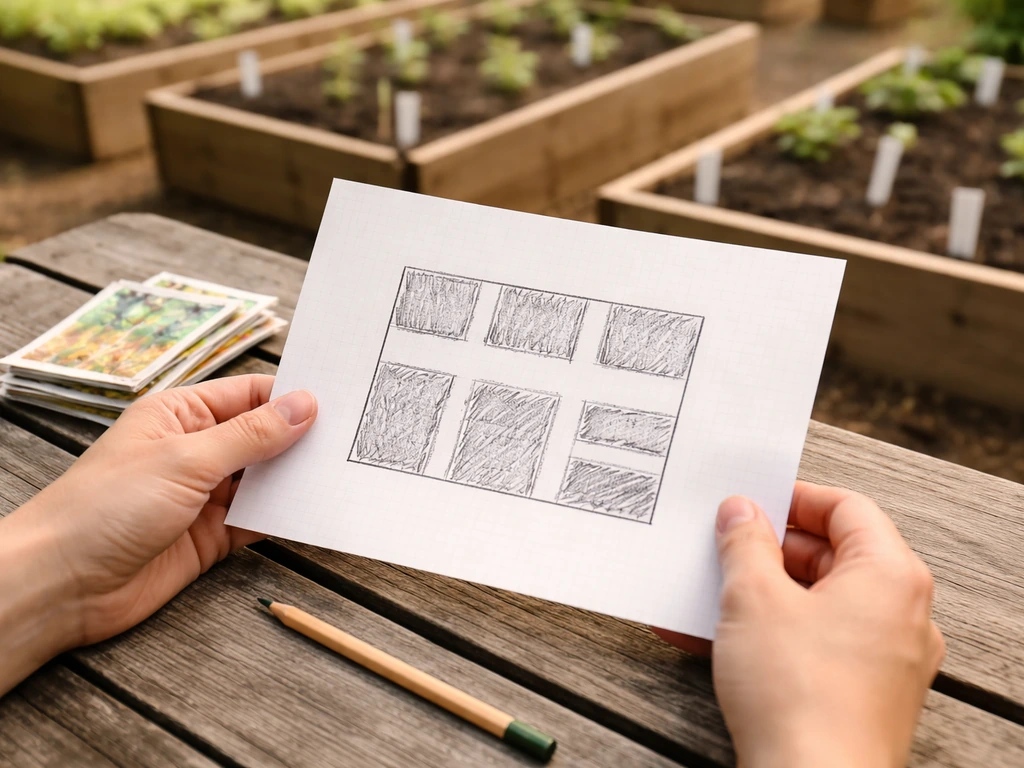
Draw a rough layout before you build or dig anything. Map out where your sun hits (you need at least 6 full hours of direct sun for most fruiting crops), where you will access water, and how much ground or container space you realistically have. This sketch does not need to be pretty. It just keeps you from planting your tallest crops where they will shade everything else, or putting beds somewhere you will never walk to water them.
If your longer-term goal is a genuine production garden that supplies food for winter storage, that is absolutely achievable from a home plot, but it requires scaling up the plan slightly and choosing crops that preserve well. Potatoes, dry beans, winter squash, garlic, and onions are the workhorses of a self-sufficient pantry. You do not have to do all of that in year one. Many experienced home growers add one new crop each year until they have a full rotation dialed in.
Pick crops that actually grow in your climate and space
Your USDA Plant Hardiness Zone is a starting point, not the whole picture. The zone map is based on average annual extreme minimum winter temperatures, so it tells you what survives winter rather than what thrives in summer heat or humidity. For vegetables, your last spring frost date and first fall frost date are the numbers that actually drive your planting calendar. Look those up for your zip code before you plant anything.
Crops fall into two broad categories: cool-season and warm-season. Getting this distinction right is probably the single biggest factor in whether your first garden succeeds or frustrates you.
| Category | Example Crops | When to Plant | Notes |
|---|---|---|---|
| Cool-season | Lettuce, spinach, kale, carrots, peas, radishes, broccoli | 4–6 weeks before last frost (spring) or 6–8 weeks before first frost (fall) | Tolerate light frost; bolt in summer heat |
| Warm-season | Tomatoes, peppers, cucumbers, squash, beans, corn | After last frost when soil is above 60°F | Killed by frost; need full summer heat |
| Year-round/storage | Potatoes, garlic, onions, dry beans, winter squash | Varies by crop and region | Dual-use: fresh eating and long-term storage |
For a first garden, a practical short list might be: cherry tomatoes, bush beans, zucchini, lettuce, and one root vegetable like carrots or radishes. These are forgiving, fast-producing, and satisfying. If you want to branch out, try one unfamiliar crop each season alongside your proven performers. That way you always have something to eat even when the experiment does not work out.
Space constraints are real, and containers are a legitimate option, not a consolation prize. Most vegetables do well in containers that hold 2 to 5 gallons of soil and are at least 12 inches deep. Carrots specifically need at least 12 inches of depth for full root development. Tomatoes and peppers want at least a 5-gallon pot, ideally bigger. If you are working with a balcony or patio, prioritize high-yield-per-square-foot crops: salad greens, cherry tomatoes, herbs, bush beans, and compact pepper varieties.
It is also worth thinking about what grows well together. Pairing compatible crops in the same bed can improve yields and reduce pest pressure. When you choose the best crops to grow together, you set up your beds for stronger production and fewer pest problems. Companion planting is a topic worth diving into as you get more comfortable with your garden system.
Set up soil, beds and containers, and basic fertility
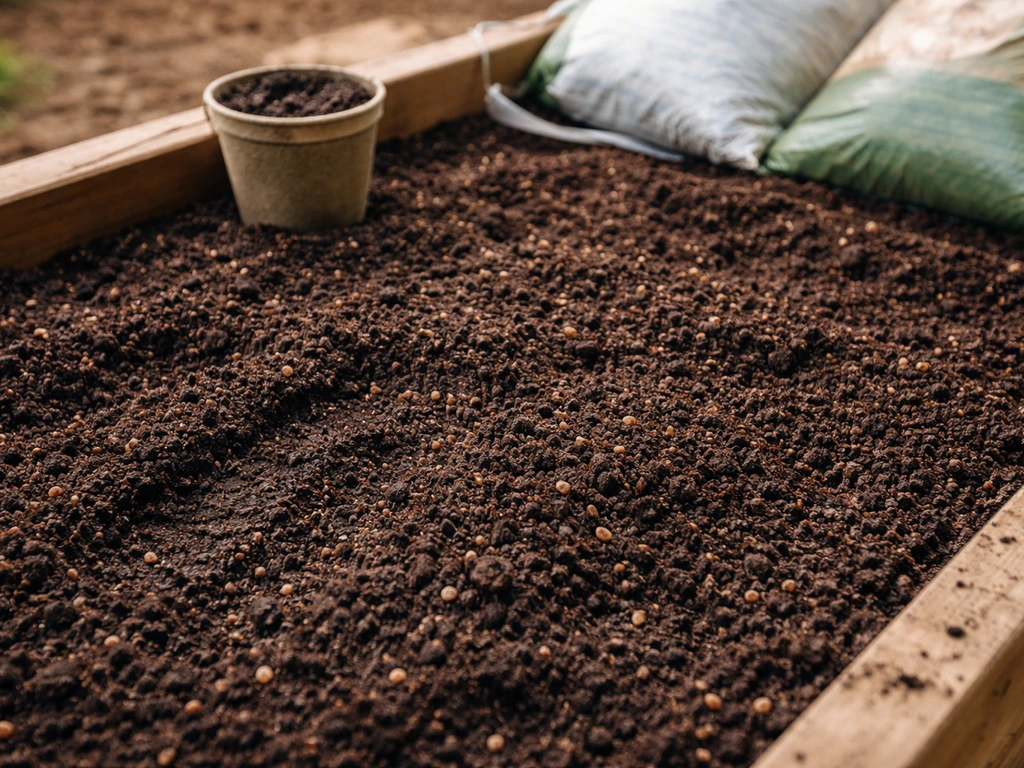
Soil is where most beginner gardens either succeed or quietly fail. You do not need to be a soil scientist, but you do need to give your crops a root zone that drains well, holds some moisture, and has enough organic matter to feed the plants through the season. The good news is that compost fixes most soil problems, and it is cheap or free if you make your own.
Raised beds
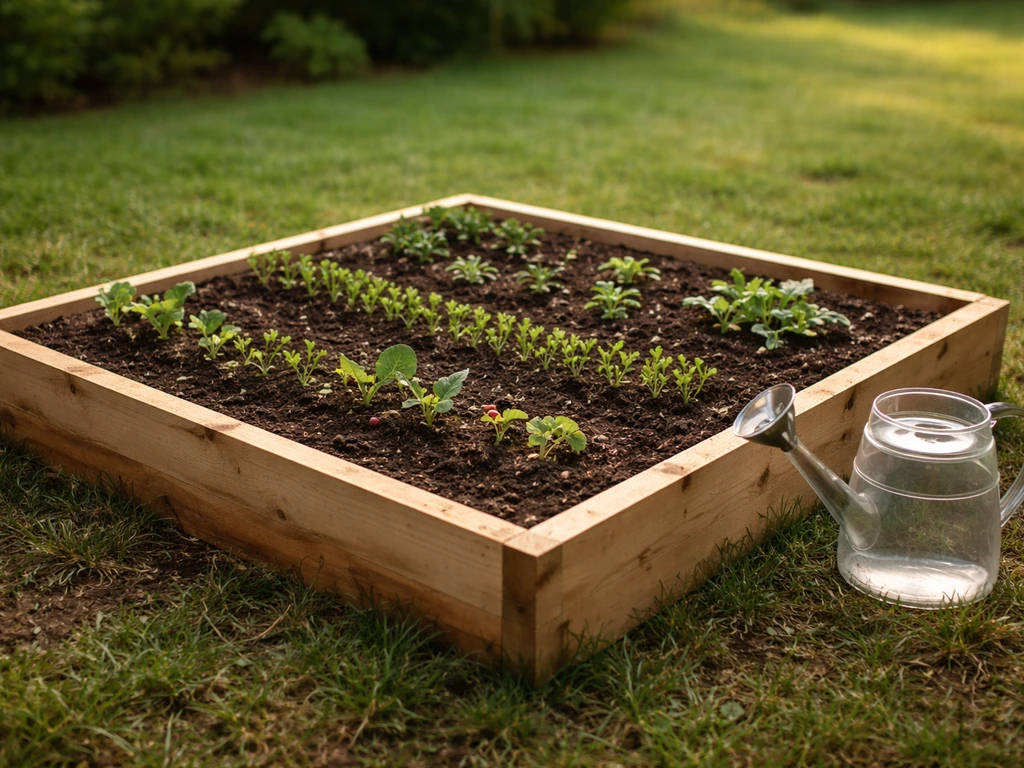
Raised beds are worth the upfront cost for most beginners. They warm up faster in spring than in-ground soil, drain better, and let you control exactly what your plants are growing in. A standard 4x8-foot bed at 12 inches deep holds 32 cubic feet of soil. Fill it with a mix of roughly half to two-thirds topsoil and the remainder with plant-based compost. Avoid buying cheap topsoil without knowing what is in it. Bagged mixes labeled for raised beds are fine for small setups but get expensive at scale.
In-ground beds
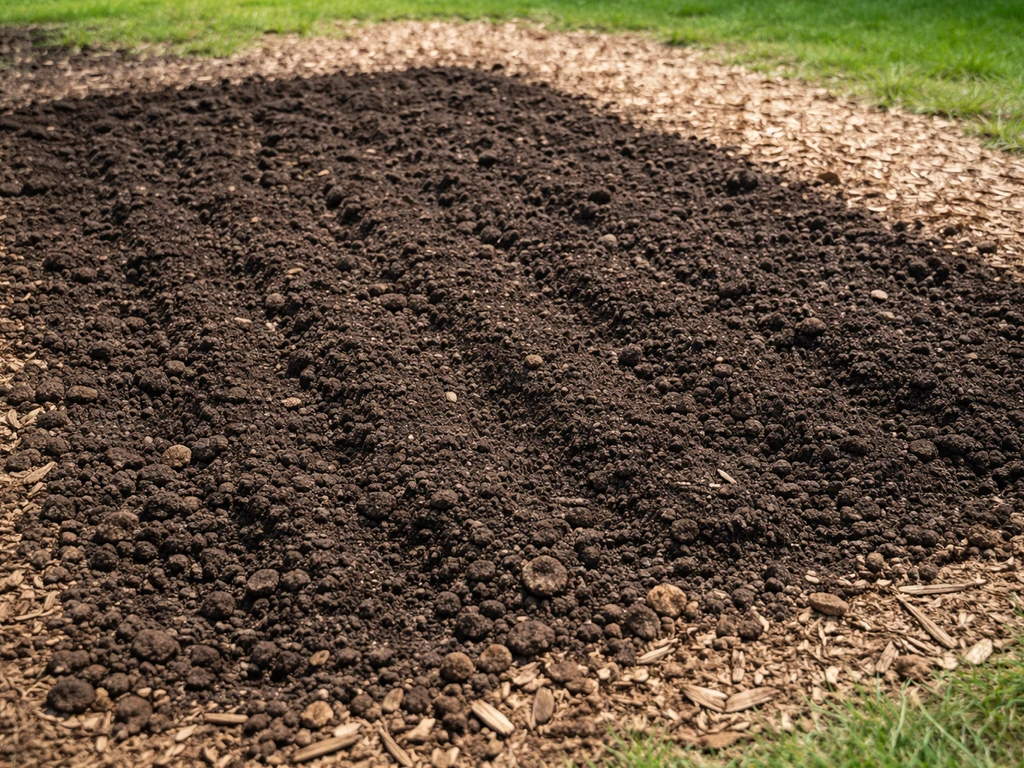
If you are going in-ground, loosen the soil 8 to 12 inches deep and work in 2 to 3 inches of compost across the planting area. This single step improves drainage in clay soils and water retention in sandy soils. For first-time beds, that compost application rate is the baseline recommendation from multiple extension programs. If your soil is genuinely terrible, like compacted clay or nutrient-depleted fill dirt, consider building a low raised frame on top rather than fighting the existing ground.
Get a soil test before you fertilize
A basic soil test from your local extension office costs $10 to $20 and tells you your pH, phosphorus, potassium, calcium, magnesium, and organic matter levels, plus lime and fertilizer recommendations tailored to your results. This matters because blanket fertilizing can do more harm than good. Too much nitrogen, for example, pushes lush leafy growth at the expense of fruit set. Most vegetables target a soil pH around 6.5 on mineral soils, though potatoes prefer closer to 6.0. The test tells you whether you need to adjust and by how much. If you skip the test, at minimum apply a balanced all-purpose vegetable fertilizer at the rate on the label, and add a slow-release nitrogen source rather than a quick-release synthetic.
Planting timeline: when to start, sow depth, and spacing
Timing is the most common thing beginners get wrong. Planting warm-season crops too early (before the last frost and before soil warms above 60°F) leads to stunted, stressed plants that often get overtaken by seeds planted a month later. Planting cool-season crops too late means they bolt before you get a real harvest. Use your local last frost date as the anchor for everything.
For seed depth, a reliable rule of thumb is to plant seeds at 2 to 4 times the width of the seed itself. Very small seeds like lettuce and carrots should go no deeper than about a quarter inch. Carrot seeds in particular need shallow planting, around 1/4 to 1/3 inch deep, and the soil under them should be loosened to at least 8 to 9 inches for full root development. Larger seeds like beans and squash can go 1 to 2 inches deep.
| Crop | When to Start (relative to last frost) | Sow Depth | Spacing |
|---|---|---|---|
| Lettuce | 4–6 weeks before last frost | 1/4 inch | 6–8 inches apart (or broadcast and thin) |
| Spinach | 4–6 weeks before last frost | 1/4–1/2 inch | 3–6 inches apart |
| Carrots | 2–4 weeks before last frost | 1/4–1/3 inch | 2–3 inches apart after thinning |
| Peas | 4–6 weeks before last frost | 1–1.5 inches | 2–3 inches apart |
| Tomatoes (transplant) | 2 weeks after last frost | Bury stem deep | 18–24 inches apart |
| Peppers (transplant) | 2 weeks after last frost | At soil level | 12–18 inches apart |
| Cucumbers | 1–2 weeks after last frost, warm soil | 1/2–1 inch | 12 inches apart (or hills 18–24 inches) |
| Bush beans | After last frost, soil above 60°F | 1–1.5 inches | 4–6 inches apart |
| Zucchini/squash | After last frost | 1 inch | 24–36 inches apart (or per packet) |
| Potatoes | 2–4 weeks before last frost | 3–4 inches | 12 inches apart in rows |
Note that cucumbers and other vine crops do not transplant well when pulled bare-root. If you start them indoors, use biodegradable pots you can plant directly. Better yet, direct-sow them into warm garden soil after your last frost date and save yourself the trouble.
To plan a fall harvest, count backward from your first expected fall frost date. If a crop takes 60 days to mature, sow it at least 60 days (plus a few days buffer) before that date. You can also use your spring planting window for cool-season crops again in late summer, which effectively doubles your harvest season from the same bed.
Watering, mulching, and day-to-day crop care
Vegetables need about 1 inch of water per week from roughly April through September, whether that comes from rain, irrigation, or a combination. That 1-inch target should wet the soil down about 5 to 6 inches, which is where most vegetable roots are actively feeding. Shallow, frequent watering encourages shallow roots that stress quickly during dry spells. Water deeply and less often.
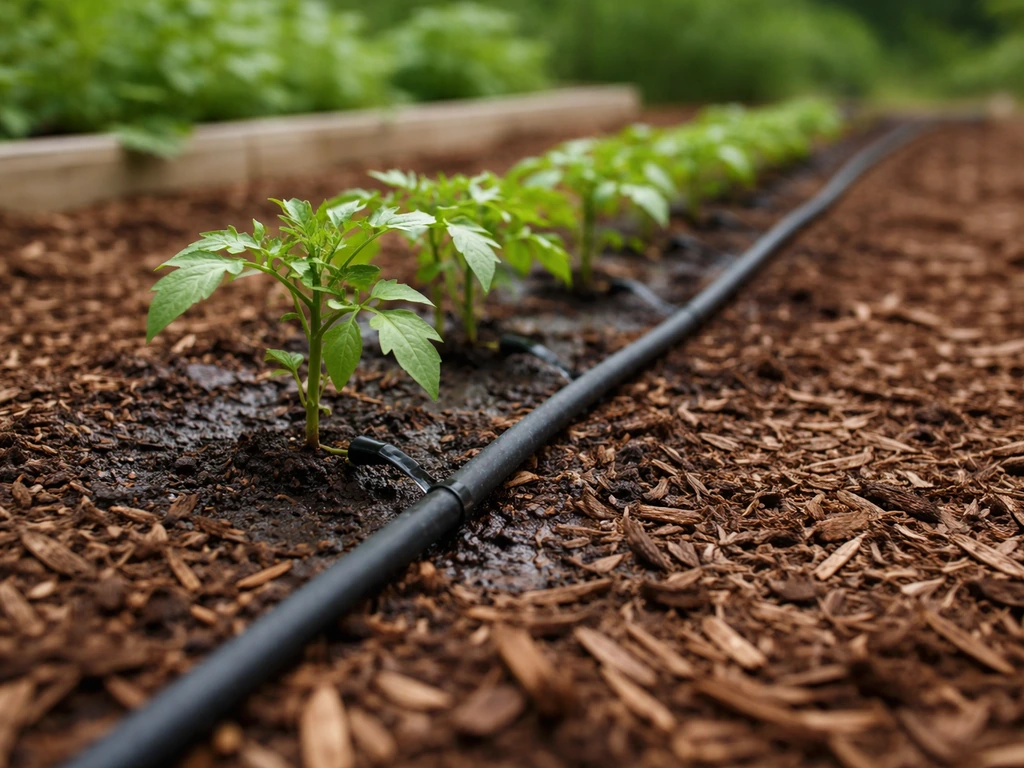
Drip irrigation or soaker hoses are the most efficient option for most home gardens. They deliver water directly to the root zone, reduce leaf wetness (which drives fungal disease), and can be set on a timer so watering happens even when you are traveling. If you are hand-watering, aim for the base of the plant rather than overhead. For containers, check moisture daily in hot weather because they dry out much faster than beds.
Mulch is one of the highest-return investments you can make in a vegetable garden. A 2 to 4-inch layer of straw, wood chips, shredded leaves, or grass clippings laid around your plants does several things at once: it holds soil moisture so you water less often, it suppresses weeds, it moderates soil temperature during heat waves, and it slowly breaks down to feed soil biology. Apply it after the soil has warmed in spring, leaving a small gap around plant stems to avoid rot.
Beyond watering and mulching, day-to-day crop care mostly means paying attention. Walk through your garden every few days. Look at the leaves (top and bottom), check for wilting at odd times of day, notice whether anything is getting crowded or shaded out. Most problems are much easier to fix when you catch them early. Thinning overcrowded seedlings, staking tomatoes before they flop over, and pinching back basil before it flowers are all small tasks that make a big difference in final yields.
Pests, diseases, and weed control for self-sufficient gardens
The goal is not a pest-free garden. That is not realistic. The goal is keeping pest and disease pressure low enough that your crops produce well in spite of them. Integrated Pest Management (IPM) is the framework most extension programs recommend for home gardens. It means scouting regularly for signs of trouble, using the least disruptive intervention first, and only escalating to sprays or other measures when damage exceeds a threshold worth acting on.
When you are walking the garden, you are looking for specific symptoms: wilting that does not recover after watering, yellowing leaves (especially in a pattern), chewed holes in foliage, webbing on undersides of leaves, distorted new growth, or visible insects in numbers. Not every insect is a problem. Many are beneficial. Before you spray anything, identify what you are actually dealing with.
Cucumber beetles are a good example of threshold-based thinking. On cucumber and cantaloupe plants, one beetle per plant is enough to justify action because they vector bacterial wilt disease. On squash or pumpkins, five per plant is the threshold before economic damage becomes likely. For home gardens, your interventions can include hand-picking, floating row covers (which physically exclude insects), mulches that disrupt beetle habitat, and cleaning up crop residue in fall to reduce overwintering populations.
Floating row covers are one of the most useful tools in a low-input garden. They exclude a wide range of insects and animals while still letting light and water through. The key is coordination with crop stage. Crops that need pollination, like cucumbers, squash, and beans, need the covers removed when they flower. Crops that do not need pollination, like leafy greens and root vegetables, can stay covered all season if pest pressure warrants it.
Weed control is mostly about timing and mulch. Weeds that get established early in the season compete hard for water and nutrients. Pull or hoe them when they are small, and then cover the bare soil with mulch so the next flush of weed seeds does not get light to germinate. A well-mulched bed needs only occasional hand-weeding through the season, which is a much lighter workload than a bare-soil bed.
For disease prevention, the biggest levers are airflow and water management. Do not crowd plants. Water at the base, not overhead. Remove diseased leaves promptly rather than letting them fall and spread spores. Rotate your crop families between beds each year so soil-borne pathogens do not build up in one spot. These are habits, not products, and they cost nothing.
Harvest, storage, and next-season planning
Harvesting at the right time matters more than most beginners expect. Many crops, especially beans, zucchini, cucumbers, and lettuce, need to be picked regularly to keep the plant producing. A zucchini left on the plant for an extra four days goes from perfect to baseball-bat size, and the plant often stops setting new fruit until you remove it. Harvest small and harvest often.
Storage conditions vary a lot by crop, and getting them wrong shortens shelf life dramatically. A few key examples: onions store best in a cold, dry location near freezing. Potatoes also want cool storage but not freezing, and temperatures below 40°F cause starches to convert to sugars and the potato tastes odd. Winter squash and garlic prefer a cool, dry room with good airflow. Tomatoes should never go in the refrigerator. Most storage crops keep 2 to 4 months under the right conditions.
| Crop | Harvest Signal | Storage Condition | Approximate Shelf Life |
|---|---|---|---|
| Tomatoes | Fully colored, slightly soft | Room temperature, out of direct sun | 1–2 weeks |
| Cucumbers | Firm, dark green, before yellowing | Refrigerator (50–55°F ideal) | 1–2 weeks |
| Beans (fresh) | Pods firm, before seeds bulge | Refrigerator | 1 week |
| Winter squash | Hard skin, stem dry | Cool, dry room (50–60°F) | 2–6 months |
| Potatoes | Vines die back | Cool, dark, dry (40–50°F) | 2–4 months |
| Onions/Garlic | Tops fall over, cure for 2–3 weeks | Cold, dry, good airflow | 3–6 months |
| Carrots | Shoulders visible at soil surface | Refrigerator or root cellar | 2–4 months |
| Dry beans | Pods rattle, fully dry on plant | Cool, dry container | 1 year+ |
Saving seeds is a natural next step once you have a season under your belt. Self-pollinating crops are the easiest starting point because cross-pollination from neighboring plants is unlikely. Tomatoes, peppers, beans, peas, and lettuce are all good candidates. Let a few of your best-performing fruits fully ripen past the eating stage, extract and dry the seeds completely, and store them in a cool, dark, dry place. You get free seeds for next year and, over time, varieties that are quietly adapting to your specific conditions.
End-of-season is also when you set up next year. Pull out spent plants, especially any that showed disease. Add another 1 to 2-inch layer of compost to your beds and let it break down over winter. Sketch out a rough rotation plan so you are not growing the same crop family in the same spot two years in a row. Note what worked, what did not, and what you want to try next season. One new crop per year, layered on top of your proven producers, is a sustainable pace that builds real skill without overwhelming you.
The biggest thing that separates gardeners who stick with it from those who quit is iteration. Your first season will have failures. Something will bolt, get eaten, or just not produce. That is information, not defeat. Each season you understand your specific patch of ground a little better, your timing gets tighter, and your yields go up. That compound improvement is what eventually turns a small home garden into a genuine source of food for your household. If you use this approach, you will get closer to a “how to grow crops, don't starve” style plan that feeds you reliably over time how to grow crops, don't starve together. If you want to rely on fewer store-bought staples, start by growing food at home with a small, realistic crop plan.
FAQ
What’s the safest way to choose crops if I’m not sure my climate is ideal for them?
Start with one cool-season and one warm-season crop in a small area, then treat the first year as a test. If your warm-season tomato-like crops struggle, you can switch next season to varieties labeled for your heat level or shorter maturity days, instead of replacing everything at once.
How do I avoid planting seeds in the wrong soil temperature?
Use soil temperature, not air temperature. As a practical check, warm-season seeds usually need consistently warm beds, while cool-season crops can handle cooler conditions. If you do not have a thermometer, delay warm-season planting until nights are reliably mild and soil feels warm at planting depth.
Can I grow vegetables with poor sun exposure, like 3 to 5 hours a day?
Yes, but you should shift expectations. Prioritize leafy greens, herbs, and some roots in partial shade, and consider adding reflective surfaces to bounce light. If you want fruiting crops like tomatoes or peppers, you may need more light than the site provides, or you will get fewer fruits even with good care.
What should I do if my seedlings look leggy or weak?
Most leggy growth comes from insufficient light and uneven moisture. Thin overcrowded seedlings early, keep soil evenly moist but not soggy, and provide stronger light than you think you need. If you used indoor starts, harden them off gradually before moving them outdoors.
How much should I water when it rains, and how do I stop overwatering?
Do not assume rain fully covers the weekly target. Check the soil, water only if it is dry 3 to 6 inches down, and adjust for container gardens which dry faster. In wet weather, reduce frequency and focus on improving drainage rather than adding more irrigation.
Is compost alone enough, or do I need fertilizer?
Compost helps, but it does not always supply everything at the right rate for fruiting. A soil test guides whether you need amendments, especially for pH and nutrient balance. If you skip testing, use a balanced fertilizer as directed and avoid heavy nitrogen, since that can increase leaves while reducing flowering and fruit set.
What’s the easiest crop to succeed with if I have very limited space?
Leafy greens and bush beans are usually the fastest payoff in small areas. They also tolerate partial harvesting if you pick outer leaves, and bush beans can produce in less vertical space than many vining types.
How do I decide between raised beds and containers for a first garden?
Raised beds are better if you want longer-term consistency and deeper soil for roots. Containers are better if you need flexibility, have poor ground soil, or can’t commit to a fixed bed location. Either way, match the container depth to the crop, for carrots at least 12 inches, and larger pots for tomatoes and peppers.
What’s the most common pest mistake beginners make?
Overreacting before confirming the pest and the damage level. Start with scouting, remove the worst offenders by hand when possible, and use physical exclusion like row covers for susceptible crops. Only escalate when the symptoms suggest the pest has crossed a practical threshold.
How do I handle pests that require treatments but I want to stay low-input?
Use an IPM sequence: exclude when possible, physically remove small outbreaks, improve habitat with mulch and sanitation, then choose the least disruptive method that fits the pest. For disease-prone crops, focus on airflow and watering at the base before using any intervention.
Should I use row covers all the time?
Not for crops that must be pollinated. Remove covers when flowers appear for cucumbers, squash, and beans so pollinators can access blooms, then re-cover if pest pressure is high and pollination is complete.
What does crop rotation actually mean in a home garden?
Rotate by crop family so soil-borne issues do not build in one spot. A simple approach is to avoid planting the same family in the same bed for at least two years, using a rotation chart you update each season based on what you grew.
How do I know when to harvest to keep plants producing?
Harvest based on texture and size targets, but also use the plant’s behavior. If production slows, especially for zucchini, beans, cucumbers, and lettuce, check whether fruits have stayed too long on the plant. Regular picking often restarts flowering and extends the harvest window.
My harvest is great but it doesn’t last, what storage mistake should I fix first?
Most storage failures come from temperature and moisture. Keep onions and dry-storage crops dry and cool with airflow, store potatoes cool but above freezing, and never refrigerate tomatoes. If you cannot control conditions, plan for quicker eating or consider faster-processing like freezing beans or drying herbs.
Can I save seeds from my garden if I grew mixed varieties?
You can, but you need to understand cross-pollination risk. Save seed from self-pollinating crops like tomatoes, beans, peas, and lettuce more easily than from plants that can cross readily. Label varieties and let only chosen plants fully ripen for the seed you plan to use.
What should I do at the end of the season if I suspect disease?
Remove diseased plant material and do not compost it if it showed significant disease symptoms. Clean up debris, add compost to feed the soil, and update next year’s rotation so you do not plant the same family back into the same spot immediately.
A Place Where Farmers Grow Crops: Build Your Garden Spot
Step-by-step guide to set up a crop-growing spot on your property, from choosing soil and layout to watering, pests, and