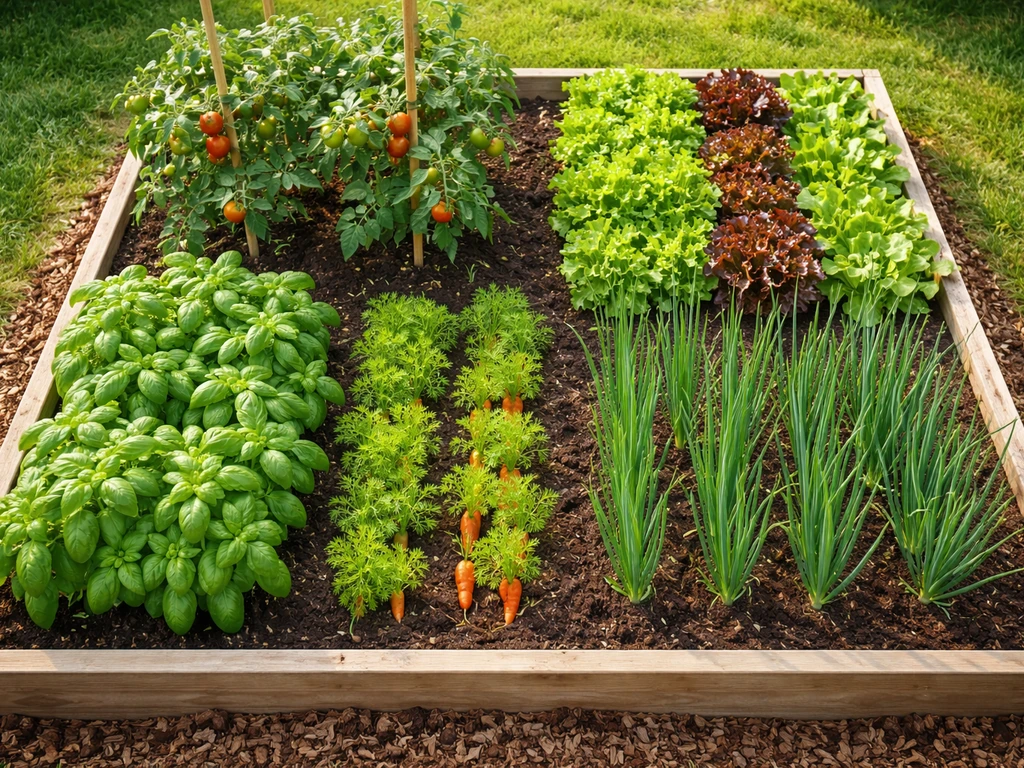
A place where farmers grow crops is simply any dedicated, planned area where you consistently put plants in the ground (or a container), manage the soil, and harvest food. Those who grow crops often start with a reliable plan for sunlight, water, and soil so their plants can produce consistently. On your property, that could be a 4x8 raised bed, a row of in-ground plots in the backyard, a patio full of containers, or a half-acre homestead field. The label matters less than what makes it work: reliable sunlight, decent drainage, workable soil, and a repeatable routine for watering and feeding. Get those four things right and you have a functioning crop-growing place, regardless of its size.
A Place Where Farmers Grow Crops: Build Your Garden Spot

Marcus Hendrick
5 Jun 2026
What actually counts as a crop-growing place
People use the words 'garden,' 'farm,' and 'homestead bed' pretty loosely, but the core idea is the same: a spot you return to season after season to grow food on purpose. A backyard vegetable garden is a crop-growing place. So are raised beds built from lumber, a cluster of five-gallon buckets on a balcony, a market-garden row system on a quarter acre, or an in-ground plot tilled each spring. What separates a casual attempt from a real crop-growing setup is intentionality: you plan what goes where, you prepare the soil before planting, and you have some kind of system for water and nutrients. That's it. You don't need acreage or expensive equipment to qualify.
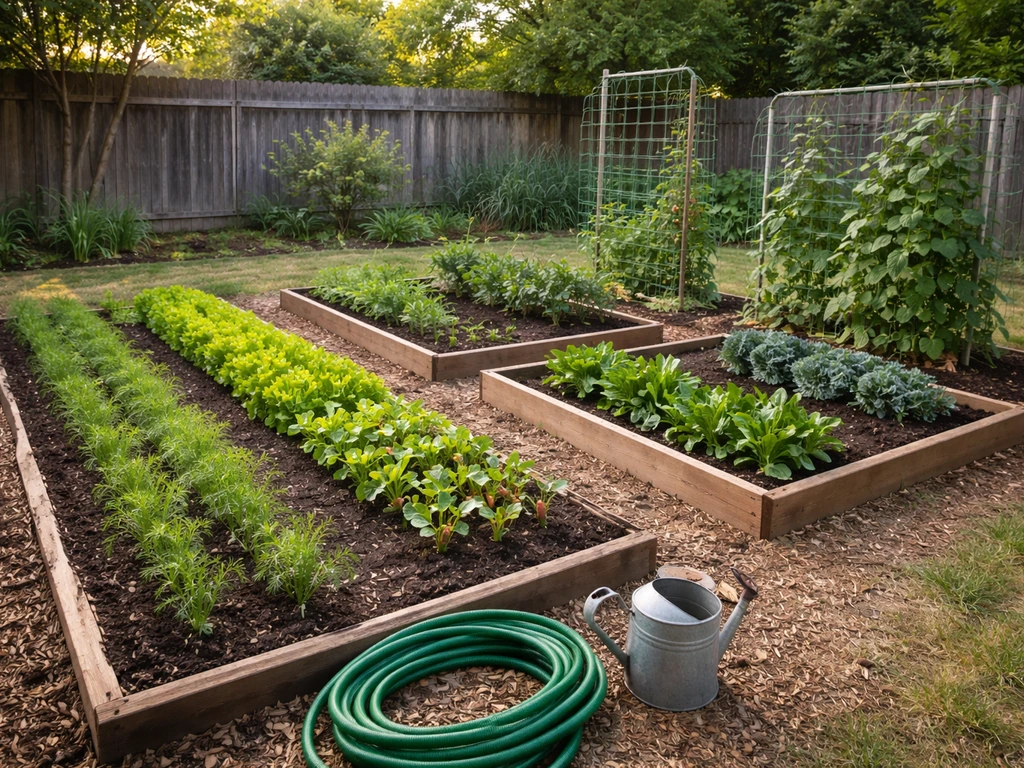
For the purposes of this guide, 'crop-growing place' covers all of these scales: container gardens for people with only a patio, raised beds for suburban yards, and in-ground plots for those with more space. The principles are the same at every scale, though the details (watering frequency, fertilizer rates, cost per square foot) shift as you go bigger. We'll flag those differences throughout.
Choosing the right spot on your property
Sun is non-negotiable. Most vegetables need 6 to 8 hours of direct sunlight every day, and fruiting crops like tomatoes, peppers, and squash want at least 8 hours to perform well. Before you dig anything, spend a full day tracking shadows across your yard and actually count the sunlit hours a potential spot gets. Don't assume: a spot that looks sunny at 10 a.m. might be shaded by a fence or tree by 2 p.m. A simple way to check is to mark the shadow edges at 8 a.m., 12 p.m., and 4 p.m. and see what's consistently clear.
Water access is the second thing to nail down. You want your growing area within reasonable reach of a hose bib or rain barrel, because hand-carrying water gets old fast once plants are in the ground. Ideally, you're within 50 to 100 feet of a water source so you can run a standard garden hose or drip line without hassle.
Drainage matters more than most beginners expect. Roots sitting in waterlogged soil will rot, and many vegetables are surprisingly sensitive to wet feet. A quick percolation test tells you what you're working with: dig a hole about 12 inches deep and 4 to 12 inches wide, fill it with water, and watch how fast it drains. If water is still sitting there an hour later and the rate is less than 1 inch per hour, you've got drainage trouble. The fix for moderately poor drainage is usually to work in 2 to 4 inches of compost into the top 6 to 12 inches of soil, or to build raised beds that sit above the problem layer entirely.
Finally, think about access. You'll visit this spot daily or near-daily during the growing season, so a location that requires a long walk through wet grass or around obstacles becomes a reason to neglect it. Place your growing area somewhere you'll actually go. Convenience is underrated in garden planning.
Getting your soil ready before you plant anything
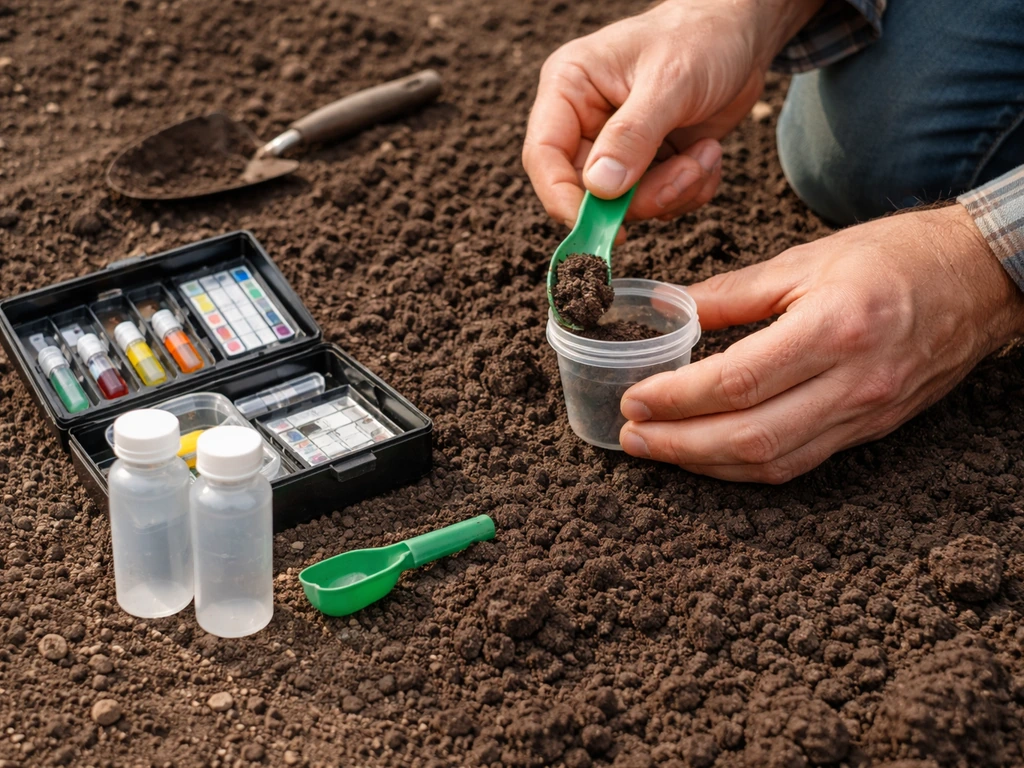
Soil testing: skip it at your own risk
A soil test is the single most useful thing you can do before setting up a new growing area. It tells you the pH and available nutrient levels so you're not guessing about amendments. Most cooperative extension offices test soil for $15 to $25, and the report gives you specific lime and fertilizer recommendations. Lime rates for adjusting pH are calculated from a buffer index, not just the raw pH number, so the test report will account for your actual soil type. Without a test, you're likely either over-applying expensive amendments or missing a deficiency that will stunt your crops all season.
Compost: how much and how to apply it
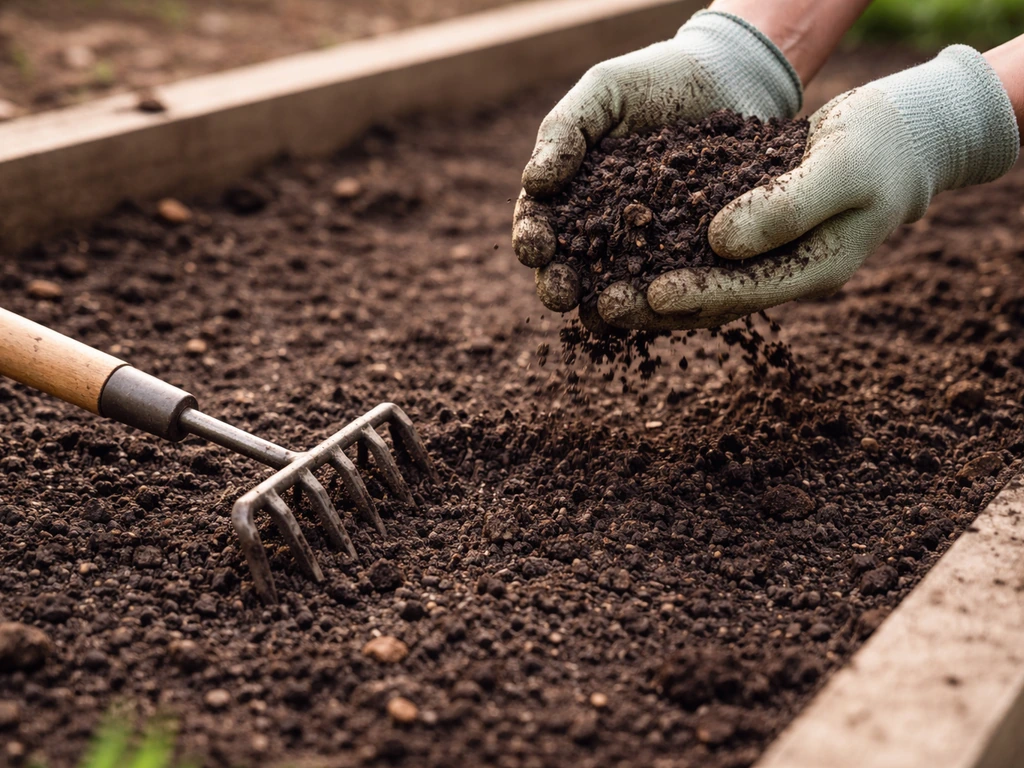
Compost is the backbone amendment for almost every home growing setup. For existing beds, applying a quarter-inch to 1 inch of compost each year and working it lightly into the surface is a solid maintenance rate. If you're building a new bed in soil that's never been gardened, you can start with a more generous 2 to 3 inches worked into the top 12 inches. Be careful not to overdo it: Penn State Extension warns that excess compost can push nutrient levels, especially phosphorus, to problematic concentrations over time. If you don't have a compost analysis, applying no more than a quarter-inch thick every few years is a conservative but safe approach for established beds.
Beds vs containers: what changes
| Feature | In-Ground Bed | Raised Bed | Container |
|---|---|---|---|
| Startup cost | Low | Medium ($50–$200 per 4x8 bed) | Low to medium per unit |
| Soil control | Limited by native soil | High (fill with custom mix) | Complete control |
| Drainage | Depends on site | Excellent if built correctly | Excellent with drain holes |
| Watering frequency | Least frequent | Moderate | Most frequent (daily in heat) |
| Fertilizing needs | Moderate | Moderate to high | High (nutrients leach fast) |
| Best for | Larger plantings, grains, row crops | Vegetables, herbs, small homestead | Patios, balconies, small spaces |
| Scalability | Easiest to expand | Moderate effort to expand | Limited by space and budget |
Containers are genuinely viable for food production, but they require more attention. Soil in a pot dries out fast in full sun, and nutrients leach out with every watering, so container vegetables need feeding more often than in-ground plants. If you're starting on a patio or balcony, containers are the right call. If you have ground space, even a modest in-ground or raised-bed setup will be less work per harvest over the long run.
Planning what to grow and where to put it
Start simple: pick 5 to 8 crops your first season
New growing areas benefit from a limited crop list. Pick 5 to 8 vegetables you actually eat, include a mix of easy-wins (lettuce, beans, zucchini) and a couple of crops you really want (tomatoes, peppers), and learn those plants well before expanding. West Virginia University Extension suggests planning by 'amount to plant per person,' which is a useful anchor: one mature zucchini plant typically produces more than a family of four can eat fresh, while you might want 10 to 15 feet of row space for tomatoes per person if you want to preserve any.
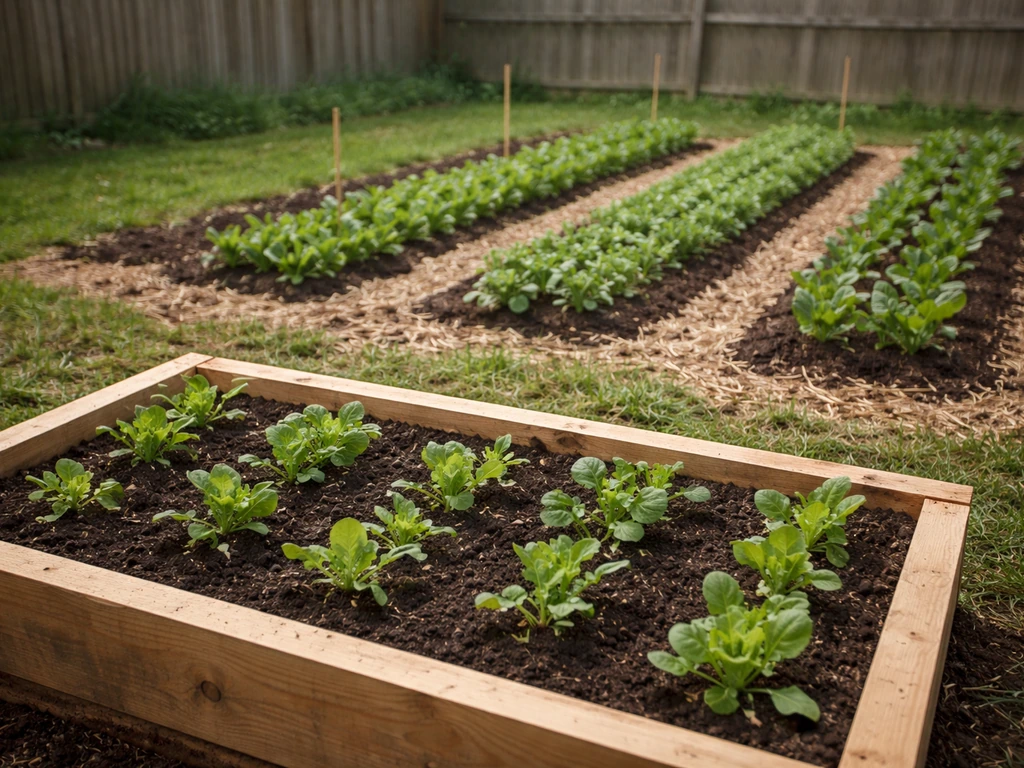
Spacing: use the numbers, not a guess
Proper spacing does two important things: it gives roots enough room to access water and nutrients, and it lets air move through the canopy, which reduces fungal disease pressure. University of Maine Cooperative Extension publishes specific row and in-row spacing distances for most common vegetables. A practical example: broccoli typically needs 18 to 24 inches between plants in-row and 24 to 36 inches between rows. Leafy greens like lettuce can be grown in a 3-row-per-bed layout with about 16 inches between rows, plants staggered across the bed. If you crowd plants to squeeze in more, you usually end up with worse yields and more disease, not a bigger harvest.
Crop rotation: a simple rule that pays off
Crop rotation means not growing the same plant family in the same spot two years in a row. Tomatoes, peppers, eggplant, and potatoes are all nightshades and share diseases and pests: don't follow one with another. Brassicas (broccoli, cabbage, kale) are another family to rotate. A three-bed or three-section rotation is the easiest system: fruiting crops in bed one, root crops in bed two, leafy/legume crops in bed three, then rotate each by one position the next year. This alone dramatically reduces the buildup of soil pathogens that otherwise compound season over season.
Companion planting: useful, but keep it grounded
Companion planting works best when you think of it as integrated pest management support rather than magic. If you want the best crops to grow together, companion planting is a great starting point, but you still need matching sunlight, spacing, and watering needs. Planting flowering herbs and insectary plants near your crops (basil near tomatoes, dill or fennel at the bed edges) genuinely attracts beneficial insects that prey on pests. University of Minnesota Extension frames companion planting this way: it's a useful tool in a broader IPM strategy, not a stand-alone solution. Don't reorganize your whole bed layout around companion myths, but do leave edge space for flowering plants that bring in predatory wasps and ground beetles.
Watering, feeding, and mulching your crop area
Watering: frequency depends on your setup
The finger test is the most reliable low-tech tool for deciding when to water: push your finger an inch or two below the soil surface, not just the top crust. If it's moist, wait. If it's dry, water thoroughly until the soil is wet several inches down, then let it partially dry before watering again. In-ground beds in moderate temperatures might need watering every 2 to 3 days; containers in full sun during summer can dry out in a single day and may need daily water. Drip irrigation on a timer is the most efficient upgrade you can make once your setup is established.
Fertilizing: enough is enough
More fertilizer is not better. Too much nitrogen causes plants to push out lots of lush green growth while delaying or reducing fruiting, and it can trigger outbreaks of aphids and mites by making plant tissue too succulent and attractive to sucking insects. The classic sign of nitrogen deficiency is yellowing on the older lower leaves; if you see that, a modest side-dress of balanced fertilizer or compost tea is appropriate. For most vegetable beds, a soil-test-guided fertilizer application at planting plus a compost top-dress mid-season is plenty. Container plants are the exception: they need more frequent feeding because nutrients leach out with watering, so a diluted liquid fertilizer every 1 to 2 weeks during active growth is reasonable.
Mulching: do it every season
A 2 to 4-inch layer of mulch (straw, wood chips, or shredded leaves) over bare soil between plants conserves moisture, moderates soil temperature, and suppresses weeds. Mulching alone can cut your watering frequency significantly during hot stretches. Apply mulch after the soil has warmed in spring, keep it a few inches away from plant stems to prevent rot, and replenish it mid-season when it compresses or breaks down.
Day-to-day operations: planting calendar, pests, and harvesting
Build a simple planting calendar
A planting calendar works backward from your expected last frost date in spring and first frost date in fall. Find those dates for your zip code (your local extension office has them), then count back the 'days to maturity' listed on each seed packet to figure out when to start seeds indoors or direct-sow outside. For example, if your last frost is May 15 and tomatoes need 75 days to maturity, you want transplants in the ground by May 15, which means starting seeds indoors around March 1. Succession planting, staggering plantings of the same crop every 2 to 3 weeks, keeps your harvest window extended rather than dumping everything at once. This is one of the most practical scale-up strategies for continuous household food production.
Scouting and basic pest prevention
Integrated pest management (IPM) starts with scouting: walk your growing area every few days and look for early signs of trouble. Penn State Extension frames scouting as monitoring for pest pressure before it becomes a crisis: look for wilt, yellowing leaves, defoliation, distorted growth, chewed holes, webbing, and any unusual leaf color. Catching a pest problem when there are 10 aphids on a leaf is very different from finding 10,000. For cucurbits like cucumbers and squash, preventive row covers early in the season block cucumber beetles and squash vine borers before populations establish. Floating row cover (a lightweight synthetic fabric laid over plants) is one of the most effective low-cost pest tools available.
For disease prevention, proper spacing (so air moves through the canopy), avoiding overhead watering in the evening, and keeping plant debris out of the bed go a long way. Damping off, a fungal problem that kills seedlings at the soil line, is largely preventable by using clean seed-starting mix rather than garden soil in trays and not overwatering young starts.
Harvest workflow: pick often and pick on time
Most vegetables produce more when you harvest frequently. Zucchini left on the plant to become a bat will signal the plant to stop producing. Beans harvested daily yield more than beans harvested weekly. Build a simple harvest walk into your routine every 1 to 2 days during peak season. Bring a basket, harvest anything at or near full size, and do a quick scout for pests at the same time. Processing (washing, storing, preserving) immediately after harvest keeps quality high and reduces food waste.
Estimating yields, costs, and growing from small to homestead scale
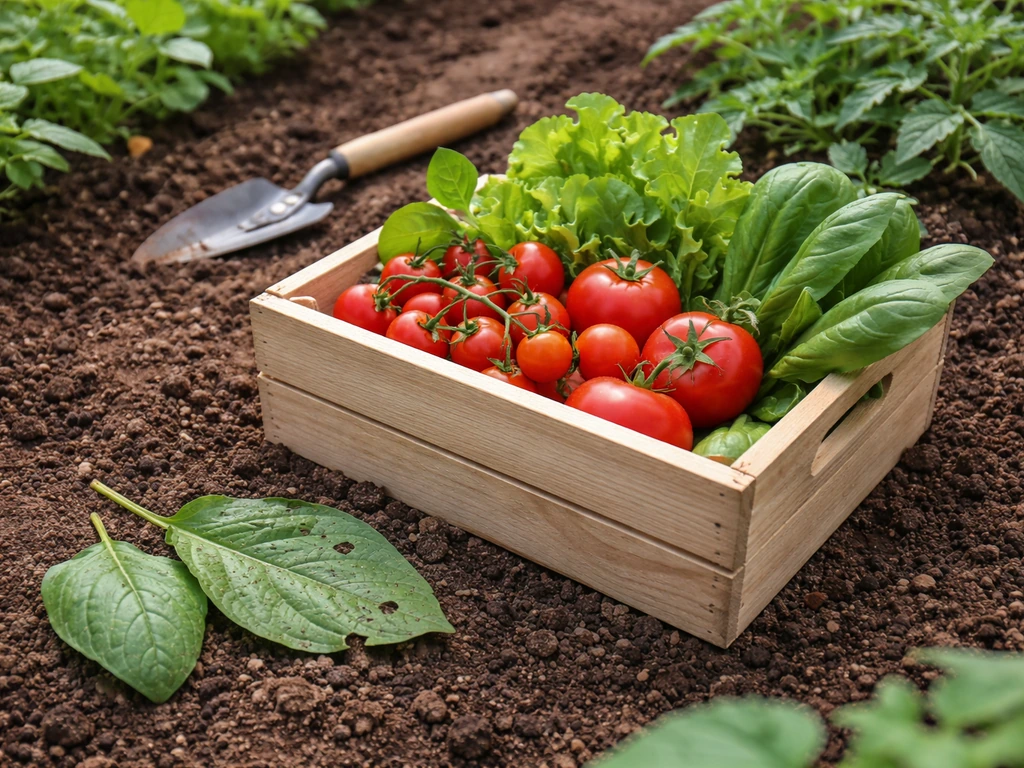
What to expect from common setups
Yield planning tools from extension services typically express expected output per 100-foot row, which you can scale down for home use. A 10-foot row of bush beans might yield 5 to 8 pounds of beans; a 10-foot row of tomatoes (with appropriate support) can yield 20 to 30 pounds of fruit depending on variety. If you're trying to feed a household, the 'amount per person' tables from WVU Extension and similar resources are a useful planning anchor. Generally, 100 to 200 square feet of well-managed growing space per person covers a meaningful portion of fresh summer vegetables.
Cost reality check
An in-ground garden's startup costs are mostly labor and a basic soil test ($15 to $25) plus seeds ($20 to $50). Raised beds cost more upfront ($50 to $200 per 4x8 bed for lumber and fill material), but pay back quickly if you manage them well year over year. Containers are cheap per unit but expensive per pound of food produced because of their high water and fertilizer demands. The more intensive your management (drip irrigation, soil testing, compost from your own pile), the faster your cost per pound of produce drops.
Scaling up from containers to homestead
The path from a few containers to a serious homestead growing area is mostly about systematizing what already works. Start with 1 to 2 well-managed beds or a small in-ground plot and build systems: a tested planting calendar, a composting routine, a reliable irrigation setup. Once those feel easy, add more beds or row space rather than scrambling to manage more than you can handle. Each increment of scale reveals new management challenges, whether that's grain growing, extended-season crops, or preserving large harvests, and those topics are worth exploring in detail as your setup grows. If you go beyond vegetables, grain growing becomes a whole different kind of planning, including who grow grain for us and what it takes to manage larger crops.
The most common scaling mistake is adding too much space before the basics are solid. A 100-square-foot bed you manage well will out-produce a 500-square-foot plot you ignore. Start where you can keep up, get consistent results, and expand with intention. If you want to grow crops so you can eat through the season without stress, planning your harvest and succession matters just as much as planting.
FAQ
What’s the difference between a garden and a farm in practice?
In everyday use they can look similar, but a “farm” usually implies selling or larger-scale production with more formal infrastructure and labor. A “garden” is typically smaller and mostly for home consumption, even if it includes lots of crop area like raised beds or an in-ground plot.
Can a place where farmers grow crops be fully container-based?
Yes. Just treat containers as their own micro-system, use a potting mix (not garden soil), ensure drainage holes, and plan for more frequent watering and feeding because nutrients leach faster than in-ground beds.
How do I choose between raised beds and in-ground planting?
Raised beds help most when your drainage is poor, soil quality is unknown, or you want easier control over soil depth and amendments. In-ground works well when your existing soil drains well and you’re willing to amend it consistently each season.
What should I do if my yard gets less than the recommended sun?
Prioritize crops that tolerate lower light (leafy greens, some herbs) and place them in the brightest available area. You can also shift planting to the sunniest micro-zones, use reflective surfaces near beds, and prune nearby plants or plan around seasonal sun changes.
How can I tell whether my water access is “close enough”?
Measure the actual path you’ll walk while watering. If dragging hoses or carrying water will make you skip days, it’s too far. A practical target is still the 50 to 100 feet idea, but the real test is whether you can run watering quickly during hot weather.
My soil test recommends amendments, but I’m not sure when to apply them.
Follow the report’s timing. Lime is commonly applied ahead of planting so it can react, while many nutrient changes are easier to incorporate at bed prep or as a mid-season top-dress. When in doubt, apply less first and reassess rather than trying to “fix everything” at once.
How deep should I prepare soil for different crops?
Think in terms of root depth. Many vegetables do well with roughly 8 to 12 inches, but deeper-root crops (like many brassicas or tubers) benefit from more depth or consistent raised-bed height. If you only have shallow space, pick crops that match it instead of forcing deep-root types.
Is compost always the right amendment if my soil seems “fine”?
Compost helps structure and slow-feeds nutrients, but it’s not a substitute for a soil test. If your test shows high phosphorus or unusual pH, applying heavy compost can worsen nutrient imbalance. In that case, use compost lightly and focus on what the report recommends.
What’s a good starter crop list for beginners who want the easiest wins?
Pick 5 to 8 crops you actually eat, include at least one fast crop (leafy greens or radishes) for early success, and one crop that’s forgiving in uneven watering (beans are often manageable). Avoid starting with the most pest-prone crops if you cannot scout frequently.
How do I apply fertilizer correctly without overdoing it?
Base total inputs on your soil test and the needs of the crop, then split feeding when possible instead of one heavy application. For established beds, a compost top-dress plus a modest supplement if the test indicates it is usually safer than repeated “by feel” dosing.
What if my plants look lush, but they’re not fruiting?
Often nitrogen is too high for that stage, or the plants have too much shade or crowded conditions. Reduce extra feeding, ensure sufficient sun, improve airflow with proper spacing, and consider switching to a fertilizer that supports fruiting rather than only leafy growth.
How often should I weed and what’s the most effective strategy?
Weed early and often when seedlings are small, then rely on mulch and spacing to reduce weed pressure later. If weeds keep returning in the same spots, adjust bed edges, increase mulch thickness after soil warms, and confirm plants have enough space to shade the ground.
When should I use mulch, and can I mulch immediately after planting?
Wait until spring when soil has warmed, especially for heat-loving crops. Apply mulch a few inches away from stems to prevent rot and keep it thin enough that water can reach plant roots during establishment.
How do I set up drip irrigation if I want the simplest system?
Use drip tubing or soaker lines sized to your bed layout, then add a timer to reduce overwatering risk. Test run it, check that water reaches the far end of each row, and adjust run time seasonally because hot weather increases evaporation and demand.
What’s the right approach to pest control if I don’t want heavy spraying?
Start with scouting, use row covers early for preventable pests, and remove heavily infested leaves before populations explode. Consider targeted, low-toxicity interventions only when you see a meaningful threshold of damage rather than reacting to the first bug you notice.
How can I reduce disease without changing everything?
Focus on airflow (proper spacing), avoid wetting leaves late in the day, and clean up crop residues between seasons. If damping off or repeated issues occur, improve the soil-starting method using sterile starting mix rather than reusing garden soil in trays.
How do I plan for harvest so I don’t end up with waste?
Harvest on a schedule during peak production, then process immediately (wash, store, or preserve) rather than letting produce sit. If you’re overwhelmed, reduce what you plant next season or add succession intervals so production matches your ability to process.
What’s the easiest way to estimate how much space I need per person?
Use “amount per person” planning tables to set a baseline, then adjust based on whether you want fresh eating only or also freezing and preserving. If your household eats little of certain crops, allocate less bed area to them and increase those you truly use.
What’s a common reason a new growing area fails in the first season?
Most failures come from starting too big for the amount of attention needed, especially watering, scouting, and soil preparation. A smaller, well-managed bed that you can keep consistent usually outperforms a larger area you can’t maintain.
Next Article
Best Crops to Grow Together: Pairings, Layout Tips, What to Avoid
Companion planting guide with best crop pairings, spacing, timing, bed layouts, and what not to pair for higher yields.