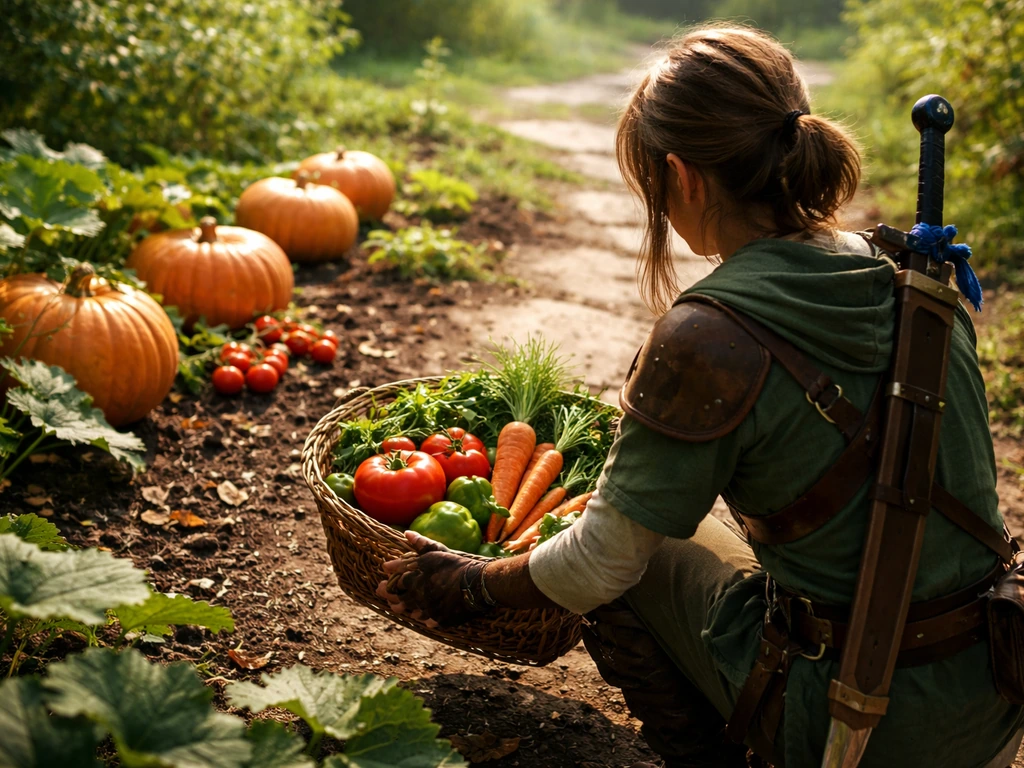
The best organic crops to grow are the ones that match your climate, your space, and what you actually want to eat or store. Once you’ve narrowed down your site and growing season, you can pick the once human best crops to grow for maximum success best organic crops to grow. For most beginners, that short list starts with zucchini, bush beans, tomatoes, leafy greens, and garlic, crops that are forgiving, productive, and genuinely useful in the kitchen. To refine your choices further, check the best crops to grow for your garden goals, timing, and conditions. But the honest answer depends on your USDA zone, your last frost date, how much sun you're working with, and whether you're chasing quick harvests, long-term storage, or soil health. This guide walks through all of it so you leave with a real plan, not just a crop list.
Best Organic Crops to Grow: A Practical Guide by Climate

How to pick the right crops for your specific site

Before you order seeds, you need to be honest about four things: your climate, your sunlight, your space, and your goals. Get these wrong and even the "easiest" crops will disappoint you.
Climate and growing season
The USDA Plant Hardiness Zone Map tells you the average annual extreme minimum winter temperature, blank" rel="noopener noreferrer">divided into 10°F zones with A/B subdivisions. It's the most common reference gardeners use, but it's important to know what it doesn't tell you: it says nothing about summer heat, humidity, or how long your actual growing season is. The University of Maine Cooperative Extension notes that the blank" rel="noopener noreferrer">USDA Plant Hardiness Zone Map reflects winter temperature, and it does not account for summer heat or other factors that affect when plants can grow successfully. A gardener in Zone 7a in coastal Oregon has a completely different summer than someone in Zone 7a in Tennessee. What you really need alongside your zone is your last spring frost date and first fall frost date, those two numbers define your planting window for warm-season crops like tomatoes, peppers, squash, and beans. Look these up for your specific zip code through your local cooperative extension service or a reliable almanac tool. If you’re wondering which crops to grow for your specific timing, use your frost dates to choose varieties that match your season length.
Short-season growers in Zones 3–5 should lean hard into cold-tolerant, fast-maturing crops: kale, spinach, radishes, turnips, beets, and short-season tomato varieties (look for 60–70 days to maturity). Long-season growers in Zones 8–11 get two or even three planting windows per year and can grow sweet potatoes, okra, melons, and a fall/winter garden of brassicas and greens that would freeze out elsewhere.
Sunlight: the non-negotiable

Most fruiting vegetables, tomatoes, peppers, cucumbers, squash, beans, need at least 6 to 8 hours of direct sun per day. If you're working with 4 to 6 hours, shift toward leafy greens, herbs, beets, and peas, which tolerate partial shade. Under 4 hours, you're in difficult territory for food production. Be honest about this. A shady tomato plant will give you disease and disappointment, while kale in that same spot might thrive.
Space and goals
Are you growing in containers on a balcony, in raised beds in a suburban backyard, or across a larger homestead plot? Each scenario calls for different crops. And what do you actually want from your garden? If the goal is self-sufficiency and food storage, you need calorie-dense, storable crops like potatoes, dry beans, winter squash, and garlic. If you want fresh eating and quick wins, leafy greens and zucchini will get you there faster. If you're interested in growing for profit on the side, high-value crops like specialty herbs, salad mix, and cherry tomatoes are worth considering, a topic worth exploring separately if that's your direction. If you are exploring the best crops to grow for profit, focus on crops that sell well locally and fit your sun, soil, and season length.
Beginner-friendly organic crops: the ones that actually work
These are the crops I'd tell anyone starting out to plant first. They're reliable, productive, and don't require a lot of finesse. They'll also give you real feedback fast, which is the best teacher in gardening.
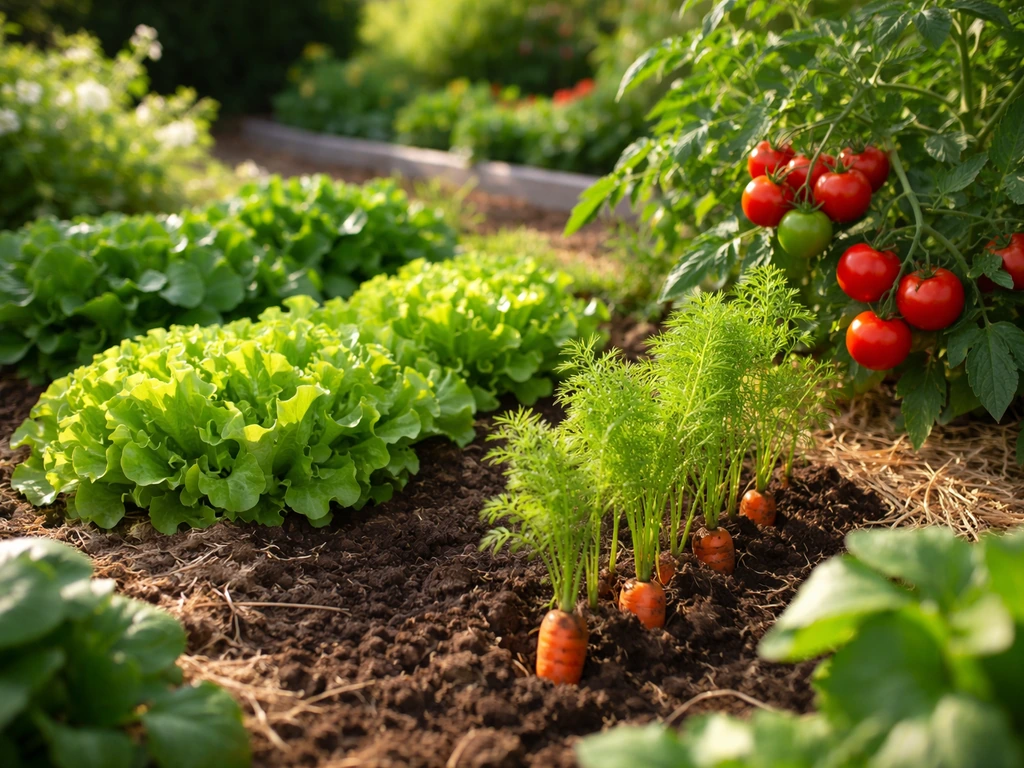
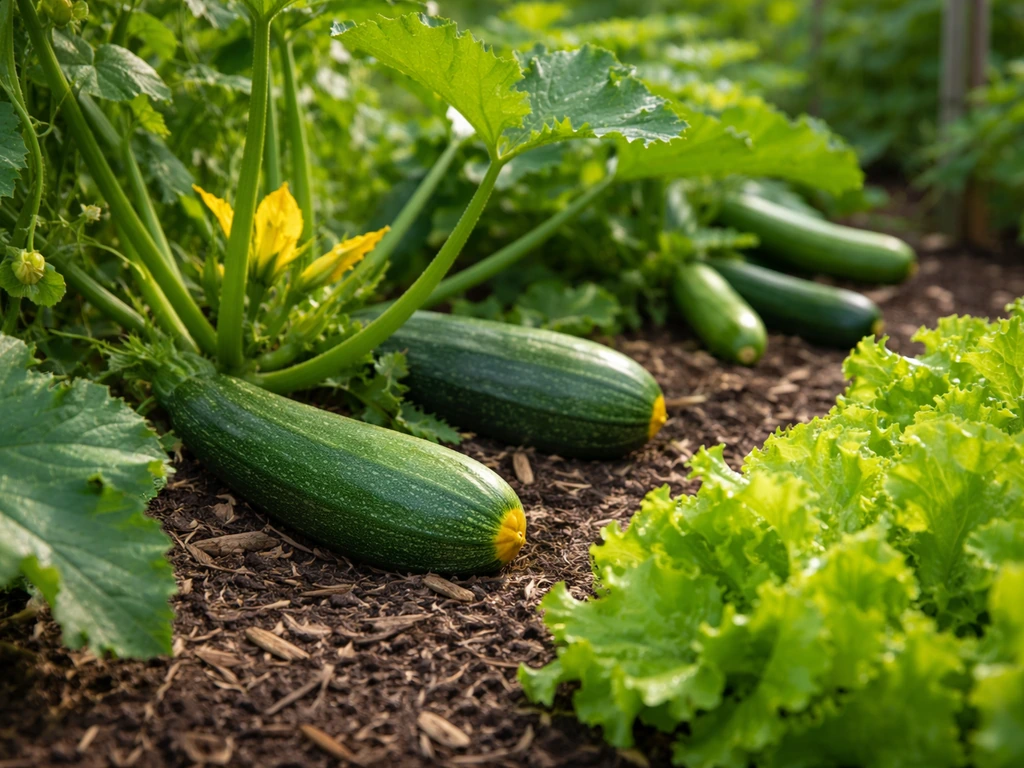
- Zucchini and summer squash: Almost aggressively productive. One or two plants will feed a family. Direct seed after last frost, give them space (3–4 feet apart), and keep up with harvesting or they'll go baseball-bat size overnight. Yield: 6–10 pounds per plant over the season.
- Bush beans: Easy from direct seed, no staking needed, and they fix nitrogen in the soil — a bonus for organic systems. Expect about 1–1.5 pounds of beans per foot of row. Plant every 3 weeks for continuous harvest.
- Tomatoes (paste and cherry types): Cherry tomatoes are the most beginner-tolerant — they're more disease-resistant and produce even under stress. Paste types like Roma are great for sauce and canning. Start from transplants if your season is under 150 days.
- Kale and chard: Start to harvest in 50–60 days, tolerate light frost, and keep producing if you harvest outer leaves. Extremely nutrient-dense and useful in the kitchen all season long.
- Spinach and lettuce: Ready in 30–45 days. Best grown in spring and fall to avoid bolting in summer heat. Perfect for succession planting — sow every 2 weeks for continuous salad.
- Radishes: 25–30 days from seed to harvest. Great for marking slow-germinating rows and filling gaps. Kids love them because they can see results fast.
- Garlic: Plant in fall, harvest the following summer. Minimal work, stores for 6–12 months, and is worth far more than what you'd pay at a grocery store. A set-and-forget winner.
- Peas (snap and shelling): Cool-season, early spring crop. Sow direct as soon as soil can be worked. Sweet, satisfying, and great for beginners building confidence.
If I had to pick a starter combination for someone with a 4x8 raised bed and full sun, I'd go with: two tomato plants, one zucchini, a short row of bush beans, and a block of salad greens. That's a productive, varied, and manageable first garden.
High-yield and storage crops for serious self-sufficiency
If your goal goes beyond fresh eating into actually feeding your household through the winter, you need to think in calories and storage life, not just harvest frequency. These crops are the backbone of any serious self-sufficient food garden.
| Crop | Space Needed | Approx. Yield | Storage Life | Best For |
|---|---|---|---|---|
| Potatoes | 100 sq ft | 50–100 lbs | 3–6 months (cool, dark) | Calories, winter staple |
| Winter squash (butternut, acorn) | 20–30 sq ft per plant | 10–15 lbs per plant | 3–6 months | Calorie-dense, easy storage |
| Dry beans (black, pinto, kidney) | 100 sq ft | 8–12 lbs dry | Indefinitely (dried) | Protein, long-term pantry |
| Garlic | 1 sq ft per bulb | 1 bulb per clove planted | 6–12 months | Flavor, medicinal value |
| Onions | 4 inches per plant | 0.25–0.5 lbs per plant | 3–12 months | Cooking staple, canning |
| Sweet potatoes (Zones 6–11) | 100 sq ft | 50–150 lbs | 6–12 months | High calorie, nutrient-rich |
| Corn (for drying/grinding) | 200+ sq ft minimum | 1 ear per stalk | Indefinitely (dried) | Grain, flour, cornmeal |
Potatoes are the single most calorie-efficient crop you can grow per square foot. A 10x10-foot plot managed well can produce 50 to 100 pounds of potatoes, enough to make a real dent in your winter food supply. Winter squash stores at room temperature with no refrigeration needed, which makes it exceptionally practical. Dry beans are one of the few crops you can grow that store literally indefinitely when properly dried and sealed, making them a cornerstone of any food security strategy.
If you're thinking about crops through a cost-effectiveness lens, what gives you the most value per square foot of growing space, potatoes, garlic, and specialty salad greens consistently come out ahead. If you want to dig deeper into the same idea, see our guide on what are the most cost effective vegetables to grow for practical picks cost-effectiveness lens. That's a thread worth pulling on separately if budget and return are your main drivers.
Container and raised-bed crops vs. in-ground growing
Not every crop thrives in every setup. Containers and raised beds give you control over soil quality and drainage, which is a huge advantage in organic systems. In-ground growing gives you volume and lower cost per square foot, but you're working with whatever soil you have.
Best crops for containers and raised beds
In containers (5-gallon minimum for most vegetables), focus on crops with compact root systems and high value per plant. Salad greens, herbs (basil, parsley, cilantro), cherry tomatoes in 10-gallon pots or larger, peppers, radishes, and bush beans all do well. If you want the totk best crop to grow, start by matching your container type and sun hours to what performs reliably, like cherry tomatoes or bush beans. One determinate tomato variety in a 15-gallon pot with a sturdy cage can produce 10–15 pounds of fruit. Raised beds (typically 4x8 feet, 8–12 inches deep) open up more options: you can fit two tomatoes, a zucchini, a row of beans, and a corner of greens in a single 32-square-foot bed. The key is using excellent soil, a mix of compost, topsoil, and aged manure, because the roots can't go deeper to find nutrients the way they can in-ground.
Best crops for in-ground growing
In-ground is where you grow large-volume, storage-focused crops: potatoes, winter squash, dry beans, corn, sweet potatoes, and cover crops for soil building. These crops need room to sprawl or develop deep root systems, and they're simply not practical in containers. If your native soil is poor or compacted, you'll need to invest in amendments before the first season, but over time, in-ground beds become more fertile and productive with good organic management.
| Growing Setup | Best Crops | Key Advantages | Main Limitations |
|---|---|---|---|
| Containers (5–15 gal) | Herbs, salad greens, cherry tomatoes, peppers, radishes | Full control over soil, mobile, great for small spaces | Watering frequency, limited root volume, cost of containers |
| Raised beds (8–12" deep) | Tomatoes, beans, zucchini, greens, beets, carrots | Excellent drainage, warms early, easier on your back | Initial setup cost, needs good fill mix |
| In-ground rows/beds | Potatoes, squash, dry beans, corn, sweet potatoes, garlic, onions | Low cost per sq ft, room for large-volume crops | Soil quality varies, harder to amend, weed pressure higher |
Building your soil the organic way
In organic growing, your soil is your fertility system. You're not buying synthetic fertilizers to patch nutrient deficiencies, you're building a living soil that feeds your crops over time. This takes more planning upfront, but the payoff compounds each season.
Start with compost
Compost is the foundation of every organic garden. Aim to incorporate 2–4 inches of finished compost into your beds before each season. If you're making your own (and you should be), a simple hot compost pile of kitchen scraps, yard waste, and carbon materials like straw or cardboard will be ready in 6–12 weeks with regular turning. If you're buying it, look for compost certified by the US Composting Council or labeled OMRI-listed for organic use.
Organic fertility options
- Aged manure (chicken, cow, horse): Chicken manure is the hottest (highest nitrogen) — always age or compost it first or it will burn plants. Cow and horse manure are gentler and great worked in several weeks before planting.
- Cover crops (green manure): Legume cover crops like crimson clover, field peas, and hairy vetch fix atmospheric nitrogen into the soil — free fertility. Grasses like oats or rye add organic matter and suppress weeds. Terminate them 2–4 weeks before planting and let them break down.
- Organic amendments: Blood meal (high nitrogen, fast release), bone meal (phosphorus), kelp meal (micronutrients and trace minerals), and greensand (slow-release potassium) are the workhorses of organic fertility. Test your soil every 2–3 years to know what you actually need.
- Wood chip mulch: Applied 2–4 inches deep between rows, wood chips suppress weeds, retain moisture, and slowly feed soil biology as they break down. Free from arborists in many areas.
- Worm castings: An exceptional amendment for container growing — a small amount goes a long way for transplant establishment and soil biology.
The goal over time is a soil that's dark, crumbly, full of earthworm activity, and rich in organic matter (aim for 5% or higher organic matter content). You won't get there in one season, but every amendment you add moves you closer. Don't skip a soil test in your first year, it tells you exactly where you're starting from and prevents you from over-applying things you don't need.
Organic pest and disease prevention: what actually works
Organic pest management isn't just "don't use chemicals." It's a layered system of prevention, monitoring, and targeted intervention. The goal is to keep pest populations below damaging thresholds, not to eliminate every insect in your garden, many of them are allies.
Prevention first
- Choose disease-resistant varieties: This is the single most effective thing you can do. Look for tomato varieties labeled VFN (resistant to Verticillium, Fusarium, Nematodes) or disease-tolerant squash. Resistance is built into the seed — it costs nothing extra.
- Rotate crops every season: Never plant the same plant family in the same spot two years running. Rotating breaks pest and disease cycles that overwinter in soil. More on this in the planning section.
- Companion planting: Basil planted near tomatoes is said to repel thrips and aphids. Nasturtiums act as trap crops for aphids, drawing them away from vegetables. Marigolds (especially French marigolds) suppress soil nematodes and deter whiteflies. These aren't magic bullets, but they contribute to a more balanced garden ecosystem.
- Row covers: Lightweight floating row cover (reemay fabric) is one of the most underused organic tools. Drape it over young brassicas, carrots, or spinach and it physically excludes cabbage moths, carrot flies, and aphids without any spraying at all. Remove when flowers need pollination.
- Water at the base, not overhead: Wet foliage is the main driver of fungal disease in tomatoes, squash, and beans. Drip irrigation or soaker hoses keep water at the roots and leaves dry.
When you need to intervene
Walk your garden every 2–3 days during the growing season. You're looking for early signs: yellowing leaves, holes in foliage, wilting, sticky residue (aphid honeydew), or unusual spots. Catch problems early and your options are much better. Hand-pick large insects like hornworms or squash bugs. Knock aphids off with a strong stream of water. For persistent infestations, neem oil (diluted per label instructions) handles soft-bodied insects and many fungal diseases. Spinosad is an OMRI-listed organic spray effective against caterpillars, thrips, and Colorado potato beetle. BT (Bacillus thuringiensis) is specifically effective against caterpillars and is harmless to humans, beneficial insects, and soil life. For fungal disease on tomatoes or cucumbers, copper-based fungicide sprays are organically approved and work best as a preventive, applied before infection spreads.
Planning it all out: calendar, rotation, yields, and next steps
Having a list of crops is one thing. Knowing when to plant them, in what order, and how to track what you get is what turns a garden into a real system. Here's how to build a simple but effective plan.
Build your planting calendar from frost dates
Everything in your planting calendar anchors to two dates: your last spring frost date (LSF) and your first fall frost date (FFF). Look these up for your location, your local cooperative extension will have them. Then map backward and forward from there.
- 8–10 weeks before LSF: Start tomatoes, peppers, eggplant, and celery indoors under grow lights.
- 4–6 weeks before LSF: Start brassica transplants (broccoli, cabbage, kale) indoors. Direct sow spinach, lettuce, peas, and radishes outdoors — they handle frost.
- 2 weeks before LSF: Harden off tomatoes and pepper transplants by gradually exposing them to outdoor conditions.
- At LSF: Transplant tomatoes, peppers, and eggplant outdoors. Direct sow beans, squash, cucumbers, and corn.
- 2 weeks after LSF: Plant sweet potato slips, basil transplants, and any remaining warm-season crops.
- Midsummer (10–12 weeks before FFF): Direct sow fall broccoli, kale, beets, and carrots. Start cabbage transplants indoors.
- 8 weeks before FFF: Transplant fall brassicas outdoors. Direct sow spinach, arugula, and radishes for fall harvest.
- In fall after harvest: Plant garlic cloves (4–6 weeks before hard freeze). Sow cover crop seed on empty beds.
Crop rotation: the four-group system
Rotate crops by plant family, not individual species. A simple four-group rotation works for most home gardens: Group 1 is nightshades (tomatoes, peppers, eggplant, potatoes); Group 2 is brassicas (broccoli, cabbage, kale, radishes); Group 3 is legumes (beans, peas); Group 4 is roots and alliums (carrots, beets, onions, garlic). Move each group to a new bed or section each season. Legumes are the best group to follow nightshades because they replenish nitrogen. Brassicas follow well after legumes because they're heavy feeders. This system breaks the cycle of soil-borne diseases (like late blight in nightshades and clubroot in brassicas) and balances nutrient draw across the garden.
Realistic yield estimates
Here are honest, conservative yield numbers you can actually plan around per 10 feet of row or per plant:
| Crop | Yield per 10 ft row (or per plant) | Days to First Harvest |
|---|---|---|
| Tomatoes (indeterminate) | 15–30 lbs per plant | 70–85 days from transplant |
| Zucchini | 6–10 lbs per plant | 50–60 days from seed |
| Bush beans | 8–15 lbs per 10 ft row | 55–65 days from seed |
| Potatoes | 10–20 lbs per 10 ft row | 70–120 days from planting |
| Garlic | 6–10 bulbs per 10 ft row | 240–270 days (fall-planted) |
| Spinach | 1–2 lbs per 10 ft row | 30–45 days from seed |
| Kale | 4–6 lbs per 10 ft row (ongoing) | 50–65 days from seed |
| Winter squash | 10–20 lbs per plant | 85–110 days from seed |
| Dry beans | 0.5–1 lb dry per 10 ft row | 90–100 days from seed |
Your action plan: what to do this week
Don't try to do everything at once. A focused start beats an overwhelmed one every time. Here's how to move from reading to planting:
- Find your USDA zone and look up your last spring frost date and first fall frost date for your specific location.
- Pick your setup: containers, raised beds, or in-ground. Be honest about your sun hours — measure if you're not sure.
- Choose 4–6 crops maximum for your first season. Match them to your zone, sun, and goals using the lists above.
- Order seeds or transplants now. For warm-season crops, check days to maturity against your growing season length.
- Amend your soil or fill your beds: 2–4 inches of compost worked in, plus any organic amendments based on a soil test if you have one.
- Map out a simple rotation plan using the four-group system — even if you only have two beds, start the habit now.
- Set a calendar reminder for each planting date based on your frost dates.
- Walk your garden every few days once things are growing. Early monitoring is your best pest control tool.
The most important thing you can do is start small, pay attention, and keep notes. Write down what you plant, when you plant it, and what happens. Your second season will be measurably better than your first because you'll know your own microclimate, your own soil, and which crops actually thrive where you live. That's the real advantage of organic growing at home, you're building knowledge and fertility that compounds every single year.
FAQ
What are the best organic crops to grow if I want the lowest pest risk?
Start with crops that are naturally less pest-attractive in your area, then use timing. For many beginners, leafy greens (harvest young), bush beans, and garlic tend to be easier than sprawling solanaceous crops early on. Also, plan to monitor more aggressively during hot, humid weeks, since that is when problems like fungal leaf spots and aphid booms usually spike.
If my USDA zone matches, why do crops still fail anyway?
USDA zone ignores summer heat, humidity, and the exact length of your frost-free period, so failures often come from heat tolerance and plant age at transplant. Use your last spring frost date to seed-transplant early enough, but also match varieties to summer conditions (for example, choose tomatoes bred for heat if your summers are consistently hot).
Can I grow tomatoes and peppers organically if I have less than 6 hours of sun?
It is usually difficult to get reliable production below 6 hours because fruiting vegetables need strong light to support flowering and prevent slow growth. If you must garden in partial shade, choose determinate or early varieties, keep plants well-spaced for airflow, and prioritize pruning and disease monitoring. Leafy greens, beets, peas, and herbs are more dependable in that light range.
What organic crop choices work best for small containers?
Avoid trying to force large fruiting plants into undersized pots. A 5-gallon container can work for compact herbs and radishes, but cherry tomatoes usually need 10 gallons or more to produce steadily. If space is very limited, prioritize short-cycle crops (leaf lettuce, spinach, radish) and succession sow so you get repeated harvests instead of one large failure.
Should I plant once and hope for the best, or use succession planting?
Succession planting is one of the fastest ways to make a beginner garden feel productive. For example, plant a small batch of leafy greens every 2 to 3 weeks during suitable weather, and repeat in late season. It also helps you avoid the common mistake of harvesting all at once and then having empty beds.
What crops are best for winter storage besides potatoes and garlic?
If you want room-temperature storage that does not require refrigeration, winter squash and dry beans are the most reliable. Add onions and some varieties of carrots with proper curing and cool storage conditions. The key is curing and storage handling, for instance squash should be fully cured before long storage to reduce rot.
How do I rotate crops in a small garden if I only have one or two beds?
Use rotation by plant family within your limits, not perfect multi-bed coverage. With one bed, you can rotate families across seasons by shifting what you plant each year, and you can also use cover crops during fallow periods to break disease cycles and build soil structure. If you cannot rotate enough, reduce risk by avoiding repeated nightshade planting in the same spot.
Do I need a soil test before choosing the best organic crops to grow?
Yes, in your first year it prevents over-applying amendments and helps you choose varieties that match your starting pH and nutrient levels. Many organic gardeners assume compost fixes everything, but nutrient balance and pH strongly affect success, especially for brassicas and legumes.
What is the best way to use compost for organic crops without causing problems?
Use a measured layer, typically 2 to 4 inches of finished compost, and mix it into beds before planting rather than piling it on top of seedlings. Finished compost matters, because unfinished material can tie up nitrogen and increase weed seeds. If you are seeing overly leafy growth with fewer fruits, it can be an amendment balance issue rather than a pest problem.
Which organic pest products should I start with, and when should I apply them?
Start with mechanical and monitoring steps (hand-picking, strong water spray for aphids) because they reduce pest pressure without disrupting beneficial insects. Treat with targeted organic products only when you see early signs and populations rising, for example BT for caterpillars and spinosad for certain chewing insects. Neem oil and copper sprays are most effective as preventive or early interventions, not after heavy damage has already occurred.
How can I track progress in a way that actually helps me choose the next season’s crops?
Keep simple yield and timing notes, including planting date, germination or transplant date, first harvest date, and total harvest amount. Also log pest or disease pressure and what you did. This turns your “best organic crops to grow” list into a localized shortlist based on your actual results, not generic recommendations.
TOTK Best Crop to Grow: What to Plant Today for Fast Yields
Choose the best crop in TOTK for fast, reliable yields with where to plant, what to grow today, and how to harvest.