Yes, you can absolutely grow vegetables on a farm, even if you're starting with just a small section of it this season. Whether you have a quarter acre or a few raised beds carved out of a larger property, vegetable production is realistic, manageable, and genuinely rewarding. The key is treating that section with intention: planning your crops around your local season, setting up your soil properly before you plant, using efficient irrigation and weed control, and being honest about how much space and labor you can actually commit to. This guide walks you through every step, from deciding what you can realistically grow to harvesting a full first season.
Can Grow Vegetables on a Farm: A Practical Starter Guide

Marcus Hendrick
4 Jun 2026
What 'a farm' means for vegetable growing (and what's actually realistic)
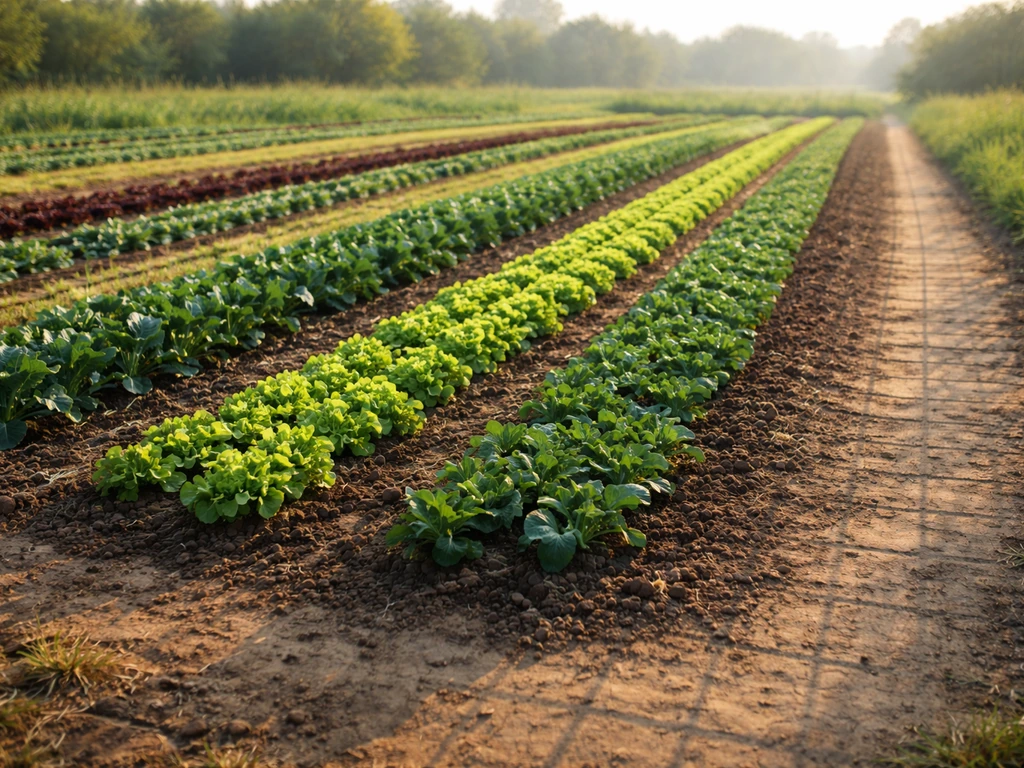
When most people picture a vegetable farm, they imagine large commodity rows. But in practice, highly productive vegetable operations are often much smaller. Market gardens typically run from about a quarter acre to two acres and produce a diverse mix of annual vegetables, herbs, and sometimes flowers. That size range is actually the sweet spot for intensive vegetable growing, and it's well within reach for a homestead or small property. You don't need all of your land in production. Many successful growers start with a single 1,000 to 2,000 square foot section and expand once they understand what their soil, water, and schedule can handle.
Before you dig anything, do a quick feasibility check across five factors: sunlight, water access, climate zone, labor, and budget. Vegetables need a minimum of six hours of direct sun daily, and most heavy producers like tomatoes, squash, and peppers want eight hours or more. Water has to be close enough to run drip lines or a hose without heroic effort. Your USDA Plant Hardiness Zone tells you your frost window, which determines your planting calendar. Labor is the one growers consistently underestimate: even a 500 square foot intensive bed requires regular attention for seeding, transplanting, weeding, watering, and harvesting. And your budget needs to cover seeds, soil amendments, irrigation hardware, and any structures like trellises or row cover hoops.
If your land has heavy shade, poor drainage, or no water access nearby, those are real constraints worth solving before planting. But most properties have at least one suitable section. The goal in year one is to start in the best spot you have, not the biggest spot you can imagine.
Planning your vegetable system: seasons, crop selection, and layout
Match your crops to your season
Your USDA Hardiness Zone is the starting point, but what really drives planting decisions is your last spring frost date and your first fall frost date. These two numbers define your growing window. Cool-season crops like lettuce, spinach, kale, carrots, broccoli, and peas can tolerate light frost and get planted several weeks before your last frost date.
Warm-season crops like tomatoes, peppers, cucumbers, squash, and beans go in only after frost danger has passed and soil temps have reached at least 60 degrees Fahrenheit. Planning a mix of both extends your harvest from early spring through late fall, sometimes into winter with a little row cover. If you are wondering what to grow on a small farm, start by matching cool- and warm-season crops to your frost dates.
For a first-season vegetable section, I'd recommend picking six to ten crops you actually want to eat, selecting one or two varieties per crop rather than ten, and focusing on what does well in your specific region. Your local cooperative extension service publishes planting charts with days-to-harvest and frost tolerance for your area. South Dakota State University Extension, for example, publishes per-person-per-year quantity guidance alongside harvest timelines, which is genuinely useful for sizing your plot to your household's needs.
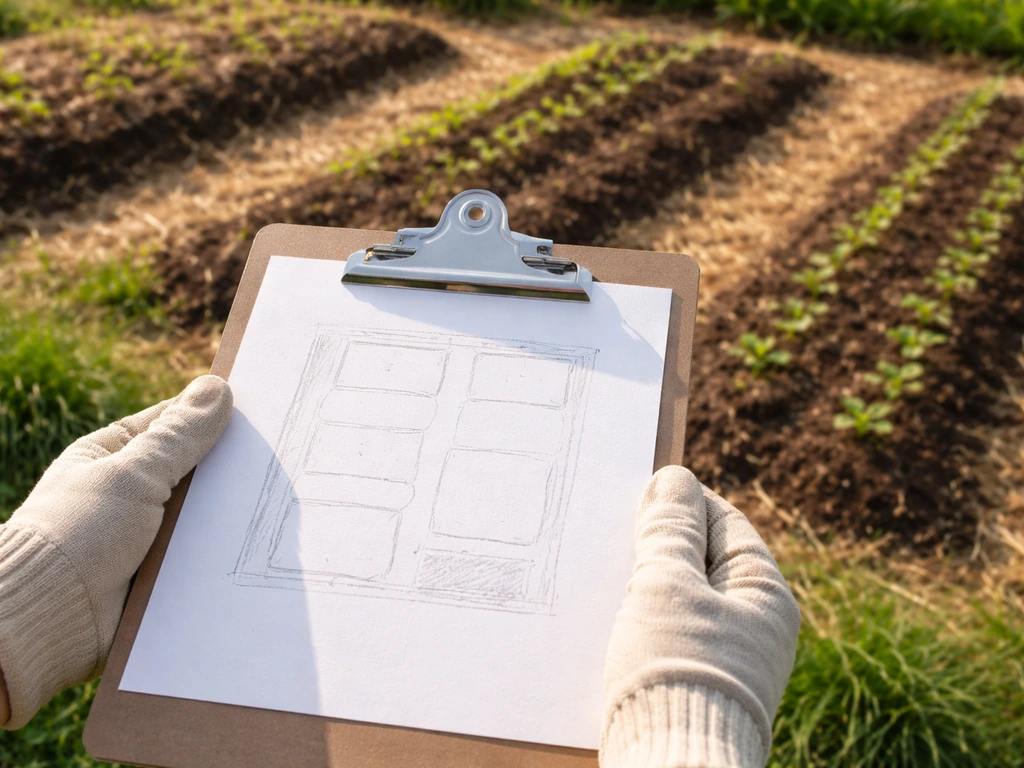
Lay out your beds for efficiency
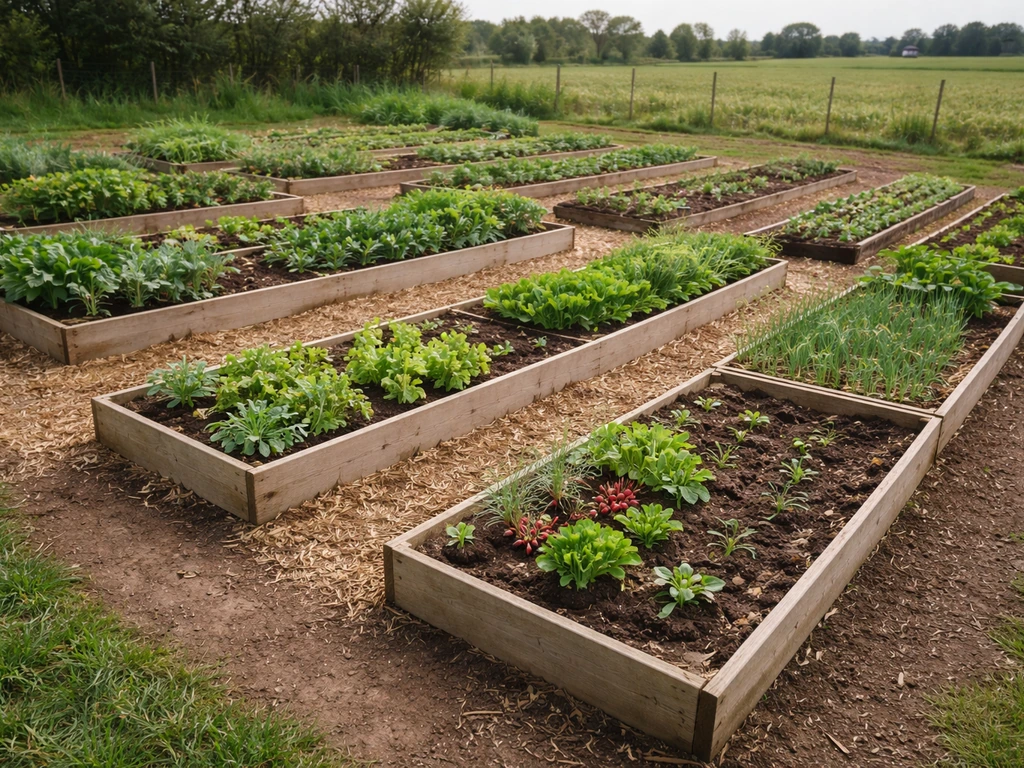
Bed layout has a real impact on productivity. A block-style raised bed arrangement, where plants are spaced in a grid rather than single rows with wide paths between them, can increase yields by up to five times compared to traditional row-and-path layouts, because you're putting more of your square footage into production instead of walkways. Keep individual beds blank" rel="noopener noreferrer">no wider than four feet so you can reach the center from either side without stepping in. blank" rel="noopener noreferrer">Paths between beds should be 18 to 24 inches wide for comfortable access on foot, or about four feet if you need to move a wheelbarrow through. Beds between three and four feet wide and any length you can manage efficiently work well in practice.
Orient rows or beds to run north-south where possible, so taller plants don't shade shorter ones as the sun moves through the day. Group heavy water users together to simplify irrigation zones. Leave a dedicated path on at least one long side of each bed so you're never stretching awkwardly to reach the middle.
Soil setup and fertility: testing, amendments, and bed prep
Start with a soil test

A soil test is the single most useful thing you can do before you plant, and it costs less than a bag of fertilizer. Your state's cooperative extension service offers testing for around $15 to $30. The report gives you pH, phosphorus, potassium, organic matter, and often nitrogen recommendations by crop. Vegetables grow best in a pH range of roughly 6.
0 to 6. 8, with most authorities putting the sweet spot at 6. 5 to 6. 8.
If your pH is low (acidic), you'll add agricultural lime to raise it. If it's above 7. 0, sulfur can bring it down. The report also tells you how many pounds of nitrogen, phosphorus (as P2O5), and potassium (as K2O) to apply per 1,000 square feet, which takes the guesswork out of fertilizing.
Build fertility with compost and organic matter
Compost is the foundation of good vegetable soil. Before your first planting, work in two to four inches of finished compost to a depth of 8 to 12 inches. This improves drainage in heavy clay soils, improves water retention in sandy soils, and feeds the microbial life that makes nutrients available to plants. For raised beds, fill them with a mix of native topsoil, compost, and an amendment like aged manure or peat, targeting about 30 to 40 percent organic matter in the mix. Raised beds should be 12 to 18 inches deep for most vegetables, and deeper for root crops like carrots or parsnips.
If you're converting a section of farm field that's been in grass or cover crop, consider a site preparation step before planting. Soil solarization, which involves laying clear plastic tarp over moist soil for four to six weeks in summer, kills weed seeds, soilborne pathogens, and some soil insects using solar heat. It's a non-chemical option that can dramatically reduce your first-season weed pressure. Alternatively, a stale seedbed technique, where you till lightly, let weed seeds germinate, then shallow-cultivate to kill them before planting, reduces the weed bank without chemicals.
If you're planning ahead and have time before your planting window, planting a winter cover crop like winter rye or crimson clover protects the soil from erosion, adds organic matter when you till it in, and suppresses early weeds. This is a great move if you're preparing a section in fall for a spring planting.
Farm-scale growing methods: irrigation, weeds, and pests
Irrigation options and scheduling
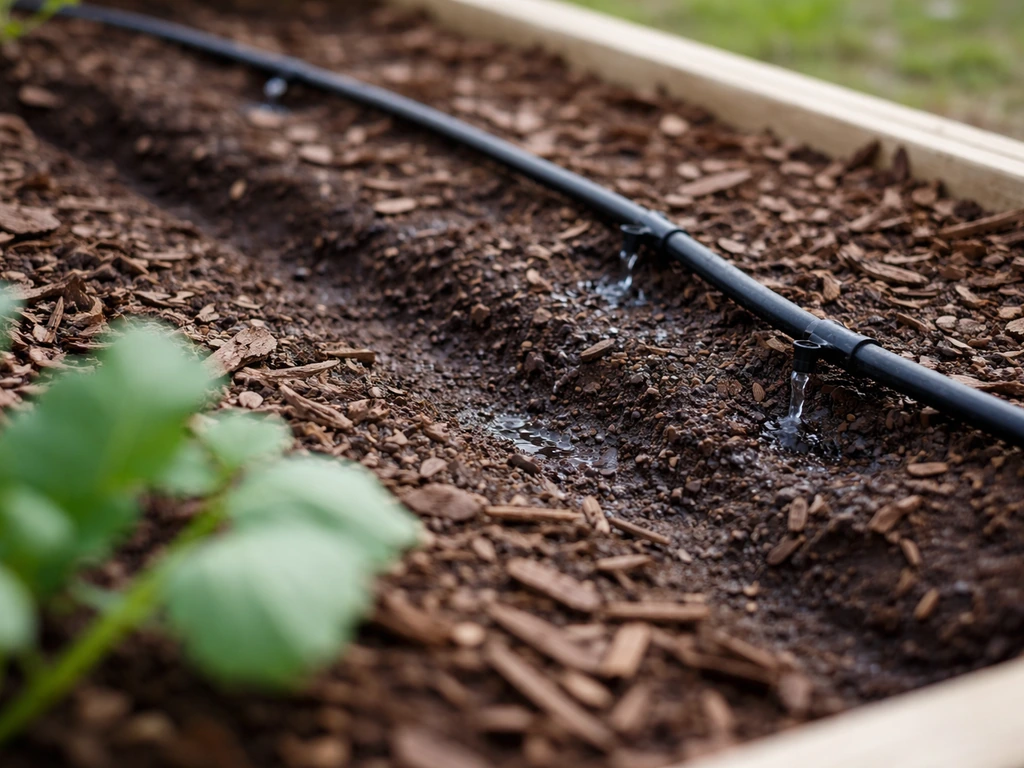
Vegetable crops need roughly one inch of water per week during the growing season, but that number varies by crop, growth stage, and weather. Drip irrigation is the most water-efficient option for vegetable beds and the easiest to manage at farm scale. Drip tape or tubing delivers water directly to the root zone, reducing foliar disease and evaporation. A standard planning approach: 0.5 gpm per 100 feet of drip tape running for two to three hours covers typical midsummer water demand for maturing vegetables in most climates. Penn State extension recommends sizing your run time using your tape's flow rate, your soil's water-holding capacity, and your crop's rooting depth.
If you're hand-watering or using overhead sprinklers, the simplest scheduling rule from Colorado State University Extension is: if you're watering every four days, apply about one inch per irrigation event. Overhead irrigation is fine for seedlings and transplants but increases disease risk on foliage as plants mature, so drip becomes more valuable later in the season. Schedule irrigation using evapotranspiration data from your local weather service or a simple soil probe: when the top few inches of soil feel dry, it's time to water.
Weed control that actually works
Weeds are where first-season growers lose control. The most effective approach combines preparation (stale seedbed or solarization before planting), physical suppression (mulch after transplanting), and timely cultivation. Apply organic mulch like straw or wood chips two to three inches deep after your transplants are established and after the soil has warmed. Keep mulch a few inches away from plant stems to reduce disease risk. For direct-seeded crops where mulch isn't practical until plants emerge, shallow cultivation between rows using a hoe or stirrup hoe every seven to ten days disrupts weed seedlings before they get established.
Flame weeding is an option for in-row weed control before direct-seeded crops emerge. The technique: prepare your seedbed, water to trigger weed germination, wait five to ten days for weeds to sprout, then flame the bed. Your crop seeds are still in the ground and will emerge after the flame pass. Timing is everything here; flame after weed seedlings are up but before your crop breaks the surface. Cover crops reduce late-season weed density significantly (one University of Maryland study showed a 59 percent reduction in pigweed density with cover crops versus no cover crops), but they're a complement to other tactics, not a replacement for active weed management.
Pest and disease management
Scout your beds once a week starting as soon as you plant. That's the cadence recommended by both Penn State and Utah State extension, and it's the difference between catching a pest problem early when it's manageable and finding it after the damage is done. Walk every bed, check both sides of leaves, look inside flowers, and note anything unusual. Many pest problems resolve on their own through natural enemies if you avoid broad-spectrum pesticides. Aphid populations, for example, are often controlled by beneficial insects like lacewings, but only if you haven't wiped out those beneficials with a spray.
Crop rotation is your most powerful disease prevention tool. Don't plant tomatoes, peppers, or eggplant where nightshades grew the previous year. Rotate cucumbers, squash, and melons out of the same bed annually to reduce cucurbit downy mildew and other soilborne diseases. Common diseases to know by crop family: tomatoes face early blight (Alternaria solani) and late blight (Phytophthora infestans); cucurbits face downy mildew (Pseudoperonospora cubensis). Knowing the disease helps you make targeted decisions rather than spraying everything preventively.
To encourage beneficial insects, plant flowers near your vegetable beds. A strip of phacelia, dill, or alyssum along bed edges provides nectar and pollen that attract predatory insects at multiple points in the season. This is a low-cost, low-effort tactic with real payoff.
Seed and seedling strategy and planting schedules
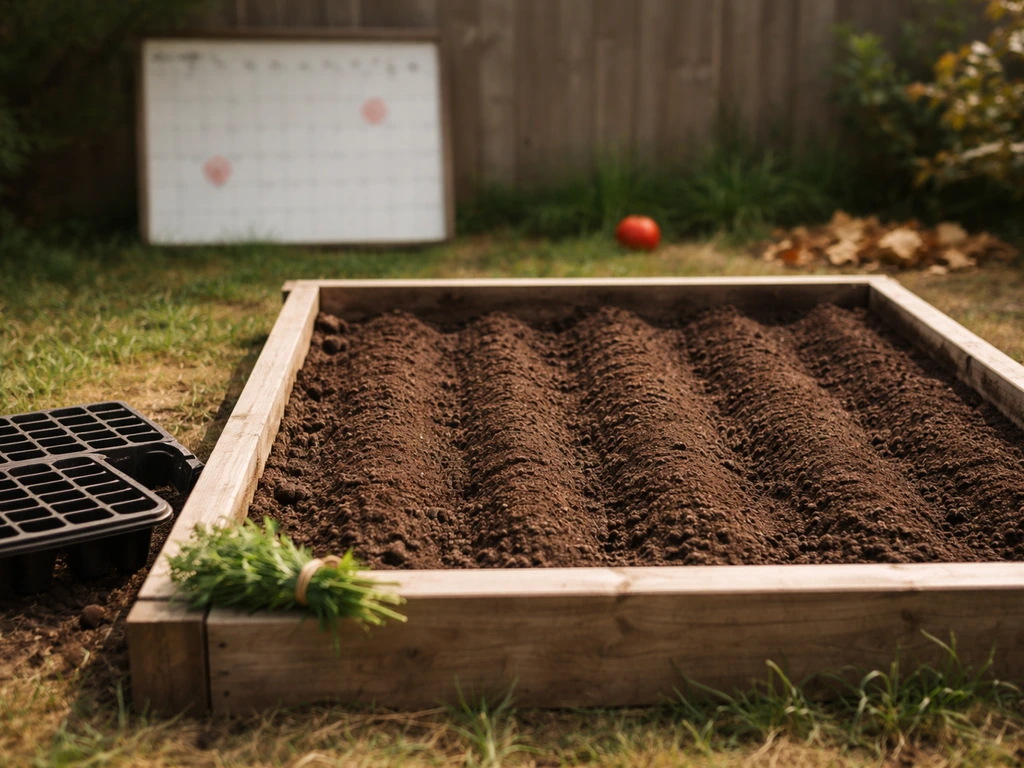
Decide crop by crop whether to direct seed or use transplants. Crops like carrots, beans, beets, radishes, and salad greens are direct seeded into the bed. Crops like tomatoes, peppers, broccoli, cauliflower, and celery are almost always started as transplants, either purchased from a nursery or started indoors four to eight weeks before your last frost date. Starting your own transplants saves significant money at scale but requires grow lights or a warm, sunny windowsill and a reliable heat mat for germination.
Build your planting schedule backward from your last frost date. If your last frost is May 1, tomato transplants go outdoors May 1 to 10, which means starting seeds indoors around March 1 to 10 (six to eight weeks before). Cool-season crops like lettuce, spinach, and peas can go out three to five weeks before last frost. Succession planting, putting in a new round of lettuce or radishes every two to three weeks, keeps harvests coming instead of getting one massive flush and then nothing. This simple tactic makes a big difference in how useful your garden actually is day to day.
Plan for a 20 to 25 percent buffer in your plant counts. Not every seed germinates, not every transplant takes, and some crops will have losses to weather or pests. If you want 100 heads of lettuce per week, plant for 120 to 125. That buffer is standard in commercial crop planning and saves a lot of frustration in the first season.
Yield planning and economics: what to expect and how to scale
A realistic planning target for a well-managed intensive vegetable bed is around 300 pounds of produce per standard bed per growing season. Very experienced growers in good conditions can push closer to 500 pounds, but 300 is a useful conservative number for planning your first season. The University of Maine's planting chart provides per-crop yields per 10 feet of row, which makes it easy to calculate what a specific bed layout will produce. For example, if you're growing broccoli in 30 feet of row, look up the average yield per 10 feet and multiply by three.
For household needs, SDSU Extension publishes suggested per-person annual quantities for most common vegetables. For a family of four eating fresh vegetables through summer and into fall, a productive 1,000 to 1,500 square foot intensive section typically covers a significant portion of fresh vegetable needs. To fill the winter gap, you'd need to add preservation (canning, freezing, fermenting) or cold-hardy crops with season extension tools like row cover hoops.
Rough first-season budget
| Item | Estimated Cost (First Season) | Notes |
|---|---|---|
| Soil test | $15–$30 | Through your state extension service |
| Seeds and/or transplants | $50–$150 | Depends on crop variety and whether you start your own |
| Soil amendments and compost | $50–$200 | More if your native soil needs significant work |
| Drip irrigation hardware | $80–$250 | Timer, mainline, drip tape for 500–1,000 sq ft |
| Mulch (straw or wood chips) | $20–$60 | Often free from local tree services for wood chips |
| Basic tools (hoe, rake, trowel) | $40–$100 | One-time cost if you don't have them |
| Row cover and hoops | $30–$80 | Optional but extends your season significantly |
| Total estimate | $285–$870 | Most costs drop sharply in year two |
The economics get more compelling fast. A family of four spending $200 to $400 per month on fresh vegetables at a grocery store can realistically replace a large portion of that with a well-managed 1,000 square foot plot. Year two costs drop significantly because you're not buying infrastructure again. As you scale up to a quarter acre or more, look into whether selling surplus at a farmers' market, through a CSA, or to local restaurants makes sense.
As you scale up, focus on which crops sell well in your area, then use your yields and costs to estimate profit how to scale a small operation profitably. That's a separate conversation worth exploring on its own, but even at small scale, the math on home vegetable growing is genuinely favorable.
Step-by-step starter plan for your first season
- Look up your last spring frost date and first fall frost date for your specific location. This is your calendar anchor for everything else.
- Choose your growing area. Pick the sunniest, most accessible section of your property with reasonable water access. Start smaller than you think you need: a 400 to 800 square foot section is a solid, manageable first season.
- Send a soil sample to your state extension lab. You'll get pH and nutrient results in one to two weeks.
- Prepare the site. If weeds or grass are present, solarize for four to six weeks, use a stale seedbed technique, or smother with cardboard and a thick compost layer (the 'lasagna' method works well for a first season plot conversion).
- Amend based on your soil test. Adjust pH with lime or sulfur, add compost at two to four inches worked in, and follow the fertilizer recommendations from your test report.
- Build or define your beds. Keep them four feet wide or less, orient north-south, and set clear paths at 18 to 24 inches wide between beds.
- Select six to ten crops suited to your region and season. Choose three to four cool-season crops (lettuce, spinach, kale, carrots, peas, broccoli) and four to six warm-season crops (tomatoes, peppers, cucumbers, beans, summer squash, basil).
- Build your planting calendar. Work backward from your frost date to determine when to start transplants indoors, when to direct seed cool-season crops, and when warm-season transplants can go outside.
- Install your irrigation before planting. Lay drip tape or soaker hose, connect to a main line and timer, and test the system for even coverage.
- Plant and mulch. Transplant seedlings at the correct spacing (use your planting chart), direct seed other crops, and apply straw mulch around established transplants two to three inches deep.
- Scout once a week. Walk every bed, check under leaves, and keep a simple log of what you find. Act early on pest or disease problems.
- Succession plant salad crops every two to three weeks to keep harvests continuous rather than all at once.
Common mistakes to avoid and quick troubleshooting fixes
Mistakes that derail first-season growers
- Planting too much, too soon. Overplanting in year one leads to overwhelm during harvest and poor management across the whole plot. Start with a section you can actually maintain weekly.
- Skipping the soil test. Guessing on pH and nutrients usually means adding things your soil doesn't need while missing what it does. A $20 test saves you from a $100 amendment mistake.
- Ignoring weeds in weeks two and three. Weeds that look harmless at seedling stage become a nightmare six weeks later. Cultivate shallowly every seven to ten days, especially in direct-seeded beds.
- Planting warm-season crops too early. One cold night after a transplant goes in can set tomatoes or peppers back by two to three weeks. Wait until nights are consistently above 50 degrees Fahrenheit.
- Overwatering seedlings and underwatering fruiting plants. Seedlings need consistent moisture but not saturation. Fruiting crops like tomatoes and peppers need deep, consistent watering as fruit sets; irregular watering causes blossom end rot and cracking.
- Planting the same family in the same spot year after year. Rotating crops by plant family is the simplest disease prevention you can do. Map what you planted where, and move each family to a different bed next season.
- Not planning for succession. Planting all your lettuce at once gives you a one-week harvest glut and then nothing. Stagger planting every two to three weeks.
Quick troubleshooting reference
| Problem | Likely Cause | Quick Fix |
|---|---|---|
| Yellowing leaves on lower plant | Nitrogen deficiency or overwatering | Soil test; reduce watering frequency; side-dress with compost |
| Stunted growth despite watering | pH too low or too high | Test pH; amend with lime (acidic) or sulfur (alkaline) |
| Holes in leaves, no pest visible | Flea beetles or caterpillars feeding at night | Scout at dusk; use row cover as physical barrier |
| Wilting despite moist soil | Root rot from overwatering or soilborne disease | Improve drainage; reduce irrigation; rotate crops next season |
| Tomatoes cracking or blossom end rot | Irregular watering or calcium deficiency | Consistent drip irrigation; mulch to retain soil moisture |
| Weed explosion in weeks 3–4 | Weed seeds activated by soil disturbance | Shallow cultivate immediately; apply mulch after transplants establish |
| No germination on direct-seeded crops | Soil too cold, too dry, or seeds planted too deep | Confirm soil temp; water after seeding; check seed depth per variety |
Growing vegetables on a farm, even a small corner of one, is absolutely achievable in your first season if you follow a logical sequence: choose the right site, test and fix your soil, lay out efficient beds, set up irrigation before you plant, pick crops suited to your region and season, and scout consistently once things are growing. The growers who struggle most are the ones who skip the planning phase and try to fix problems reactively.
The ones who do well start with a manageable area, build good soil habits, and expand deliberately. You can start this season, and you'll learn more in those first few months than any amount of reading will teach you. Related decisions worth thinking through alongside this: what specific crops to prioritize, how to scale a small operation profitably, and how the math changes on a dedicated small farm footprint versus a backyard setup.
If you're also looking for the crossword answer, think about the common farm produce crossword clues point to. If you're wondering what to grow on a farm, focus first on crops that match your climate, your season length, and the time you can realistically spend managing the beds what specific crops to prioritize.
FAQ
How small can a farm vegetable area be and still be worth it?
You can start with as little as a few hundred square feet, but plan around high-value crops you can harvest frequently, like salad greens, herbs, radishes, bush beans, and baby carrots. If your goal is mainly volume, keep expectations realistic, and use row cover or hoop protection to extend spring and fall so the beds are productive longer.
What if my land has enough sun, but the soil drains poorly?
Fix drainage before you plant by adding compost and using raised beds or deeper bed profiles, then confirm by doing a simple percolation check (dig a hole, fill with water, see how fast it drains). If drainage is still slow, consider switching to crops that tolerate wetter conditions in the short term, like leafy greens, while you improve the site for water-sensitive crops.
Can I use rainwater instead of a hose or well for drip irrigation?
Yes, but you need storage and filtration to protect drip emitters from sediment. Plan for a buffer tank sized for at least several irrigation days in peak heat, and include an inline filter plus a way to prevent debris from reaching the drip line. During dry spells, you may also need to prioritize certain crops first if storage runs low.
When should I fertilize, based on the soil test?
Use the soil test recommendations as your baseline, then split nitrogen applications when possible instead of putting everything on once, especially in leachable conditions. Many growers apply most phosphorus based on the test at bed prep, then adjust nitrogen later after plants establish, using leaf color and growth as feedback.
Is it okay to skip crop rotation in a small space?
Rotation still matters, even in small areas, because disease organisms and pest populations build up in the same families. In a tiny footprint, rotate by plant family across beds year to year, and if you only have one bed, rotate within the bed by moving families to different sections and avoid repeating the same family immediately.
How do I choose between direct seeding and transplants without wasting time?
Direct seed crops that match your success pattern, fast-germinating, and harvest quickly in your season, like radish, lettuce, peas, and beans. Use transplants for crops that are expensive in space and time or sensitive to cold, like tomatoes and peppers, then schedule transplants to go out right after hardening off to reduce transplant shock.
What should I do if seedlings emerge but growth stalls?
First check soil temperature and moisture, then look for crusting, compaction, or nitrogen limitation. A common fix is to lightly break surface crust if present, ensure consistent watering rather than cycles, and confirm you did not place fertilizer too close to seeds. If pests are involved, inspect undersides of leaves and growing points during your weekly scouting.
How can I estimate my labor needs for an intensive bed?
Plan on short but frequent sessions, weekly weeding and pest scouting, plus recurring tasks around planting, trellising, irrigation checks, and harvest. A practical way to budget is to track minutes per bed for a week once plants establish, then multiply across your expected crop count. Most first-season issues come from underestimating harvest time for crops like lettuce and zucchini that produce continuously.
What are common mistakes with mulch timing?
Avoid putting mulch down too early when soils are cold, because it can slow growth and keep bed temperatures down. Also keep mulch pulled back from stems to reduce rot and pest harborage. For direct-seeded crops, time mulch use so it doesn't interfere with emergence, and consider shallow cultivation instead until plants are established.
Do I need to use row cover or hoops, or can I manage without them?
You can manage without them, but hoops or lightweight row cover usually improve outcomes in the first season by moderating temperature and protecting from insect pressure, especially for brassicas and early greens. If you can only buy one season-extension tool, prioritize pest exclusion during the most vulnerable weeks, rather than relying on it to solve every weather problem.
How often should I scout and what exactly should I look for?
Scout at least once per week, more often during rapid growth and hot weather. Check both sides of leaves, the growing tips, and inside flowers, look for pattern damage (chewed edges, spots, or wilting only on one side), and verify whether symptoms match the crop family. Early identification prevents you from escalating treatments unnecessarily.
Next Article
What You Grow on a Farm Crossword Clue Answer Guide
Solve the crossword clue what you grow on a farm with likely answers, letter-count tips, and quick elimination steps.