Growing broiler chickens at home takes about 6 to 8 weeks from day-old chick to a 5–6 lb bird ready for the freezer. You start them in a warm brooder at 93–95°F, drop the temperature by 5°F each week, move them to a grow-out space around weeks 3–4, feed them a high-protein starter followed by grower and finisher feeds, and harvest before week 8–9 to avoid the leg and heart problems that come with letting fast-growing breeds get too heavy. Everything below is the exact plan, written so you can print it, check off steps, and follow it from day 0 to harvest day.
How to Grow Broiler Chickens PDF: Day 0 to Harvest Plan

Marcus Hendrick
12 May 2026
Broilers vs. layers: making sure you have the right bird
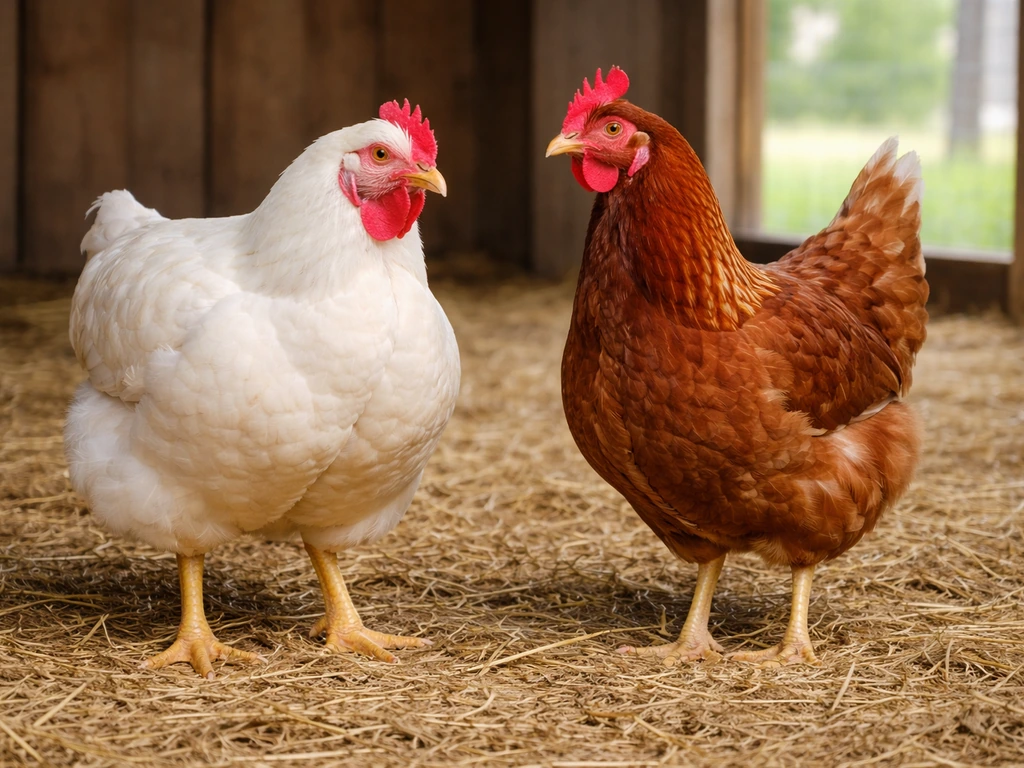
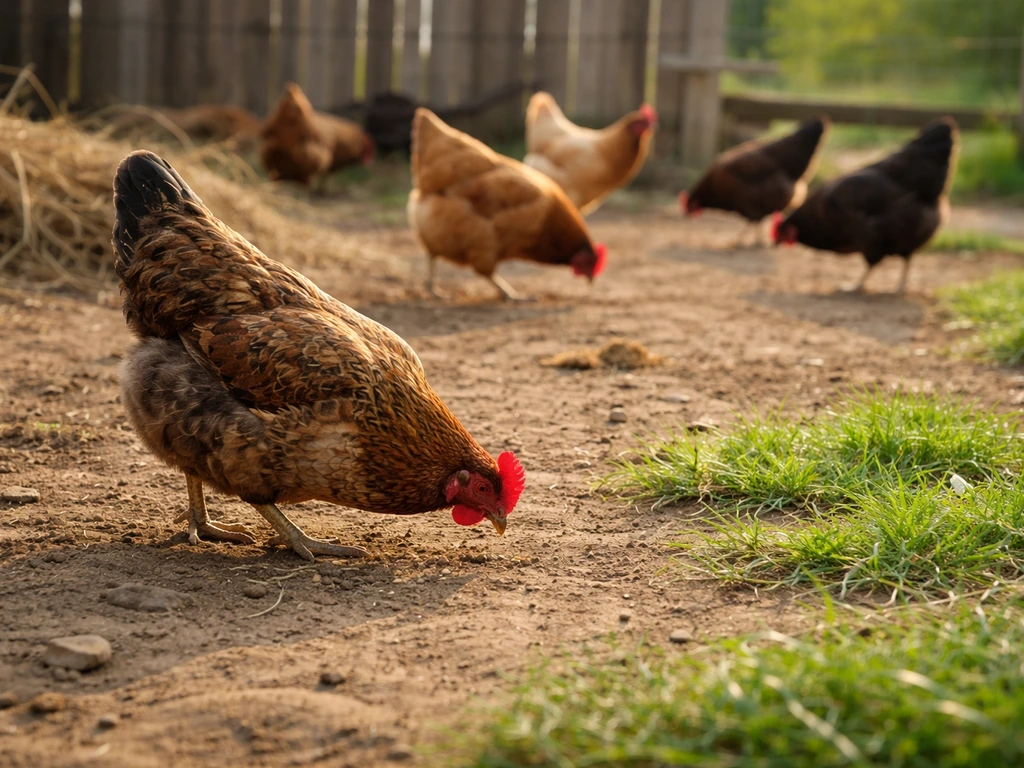
Broiler chickens are bred specifically for meat. The most common breeds you'll see are Cornish Cross (also called Cobb 500 or Ross 308), and they're almost unrecognizable compared to laying hens. A Cornish Cross gains weight so fast it can reach processing weight in 6–8 weeks on roughly 15–18 lbs of feed. A laying hen like a Rhode Island Red might take 5–6 months to reach that same weight and won't give you nearly the same meat-to-bone ratio.
If food security and freezer meat are your goal, broilers are the clear choice. Layers make sense if eggs are your priority, but don't confuse the two or you'll spend months feeding a bird that gives you a disappointing carcass. If you're also interested in how to grow meat through other methods, that's a separate conversation, but for traditional home production, broiler chickens are the most efficient and accessible route.
If you're also interested in how to grow meat through other methods, that's a separate conversation, but for traditional home production, broiler chickens are the most efficient and accessible route. If you're specifically looking for how to grow meat in a lab, the process is very different from raising broiler chickens at home how to grow meat through other methods.
One important note: because Cornish Cross birds grow so fast, they are not designed to free-range indefinitely or become backyard pets. If you want a printable guide for how to make broiler chickens grow so fast, use the PDF-style steps that focus on feed, heat, and a strict harvest schedule. Their bodies are engineered for rapid conversion of feed into muscle. That means you need a firm harvest schedule. Birds left past 8–9 weeks start developing leg, heart, and respiratory problems from their own weight. Plan the whole cycle before you order your chicks.
Setup essentials: brooder, coop, space, and bedding
Brooder setup
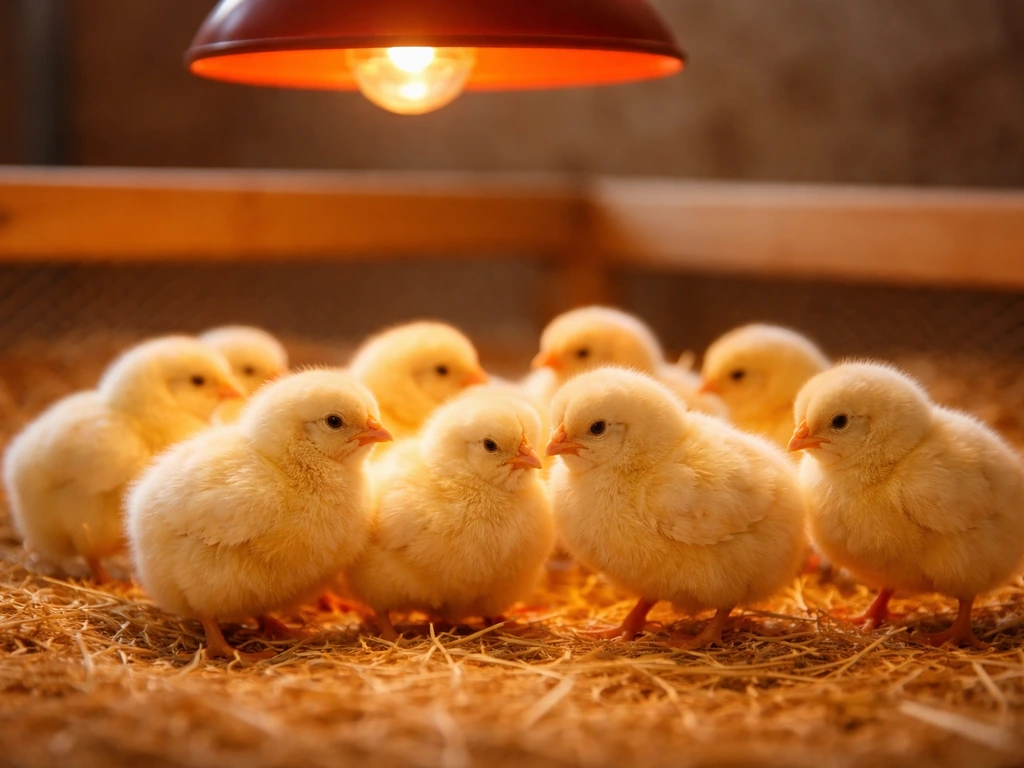
Your brooder is any enclosed, draft-free space where you can control heat: a cardboard ring inside a barn, a large plastic tote, a plywood box, or a dedicated brooder unit. The key is that it holds heat, protects chicks from drafts, and prevents them from crowding into corners and smothering each other. A circular or oval pen design works best for the first week for exactly that reason.
Heat source options include a heat lamp (250W red bulb) or, better, a radiant chick heating plate. A heating plate runs cooler on the surface (mimics a hen) and reduces fire risk. Whatever you use, hang or position the heat source so the temperature measured at chick level (about 2–3 inches off the litter surface, directly under the heat source) reads 93–95°F during week 1. Colorado State University Extension’s brooding schedule recommends 93, 95°F for the first week and then reduces the temperature as chicks age brooding temperature measured at chick level reads 93–95°F during week 1. Drop that by 5°F each week after.
Grow-out space
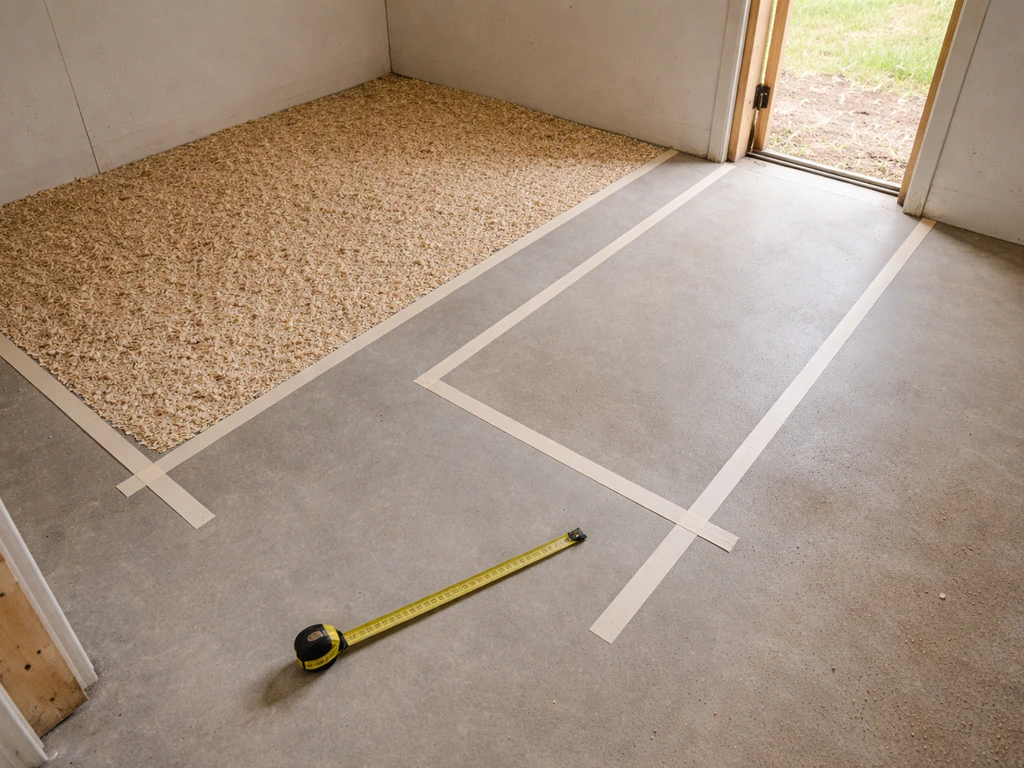
For grow-out, plan on at least 3–4 square feet per bird indoors. If your birds have access to an outdoor run, you can get away with around 3 sq ft inside, but if they're fully enclosed (which is common in colder seasons or for predator protection), aim for 8–10 sq ft per bird. Crowding broilers creates wet litter, ammonia buildup, and stress, which directly tanks your growth rates and increases disease risk. It's one of the most common mistakes first-timers make.
Bedding and litter
Use 2–4 inches of clean, dry litter in the brooder: pine shavings are ideal, though chopped straw or rice hulls work. Avoid cedar (toxic fumes) and newspaper alone (too slippery, causes spraddle leg). Litter should be dry and loose, not caked or wet. Wet litter is the main source of ammonia, which at concentrations above 25 ppm starts hurting growth rates and above 50 ppm causes eye and respiratory damage. Stir litter daily in the brooder and add fresh material as needed. Replace patches under drinkers immediately.
Brooder-to-grow-out schedule: the full 0–8 week plan
Here's the week-by-week plan you can print and pin up. This is built around Cornish Cross broilers, the standard home-production bird.
| Week | Age (Days) | Brooder Temp at Chick Level | Key Actions |
|---|---|---|---|
| 1 | 0–7 | 93–95°F | Start chicks in brooder; 24h access to feed and water; check behavior daily; use starter feed (22–24% protein) |
| 2 | 8–14 | 88–90°F | Reduce temperature; check litter moisture; increase feeder/drinker space as birds grow |
| 3 | 15–21 | 83–85°F | Birds feathering out; begin transitioning to grower space; monitor crowding |
| 4 | 22–28 | 78–80°F | Move birds to grow-out pen/coop if fully feathered and weather allows; switch to grower feed (20% protein) |
| 5–6 | 29–42 | Ambient if above 65°F | Full grow-out phase; monitor litter, ventilation, and water daily; watch for leg issues |
| 7–8 | 43–56 | Ambient | Switch to finisher feed (17.5–18% protein) at week 6–7; plan and schedule harvest day |
| Harvest | 49–56 days | N/A | Target 5–6 lbs live weight; process before day 56–63 to avoid health complications |
The single most important rule in this schedule: don't delay harvest. If you let Cornish Cross birds push past 8–9 weeks, you'll start losing birds to ascites (fluid around the heart), leg breakdown, and sudden heart failure. It's not cruel to harvest on time; it's actually the responsible thing to do with this breed.
Feeding for fast, healthy growth
Feed stages and protein targets
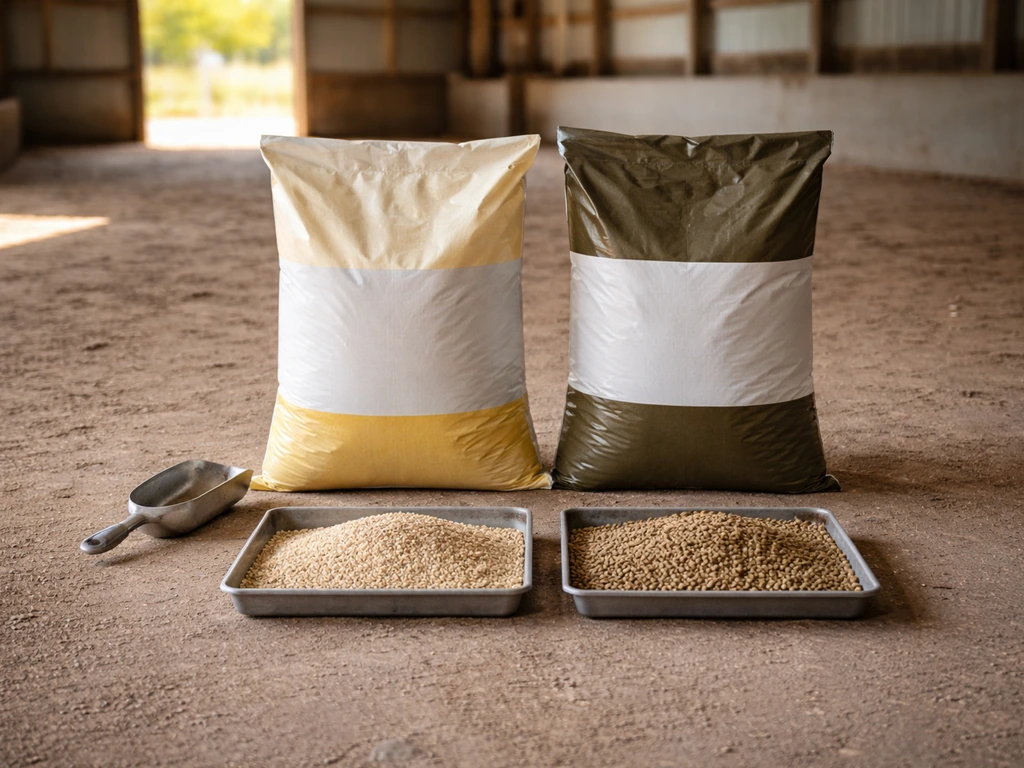
Broiler feed is sold in three stages, and the protein content steps down as the bird matures. Here's what to buy and when to switch:
| Feed Stage | Age Range | Crude Protein Target | Notes |
|---|---|---|---|
| Starter | Weeks 1–3 (days 0–21) | 22–24% | Crumble form; high protein for rapid early muscle growth |
| Grower | Weeks 4–6 (days 22–42) | 18–20% | Pellet or crumble; maintain fast growth through mid-cycle |
| Finisher | Weeks 6–8 (days 43–harvest) | 17.5–18% | Lower protein, lower cost; finishing phase before slaughter |
Broilers should have feed available at all times (ad libitum feeding). Do not restrict feed in an attempt to control growth or costs; you'll just slow conversion and extend the time to harvest, which costs more in the long run. Use a feeder designed to minimize waste since wasted feed sitting in litter causes mold and can make birds sick.
Water: the most underrated factor
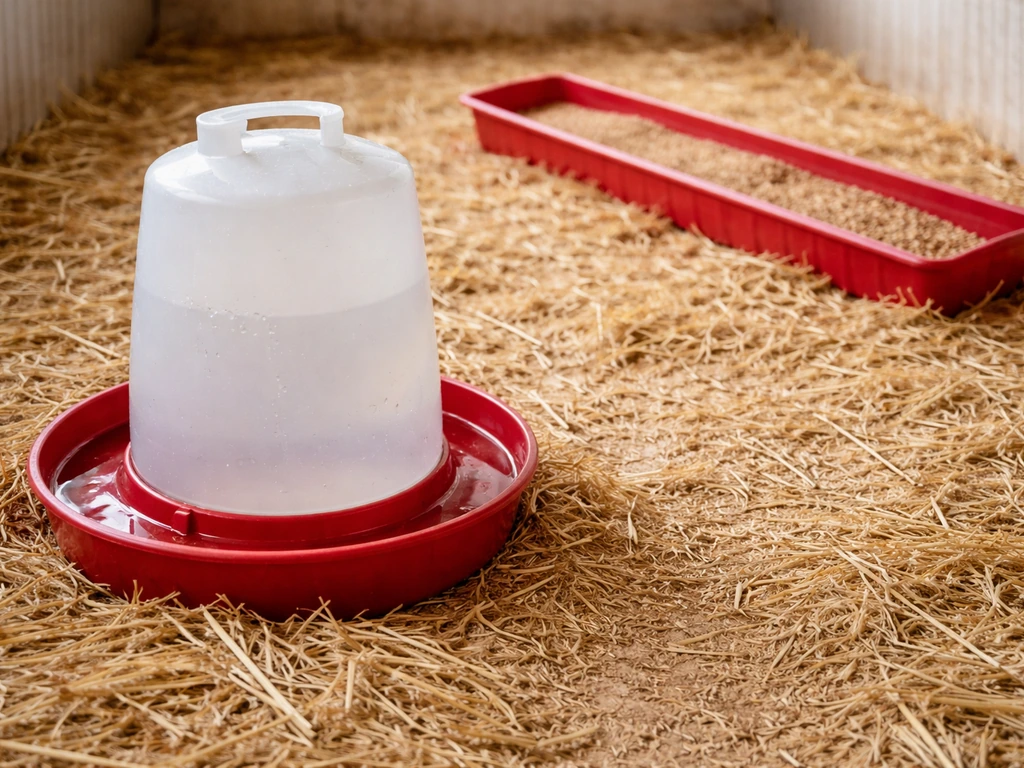
Broilers drink roughly twice as much water as feed by weight: about 2 lbs of water for every pound of feed consumed. If birds run out of water even briefly, they stop eating, and your growth rate takes a hit you can't fully recover from in a short 8-week cycle. Check drinkers at least twice a day. Use nipple drinkers or open waterers kept clean and filled. Rinse waterers daily; scrub them every 2–3 days. Dirty water is a disease vector and a common beginner mistake.
What about treats?
Keep treats minimal. A small amount of vegetable scraps or scratch grains is fine occasionally after week 4, but treats dilute your feed's protein content and slow growth. If treats make up more than 5–10% of the diet, you're sacrificing feed conversion efficiency. Save the kitchen scraps for your layers or compost pile during the grow-out period.
Common feeding mistakes to avoid
- Running out of water (even for an hour during hot weather is damaging)
- Switching to layer feed or multipurpose feed instead of dedicated broiler feed
- Overloading feeders so feed gets wet and moldy
- Giving too many treats and diluting protein content
- Not cleaning feeders regularly, allowing mold and fungal growth
Health basics: biosecurity, common problems, and when to act
Biosecurity habits that actually matter
Biosecurity sounds like a commercial-farm word, but at the backyard scale it just means a few consistent habits. Change footwear before entering the chicken area, or keep a dedicated pair of boots near the coop. Don't let visitors walk through your flock without washing hands and changing clothes. Keep new birds quarantined for at least 2 weeks before introducing them near your broilers (though with an 8-week cycle, you probably won't be introducing new birds at all). Remove dead birds immediately; a dead bird left in the pen is a disease and pest magnet.
Coccidiosis: the number one backyard broiler health threat
Coccidiosis is caused by a protozoan parasite (coccidia) that lives in soil and litter. Birds ingest oocysts from contaminated litter, water, or soil. Clinical signs include bloody or orange-tinged diarrhea, lethargy, hunched posture, and weight loss. It spreads fast in warm, wet litter and is the most common killer of young broilers. Prevention options: buy chick starter feed with an anticoccidial (like Amprolium included in the feed), or vaccinate day-old chicks. If you see signs of coccidiosis, treat immediately with Amprolium in the drinking water as directed; don't wait.
Other things to watch for
- Marek's disease: get chicks vaccinated at the hatchery if possible; no backyard treatment once infected
- Respiratory illness (rattling, gasping, nasal discharge): usually linked to ammonia buildup or drafts; improve ventilation first, then consider Newcastle disease or mycoplasma if symptoms persist
- Leg problems and lameness: more common in fast-growing Cornish Cross; ensure adequate space, good litter, and don't let birds get too heavy before harvest
- Ascites ('water belly'): fluid accumulation in the abdomen from heart/lung stress; more common in overcrowded or overgrown birds; harvest on schedule
- Starve-outs (chicks not finding feed/water): always show chicks water and feed on arrival by dipping their beaks gently in the waterer
When to call a vet (or act fast)
If more than 1–2% of your flock dies in a day, or if you see sudden, widespread respiratory or neurological symptoms, contact a poultry vet or your state's cooperative extension office. For a small backyard flock, most day-to-day issues are manageable with good sanitation and early observation. Severely injured or stunted birds that won't recover should be humanely euthanized rather than left to suffer in the pen.
Managing environment: temperature, ventilation, lighting, and litter
Temperature throughout the grow-out
After your birds are fully feathered (around weeks 3–4), they can tolerate a wide range of ambient temperatures, though they do best between 65–75°F. In hot weather, make sure there's shade, airflow, and cold fresh water; broilers are susceptible to heat stress, which can cause sudden death in fast-growing birds. In cold weather, a well-insulated coop with good litter depth provides plenty of warmth for feathered birds. The key rule at every age: watch the birds. Panting and spreading out means too hot; huddling and piling means too cold or drafty.
Ventilation
Fresh air exchange is non-negotiable. Ammonia from wet litter builds up fast in a closed space, and even 25 ppm (a level you might not clearly smell) reduces growth rate and causes about half a pound less bodyweight by week 7 compared to birds in clean air. Above 50 ppm, you're causing eye and respiratory damage. In warm months, open vents and windows work fine. In cold months, use adjustable vents placed high on the wall to bring in fresh air without creating direct cold drafts on birds at floor level. Minimum ventilation during the first 7–10 days is especially important, even when you're trying to hold heat.
Lighting
Provide at least 23 hours of light per day for the first week to help chicks find food and water and get a strong start. From days 8–14, many producers reduce to 16–18 hours of light to help birds rest and reduce leg stress. After week 4, 16–18 hours of light maintains good feed intake and growth. Light intensity should be at least 25 lux (about 2.5 foot-candles) at bird level, which is roughly equivalent to a single 60W incandescent bulb in a 10x10 ft space.
Litter management through the cycle
Start with 2–4 inches of clean pine shavings. Stir litter daily or every other day to break up caked patches and release moisture. Remove wet patches immediately, especially under drinkers. Add fresh litter on top of existing litter as it gets packed down (this is called built-up litter and it works fine as long as the surface stays dry and loose). Good litter management is the single biggest thing you can do to prevent disease, ammonia buildup, and foot problems.
Harvest time: timing, weight targets, and processing basics
When to harvest
For Cornish Cross broilers, the target is 49–56 days (7–8 weeks) at a live weight of 5–7 lbs, which yields a dressed carcass of roughly 3.5–5 lbs. If you want smaller birds (fryers), harvest closer to 42–49 days at 4–5 lbs live weight. If you want larger roasters, aim for 56 days but don't push past that without closely monitoring bird health and mobility. Mark your harvest date on a calendar before your chicks arrive and work backwards from it.
Processing steps at a glance
- Withhold feed for 8–12 hours before processing (water is fine); this empties the digestive tract and reduces contamination risk
- Set up your processing station: scalding pot (150–155°F water), a killing cone or restraint, a sharp knife, and a plucking area
- Humanely dispatch each bird: the most reliable home method is cervical dislocation (neck dislocation), decapitation with a sharp hatchet/knife, or a deep neck cut through the jugular veins; stunning before cervical dislocation is the most welfare-conscious approach
- Scald the carcass at 150–155°F for 30–60 seconds to loosen feathers, then pluck immediately
- Eviscerate carefully to avoid breaking the intestines; any leakage contaminates the meat and the scald water for subsequent birds
- Rinse carcasses thoroughly with cold clean water and ice-chill immediately (chill to below 40°F within 4 hours)
- Package and freeze within 24 hours; birds can be aged in the refrigerator for 24–48 hours before freezing to improve texture
Don't process sick or visibly unhealthy birds. Dirty or unwell birds contaminate your processing water and cross-contaminate healthy carcasses. If a bird looks off, set it aside and assess before including it in your harvest batch.
Your startup checklist for this week
If you want to get started right now, here's what to do in the next 7 days to be ready for day-old chicks:
- Order day-old Cornish Cross chicks from a reputable hatchery (order at least 25 at once for warmth in transit; small orders have higher mortality)
- Build or buy a brooder: a cardboard ring or plywood box at least 2–3 sq ft per chick for week 1
- Get a heat source: heat lamp with red 250W bulb or a radiant brooder plate; hang a thermometer at chick level
- Buy pine shaving bedding (not cedar); put down a 2–4 inch layer
- Buy chick starter feed with anticoccidial (22–24% protein broiler starter crumble)
- Set up waterers (one 1-quart waterer per 25 chicks minimum) and feeders (one 18-inch trough per 25 chicks)
- Test brooder temperature 24 hours before chick arrival: should read 93–95°F at chick level
- Mark your harvest date on the calendar: 49–56 days from arrival
- Decide on a processing plan: DIY with a killing cone setup, or book time at a local USDA-inspected processing facility
Common first-timer mistakes and how to avoid them
- Too hot or too cold in the brooder: always trust chick behavior over the thermometer alone; evenly spread, quietly moving chicks mean the temperature is right
- Running out of water or letting waterers get dirty: check twice a day minimum, rinse daily, scrub every 2–3 days
- Wrong feed: using layer feed, scratch, or all-flock feed instead of broiler-specific starter/grower/finisher
- Crowding birds too soon or too much: tight space means wet litter, ammonia, disease, and fighting
- Delaying harvest: Cornish Cross birds are not meant to live past 8–9 weeks; postponing harvest hurts the birds and costs you more feed
- Poor ventilation: the coop smells like ammonia and you think it's 'just chicken smell'; it's not, and it's costing you growth and health
- Not having a processing plan before chick arrival: scrambling to figure out processing when birds are at weight is stressful and leads to overgrown birds
Growing broiler chickens at home is one of the most practical and rewarding steps toward food self-sufficiency. The whole cycle fits inside two months, the inputs are straightforward, and the result is a freezer full of quality meat you raised yourself. The first batch teaches you more than any guide can, so take notes, adjust, and run the next batch with confidence. If you're curious about other approaches to home-grown meat, including heritage breeds and other protein sources, those are worth exploring as your homestead operation grows. Research into whether we can grow organs in a lab is still at the experimental stage can we grow organs in a lab.
FAQ
What should I do if my brooder temperature is correct under the lamp, but chicks seem to pile up or spread out?
Use chick behavior as the tiebreaker, not the thermometer alone. If they bunch under the heat source with loud peeping, raise the brooder temperature or reduce drafts. If they crowd to the edges and pant, lower the heat or move the lamp slightly farther. Also recheck temperature at chick height (2 to 3 inches off the litter surface) at least twice a day for the first 3 days, because heat lamps warm unevenly.
How much ventilation is safe in the first week if I’m trying to prevent drafts?
Ventilate enough to keep air fresh while still avoiding a direct cold stream on the chicks. The safest approach is adjustable vents high on the wall plus a draft-free air path that doesn’t point at the birds. If you cannot keep litter dry, increase fresh-air exchange and actively manage humidity, since ammonia buildup usually causes more harm than mild temperature fluctuation.
Can I use a different litter material instead of pine shavings?
Yes, but consistency matters. Pine shavings are ideal because they stay loose and dry. Chopped straw and rice hulls can work, as long as you keep them from packing down into wet mats. Avoid cedar, and don’t rely on newspaper alone because it increases slipping and can worsen spraddle leg. If you switch materials, monitor moisture closely for the first batch.
How do I prevent spraddle leg besides using the right litter?
Besides avoiding slippery surfaces, correct brooder traction helps. Keep litter surface dry and fluffy, and ensure the brooder ring is tight enough that chicks cannot wander far from heat and water. If you catch spraddle early, supportive positioning on a dry, non-slip surface for short intervals can help, but severe cases should be assessed promptly.
Should I dim the lights at night or keep them bright continuously during week 1?
During the first week, provide near-continuous light so chicks can locate feed and water, but you still want a low-glare setup. Aim for at least the stated brightness at bird level and avoid harsh direct glare that can increase frantic movement. If you later reduce hours (week 2 onward), use a timer so the schedule is consistent day to day.
What’s the best way to check if my birds are getting enough water?
Measure practical water flow and watch behavior. If waterers are at the right height and clean, you should see normal drinking and steady eating. Check for clogged nipples, algae buildup, or wet litter under open waterers. Because they drink about twice as much water as feed by weight, a brief water disruption can cause a noticeable growth slowdown, so verify at least twice daily.
Do I need to weigh birds to know the right harvest time?
Not always, but weighing 5 to 10 birds once per week helps you avoid late harvest. Harvest timing is tied to age and target live weights, and fast growers can reach processing weight earlier or later depending on temperature, water access, and litter quality. If you’re consistently under target weight at the planned age, do not delay past the recommended window without checking leg mobility and overall health.
What should I do if one or two birds fall behind in weight or activity?
Separate them early for assessment. Remove the lagging bird from the main area if it cannot reach feed or water, then check for issues like wet litter exposure, injuries, or early symptoms of coccidiosis or respiratory problems. Do not process sick birds with the group, and avoid “hiding” weak birds in the pen because they can become a disease and pest source.
How can I tell the difference between heat stress and something like respiratory illness?
Heat stress often shows panting, spread-out posture, and sometimes sudden weakness in hot conditions, and it improves with shade, airflow, and cool water. Respiratory illness more often includes persistent coughing, nasal discharge, or drooping and does not rapidly correct after immediate cooling. If symptoms are sudden and widespread, contact a poultry vet or your cooperative extension promptly.
What are practical biosecurity steps if I have other animals at home?
Keep traffic flow separate. Use dedicated footwear for the coop area, and if you also raise poultry elsewhere, quarantine changes become critical. Prevent rodents and wild birds from accessing feed, store feed in sealed containers, and clean up spilled grain quickly. Visitors should not enter the flock area unless they can follow handwashing and clothing changes.
If my flock has coccidiosis signs, can I treat and keep going normally?
Treat immediately, but also tighten sanitation. Move away from wet, packed litter, remove caked areas, and ensure waterers and feeders are clean and uncontaminated. Continue close monitoring after treatment because coccidiosis can worsen quickly in warm, wet conditions. If mortality or symptoms escalate, seek professional guidance rather than repeating treatment blindly.
Is it okay to process birds from the same batch if some look unhealthy?
No. Do not include visibly unhealthy birds in the same processing run. Sick or dirty birds can contaminate processing water and cross-contaminate other carcasses. Set questionable birds aside, assess separately, and only process birds you would confidently classify as healthy and clean.
How do I reduce waste and improve growth if feed seems to get dumped in the litter?
Use a feeder that minimizes spillage and keep it adjusted for bird age so the birds can access feed without kicking it. Inspect daily and clean any caked feed to prevent mold and secondary illness. Wasted feed sitting in litter can also worsen ammonia, so good feeder placement and daily check-ins directly improve both growth and hygiene.
Can I keep broilers longer to get larger roasters?
You can aim for a bit longer, but pushing past the typical processing window increases risk of leg breakdown and heart or ascites issues. If you extend beyond the usual range, increase observation frequency, prioritize mobility and breathing, and be prepared to harvest earlier if gait worsens. For most backyard goals, sticking to the target window is the safest path.
Next Article
How to Make Indigenous Chickens Grow Fast PDF Guide
Step by step tips to speed indigenous chicken growth with feeding schedules, hygiene, health control, and monitoring for