A good home farm comes down to three things: growing the right crops for your climate, building soil that actually feeds your plants, and managing your space with a repeatable plan. Get those three right and you will get reliable harvests. Get them wrong and you will spend money and energy chasing problems all season. This guide walks you through every piece of that puzzle, from defining your goals on day one to a simple weekly routine you can start today.
Grow Good Farm: Step-by-Step Guide to Reliable Home Yields

Marcus Hendrick
29 Apr 2026
Define your "good farm" goals and starting scale
Before you buy a single seed packet, write down what you actually want from your farm. Are you trying to cut your grocery bill, build food security for your family, grow for a farmers market, or just eat better vegetables? Each goal points you toward a different scale and crop mix. A family of four aiming to cover salads and summer vegetables can do it in 400 to 600 square feet of well-managed raised beds. Feeding yourselves through winter with staple crops like potatoes, squash, and dried beans requires at least 1,500 to 2,000 square feet. A serious homestead operation that cuts most of your food budget will push into a quarter-acre or more.
Start smaller than you think you need to. Most beginners overestimate what they can manage and underestimate how much work goes into maintaining even 500 square feet properly. A focused, well-tended 300-square-foot plot will outproduce a neglected 1,000-square-foot mess every single time. Plan to scale up one season at a time once you know which crops, methods, and routines actually work for you.
- Small starter farm: 200 to 400 sq ft, 4 to 6 crops, mainly fresh eating through the growing season
- Family food garden: 600 to 1,200 sq ft, 10 to 15 crops, enough for fresh eating plus some storage and preserving
- Homestead-scale operation: 1,500 sq ft and up, 20+ crops, targets year-round food self-sufficiency
- Define success early: write down three specific goals (e.g., grow all our tomatoes from June to October, produce 50 lbs of potatoes for storage, reduce grocery spend by $100/month)
Pick crops that reliably grow well in your climate
The single fastest way to improve your results is to stop fighting your climate and start working with it. The USDA Plant Hardiness Zone Map divides North America into zones based on average annual extreme minimum temperatures, and it is the starting point for understanding what perennial crops will survive in your location. For annual vegetables, your frost dates matter even more: your last spring frost date and your first fall frost date define your actual growing window. Look both up before you plan anything.
Once you know your zone and frost dates, match your crops to your season length. Gardeners in short-season zones (zones 3 to 5) should prioritize fast-maturing varieties: bush beans that finish in 50 days, short-season tomatoes like Stupice or Siletz, and cold-tolerant greens like kale and spinach. Gardeners in zones 7 to 10 have longer windows and can grow heat-lovers like sweet potatoes, okra, and peppers with ease, but need to time their cool-season crops carefully to avoid summer heat. Zones 5 and 6 hit the sweet spot for the widest crop variety and are where most standard variety recommendations apply.
Focus your main planting on high-value crops: vegetables that are expensive to buy, that your family actually eats in volume, and that produce heavily per square foot. Tomatoes, peppers, salad greens, snap beans, zucchini, cucumbers, and herbs consistently top the list for home gardens. Add storage crops like potatoes, winter squash, dried beans, and onions if you want year-round impact from your harvest.
| Crop | Space per plant | Avg yield per plant | Days to harvest | Best zones |
|---|---|---|---|---|
| Tomatoes (indeterminate) | 4–6 sq ft | 10–15 lbs | 60–85 days | 4–10 |
| Zucchini | 6–9 sq ft | 8–12 lbs | 50–60 days | 3–10 |
| Snap beans (bush) | 1 sq ft | 0.5–1 lb | 50–60 days | 3–10 |
| Salad greens (cut-and-come-again) | 0.25 sq ft | Continuous | 30–45 days | 3–10 |
| Potatoes | 1.5–2 sq ft | 1.5–2.5 lbs | 70–120 days | 3–9 |
| Peppers (sweet) | 2–3 sq ft | 4–8 lbs | 70–90 days | 5–11 |
| Winter squash | 8–12 sq ft | 5–10 lbs | 80–110 days | 3–10 |
| Kale | 1–2 sq ft | 2–4 lbs | 55–65 days | 3–10 |
Soil prep that actually boosts yields
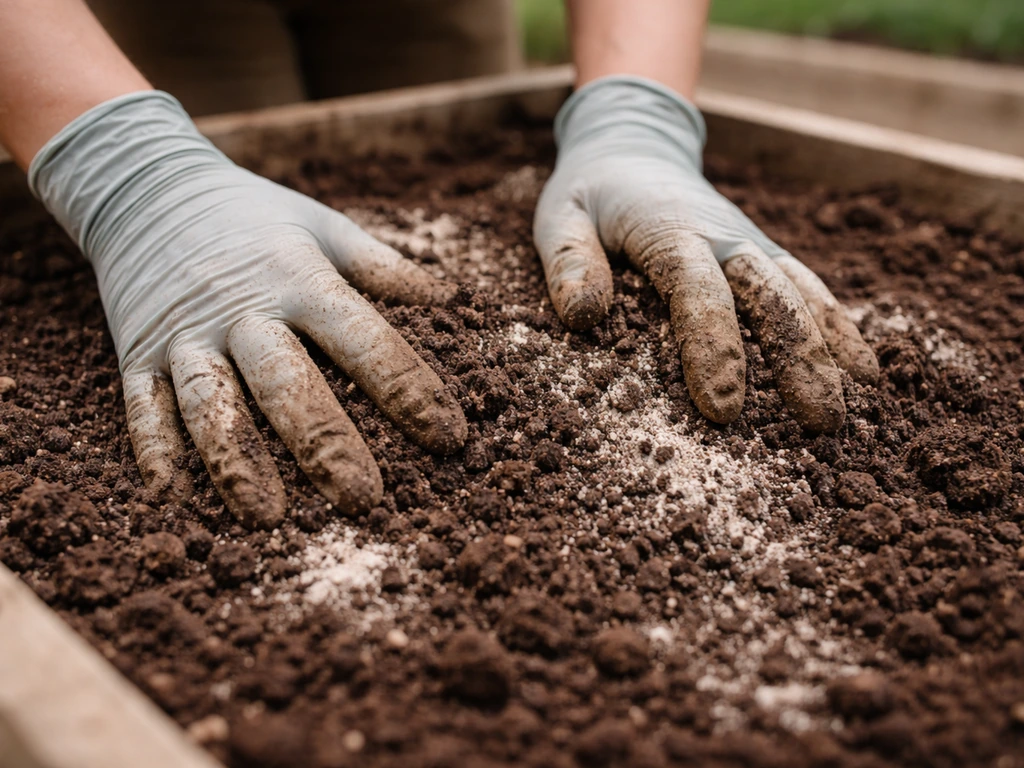
Healthy soil is the foundation of everything. You can do everything else right and still get mediocre harvests if your soil is compacted, nutrient-poor, or badly out of pH range. Most garden plants perform best in a pH range of 6.0 to 7.5. Outside that range, nutrients get locked up in the soil and plants cannot absorb them even if they are present. A few crops, like blueberries and rhododendrons, prefer strongly acidic soil around pH 4.5 to 5.5, but most vegetables want that 6.0 to 7.0 sweet spot. Get a soil test before you amend anything. Most university extension services and many garden centers offer tests for $15 to $25, and they tell you your pH, nitrogen, phosphorus, and potassium levels, plus specific amendment recommendations.
If your pH is too low (acidic), add ground limestone at the rate recommended by your test, typically 5 to 10 pounds per 100 square feet. If it is too high (alkaline), sulfur or acidic organic matter like peat moss can bring it down, though this takes longer. For nutrient building, compost is the single best investment you can make. Work 2 to 4 inches of finished compost into your beds each season. It improves drainage in clay soils, water retention in sandy soils, feeds soil biology, and supplies a slow-release spectrum of nutrients all at once.
Raised beds versus in-ground planting
Raised beds give you the fastest path to great soil because you build the growing medium from scratch. A standard 4x8-foot raised bed (12 inches deep) holds about 32 cubic feet of growing mix. Fill it with a blend of 60% quality topsoil, 30% compost, and 10% perlite or coarse sand for drainage and you will have better growing conditions on day one than most in-ground gardens achieve after years of work. Beds also warm up faster in spring, drain better in wet weather, and are far easier to manage. If you are aiming for top grow agro outcomes, the same focus on soil readiness, crop matching, and consistent watering applies so you can scale predictably. The trade-off is upfront cost: materials for a 4x8 bed run $80 to $200 depending on lumber, soil costs, and sourcing. In-ground beds are cheaper to establish and scale better over large areas, but require more work to improve compacted or nutrient-poor native soil.
- Get a soil test every 2 to 3 years, or any time your yields drop noticeably
- Aim for pH 6.0 to 7.0 for most vegetables; blueberries need 4.5 to 5.5
- Add 2 to 4 inches of compost to beds each season, working it in 6 to 8 inches deep
- Avoid working wet soil: it destroys structure and compacts easily
- Consider adding a balanced organic fertilizer (e.g., 5-5-5) at planting time if your test shows low nutrients
- Mulch beds with 2 to 3 inches of straw or wood chips after planting to retain moisture and feed soil organisms
Layout, spacing, and planting plans (including rotation)
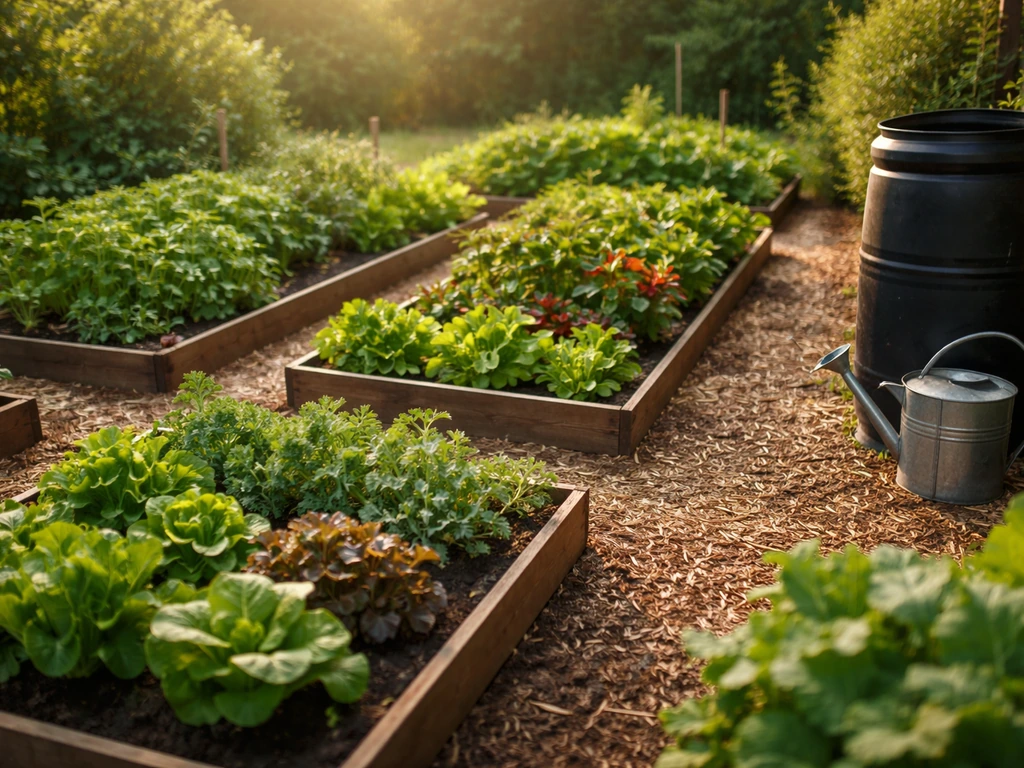
Good layout does three things: it maximizes your productive space, makes maintenance easy, and sets you up for proper crop rotation. For raised beds, a simple 4x8 grid system with 2-foot paths between beds is the most practical approach. You can reach every part of a 4-foot-wide bed without stepping in it, which protects soil structure. For in-ground plots, mark out beds no wider than 4 feet and orient them north to south so taller crops on the north side do not shade shorter ones.
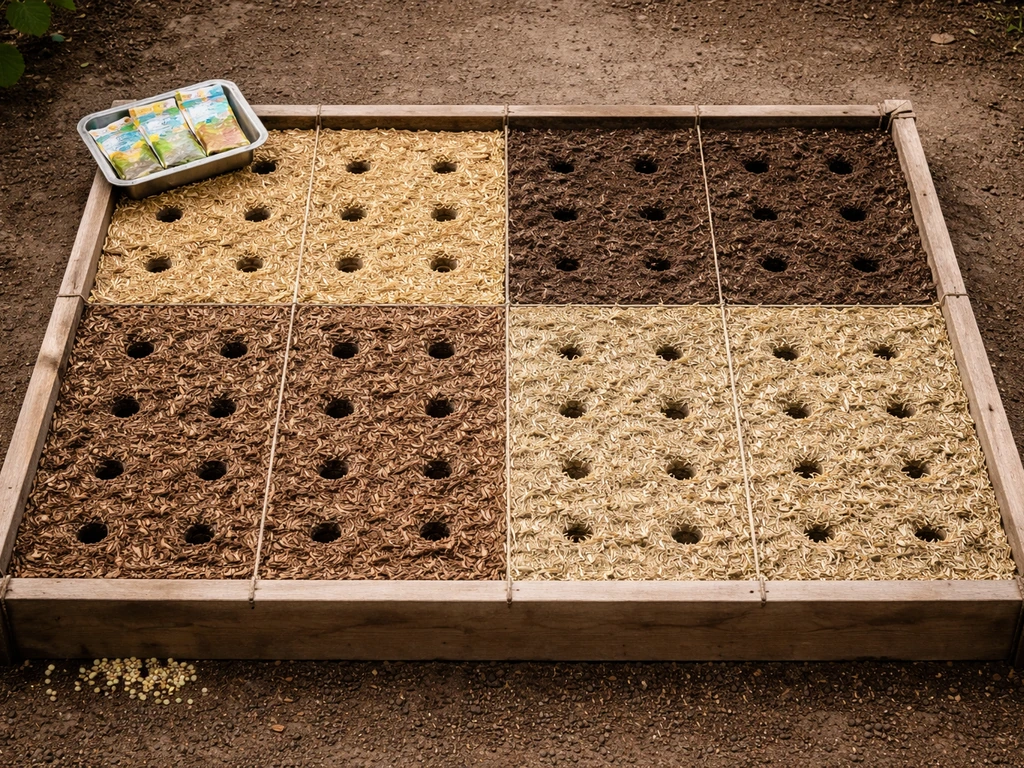
Follow spacing recommendations on seed packets closely. Crowded plants compete for light, water, and nutrients and are far more prone to disease. That said, intensive planting in deeply amended beds (square-foot gardening style) can squeeze more into a space: 9 lettuce plants per square foot, 4 bush bean plants per square foot, 1 tomato per 4 square feet. The key is that your soil needs to be rich enough to support the density.
Crop rotation is non-negotiable if you want to avoid soil-borne diseases and pest buildup. The basic rule is to avoid planting the same crop family in the same bed in consecutive seasons. The four main family groups to rotate are: nightshades (tomatoes, peppers, eggplant, potatoes), brassicas (cabbage, broccoli, kale, radishes), legumes (beans, peas), and root crops (carrots, beets, onions). A simple four-bed rotation system cycles each group through each bed over four years. Even a two-year rotation (just don't repeat the same family in the same spot two years in a row) makes a measurable difference in disease pressure and yields.
Companion planting is worth incorporating into your layout plan. The classic "Three Sisters" combination of corn, beans, and squash works because each plant benefits the others: beans fix nitrogen, squash shades out weeds, and corn provides structure for beans to climb. Basil planted near tomatoes is widely reported to deter aphids and whiteflies. Marigolds planted at bed edges reduce nematode pressure and attract beneficial insects. These are low-cost, low-effort additions that improve your system.
Watering, fertilizing, and feeding the system for steady harvests
Most vegetable crops need 1 to 1.5 inches of water per week during the growing season. Overhead watering works but wastes water to evaporation and increases disease pressure by wetting foliage. Drip irrigation or soaker hoses deliver water directly to the root zone, cut water use by 30 to 50%, and keep foliage dry. A basic drip system for a 200-square-foot bed runs $30 to $60 in parts and pays for itself quickly in water savings and better plant health. If you hand water, water deeply twice a week rather than shallowly every day. Deep watering encourages roots to go down, which makes plants far more drought-tolerant.
Fertilizing strategy depends on your baseline soil quality. If you have amended with compost and your soil test shows adequate nutrients, a single application of balanced granular fertilizer (like a 10-10-10 or organic 5-5-5) at planting time may be all you need for most crops. Heavy feeders like tomatoes, peppers, corn, and squash benefit from a mid-season boost of a nitrogen-balanced fertilizer or liquid fish emulsion once they are actively flowering and fruiting. Light feeders like root vegetables and most herbs do not need much beyond good baseline soil and compost.
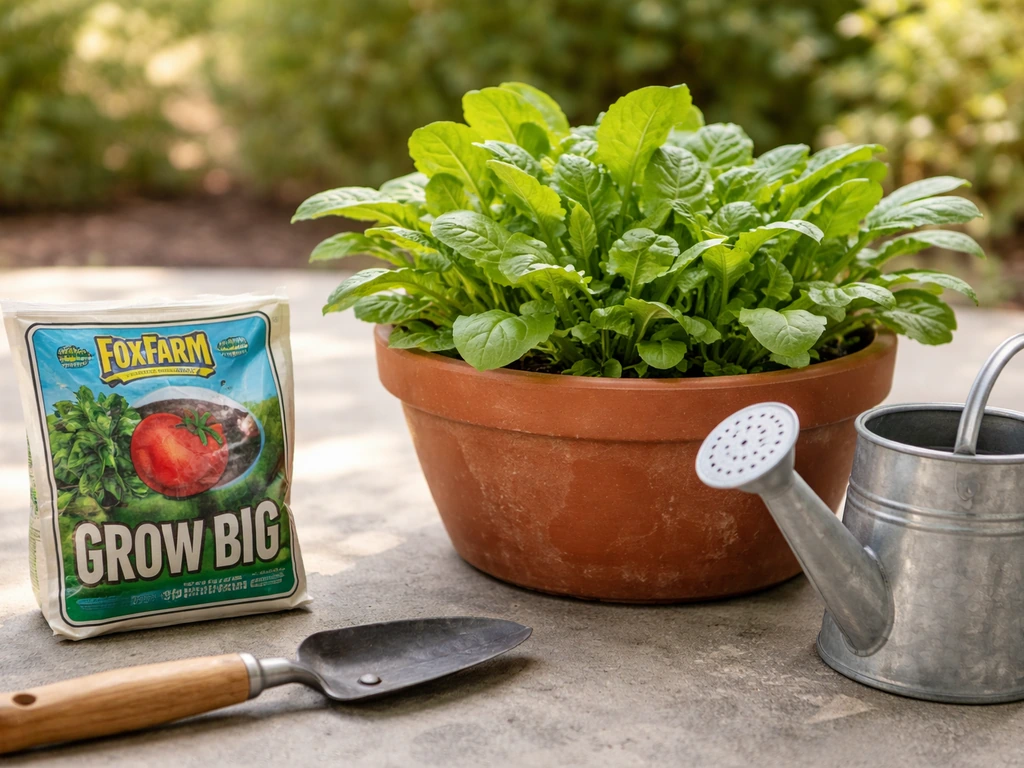
For those interested in more intensive liquid feeding programs, commercial products like Fox Farm Grow Big are designed to push vegetative growth during the early season. The general principle there is a heavier nitrogen feed during the growth phase followed by a phosphorus-heavier feed during flowering and fruiting. You can replicate this on a budget with fish emulsion for nitrogen and bone meal for phosphorus.
- Water 1 to 1.5 inches per week; check soil moisture 2 inches down before watering
- Drip irrigation or soaker hoses are the most efficient choice for beds
- Apply compost as your base fertility source every season
- Feed heavy feeders (tomatoes, peppers, corn) every 3 to 4 weeks with liquid fertilizer once fruiting begins
- Avoid over-fertilizing with nitrogen late in the season: it promotes leafy growth over fruit
- Mulch retains moisture and reduces watering frequency by 25 to 40%
Pest, disease, and weed control using practical home methods
The best pest and disease management is preventive. Healthy plants in well-fed soil with good air circulation and proper spacing are simply more resistant. Most problems escalate when plants are stressed by poor soil, inconsistent watering, overcrowding, or repeated planting of the same family in the same spot. Get the basics right and you will deal with far fewer crises.
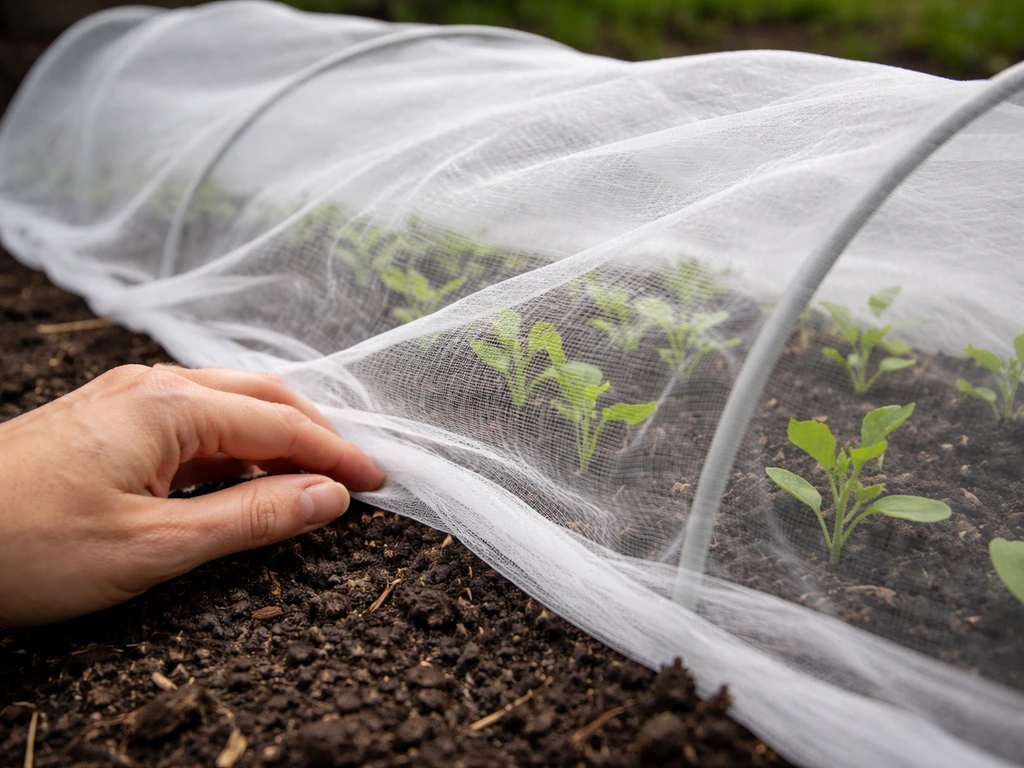
For insects, start with physical barriers. Row covers (lightweight spunbonded fabric) exclude cabbage moths, cucumber beetles, squash vine borers, and a long list of other pests when placed at transplanting time. They let in rain and light and cost $0.10 to $0.20 per square foot. This is cheaper and more reliable than most spray programs. For aphids, a strong spray of water knocks them off plants effectively. Insecticidal soap spray works on soft-bodied insects on contact. Neem oil is a broader option that disrupts insect life cycles and also has antifungal properties, making it useful against powdery mildew and early blight.
Disease management is mostly about airspace and moisture. Prune the lower leaves of tomatoes and peppers to keep foliage off the soil. Water in the morning so plants dry before evening. Space plants so air can move through them. If you see early signs of fungal disease (yellowing leaves with brown spots, powdery white coating), remove affected material immediately and do not compost it. A spray of diluted baking soda solution (1 tablespoon per gallon of water with a few drops of dish soap) can slow the spread of powdery mildew on squash and cucumbers.
Weeds are best managed through mulch and timing. A 2 to 3-inch layer of straw, wood chips, or shredded leaves suppresses 80 to 90% of weed germination in beds. What does come up is easy to pull when small. Do not let weeds flower and set seed: a single pigweed plant can produce 100,000 seeds. Pull or hoe weeds when they are less than 2 inches tall and the job takes minutes instead of hours.
Budgeting, yield calculations, and simple cost-benefit planning
Home growing is genuinely economical when you plan it well, but the math depends on what you grow and how you track it. The rough industry figure is that a well-managed vegetable garden returns $500 to $1,200 worth of produce per 100 square feet per year, depending on crop selection, season length, and local food prices. High-value crops like tomatoes, peppers, salad greens, and herbs drive most of that return. Low-value crops like potatoes and corn return less per square foot but matter for bulk storage and food security.
Startup costs for a new 200-square-foot raised bed setup run roughly $150 to $400 (lumber, soil, seeds, basic tools, irrigation). Annual recurring costs for seeds, soil amendments, and fertilizer typically run $50 to $150 for that same space. If your beds produce $400 to $600 in groceries, the payback on startup costs comes in year one or two. After that, recurring costs are low and the garden is solidly profitable.
| Crop (100 sq ft) | Est. yield | Store value (approx.) | Seed cost | Net value |
|---|---|---|---|---|
| Tomatoes | 150–200 lbs | $150–$300 | $3–$5 | $145–$295 |
| Salad greens | 30–50 lbs (continuous) | $120–$200 | $4–$8 | $112–$196 |
| Peppers | 50–80 lbs | $75–$160 | $3–$5 | $70–$155 |
| Snap beans | 40–60 lbs | $50–$90 | $3–$5 | $45–$85 |
| Zucchini | 100–150 lbs | $60–$100 | $2–$4 | $56–$98 |
| Potatoes | 100–150 lbs | $40–$80 | $10–$20 (seed potato) | $20–$70 |
| Herbs (basil, parsley, chives) | 10–20 lbs | $80–$200 | $5–$10 | $70–$195 |
Track your spending and harvests with a simple notebook or spreadsheet. Weigh your harvests when you can, note what failed and why, and keep seed and supply receipts. After one full season you will have real data to work with instead of guesses. This is how you improve year over year and stop repeating expensive mistakes.
A realistic weekly starter plan and next-steps checklist
Running a productive home farm does not require full-time effort if you build consistent weekly habits. Most well-designed gardens need 2 to 5 hours of attention per week during the peak season, less in spring and fall. Here is what that looks like broken down by task and timing.
Your first 30 days (getting set up)
- Look up your USDA hardiness zone and last/first frost dates for your zip code this week
- Choose your starting scale: one 4x8 raised bed or a clearly marked 100 to 200 sq ft in-ground area
- Get a soil test through your local extension office or a mail-in kit
- Order or buy seeds for 4 to 6 crops suited to your climate and season
- Build or clear your bed, add 2 to 4 inches of compost, and work it in
- Set up a basic drip line or plan your watering schedule before planting
- Plant your first crops according to your frost dates and crop-specific timing
Weekly routine during the growing season
- Monday or Tuesday: Walk the garden for 10 minutes, check for pest or disease signs, pull weeds under 2 inches tall
- Midweek: Water deeply if less than 1 inch of rain has fallen; check soil moisture 2 inches down first
- Every 3 to 4 weeks: Apply liquid fertilizer to heavy feeders (tomatoes, peppers, corn) once they are flowering
- Monthly: Note what is performing well, what is struggling, and any pest or disease issues in your garden log
- End of season: Soil test if needed, add compost, plan next year's rotation before you close out beds
Quick next-steps checklist
- Find your frost dates and hardiness zone (USDA zone map online, free)
- Order a soil test before buying any amendments
- Choose 4 to 6 crops matched to your climate and what your family actually eats
- Plan at least two beds from the start so you can begin rotating crops in year two
- Budget $150 to $300 for a solid first-year raised bed setup including soil and seeds
- Start a harvest log on day one so you have real numbers at the end of the season
- Set up drip or soaker irrigation before planting if at all possible
- Mulch every bed after planting, no exceptions
The gap between a struggling garden and a genuinely productive home farm is almost always execution and consistency, not secret knowledge. Pick the right crops for your zone, build your soil before you plant, rotate families across beds every season, water at the root zone, and deal with pests early when they are easy to manage. If you are expanding beyond vegetables, learn how to grow insects for food and treat them as another reliable protein crop. Do those things week after week and you will be surprised how much food a small space can produce. A lot of gardeners also wonder how long it takes for Fox Farm Grow Big to boost growth, so follow the label and watch your plants’ response over time. If you want a real-world example, look at what they grow at Kingman Farms and compare it to your zone and available growing time. Start with one bed done right, learn from what happens, and scale up from there. If you want a broader walkthrough, follow this guide on how to grow a farm from choosing goals to setting up your weekly routine.
FAQ
Can I grow a good farm in a very short growing season or with hot summers?
Yes, but only if you treat it as a separate skill and plan crops around heat and cold. Start by listing the temperatures you expect month to month, then choose crops with overlapping windows (example: plant cool-season greens in early spring, then switch beds to heat-tolerant crops as days warm). If you want one bed to reliably produce year-round, use a rotation of short crops plus at least one long-storing staple, and consider simple season extenders like row cover for early spring and low tunnels or shade cloth for peak summer.
What should I do if I want to start gardening late, after missing the ideal planting dates?
You can, but avoid turning it into random transplanting. Use your calendar around frost dates first, then assign each bed a crop family for the season and match the crop to that bed’s light and timing. A practical approach is to pre-plan “starter” transplants for frost edges (greens, onions, brassicas) and reserve direct sowing for crops that tolerate brief cold snaps (like peas in many regions). If you’re unsure, start with 2 to 3 flexible crops and let your first season teach you your real harvest dates.
My soil test says nutrients are fine, but my plants look unhealthy. What should I check first?
A soil test can show pH and nutrient levels, but it cannot fully predict how your garden will perform in your specific beds. If plants look pale or slow even after amendments, check three things in order: moisture consistency (overdry or waterlogged soil reduces uptake), spacing and airflow (crowding increases nutrient demand and disease), and whether the fertilizer type matches the growth stage (too much nitrogen late can reduce fruiting). Re-test after you have added compost or amendments for one season so you do not chase numbers with constant changes.
How often should I re-test my soil after I start amending beds?
Repeated use of the same organic amendments can shift pH or nutrient balance over time, especially if you add large amounts of compost plus additional fertilizers. To stay on track, do at least one soil test per year for high-intensity gardens (or every 2 years for lighter use). Also, keep notes on what you applied and when, so you can connect outcomes to changes instead of assuming the next season’s problem is unrelated.
What’s the best way to water if I do not have drip irrigation?
If you are hand watering, the biggest mistake is frequent light watering. Deep watering helps roots grow downward, so aim for a thorough soak, then wait until the top inch or two dries before watering again. A simple check is to press a finger or small trowel into the soil; if it is still moist 2 inches down, you likely do not need water yet. In hot weather, you may need to water more often, but still deeply.
Do row covers always help, or can they cause problems?
Yes, but choose the coverage carefully. Row covers protect from many insects and can improve early growth, but they can also trap heat and reduce airflow, which may worsen some fungal issues in humid weather. Use them at transplanting time when pests are active, ventilate during warm afternoons when temperatures spike, and remove them when you need pollinators (or you will reduce fruit set for crops that rely on insect pollination).
Is companion planting actually effective, or is it just a nice extra?
Companion planting works best as a “layer” of small benefits, not as a guarantee. If you want the most reliable results, pair it with your core practices: correct spacing, crop rotation, mulching, and preventive watering. Use companions that fit your diet and your local climate, and avoid crowding out your main crop just to add another plant variety.
How do I know how much fertilizer to use without overfeeding?
Two common failures are (1) using too much fertilizer early, which can cause excessive leaves with fewer fruits, and (2) fertilizing without confirming your baseline needs. A good decision rule is to start with compost and, after transplanting, apply a light balanced feed only if plants show clear deficiency or slow growth. For heavy feeders, boost around flowering and fruiting, then stop the nitrogen-heavy approach once production is underway.
Why do weeds keep coming back even after mulching?
Start by setting realistic expectations for weed pressure. Mulch usually suppresses most weeds, but if you have an uncovered walkway or you bring in contaminated compost or straw, weeds can still take off. Use clean mulch, keep edges contained, and pull small weeds before they flower. If weeds persist, adjust mulch depth to 2 to 3 inches and check for soil disturbance where weed seeds are repeatedly brought to the surface.
What should I do when pests keep coming back every season?
If your pests keep returning, review your system rather than escalating sprays. Check whether you are rotating crop families in that exact spot, whether beds are watered consistently, and whether dense planting is limiting airflow. For repeat issues, increase prevention: tighter use of row covers, better timing for scouting (look early and often), and more targeted barriers on the first signs of adult insects.
Can I compost diseased plant material, or should I throw it away?
It depends on the disease. Many gardeners remove and discard diseased material for safety, especially if the problem is new or spreading fast, because home compost systems may not reach temperatures needed to kill all pathogens. If you do compost, keep records of what was affected, use a well-managed hot compost pile, and avoid composting materials showing aggressive fungal spread or persistent disease symptoms.
How can I figure out what’s limiting my yield when results are inconsistent?
Your yield is usually limited by one bottleneck. To find it quickly, track four simple metrics across the season: harvest weight, water or irrigation schedule, days to maturity from first sowing or transplant, and any major pest or disease events. If maturity times stretch longer than expected, it often points to soil readiness or temperature mismatch. If plants mature but produce less, it often points to pollination issues, inconsistent watering during flowering, or nutrient imbalance.
Next Article
Fox Farm Grow Big How to Use: Rates, Mixing, Timing
Step-by-step FoxFarm Grow Big use: mix rates, when to apply, watering-in timing, and fix over or underfeeding signs.