Growing a good, healthy crop comes down to a handful of fundamentals done consistently well: choose crops matched to your climate and season, build soil that actually feeds plants, water deeply and less often, stay ahead of pests before they become problems, and feed on a schedule rather than guessing. Get those right and you'll grow food that produces well whether you're working a few raised beds or a larger homestead plot.
How Can a Farmer Grow a Good, Healthy Crop

Marcus Hendrick
1 May 2026
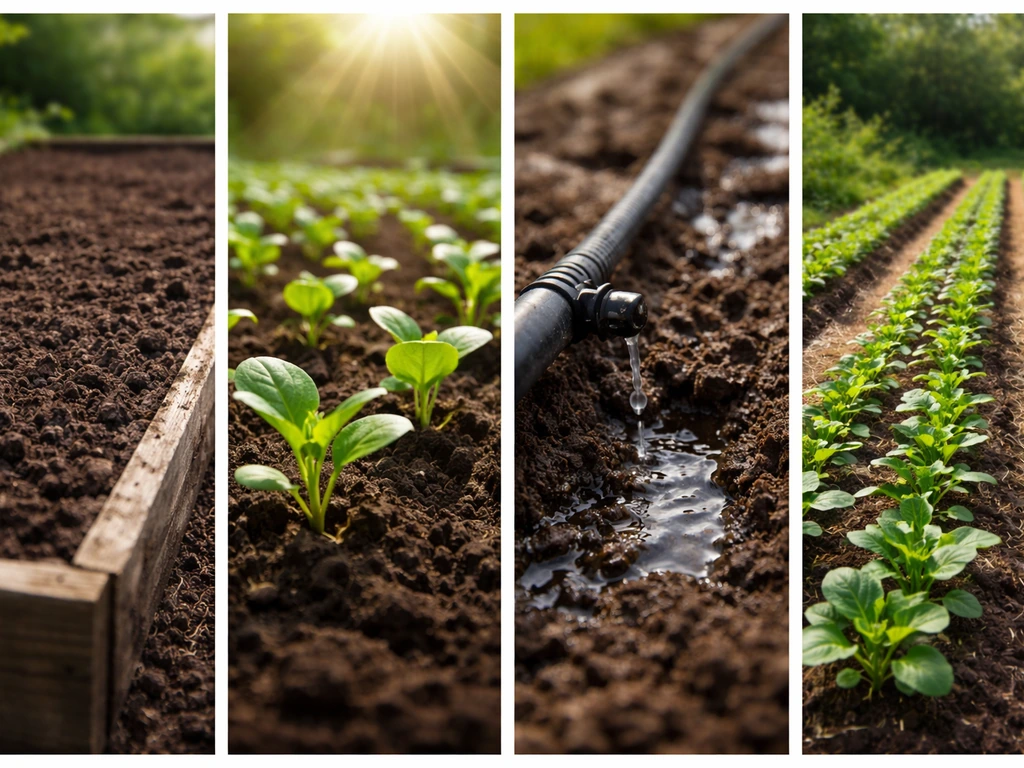
Start with the right crop for your conditions
The single biggest mistake beginners make is choosing crops they want to eat rather than crops their site can actually support. Before you order seeds, spend a day really looking at your space: how many hours of direct sun does each bed get, what's your first and last frost date, and how much water is realistically available? Warm-season crops like tomatoes, peppers, squash, and beans need at least six to eight hours of direct sun and soil that stays above 60°F. Cool-season crops like lettuce, spinach, kale, peas, and radishes tolerate partial shade and can handle light frost, which means you can squeeze two harvests out of a single bed each year, one in spring and one in fall.
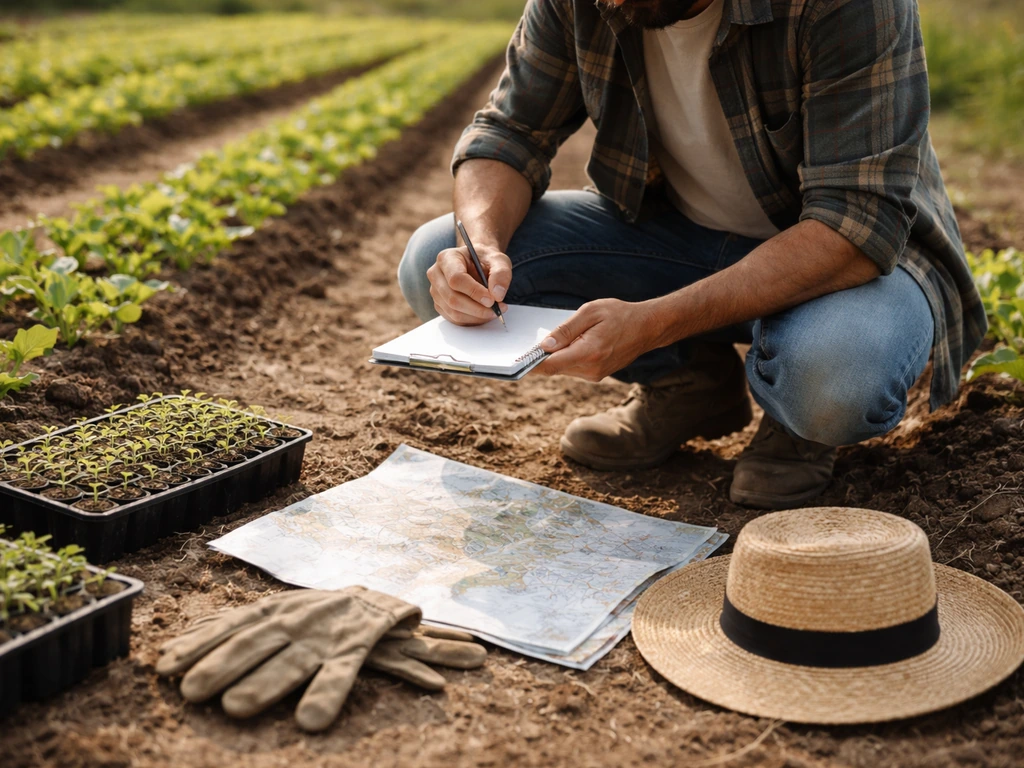
Match your crop list to your actual last-frost date, not the average date on a map. If you're in zone 5, your last frost might be May 15, but a late cold snap can hit into early June. In zone 9, you're growing tomatoes in February and switching to heat-tolerant sweet potatoes by July. What works brilliantly in one region fails in another, so treat your first season as research: keep notes on what thrived and what struggled, and adjust from there. If you're curious about the full range of crops worth considering, understanding what different types of growers choose and why is genuinely useful background.
For beginners, start with high-yield, forgiving crops: bush beans, zucchini, cherry tomatoes, kale, and radishes. These reward consistent care quickly and teach you the feedback loop of growing. Add more challenging crops like melons, corn, or brassicas once you've got the basics dialed in.
Soil health: testing, amendments, compost, and pH
Healthy soil is the foundation everything else depends on. You can water perfectly and fertilize on schedule, but if your soil is compacted, too acidic, or nutritionally depleted, your crops will underperform no matter what. The first thing to do before planting anything is get a soil test. Most cooperative extension offices process them for under $20, and the results tell you your pH, nitrogen, phosphorus, potassium, and often organic matter levels. That report is worth far more than any bag of fertilizer you might buy blindly.
Most vegetables grow best at a pH between 6.0 and 7.0. Below 6.0, nutrients like calcium and phosphorus become less available even if they're present in the soil. Above 7.5, iron and manganese get locked out. If your test shows low pH, work ground limestone into the soil at the rate the test recommends, usually 5 to 10 pounds per 100 square feet, several weeks before planting so it has time to react. If pH is too high, elemental sulfur or acidifying compost (like pine needle mulch worked in over time) can bring it down.
Compost is the single best amendment you can add to any soil type. Work 2 to 4 inches of finished compost into your beds each season. It improves drainage in clay soils, increases water retention in sandy soils, feeds soil biology, and slowly releases nutrients. Compost alone won't solve a severe nutrient deficiency, but as part of a regular routine it builds the kind of productive, living soil that makes every other input work better. Cover crops like crimson clover, winter rye, or buckwheat are another powerful tool: plant them in beds between seasons, then cut and till them in before planting. They add organic matter, fix nitrogen (legumes especially), and suppress weeds for free.
| Soil Problem | Symptom You'll See | Fix |
|---|---|---|
| Low pH (acidic) | Yellowing leaves, poor growth even with fertilizer | Add ground limestone, 5–10 lbs per 100 sq ft |
| High pH (alkaline) | Yellowing between leaf veins (iron deficiency) | Add elemental sulfur or acidifying organic matter |
| Compaction | Stunted roots, water pools on surface | Deep fork or broadfork, add compost annually |
| Low organic matter | Poor water retention, hard soil surface | Add 3–4 inches of compost per season |
| Low nitrogen | Pale yellow-green leaves, slow growth | Add blood meal, compost, or balanced fertilizer |
Planting setup: seeds, starts, spacing, and timing
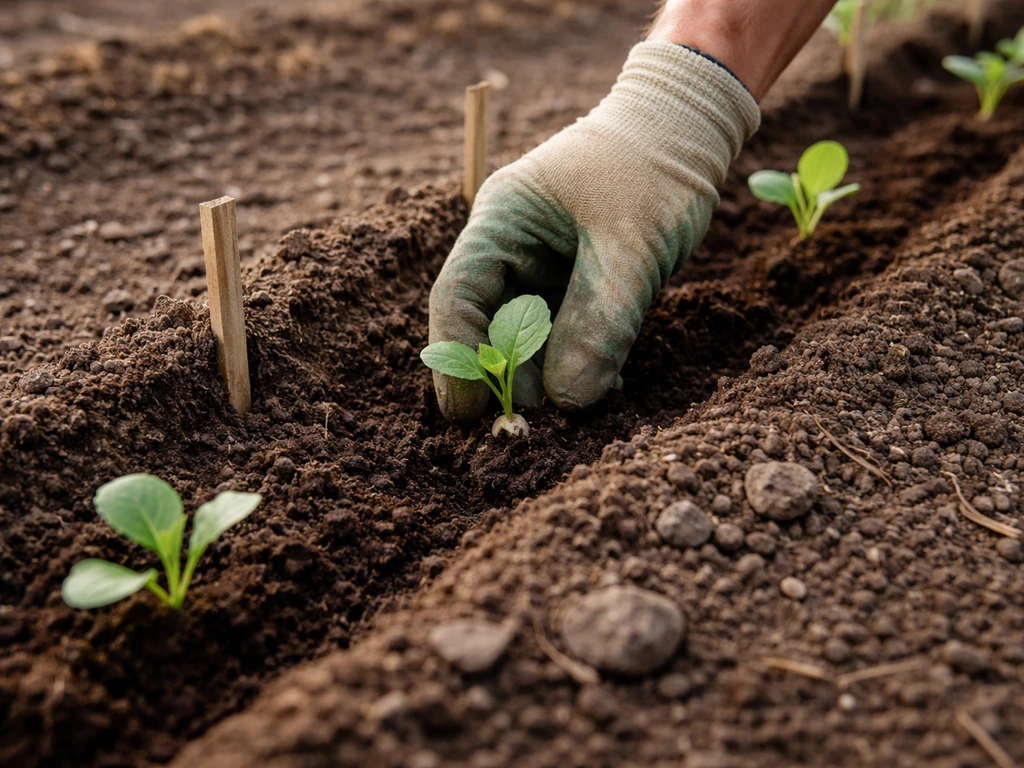
Choosing between direct sowing seeds and buying transplants (starts) depends on the crop and your setup. Crops like carrots, beans, peas, corn, and radishes don't transplant well and should always be direct-sown. Tomatoes, peppers, eggplant, and celery benefit enormously from being started indoors 6 to 10 weeks before your last frost date, where you can control conditions and get a head start on the season. Brassicas like broccoli and cabbage can go either way.
Soil temperature is often more important than calendar date when it comes to germination. Beans, for example, germinate poorly below 60°F and do best when soil is 70 to 85°F. Planting them too early in cold soil means slow, uneven germination and higher risk of seed rot. A cheap soil thermometer, about $10 at most garden stores, is one of the most useful tools you can own. Check soil temp 2 inches down in the morning before deciding to plant.
Spacing is where a lot of home growers lose yield. Crowded plants compete for light, water, and nutrients and become more susceptible to disease. Follow spacing recommendations on the seed packet as a minimum. In raised beds with rich soil you can push a bit closer, but don't halve the spacing and expect double the yield. Thinning is not optional: if you direct-sow carrots or beets and don't thin to the recommended spacing, you'll get twisted, stunted roots no matter how good your soil is.
If you start transplants indoors and plan to move them outside, hardening off is essential. Start the process about two weeks before your transplant date. Move seedlings outside to a sheltered spot for an hour or two the first day, then gradually increase their outdoor exposure over 10 to 14 days until they can handle a full day outside. Skipping this step and moving seedlings straight from a warm indoor environment to full outdoor conditions causes transplant shock, sunscald, and sometimes complete crop loss, especially if a cold snap hits.
Watering and mulching for steady growth
Most vegetables need about 1 to 1.5 inches of water per week, but how you deliver that water matters as much as how much you use. Vegetable crops typically need about 1 inch of water per week from April through September, but the exact amount varies by crop, growth stage, and environmental conditions. Deep, infrequent watering encourages roots to grow down, making plants more drought-resilient. Shallow, frequent watering keeps roots near the surface where they're vulnerable to heat and drought stress. As a general rule, water deeply two to three times per week rather than a little every day, and always water at the base of the plant, not overhead, to reduce disease pressure on leaves and fruit.
Morning watering is better than evening. When you water at night, foliage stays wet for hours, which creates ideal conditions for fungal diseases like powdery mildew and blight. Drip irrigation or soaker hoses are the most efficient setup you can invest in: they deliver water directly to the root zone, cut water use by 30 to 50 percent compared to overhead sprinklers, and keep foliage dry. Even a basic $30 drip kit for a raised bed pays for itself quickly in water savings and reduced disease.
Mulch is your best partner in water management. Apply 2 to 3 inches of straw, wood chips, shredded leaves, or grass clippings around your plants after they're established. Mulch reduces evaporation, keeps soil temperature stable, suppresses weeds, and as it breaks down, adds organic matter. In hot climates, mulch alone can cut watering frequency nearly in half during peak summer. Keep mulch a few inches away from plant stems to prevent rot and slug habitat right at the base.
Feeding through the season: fertilizer timing and budgeting
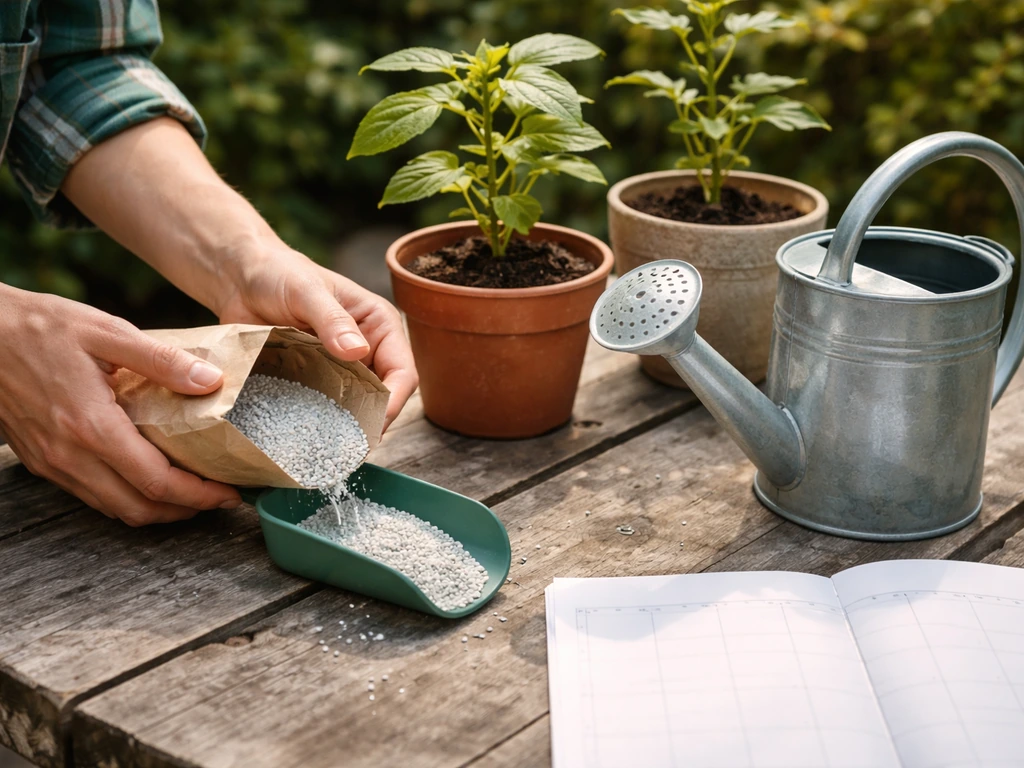
Plants need different nutrients at different stages, and timing your fertilizer inputs around those stages makes a real difference in yield and plant health. At planting, what plants need most is phosphorus to support root development. During the main vegetative growth phase, nitrogen drives leafy, vigorous growth. University of Minnesota Extension notes that nitrogen can move through soil and that timing applications when plants are ready to use it matters for best results nitrogen drives leafy, vigorous growth. Once flowering and fruiting begin, too much nitrogen pushes leaves at the expense of fruit, so you shift to lower-nitrogen, higher-potassium and phosphorus inputs.
For most home gardeners and small-scale growers, a practical approach is: work compost into beds before planting (this handles baseline nutrition), side-dress with a balanced organic fertilizer like a 5-5-5 or 10-10-10 granular about three to four weeks after transplanting or when seedlings are 4 to 6 inches tall, then switch to a low-nitrogen liquid feed like fish emulsion or tomato fertilizer once fruit sets. Tomatoes, peppers, and squash are heavy feeders and will visibly reward regular feeding. Leafy greens and root vegetables are lighter feeders and often don't need more than the initial compost amendment.
Budget-wise, a 40-pound bag of granular organic fertilizer runs $25 to $40 and covers a 500 to 1,000 square foot garden for a full season with a couple of applications. Liquid fish emulsion, around $15 to $20 per quart concentrate, dilutes significantly and can cover a season of side-dressing for most home gardens. That's a low per-season cost compared to the value of produce you'll harvest. Over-fertilizing is a real risk: too much nitrogen produces lush green plants with poor fruit set and increased pest attraction, so more is not always better.
Pest and disease prevention: monitoring, rotation, and control
The most effective pest management happens before you see a problem. If you want to assess environmental impact, you can also look into how many animals die to grow vegetables and what causes that harm. Walking your beds every two to three days and actually looking at the undersides of leaves, the soil surface, and the base of stems takes five minutes and catches infestations early, when they're still manageable. By the time a pest problem is obvious from a distance, you're already behind. Get in the habit of checking for aphid clusters, caterpillar eggs, slug damage, and discolored or spotted leaves on every visit.
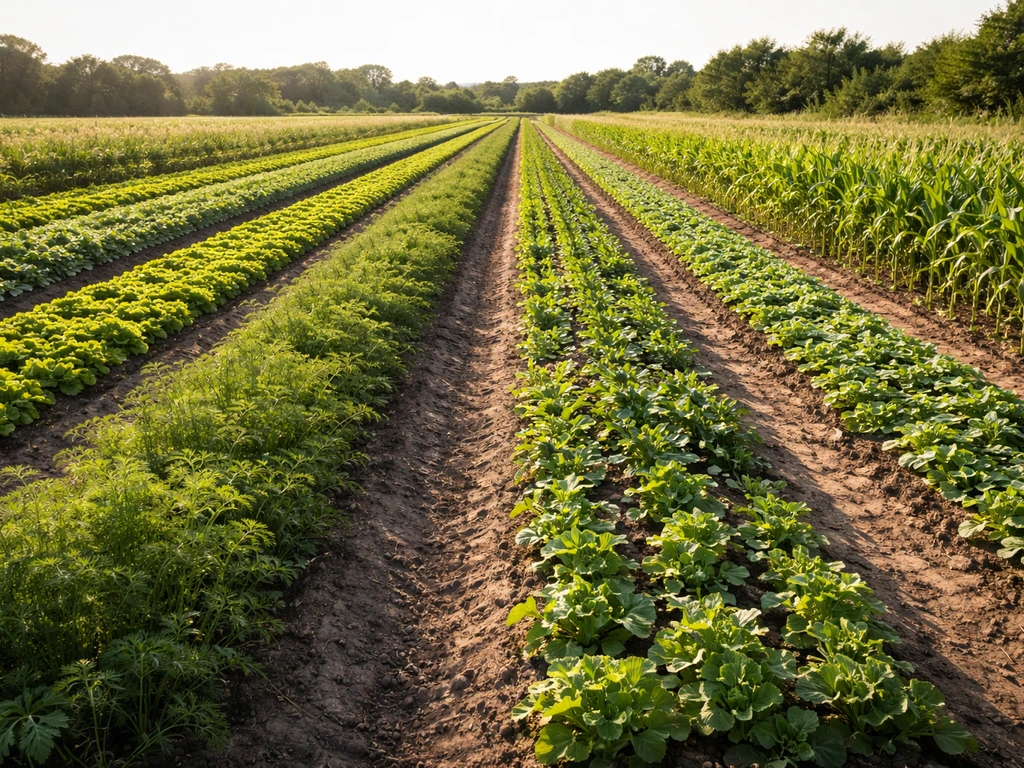
Crop rotation is the most powerful disease-prevention tool available to any grower, and it costs nothing. Never plant the same crop family in the same bed two years in a row. Tomatoes, peppers, and eggplant are all nightshades and share the same soil-borne diseases. Brassicas (cabbage, broccoli, kale) share club root and other pathogens. Rotating families around your beds breaks the disease cycle and significantly reduces build-up of pests that overwinter in the soil. A simple four-bed rotation covering nightshades, brassicas, legumes, and roots/alliums covers most home gardens well.
Physical barriers are highly effective and underused. Row cover fabric (lightweight spunbond fabric) laid over seedlings right after transplanting blocks cabbage moths, flea beetles, and cucumber beetles without any chemicals. Remove it once flowering begins for crops that need pollination. Copper tape around raised bed edges repels slugs. Yellow sticky traps catch and monitor aphids and whiteflies. These low-tech tools handle most common pest pressure without reaching for a spray bottle.
When intervention is needed, start with the least disruptive option. Knock aphids off with a strong stream of water. Hand-pick large caterpillars and drop them in soapy water. For persistent soft-bodied insects, insecticidal soap spray (about $10 a bottle, or mix 1 tablespoon of pure castile soap per quart of water) works well applied directly to pests. Neem oil, mixed at 2 tablespoons per gallon of water with a few drops of dish soap as an emulsifier, handles many fungal diseases and deters a range of pests when used preventively. For caterpillars, Bt (Bacillus thuringiensis) is an organic-approved biological control that specifically targets larvae without harming beneficial insects.
Ongoing field and bed management
Good crops need consistent attention between planting and harvest. Weeds are your biggest ongoing competition: they steal water, nutrients, and light, and they harbor pests. Stay on top of weeding when weeds are small, ideally under 2 inches tall. Once a weed goes to seed, you've multiplied your problem by hundreds. Mulch handles most weed pressure between your plants, but edges and paths need regular attention.
Pruning and training matter more than most beginners expect. Indeterminate tomatoes left to sprawl develop too many stems and fruit later and smaller. Remove suckers (the growth that appears in the crotch between stem and branch) and train the main stem up a sturdy stake or cage. Bush beans and peppers don't need much intervention, but squash and cucumbers benefit from being directed where you want them to grow, especially in smaller spaces.
Watch for and address problems early. Yellowing lower leaves on tomatoes often signals early blight: remove affected leaves immediately, improve airflow, and apply a copper-based organic fungicide if the problem spreads. Wilting in the morning that doesn't recover by evening usually points to root problems or wilt disease rather than water stress. Blossom drop on peppers and tomatoes during hot weather is normal above 90°F and resolves when temperatures drop, but if it persists, check for inconsistent watering or nutrient imbalance. Keeping a simple growing journal, even a few notes per week, helps you spot patterns and catch problems faster each season.
Your practical checklist and next steps for this season
Here's what to focus on right now, laid out in the order it matters. If you're starting fresh, work through this list from top to bottom. If you're mid-season, jump to wherever you are and pick up from there.
- Find your frost dates: look up your last spring frost and first fall frost dates for your specific zip code or region, then build your planting calendar around them.
- Get a soil test: order a test through your local cooperative extension office before you add any amendments. It costs under $20 and tells you exactly what your soil needs.
- Fix soil pH and structure: based on your test results, add lime, sulfur, or compost as needed. Work in 2 to 4 inches of finished compost into every bed you plan to plant.
- Choose crops that fit your site: match your crop list to your sun hours, frost dates, and available water. Start with 3 to 5 reliable crops rather than trying everything at once.
- Plan your rotation: sketch a simple map of your beds and assign crop families so no family repeats in the same bed from last year.
- Check soil temperature before direct sowing: use a soil thermometer 2 inches down before planting warm-season seeds. Don't rush spring planting into cold soil.
- Start transplants on time and harden them off: begin hardening off 14 days before your planned outdoor transplant date, increasing outdoor exposure gradually each day.
- Set up your watering system: even a basic drip line or soaker hose saves time and reduces disease. Aim for deep watering 2 to 3 times per week rather than daily shallow watering.
- Apply mulch after planting: lay 2 to 3 inches of straw, shredded leaves, or wood chips around established plants to conserve moisture and suppress weeds.
- Schedule your fertilizer applications: note on your calendar when to side-dress (3 to 4 weeks after transplanting) and when to switch to a fruiting formula (at first flower).
- Walk your beds every 2 to 3 days: check leaf undersides, soil, and stems for early signs of pests or disease. Catch problems small.
- Plan your end-of-season cover crop: decide what cover crop you'll plant in empty beds after harvest to protect and rebuild soil over winter or between seasons.
- Keep notes: write down what you planted, when, what worked, and what didn't. One season of notes is worth more than a dozen gardening books for your specific conditions.
Growing healthy crops isn't about getting every single thing perfect. It's about doing the fundamentals consistently and paying attention to what your plants are telling you. Some people also ask whether farmers kill animals to grow tofu, and the answer depends on the sourcing and farming methods involved do farmers kill animals to grow tofu. Soil, water, timing, and observation: get those four things right and you'll grow well.
Understanding why we need to grow crops can help you prioritize the basics that support healthy yields. If you're wondering what farmers need to grow a crop, those same core inputs and careful observation are the foundation. Make a mistake, figure out why, and grow better next time. That's how every experienced grower learned, and it's exactly how you will too.
FAQ
My plants look yellow or stunted, how can I tell if it is fertilizer deficiency versus a watering problem?
Do a soil test and then fertilize to match the result, but also check whether you have the right water pattern. If leaves look pale, growth is slow, and soil is consistently wet or consistently dry, you can get “nutrient symptoms” from moisture stress. Fix water first if plants are wilting or yellowing at the wrong time, then re-evaluate before adding more fertilizer.
Can I mulch immediately after planting to reduce weeds and save water?
Yes, but only for certain setups. Too much mulch right away can delay soil warming for cold-season crops, and heavy mulch can keep seedlings too cool and wet. For spring planting, keep mulch off the soil until seedlings are established, then apply 2 to 3 inches once plants are actively growing and the soil temperature is stable.
Why do my seeds germinate unevenly even though I watered and followed the packet?
Start with the crop’s needs and your climate variability. If you are getting uneven germination, the most common causes are soil too cold, inconsistent moisture (drying out between waterings), and sowing too deep. Use a soil thermometer and plant at the recommended depth, then water to keep the seed zone evenly moist until emergence.
What should I do if I think I over-fertilized and now my plants are growing lush but not fruiting?
Switch to “supportive” care instead of feeding more. For heavy feeders like tomatoes, peppers, and squash, symptoms of excess nitrogen include lots of leafy growth with fewer flowers and fruit, darker green foliage, and sometimes more pest pressure. Pause high-nitrogen inputs, rely on compost, and move toward lower-nitrogen, higher-potassium support once flowering starts.
My garden has fungal spots, how can I stop the spread without escalating to strong sprays?
Many diseases spread through splashing water and overcrowding. Remove severely affected leaves early, improve airflow by spacing and pruning, and water at the base in the morning. If you use a spray, target when conditions are favorable (dry weather, correct timing) and avoid treating healthy foliage heavily.
What does crop rotation mean in a small garden with only a few beds?
A good rule is to rotate by crop family, not by individual plant. For example, keep tomatoes, peppers, and eggplant from the same bed year after year, and separate brassicas (cabbage, broccoli, kale). If you have fewer beds, use a partial rotation plan and avoid repeating the same family in the same spot even when you swap crops.
How do I harvest in a way that keeps the crop producing longer?
Harvest timing matters as much as planting. For greens, harvest leaves frequently to encourage new growth, and for fruiting crops pick when fruit reaches size and color targets. Leaving ripe produce too long can reduce future yield, attract pests, and increase disease risk from damaged fruit.
When is it safe to transplant, and how do I reduce transplant shock if the weather is unpredictable?
Plan it around transplant size and conditions, not just the date. If nights are cold, use row cover during the first week outdoors, and delay transplanting if soil is still cold (especially for warm-season crops). Also check that plants are hardened off fully, then transplant on an overcast day or late afternoon to reduce shock.
Do I really need fertilizer if I add compost every season?
Not always. Most home gardens do better with a combination of compost and supplemental fertilizer because compost alone may not supply enough of specific nutrients for high-demand stages. A practical approach is baseline compost at planting plus a targeted side-dress when plants are growing strongly, then adjust based on whether plants are flowering and fruiting normally.
How do I decide which crops to direct sow versus start as transplants?
Yes, but make sure the method matches the crop. Some crops do not transplant well (carrots, beets, many roots, and some legumes), and direct sowing avoids root damage. When you can transplant, start indoors earlier to manage soil temperature and germination, then harden off before moving outside.
Next Article
What Do Farmers Need to Grow a Crop: Essentials Checklist
Practical checklist of land, sunlight, water, soil, seeds, tools, timing, pests control, and scaling tips to grow crops.