To grow a crop successfully, you need six things: suitable land or space, enough sunlight (usually 6 to 8 hours of direct sun per day), reliable water access, workable soil, the right seeds or seedlings for your climate, and the tools and time to manage the crop from planting to harvest. Get all six reasonably right and you will grow food. Miss one badly and the whole thing struggles. The good news is that none of these are complicated once you know what you're actually aiming for.
What Do Farmers Need to Grow a Crop: Essentials Checklist

Marcus Hendrick
26 Apr 2026
The Core Requirements: Space, Light, Water, and Soil
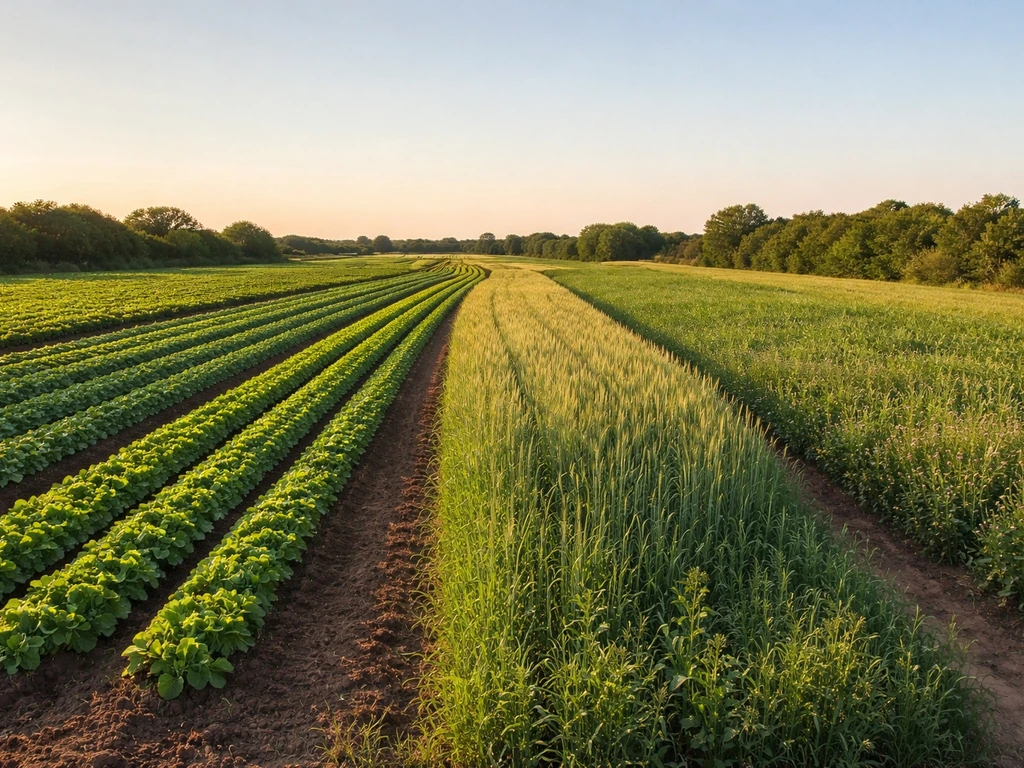
Every crop, whether it's a tomato in a 5-gallon bucket or a quarter-acre field of corn, needs the same four physical basics. Space gives roots room to spread and plants room to breathe. Light drives photosynthesis, which is literally how plants make food. Water keeps cell processes running. And soil holds everything together while delivering nutrients. If any one of these is seriously deficient, you're fighting uphill the whole season.
Space requirements scale with ambition. A 4x8 raised bed (32 square feet) can produce a meaningful amount of salad greens, radishes, and herbs for one person. A 10x20 plot (200 square feet) gets you into tomatoes, beans, peppers, and zucchini. A full homestead growing operation might cover a quarter to a full acre, which is roughly 10,000 to 43,000 square feet. You don't need to start big. Start with what you can actually manage.
Light is non-negotiable for most food crops. Fruiting vegetables like tomatoes, squash, cucumbers, and corn need at least 6 to 8 hours of direct sun. Leafy greens and root crops like lettuce, spinach, beets, and carrots can tolerate partial shade and do fine with 4 to 6 hours. Before you plant anything, observe your space through a full day and count honest sunlight hours. Shade from trees or buildings kills more gardens than bad soil does.
Water and soil are covered in detail in their own sections below, but know this upfront: you need a water source within a reasonable distance of your garden, and you need soil that drains well but holds moisture. Concrete-hard clay and pure sand are both problems. Loose, dark, crumbly soil that holds its shape when squeezed but breaks apart easily is what you're aiming for.
Choosing What to Plant: Seeds, Seedlings, and Crop Selection
Crop choice is where a lot of beginners make their first mistake. They grow what they think they should grow instead of what actually suits their climate, season, and skill level. A productive garden starts with matching crops to conditions, not the other way around.
Your USDA hardiness zone gives you the frost date framework, but it's only part of the picture. Summer heat matters too. Lettuce bolts and turns bitter when temperatures climb above 80°F. Corn needs a long, hot summer to produce well. Tomatoes stall out in temperatures above 95°F. Check your average last and first frost dates, then count your frost-free growing days. That number tells you which crops you can realistically take from seed to harvest.
For beginners, these crops consistently deliver results with relatively low effort: zucchini, bush beans, lettuce, radishes, kale, cherry tomatoes, cucumbers, and Swiss chard. They germinate reliably, tolerate some mistakes, and produce quickly enough to keep you motivated. Crops like melons, celery, artichokes, and sweet corn are more demanding and better tackled once you have a season or two under your belt.
Seeds versus seedlings is a real decision. Starting from seed is cheaper and gives you access to far more variety, but it requires more lead time (6 to 8 weeks indoors for tomatoes and peppers before your last frost). Buying transplants from a nursery costs more but saves time and is more forgiving. For direct-sow crops like beans, carrots, beets, and squash, seeds are the only practical option anyway since these don't transplant well.
- Direct-sow crops (plant seeds straight in the garden): beans, carrots, beets, radishes, peas, squash, corn, cucumbers
- Start indoors 6-8 weeks before last frost: tomatoes, peppers, eggplant, celery
- Buy as transplants if you prefer: broccoli, cabbage, cauliflower, kale
- Cool-season crops (plant in spring or fall): lettuce, spinach, peas, brassicas, root vegetables
- Warm-season crops (plant after last frost): tomatoes, beans, squash, corn, cucumbers, peppers
Heirloom, open-pollinated seeds let you save seeds year to year, which matters a lot for self-sufficiency. Hybrid seeds often yield more reliably in the first season but can't be saved. For a home garden aimed at food security, having a supply of open-pollinated seeds in your storage is a smart long-term move.
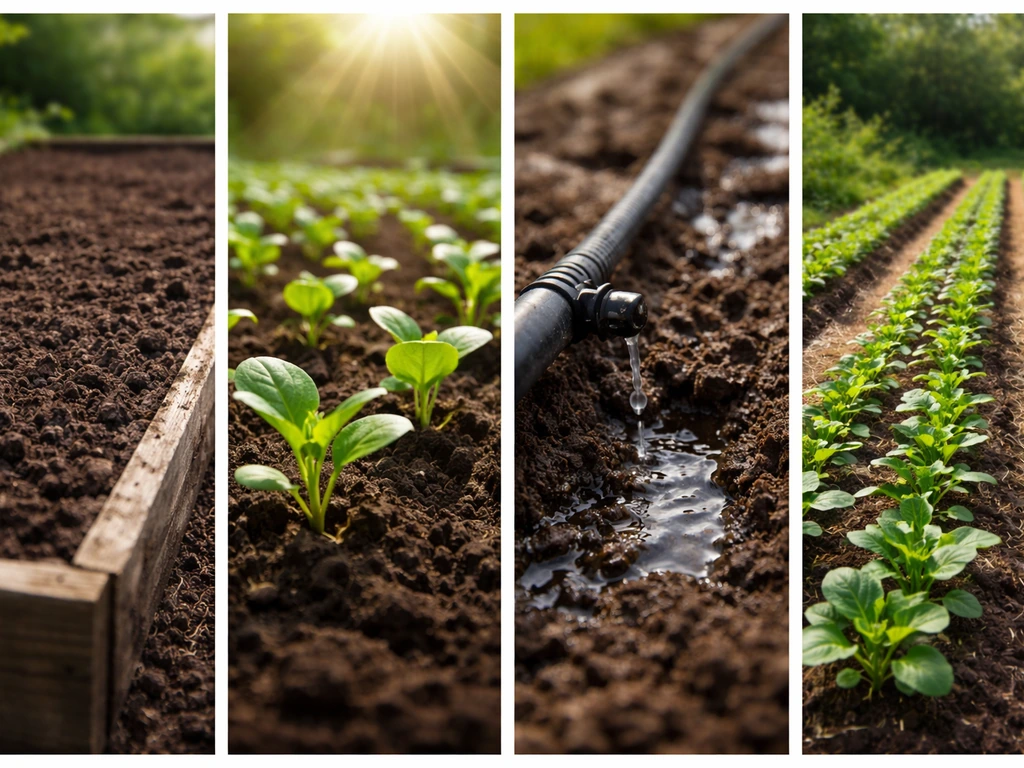
Soil Prep and Fertility: Getting the Foundation Right
Good soil prep is the single highest-return investment you can make before planting. Crops grown in well-prepared soil outperform crops grown in neglected soil even when everything else is equal. The goal is soil that's loose enough for roots to penetrate easily, rich enough in organic matter to feed plants, and balanced enough in pH to let nutrients actually absorb.
Test Your Soil Before You Amend It
A basic soil test through your local cooperative extension service costs $15 to $25 and tells you your soil pH, nitrogen, phosphorus, and potassium levels. Oklahoma State University Extension notes that a routine soil test runs $15 and typically takes 10, 14 working days to receive results routine soil test costs $15 and takes 10–14 working days. This is not optional if you want consistent results. Without it, you're guessing. Most vegetables prefer a pH between 6.0 and 7.0. Below 6.0, add ground limestone to raise pH. Above 7.5, add elemental sulfur to lower it. These adjustments take weeks to months to fully work, so test and amend in fall if possible, or at least several weeks before planting.
Building Organic Matter and Fertility
Compost is the backbone of home garden fertility. Adding 2 to 4 inches of finished compost and working it into the top 6 to 12 inches of soil dramatically improves structure, moisture retention, and biological activity. If you don't have enough compost, supplement with aged manure, cover crops turned in, or a balanced organic granular fertilizer. A 10-10-10 or similar balanced NPK fertilizer applied at label rates at planting gives crops a reliable nutritional foundation.
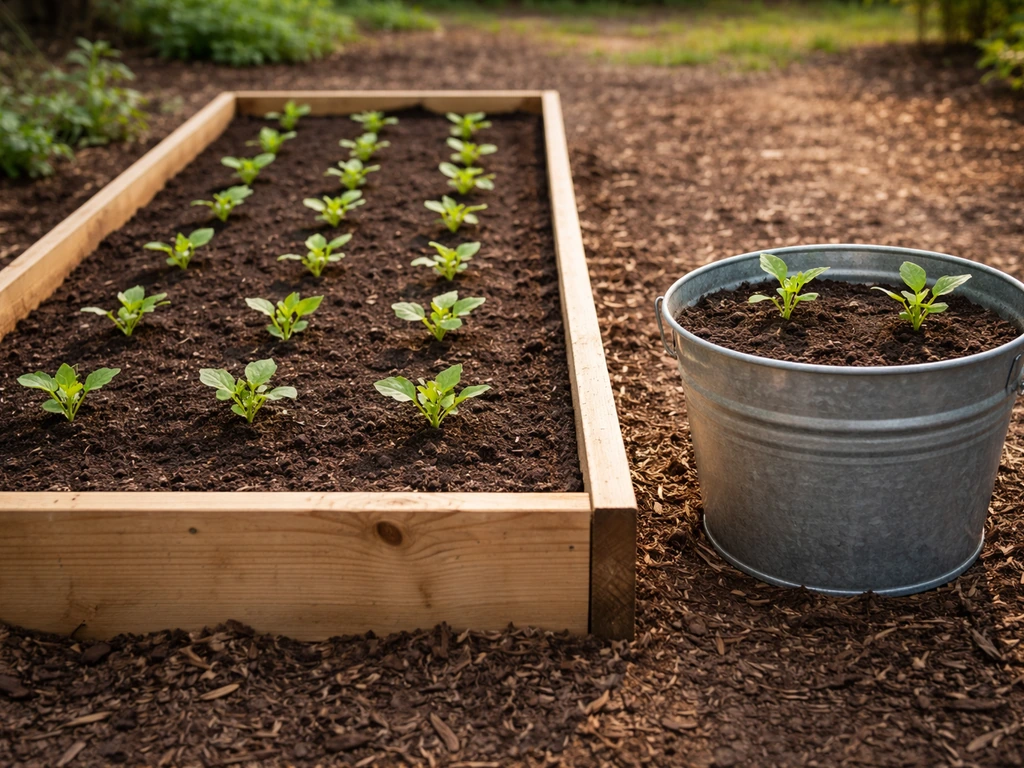
Raised beds solve a lot of soil problems fast, especially if your native soil is heavy clay, shallow, or contaminated. A standard 4x8 raised bed filled with a mix of topsoil, compost, and a perlite or coarse sand component gives you near-ideal growing conditions from day one. The trade-off is upfront cost: filling a 4x8 bed 12 inches deep takes roughly 32 cubic feet of material, which costs anywhere from $50 to $150 depending on your sources.
Water and Irrigation: How Much, How Often, and How to Plan for Dry Spells
Vegetables are thirsty plants. The standard benchmark is about 1 inch of water per week, which is enough to wet soil down 5 to 6 inches where active roots are feeding. During hot summer weather, that need climbs because evaporation increases. As a rule of thumb, vegetables use roughly 1/4 inch of water per day in typical summer conditions, so 1.75 inches per week is a more realistic target in July and August than the standard 1-inch guideline.
How do you know when to water? The simplest method is the finger test. Push your finger 2 inches into the soil. If it feels dry at that depth, it's time to water. If the top inch is dry but the soil below is still slightly moist, you can wait. Colorado State University Extension puts the trigger point at the top 2 to 4 inches being dry to the touch, which aligns well with this approach.
Irrigation Options and Application Rates
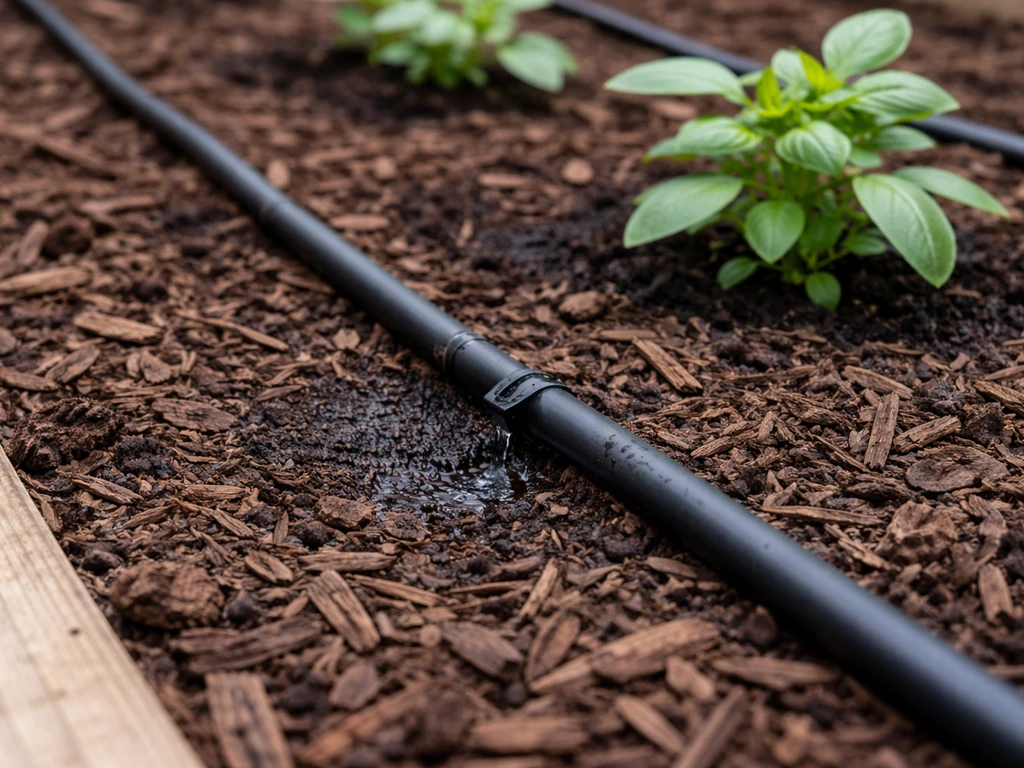
Drip irrigation is the most efficient method for home gardens and small homestead plots. It delivers water directly to the root zone, reduces disease pressure from wet foliage, and can be put on a timer so you don't have to think about it daily. A basic drip system for a 200-square-foot garden runs $50 to $100 in parts and pays for itself quickly in water savings. Soaker hoses are a cheaper alternative that work similarly.
If you use overhead sprinklers, apply water at no more than 0.5 inches per hour to prevent runoff on compacted or clay soil. Watering in the early morning is best because foliage dries during the day, reducing fungal disease risk. Watering at night leaves leaves wet for hours and invites problems like blight and powdery mildew.
Utah State University Extension recommends supplying 1 to 2 inches of water weekly and mulching heavily to keep soil moisture even between waterings. A 2 to 3-inch layer of straw, wood chips, or shredded leaves over your beds reduces evaporation dramatically and cuts watering frequency in half during dry stretches. Mulching is one of the highest-return low-effort things you can do in a garden.
Drought Planning and Water Storage
If you're growing for self-sufficiency, water security matters as much as soil quality. Rain barrels connected to downspouts are an easy first step, with 50 to 300-gallon barrels providing emergency reserves for container and small raised-bed gardens. For larger plots, a water storage tank or cistern system connected to roof collection or a well gives you meaningful drought buffer. On a per-crop basis, remember that 1 acre-inch of water equals 27,154 gallons, so even a modest garden can demand significant volumes during a dry month.
Container gardens deserve special mention here. Because containers have limited root volume, water drains quickly and becomes unavailable to roots. Containers can need watering daily or even twice daily in hot weather, unlike in-ground beds that hold moisture longer. If you're container gardening, build a very consistent watering routine or invest in self-watering container inserts.
Tools, Supplies, and Planning Your Labor
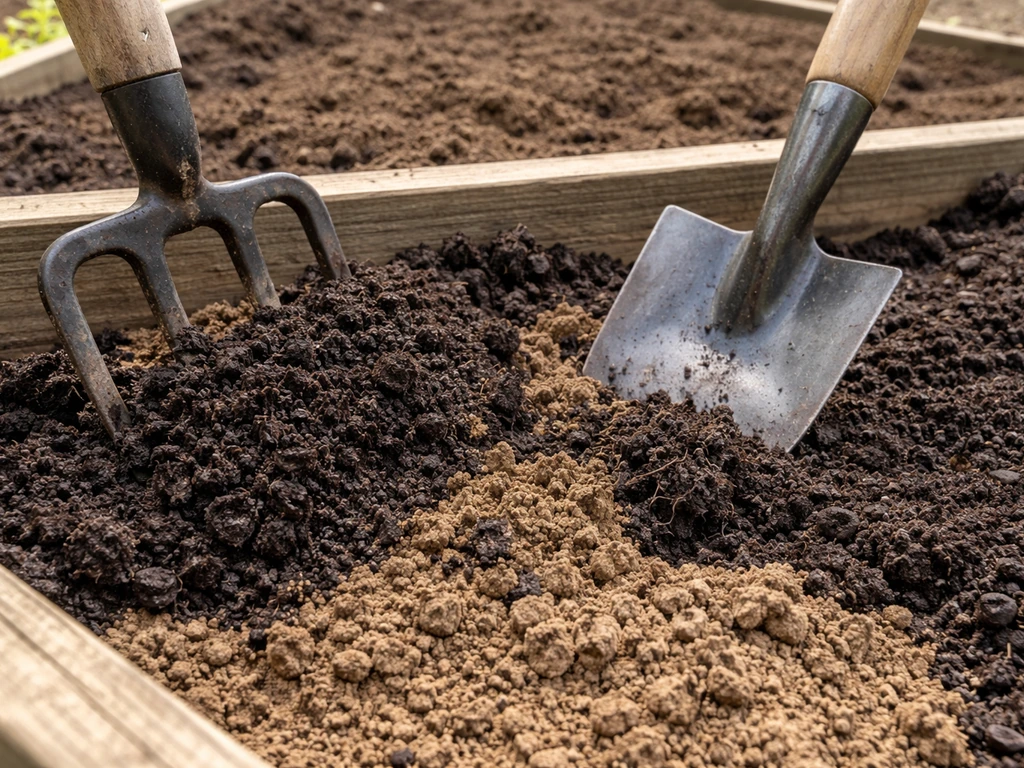
You don't need a barn full of equipment to grow food. A first-year home gardener can get started with a short list of practical tools and spend well under $200 on infrastructure. The key is prioritizing what actually gets used every season versus what sounds useful but sits in the shed.
| Tool or Supply | Why You Need It | Approximate Cost |
|---|---|---|
| Garden fork or spade | Breaking ground, turning soil, mixing in amendments | $25–$50 |
| Hand trowel | Transplanting seedlings, spot digging | $10–$20 |
| Hoe or stirrup hoe | Weed control between rows | $20–$40 |
| Garden hose with adjustable nozzle | Watering seedlings and spot irrigation | $20–$40 |
| Drip kit or soaker hose | Efficient, low-effort irrigation | $50–$100 |
| Soil thermometer | Knowing when soil is warm enough to plant | $10–$15 |
| Row cover or frost cloth | Extending season, protecting from pests | $20–$40 per pack |
| Wheelbarrow or garden cart | Moving compost, mulch, harvests | $60–$150 |
| Seed starting trays and grow lights | Starting transplants indoors | $30–$80 |
| Compost bin | Building your own fertility long-term | $30–$80 or DIY free |
Labor planning is the part most beginners underestimate. A 200-square-foot garden in its first year requires roughly 4 to 8 hours of initial setup (building beds, amending soil, installing irrigation), then about 1 to 2 hours per week through the growing season for watering, weeding, and monitoring. As the garden gets established and you get faster, that weekly time drops. A larger half-acre homestead operation is closer to a part-time job during the growing season, realistically 10 to 20 hours per week, more during planting and harvest peaks.
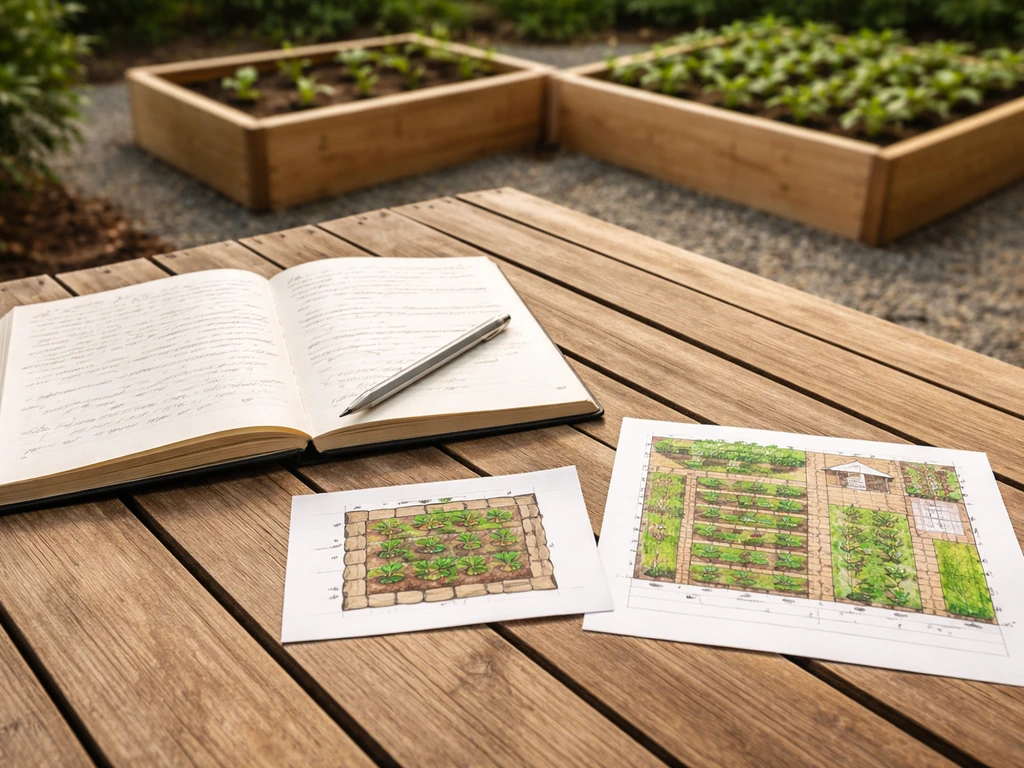
Don't overlook seed storage and record-keeping as part of your supply plan. Keeping a simple notebook or spreadsheet of what you planted, when, what worked, and what didn't is worth more than almost any other tool. After two or three seasons of notes, you'll have a customized growing guide for your specific location that no book or website can give you.
Ongoing Management: What Keeps a Crop Alive and Productive
Planting is just the beginning. The gap between a garden that produces well and one that limps along usually comes down to how consistently you manage it through the season. Four things matter most: weed control, pest and disease monitoring, nutrient maintenance, and harvest timing.
Weed Control
Weeds compete directly with crops for water, nutrients, and light, and they always win if ignored. The most effective approach is catching them small. A stirrup hoe used weekly through the first 6 to 8 weeks of the season cuts weed pressure dramatically before plants get established. Mulching after seedlings emerge is your second line of defense. A 2-inch mulch layer suppresses most weed germination and makes the weeds that do emerge easy to pull. Hand weeding near the base of plants where tools can't reach without damaging roots takes only a few minutes per week if done consistently.
Pest and Disease Management
Scouting your garden twice a week catches problems before they become losses. Look under leaves for eggs and larvae, check for discoloration or wilting that isn't drought-related, and notice any sudden decline in a single plant (often a soil disease). Most pest problems in a home garden can be managed with physical controls first: row cover to exclude insects, hand-picking caterpillars, copper tape around slugs, neem oil spray for soft-bodied pests. Resist the urge to reach for broad-spectrum pesticides, which kill beneficial insects including your pollinators and predatory bugs.
Disease prevention is mostly about airflow and avoiding wet foliage. Space plants according to their label recommendations (not closer, even though it's tempting). Train tomatoes and climbing plants to keep leaves off the soil. Rotate crop families between beds each season. Brassicas after brassicas, nightshades after nightshades, is how soil-borne disease builds up. Rotating families breaks that cycle.
Nutrient Maintenance Through the Season
Heavy-feeding crops like tomatoes, corn, and peppers need additional fertility mid-season even in well-amended soil. A side-dressing of compost or a diluted liquid fertilizer (fish emulsion or compost tea) every 3 to 4 weeks keeps production strong. Yellowing leaves on older growth usually signal nitrogen deficiency. Purple-tinged leaves often indicate phosphorus issues in cold soil. Knowing what deficiencies look like saves you from guessing and over-fertilizing, which can burn roots or push excessive leaf growth at the expense of fruit.
Harvest Timing
Harvesting at the right time matters more than most people realize, both for quality and for continued production. Zucchini left too large stops the plant from setting new fruit. Beans left past their prime on the vine signal the plant to stop flowering. Lettuce left too long bolts and turns bitter. The general rule is to harvest regularly and slightly early rather than infrequently and late. Most fruiting crops produce more total yield when harvested frequently, because you're encouraging the plant to keep flowering.
Space, Yield, and Scaling from Backyard to Homestead
One of the most practical questions in food growing is how much space you actually need to produce meaningful amounts of food. The answer depends on what you're growing, how intensively you manage the space, and what 'meaningful' means to you. These rough estimates give you a working starting point.
| Garden Scale | Approximate Space | What It Realistically Produces | Labor Per Week |
|---|---|---|---|
| Container garden | 20–50 sq ft equivalent | Herbs, salad greens, cherry tomatoes for one person | 30–60 min |
| Starter raised bed garden | 64–100 sq ft (2–3 beds) | Supplemental vegetables for a family of 2–4 | 1–2 hours |
| Productive home garden | 400–600 sq ft | Significant portion of seasonal vegetables for a family | 2–4 hours |
| Large kitchen garden | 1,000–2,000 sq ft | Most vegetables for a family plus some preserving | 4–8 hours |
| Small homestead plot | 0.25–0.5 acre | Staple crops, grains, storage vegetables, livestock feed | 10–20 hours |
| Full homestead operation | 1+ acre | Near self-sufficiency for food production | Full part-time commitment |
As a rough yield reference: a healthy tomato plant produces 10 to 15 pounds of fruit over a season. A 10-foot row of bush beans yields 3 to 5 pounds of beans. A single zucchini plant can produce 6 to 10 pounds if harvested regularly. A 100-square-foot bed of mixed greens can supply a family of four with salads several times a week through spring and fall. These numbers vary with variety, soil quality, weather, and management, but they give you a realistic expectation framework.
Scaling up is not just about adding space. It requires adding infrastructure proportionally: more water delivery capacity, better pest management systems, more storage and preservation capacity, and more organized labor. The biggest mistake in scaling is adding land without adding the management systems to support it. A neglected half-acre produces less food than a well-managed 400-square-foot garden.
If you're thinking beyond vegetables into staple crops, grains, or growing food for animals, the inputs and planning involved expand significantly. Understanding why we grow crops in the first place, and how farmers decide what to grow based on land, climate, and market, connects directly to these decisions at every scale. Understanding why we grow crops in the first place helps you decide what to plant and how to plan for reliable harvests. Tofu is made from soybeans, and some production methods can involve animal harm depending on how soy feed and byproducts are sourced and used do farmers kill animals to grow tofu. It is also worth considering how agricultural practices used to grow vegetables affect animal populations and contribute to how many animals die how many animals die to grow vegetables. If you're wondering what does a farmer grow, it usually comes down to the same basics: climate, soil, water, and market demand what to grow. Start at the size you can fully manage this season, document everything, and expand deliberately based on what you actually learn from growing.
Your Next Steps Checklist
- Assess your space: measure available area, count sunlight hours through a full day, and identify your water source
- Get a soil test through your local cooperative extension service before you plant or amend anything
- Look up your last and first frost dates and count your frost-free growing days to match crops to your season
- Choose 3 to 5 crops appropriate for your climate and skill level to start, focusing on high producers that your household actually eats
- Build or prepare your growing area: raised beds, in-ground rows, or containers, amended with 2 to 4 inches of compost
- Set up a basic irrigation system before you plant so watering doesn't become a daily emergency
- Gather your essential tools: spade, hand trowel, hoe, hose, and mulch material
- Plant on the right schedule for your zone, using your frost dates as the anchor
- Scout the garden twice a week during the growing season for pests, disease, and nutrient issues
- Keep a growing journal from day one so your second season is smarter than your first
FAQ
Can I grow a crop if I don't have enough land or space?
Yes, but only within limits. If your area is smaller than your plants need, you can reduce space per plant only by using compact varieties, trellising (vertical growth), and more frequent feeding and watering. Otherwise yields drop fast because roots cannot expand and airflow suffers, increasing disease.
What if my garden only gets 3 to 5 hours of sun each day?
If sunlight is your constraint, focus on crops that tolerate partial shade (leafy greens and many root crops) and plan to sacrifice fruiting crops like tomatoes or corn. Also measure light in the growing season, not just once in spring, because tree and seasonal shade patterns can change your effective hours.
How do I plan for water access if rainfall is unpredictable?
For water reliability, look at how far you can draw water, how quickly you can refill, and whether you have a backup during dry spells. If you rely on rain barrels, ensure your collection rate and barrel size can cover at least the hottest weeks, then mulch heavily to reduce the day-to-day demand.
Do I need soil testing, and what should I do if nutrients look low?
Start with a soil test and then consider supplements based on results, not guesses. If pH is off, nutrients will not be available even if you add fertilizer, so correcting pH first usually saves money and prevents root stress or leaf burn.
Can I grow in heavy clay or sandy soil without rebuilding everything?
Concrete-hard clay can still work, but you usually need physical improvement, not just fertilizer. Add compost and organic matter gradually, consider raised beds or deepened planting rows for root penetration, and improve drainage so roots can access oxygen.
Besides frost dates, what else should I check before planting?
Many farms and serious gardeners track “frost-free days” but also watch soil temperature, because cold soil slows germination and can cause crop failure even if frost is not an issue. Use local averages, then wait until the soil is warm enough for the specific crop before direct sowing.
When should I choose seeds versus buying seedlings?
Seeds and seedlings are not just about time, it is also about transplant stress and risk. In short or unpredictable seasons, seedlings can win, while in crops that do not transplant well (like carrots and beans), direct sowing usually prevents setbacks.
What are the rules for saving seeds year to year?
If you plan to save seeds, prioritize open-pollinated varieties and isolate them enough to avoid cross-pollination from other varieties of the same crop. Also store saved seed dry and cool, and label harvest dates because germination declines over time.
How can I avoid overwatering or underwatering during hot weather?
A simple and reliable way is to water deeply less often rather than lightly every day, aiming for about 5 to 6 inches of wetting for active roots. In heat, increase frequency, but do not skip mulch, because mulch reduces evaporation and makes your watering plan steadier.
Are sprinklers okay, or should I always use drip irrigation?
Overhead watering can work if you control timing and rate, but it is less forgiving. Water early so foliage dries quickly, avoid watering during windy conditions that increase leaf wetness, and if disease pressure is high, switch to drip or soaker hoses.
What tools do I really need first, and what should I avoid buying early?
Budget for tools and infrastructure based on the most labor-intensive bottlenecks for your setup, for example, irrigation delivery, trellising, and soil amendment storage. A common mistake is buying lots of gadgets before you confirm your water, weed control, and pest monitoring workflow actually works.
How do crop rotation decisions change for small gardens or raised beds?
You need a “crop family plan,” not just a “what to plant” plan. Rotate by families each season (for example, don’t plant nightshades in the same bed repeatedly), and keep at least a rough separation between new and previously infested areas to reduce carryover disease.
How can I tell the difference between nutrient problems and watering problems?
Yes. The first big signal is pattern, not just color. If yellowing starts on older leaves, it can point to nitrogen issues, while stunted growth with purpling in cold conditions can indicate phosphorus availability problems. Fix cold-water and timing issues first, then adjust nutrients based on soil test or observation.
Does harvesting more often actually increase yield, or is it just about quality?
If you skip harvest, many crops reduce future production, some also become bitter or stop flowering. Harvesting “slightly early” can extend quality and yield, and it also prevents pests from being attracted to overly ripe produce.
What is the most common reason scaling up fails for new growers?
For scaling, start by calculating what changes with each added bed or field, water delivery capacity, storage needs, and labor peaks at planting and harvest. Neglecting one bottleneck, for example, lack of processing or too-small irrigation coverage, often reduces total output even if you add more land.
Next Article
What Does a Farmer Grow? Crop Types and Home Options
Learn what farmers grow by crop type and how to choose realistic veggies, grains, and forage for home gardens or homeste