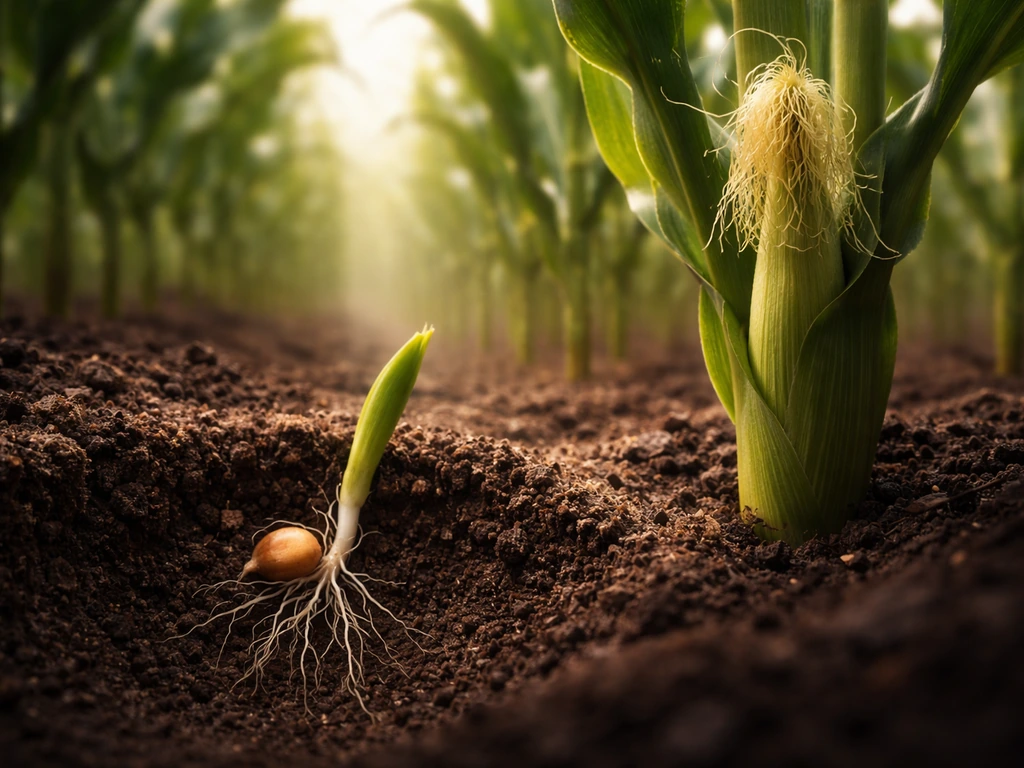
Corn grows in two clear phases: a vegetative phase where the plant builds leaves, roots, and stalk, and a reproductive phase where it produces tassels, silks, and eventually ears. From the moment you drop a seed in the ground to the day you pull a ripe ear, you're looking at roughly 60 to 120 days depending on whether you're growing sweet corn or field corn.
How Does Corn Grow Video: Seed to Harvest Guide

Marcus Hendrick
4 May 2026
The whole process is more visual and hands-on than most vegetables, which is exactly why people search for videos on it. Rice is also a growable food crop, but it needs different conditions than corn is rice grow food.
This guide walks you through every major checkpoint, from what germination looks like to how to know the exact moment your corn is ready to pick, so you can follow along like you would with a good video, but with all the detail a video usually leaves out.
What Actually Happens from Seed to Ear
Corn follows a well-documented staging system that's worth knowing because it tells you exactly where your plant is in its life cycle. The vegetative stages are labeled V1, V2, V3, and so on, with each number representing one visible leaf collar (the light-colored band at the base of a fully opened leaf).
Once your plant has pushed through all its vegetative stages and the tassel emerges at the top, it hits what's called VT (tassel stage), and from there the reproductive stages begin. Those reproductive stages are labeled R1 through R6: R1 is silking, R2 is the blister stage (roughly 10 to 14 days after silking), and R5 is the dent stage (around 35 to 42 days after silking). By R6, the kernel is fully mature.
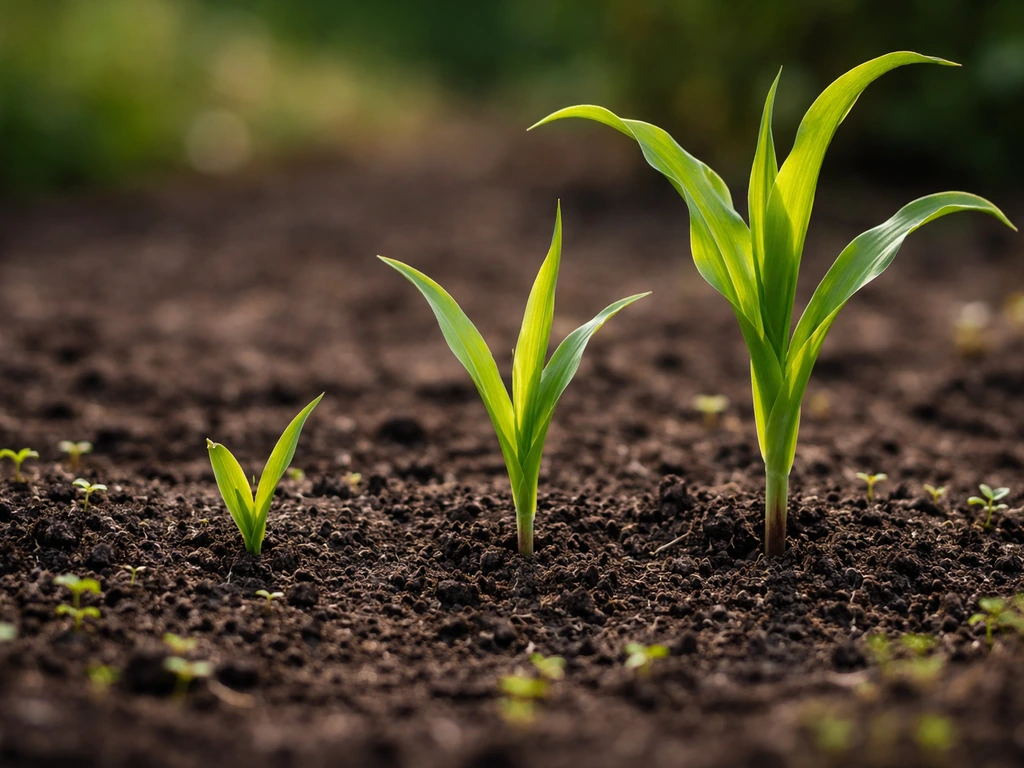
For a home gardener, those milestone checkpoints matter more than the exact labels. Think of it this way: you're watching for germination (sprout pushes through the soil), then the seedling filling out with more leaves, then the plant shooting up rapidly in mid-season, then tassels emerging at the top, silks appearing at the ear sites, and finally the ears filling out and ripening. Each of those moments looks distinctly different, and the sections below describe what to look for at each one.
Planting Corn: Getting Timing, Depth, and Spacing Right
Soil Temperature is the Most Important Timing Signal
Do not plant corn until your soil temperature at 4 inches deep is at least 50°F, and honestly, 60°F is much better. At 50 to 55°F, germination can drag on for three weeks, which leaves seeds sitting in cold, wet soil long enough to attract disease, insects, and predators. At 60°F with good soil moisture and solid seed-to-soil contact, you can expect emergence in 10 to 12 days. A cheap soil thermometer from any garden center will tell you when you're actually ready, and it's one of the most useful tools you can own for spring planting decisions.
Corn also needs about 90 to 120 growing degree days (calculated with a base temperature of 50°F) to emerge, so even after you plant at the right soil temperature, you're waiting for accumulated warmth, not just calendar days. That's why a warm May will always beat a cold May even if you plant the same date.
Planting Depth, Row Spacing, and the Block Rule
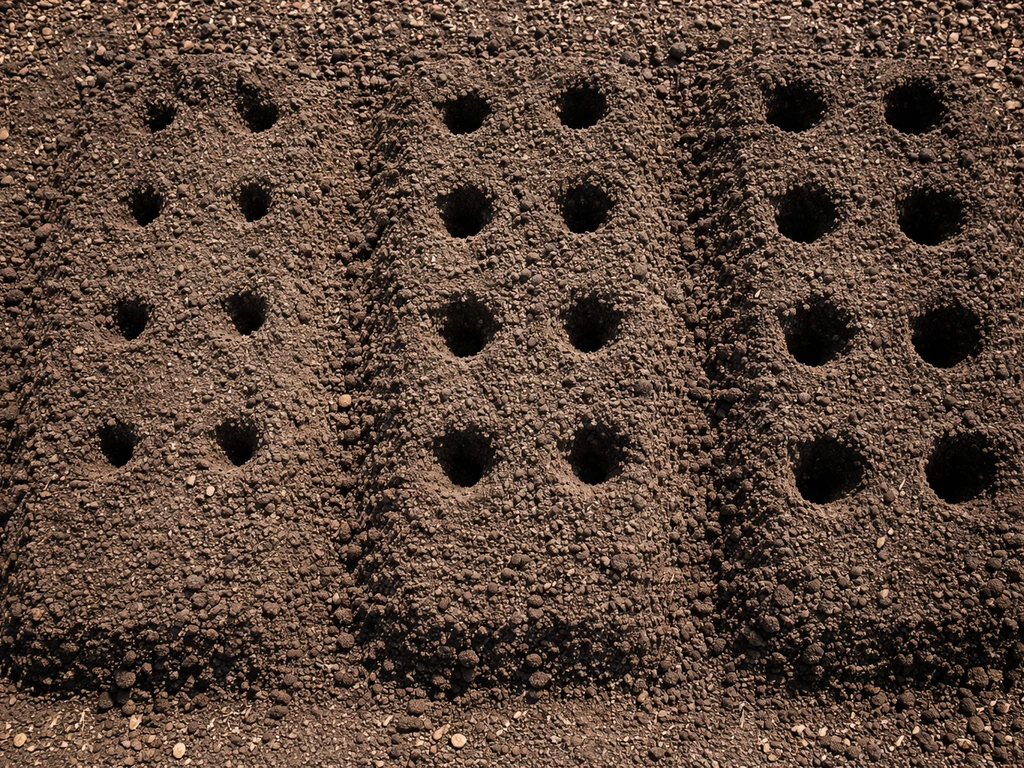
Plant seeds about 1 inch deep when soil temperatures are right at 60°F, and you can go up to 1.5 to 2 inches in warmer, drier soils to find more consistent moisture. Spacing within rows should be 7 to 12 inches apart, with rows set 24 to 36 inches apart. The exact numbers depend on your space, but the more important rule is this: always plant corn in a block, not a single long row. Because corn is wind-pollinated, you need pollen from the tassels to fall onto the silks below. A minimum of 3 rows side by side, and preferably 4 or more, is what gets you full, well-filled ears. A single row produces poor pollination almost every time.
Choosing a Variety
Sweet corn varieties differ in days to maturity, kernel color, and sugar content. Early-season sweet corn varieties can mature in around 60 to 70 days; mid-season types are 75 to 85 days. Field corn hybrids are a different beast entirely: a mid-season commercial hybrid in the central Corn Belt can take around 130 days from planting to maturity, accumulating roughly 2,700 growing degree days. For home gardeners, sweet corn is the practical choice unless you have significant space and are growing specifically for grain storage or animal feed. If you plan to grow multiple varieties of sweet corn, keep them separated (by distance or staggered planting dates) because cross-pollination between standard and supersweet varieties can reduce sweetness.
Soil Prep and Fertilizing: What Corn Actually Needs
Corn is a heavy feeder, especially for nitrogen, and it grows best in well-drained soil with a pH between 5.8 and 7.0, ideally closer to 6.0 to 7.0. Low pH reduces the availability of multiple nutrients, so if your soil test shows you're below 6.0, lime it before planting. A soil test is genuinely worth doing before your first corn crop; it takes the guesswork out of whether you need to add phosphorus, potassium, or both.
For nitrogen, a practical home-garden approach is to apply around 50 lbs per acre (or the equivalent for your bed size) of actual N at planting or just before, as part of a balanced fertilizer that also contains phosphorus and potassium. You can side-dress with additional nitrogen when plants are knee-high (roughly 12 to 18 inches tall), which is the vegetative period where the plant is building the structure that will support ear development.
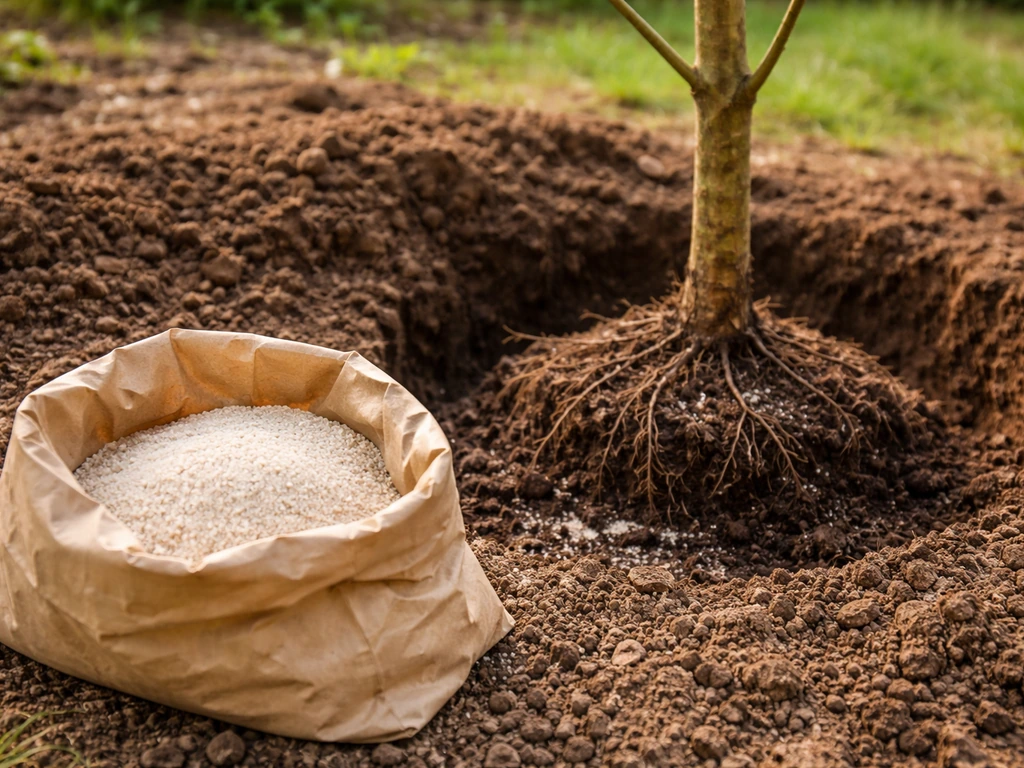
Compost worked in before planting helps soil structure and adds slow-release nutrients, but it usually can't fully replace targeted N fertilization for corn. For trees, bonemeal should be used in small amounts at the right time, since too much phosphorus can harm growth. For more on exactly how much nitrogen corn uses and when, that topic goes deep enough to deserve its own look.
For a deeper look at the nitrogen rates and timing that match your soil and crop goals, see the full guide on how much nitrogen to grow corn.
Before planting, till or loosen the soil at least 6 to 8 inches deep and incorporate any amendments. Corn roots need room to anchor a tall plant, and compacted soil is one of the quieter reasons home corn crops underperform.
Watering, Weeding, and Thinning: The Unglamorous Work That Matters
Watering Needs by Stage
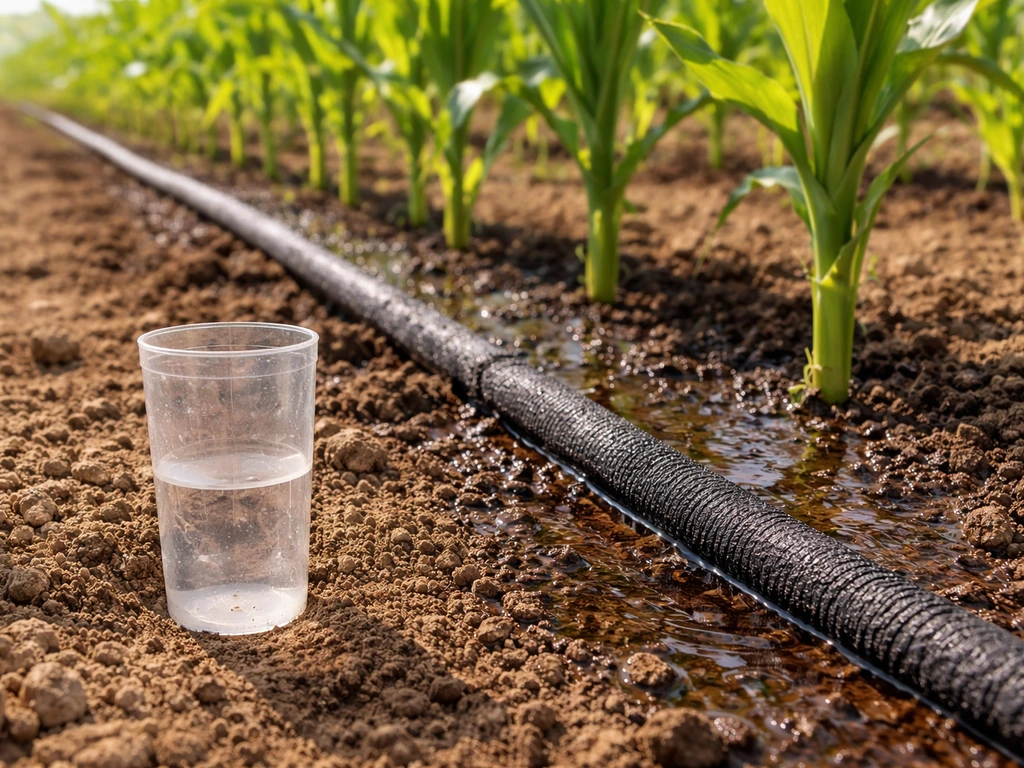
Corn needs about 1 to 1. 5 inches of water per week throughout the season, with three critical windows where drought stress is especially damaging: germination and stand establishment, tasseling and silking, and ear fill. Over a full season, corn uses roughly 18 to 28 inches of total water. If your summer regularly runs hot and dry, plan on irrigating.
Drip irrigation or soaker hoses work well because they deliver water at root level without wetting foliage, but overhead watering works too if you water in the morning. The two-week window before and after tassel emergence is when water stress is most damaging to final yield, so if you're going to prioritize irrigation at any point, that's when to do it.
Irrigation planning documents also identify the pollination period from tasseling (VT) through blister kernel (R2) as the most critical stress window under water-limiting conditions two-week window before and after tassel emergence is when water stress is most damaging to final yield.
Weeding and Thinning
Corn is a poor competitor with weeds in its early stages. Keep the area clear for the first four to six weeks, especially in the first two to three weeks after emergence when corn seedlings are small and slow. Once the plants get to knee height and the canopy starts closing, they'll shade out most competition on their own. Cultivate shallowly between rows to avoid damaging roots, which spread fairly wide near the soil surface.
If you planted seeds closer together than your final desired spacing (which is a good practice to ensure germination), thin to one plant every 9 to 12 inches once seedlings reach 4 to 6 inches tall. Thinning feels wasteful but it matters: overcrowded corn produces smaller ears and competes for water and nutrients.
Pollination and Ear Development: The Stage Most Home Growers Underestimate

This is the stage that most corn-growing videos spend the most time on, and for good reason. Here's what you're looking for: tassels emerge at the top of the plant and release pollen, usually over a period of about a week. At roughly the same time, or shortly after, silks emerge from the top of the developing ear husks. Those silks are the female parts of the plant, and each individual silk connects to one potential kernel. Pollen needs to land on the silk for that kernel to develop. If a silk doesn't get pollinated, you get a blank spot on the cob.
Silks remain receptive for up to about 10 days after they first emerge, but receptivity drops off quickly after that window. The biggest risk for home gardeners is a timing mismatch: drought or heat stress can cause pollen to shed quickly while delaying silk emergence, or can desiccate silks so they're no longer receptive when pollen finally arrives. That's how you end up with partially filled or nearly blank cobs.
To maximize kernel set: plant in a block (not a line), keep plants well-watered during the two weeks around tassel emergence, and don't panic if silks are a slightly different color or length between plants. If you're growing in a small plot of only a row or two, you can hand-pollinate by shaking tassel stems over the silks in the morning when pollen is actively shedding. It's not necessary in a proper block planting, but it's a useful trick for tiny spaces.
Harvest Timing and Storage: Sweet Corn vs Field Corn
Harvesting Sweet Corn at Peak Quality
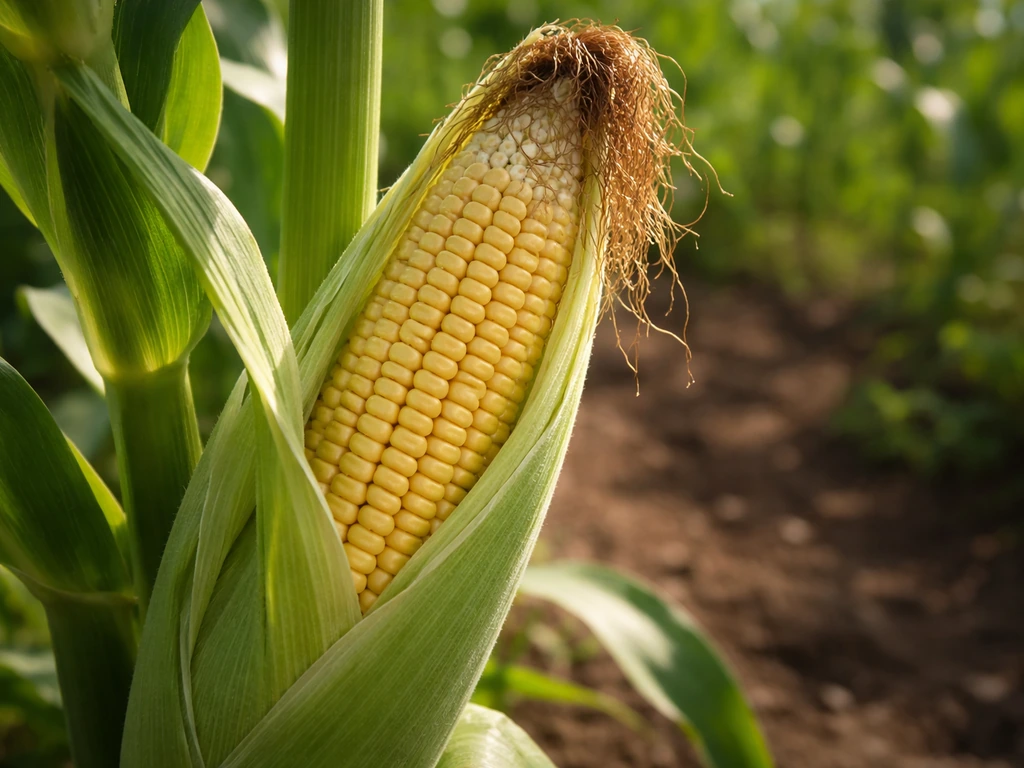
Sweet corn is ready to harvest in the milk stage. Here's the visual checklist to watch for: the silks at the top of the ear should be browning and drying, the husks should still be tight and green, and when you puncture a kernel with your thumbnail, the juice should be milky white (not clear and watery, which means underripe, and not thick and doughy, which means overripe). The window between perfect and past-peak is only a few days, so check your ears daily once silks start browning.
Storage matters more with sweet corn than almost any other vegetable. In hot weather above 86°F, prime eating quality can decline within 1 to 2 days of harvest. Refrigerate immediately after picking. For longer storage, blanch the ears in boiling water for 4 minutes, then chill immediately in ice water, cut the kernels off the cob, and freeze. Home-frozen corn is genuinely excellent: better quality than most commercial frozen corn if you process it quickly after harvest.
Field Corn: A Different Timeline and Different Goals
Field corn is harvested much later, at or near full kernel maturity (the R6 dent stage), when moisture content has dropped enough for storage. This can be 130 days or more from planting. Home growers raising field corn for grain, cornmeal, or feed need to leave ears on the stalk well past when a sweet corn grower would be alarmed by how dry and hard the kernels are. Once harvested, field corn can be dried further and stored for months in cool, dry conditions.
| Factor | Sweet Corn | Field Corn |
|---|---|---|
| Days to maturity | 60–90 days | 100–130+ days |
| Harvest indicator | Milky kernel juice, drying silks | Dented, hard dry kernels |
| Eat/use fresh | Yes, ideally within hours | No, needs processing (grinding, drying) |
| Short-term storage | Refrigerate, 1–3 days max | Dry and store for months |
| Long-term storage | Blanch and freeze | Dried grain in sealed containers |
| Home garden size needed | Small block (4+ rows) | Larger plot for meaningful yield |
Common Problems and Quick Fixes
Uneven or Slow Germination
If your corn is taking forever to come up or emerging patchy, the most likely causes are soil temperature that's still too cold (below 60°F), poor seed-to-soil contact, or inconsistent moisture. Check your soil temp first. If you planted when it was borderline warm and the soil has since cooled, give it more time before assuming failure. Gaps in germination can also come from seed depth variation, so try to be consistent at 1 to 1.5 inches deep.
Poor Ear Set or Blank Cobs
If your ears look scraggly or have large sections of unfilled kernels, the cause is almost always pollination failure or drought stress during the critical silking period. Ask yourself: Did you have at least 3 to 4 rows planted in a block? Was there a heat wave or dry spell right around the time tassels appeared and silks emerged? Were your silks short, already browning before pollen was shed, or absent? Any of these points to a pollination timing mismatch. Next season, plant a larger block, prioritize irrigation during that two-week window, and consider staggering planting dates of the same variety by two weeks to extend your pollination window.
Pests and Disease Basics
- Corn earworm: The most common pest for home growers. Look for damage at the tip of the ear. A drop of mineral oil applied to the silk end just after silks start to brown can deter egg-laying. Otherwise, the damage is cosmetic and you can cut away the affected tip.
- Aphids: Can cluster on undersides of leaves or near the tassel. A strong spray of water knocks them off; serious infestations can be addressed with insecticidal soap.
- Common rust: Appears as small reddish-brown pustules on leaves. Usually not yield-limiting in home gardens. Plant resistant varieties if it's a recurring issue in your area.
- Smut (corn smut): Large gray-black galls on ears or stalks. Remove and bag any galls before they burst and release spores. Some cultures consider smut a delicacy; either way, pull it fast if you don't want it to spread.
- Nitrogen deficiency: Shows up as yellowing that starts at the leaf tips and moves down the center vein of lower leaves. Side-dress with nitrogen fertilizer if this appears during vegetative growth.
- Planting in cold soil: Increases vulnerability to seedling diseases significantly. This is a preventable problem: just wait for warm soil.
How to Use Videos Alongside This Guide
Videos are genuinely useful for corn growing because the plant gives you a lot of visual signals: what healthy seedlings look like, how tassel pollen sheds, what silks look like at different stages, and how to check kernel milk stage. Look for videos from university extension services (search the name of your state plus 'corn growing extension') because they tend to be grounded in real data rather than enthusiasm.
Rice farming uses a mix of technology, including seed selection, irrigation controls, and pest monitoring, and the amount can vary by farm and region how much technology is used to grow rice. When watching any corn-growing video, use these checkpoints to evaluate whether the advice applies to your situation: What hardiness zone or climate is the presenter in? Are they growing sweet corn or field corn? What's their plot size?
A video shot in Iowa for field corn at scale will have different spacing and timing advice than what works for a backyard block of sweet corn in Georgia.
The biggest gap in most corn-growing videos is the middle: they show you planting and then jump to harvest. The watering schedule during vegetative growth, the nitrogen side-dress timing, and the pollination window management are the parts that determine whether you get great ears or disappointing ones. Use this written guide specifically for those middle stages, and use video content for the visual confirmation of what each stage actually looks like. A future-focused approach to farming also looks at technologies that help you grow more consistently, like this computer will grow your food in the future this written guide specifically for those middle stages. Together, they cover what neither does alone.
FAQ
How do I time sweet corn harvest if I’m following a corn growing video?
Sweet corn is most consistently harvested at the “milk” stage, which is when kernels release milky white juice when pressed. If you’re trying to time it from a video, pause on the ear tip and compare silk browning: the silks should start drying and the husks should still look green. If the silks are fully brown for several days, the “sweet window” may already be closing.
Why does my corn not look ready when the video says it should be?
It can be, especially if the video is about field corn, which is left on the stalk much longer for dry, storable kernels. Use the product type first (sweet vs field), then match the described kernel test: sweet should be milky when punctured, field should be hard and mature near the dent stage. If the presenter mentions storage for grain or cornmeal, it’s likely field corn timing.
What should I do if corn emergence is slow or uneven, and I think I failed?
If your soil is barely warm enough at planting, seedlings can be delayed and still viable. Instead of replanting right away, re-check soil temperature at 4 inches and give it time for accumulated warmth (growing degree days). Also confirm seed depth consistency, because uneven depth can create staggered, uneven emergence even when conditions are right.
Can I still get good ears if I only have space for one row?
A common video mistake is planting a single row or a very narrow strip, which looks fine vegetatively but produces poor ear fill. Corn needs a block planting for wind pollination, aim for at least 3 rows side by side (4+ is better). If your plot is tiny, hand pollination can help, but it’s most effective when done in the morning during active pollen shedding.
How do I prevent my sweet corn varieties from turning less sweet?
Sweet corn cross-pollination is mainly a concern when you grow multiple varieties that are both shedding pollen at the same time. Staggering plantings by about two weeks of the same variety can extend your harvest, but if you’re separating standard and supersweet, keep flowering times apart (distance or different harvest windows). If they bloom together, sweetness can drop even if ears look full.
When is the best time to side-dress nitrogen on corn for better ear development?
Nitrogen side-dressing works best when plants are knee-high, roughly 12 to 18 inches tall, because that timing aligns with rapid vegetative growth that supports later ear development. If you side-dress too early, you can get lush leaf growth with weaker ear formation, and too late can miss the window when the plant is building the structure that will carry yield.
What’s the biggest weed-control mistake people make with corn?
Weed control is mostly critical early, around the first four to six weeks after planting, because young corn seedlings are slow and corn is a poor early competitor. A common error is waiting until the canopy closes to address weeds, but by then it may be too late. Stick to shallow cultivation between rows to avoid damaging widely spreading surface roots.
Why are my cobs showing blank spots, even though the plants look healthy?
If you see unfilled or “blank” patches, the cause is often pollination failure during silking, not later fertility problems. Check whether you had a block of 3 to 4+ rows, then look at conditions around tassel emergence to silking: heat and drought can make pollen shed sooner, delay silks, or dry silks before pollen arrives. Videos usually highlight the tassel and silk visuals, but not the timing mismatch, so match the dates to your weather.
Can I adapt corn spacing for raised beds without hurting yield?
Yes, but only if you follow a few safeguards. Plant seeds at the right soil temperature, keep moisture consistent, and make sure you still form a block. For small gardens, you can widen spacing slightly to fit beds, but don’t shrink row count below the block requirement, otherwise pollination will be the limiting factor.
If my corn patch is spotty, does that usually mean disease or pests?
Pests and diseases can be affected by timing, but the first “video vs reality” check should be environmental. Patchy germination is most often cold soil, poor seed-to-soil contact, inconsistent moisture, or inconsistent depth, rather than a disease outbreak. If your soil temperature was below recommended levels, adjust planting timing next season before spending money on treatments.
What’s the best way to store sweet corn after I harvest, especially in hot weather?
Refrigeration works best immediately, especially in hot weather above 86°F where quality can decline within a day or two. If you need longer storage, blanching for about 4 minutes, chilling fast in ice water, cutting kernels off the cob, and freezing them promptly is the more reliable method for preserving eating quality.
Next Article
How Many Bonemeal to Grow a Tree: Exact Amounts
Exact bonemeal amounts and how to apply by tree age, size, soil and planting method, plus overuse fixes.