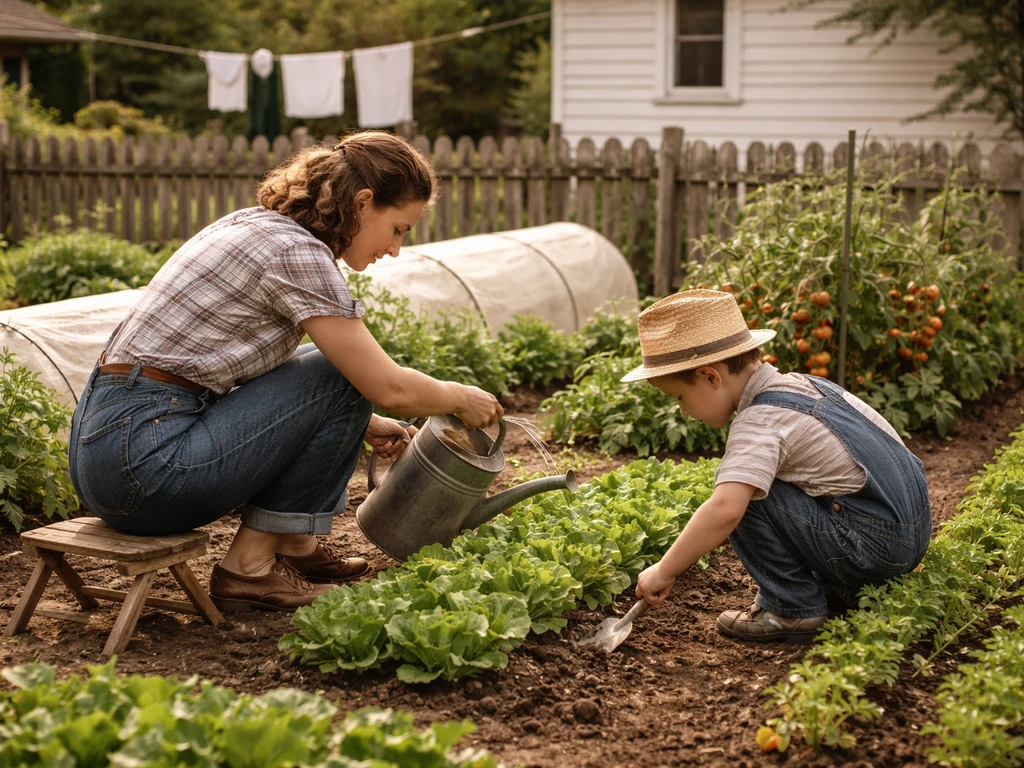
Egyptian farmers grew crops during the dry season by controlling when and how water reached their fields. The Nile did the heavy lifting once a year during the annual flood, saturating soils and depositing nutrient-rich silt. Then, once the water receded, farmers planted into that moisture and fertility, using canals, earthen basins, furrows, and lift devices like the shaduf to stretch water as far as the season allowed. The core lessons: match your planting window to your water supply, keep moisture in the ground as long as possible, feed your soil so it holds water well, and choose crops that actually fit the conditions you have.
What Helped Egyptian Farmers Grow Crops During the Dry Season

Marcus Hendrick
28 Apr 2026
How Egyptian dry-season farming actually worked
Ancient Egypt's farming calendar was built around three seasons tied to the Nile: Akhet (the inundation, roughly June through September), Peret (the growing/coming-forth season, October through February), and Shemu (the low-water harvest season, March through May). The dry season was not a time farmers tried to fight against. It was a window they worked within, timed carefully to what the river had already given them.
During Akhet, the Nile flooded its banks and covered the surrounding floodplain. Farmers directed that water into field basins, enclosed by earthen banks, where it would sit for roughly 45 days. This wasn't just about watering crops. The standing water saturated the soil deeply and deposited a fresh layer of silt every single year, which restored soil fertility without any external inputs. When the water drained away, fields were perfectly primed for planting: moist, loose, and newly fertilized.
A tool called the nilometer helped authorities measure the flood's height, which let them predict how productive the season would be and plan their water management accordingly. When the flood receded and direct inundation wasn't possible, farmers used the shaduf, a counterweighted lever device, to lift water from canals or the river itself up into higher fields. This meant irrigation continued beyond the flood pulse, extending the productive window into the dry season. The takeaway for modern growers: Egyptian success wasn't about having unlimited water. It was about reading the water cycle, capturing what was available, and making it last.
Irrigation methods worth borrowing for your garden
The three core irrigation layouts Egyptians used translate directly into tools any home gardener can replicate. Basin irrigation, furrow irrigation, and channel (canal) delivery are all still in use today, and they all share the same logic: get water to roots with as little waste as possible.
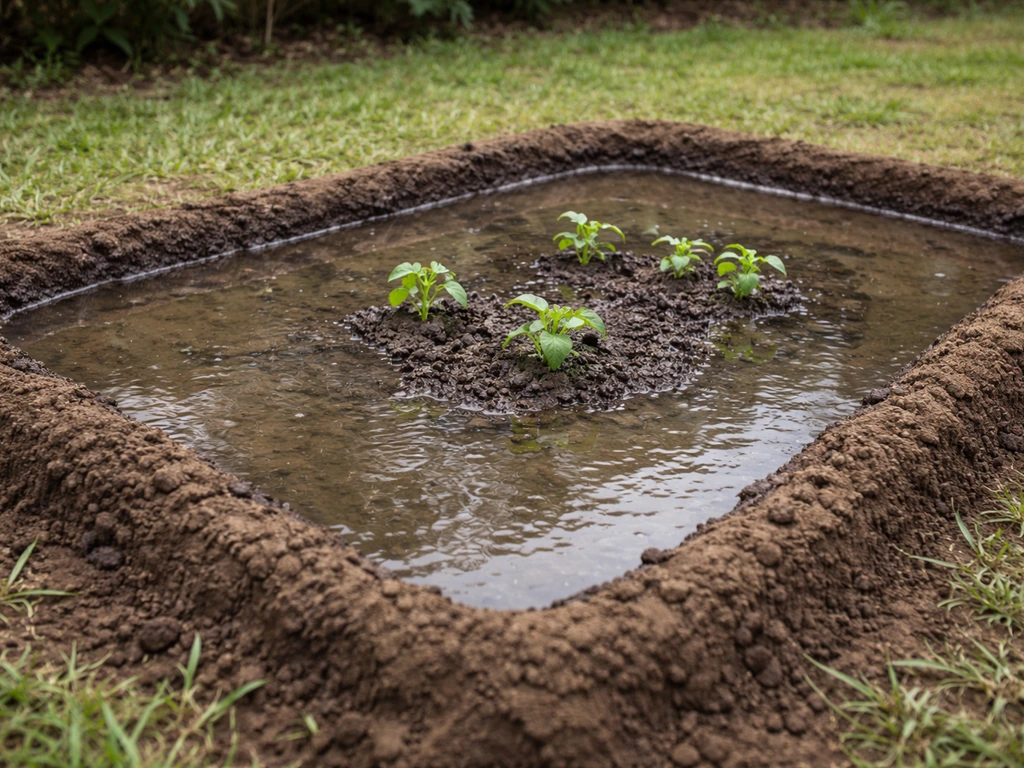
Basin irrigation at home
A basin is simply a flat planting area surrounded by a low earthen berm that holds water in place while it soaks in. You can do this in a raised bed or even in a level section of your backyard. Build a shallow ring of soil around your planting area, flood it with a hose or captured rainwater, let it sit until it drains in, and then plant. This method is especially effective in hot, dry climates where surface evaporation is a problem because the water goes down into the root zone before it has a chance to disappear.
Furrow irrigation for rows
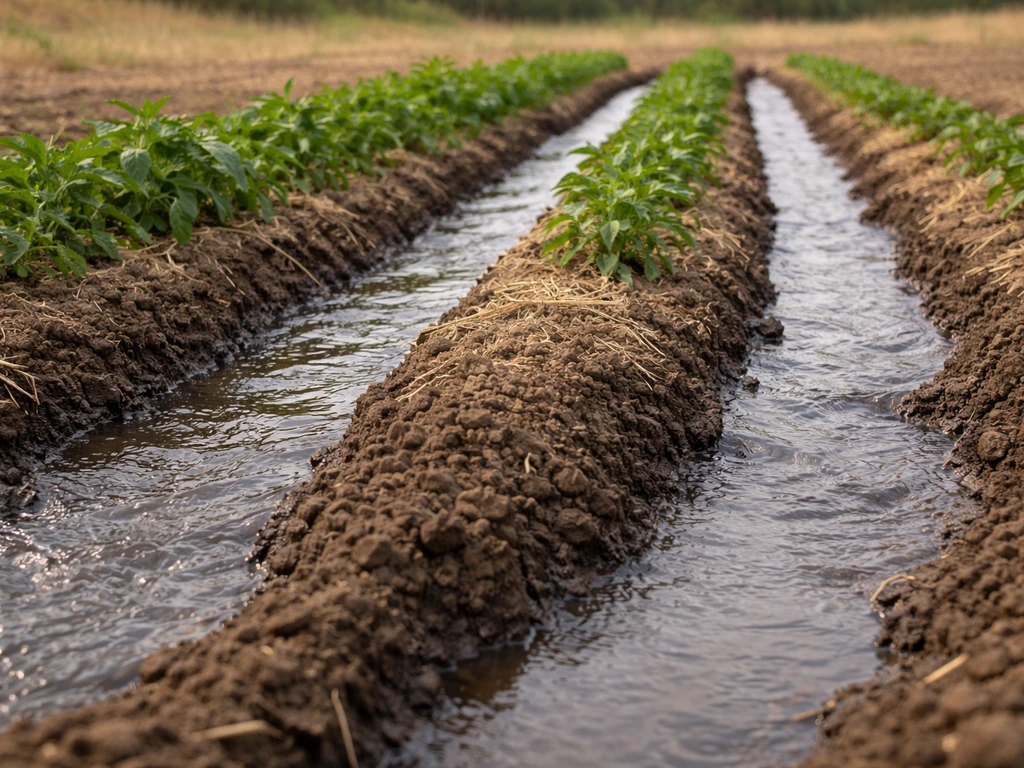
Furrow irrigation means planting on slightly raised rows and running water down the channels between them. It keeps water off the foliage (reducing disease pressure), concentrates moisture near roots, and lets you irrigate multiple rows at once. For home gardens, you can run a hose down a furrow or set up a soaker hose in each channel. Research on furrow systems shows that adding plastic or organic mulch over the furrow significantly increases water productivity by cutting evaporation, something that's cheap and easy to replicate in any home plot.
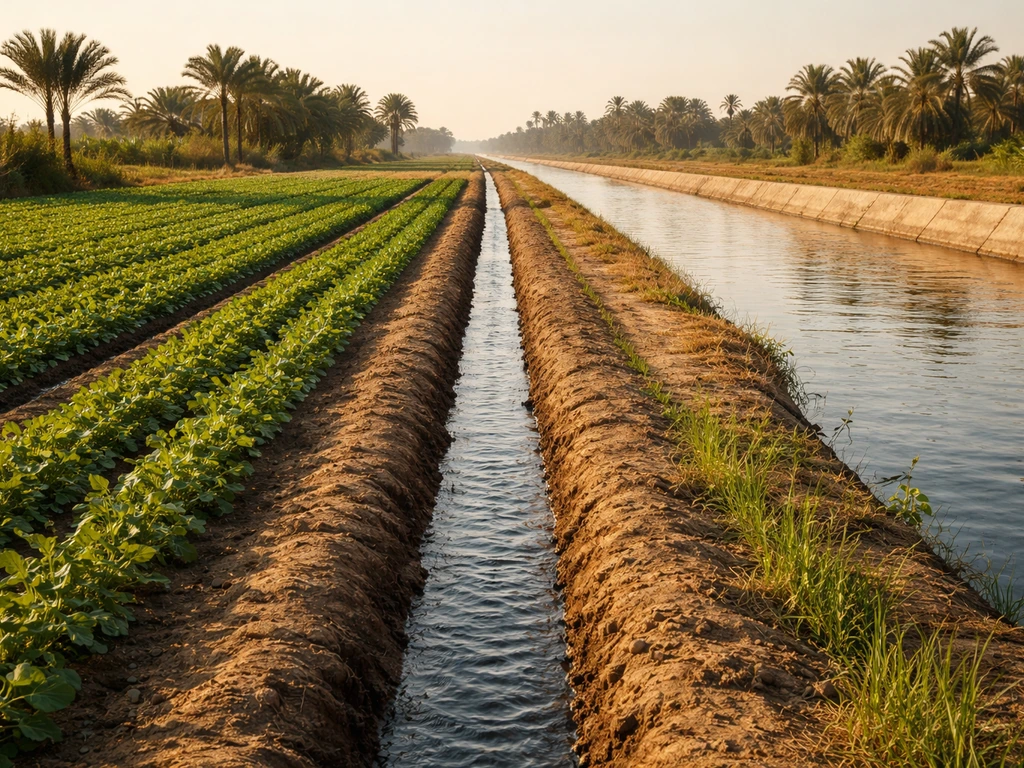
Channel and gravity delivery
Egyptian canals moved water from the Nile to individual fields using gravity. At home, this translates to positioning rain barrels, water tanks, or IBC totes uphill from your beds so gravity does the work for you. Even a 12-inch elevation advantage creates enough pressure to run a drip system without a pump. If you're serious about dry-season growing, capturing and storing water during wet periods to use later is one of the highest-leverage investments you can make.
Water-saving practices that actually work during dry spells
The Egyptians couldn't afford to waste water, and neither can most home gardeners operating off a hose, a rain barrel, or a well. Victory gardens became popular during World War II because many people wanted to grow their own food at home to help with shortages and reduce pressure on the food supply Egyptians couldn't afford to waste water. These practices make a real difference when water is limited.
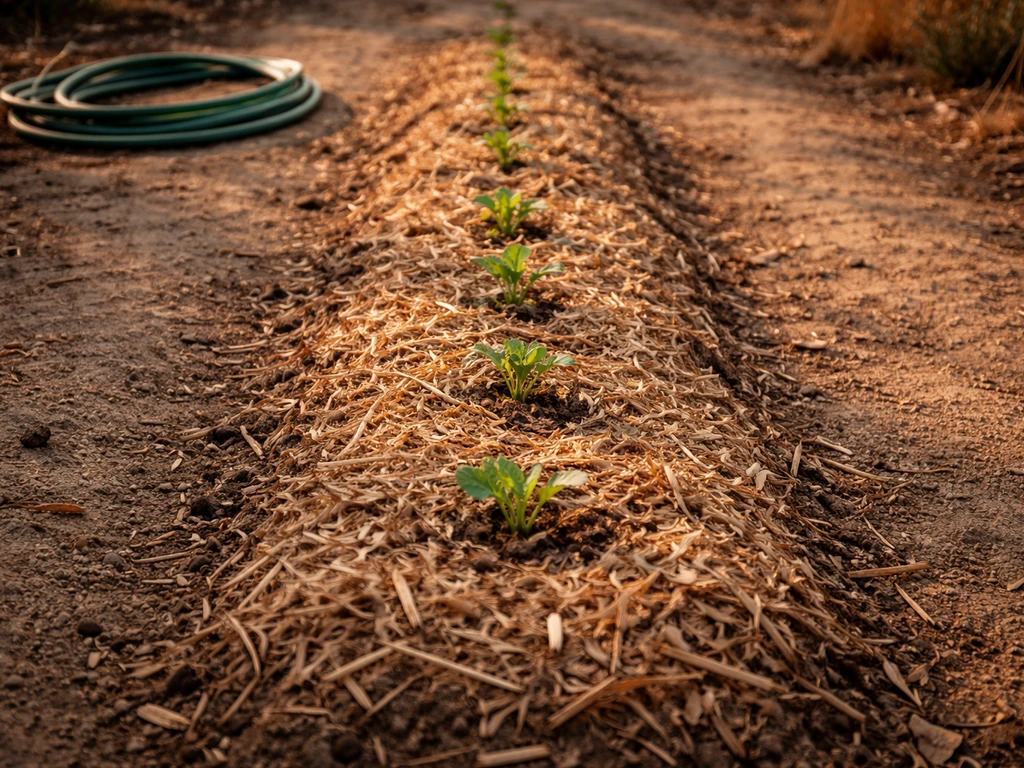
- Mulch everything: A 2 to 4 inch layer of straw, wood chips, shredded leaves, or crop residue on the soil surface dramatically slows evaporation. FAO irrigation guidance specifically calls out crop-residue mulch as an effective way to reduce evapotranspiration in irrigated systems. In a hot, dry period, mulch can cut your watering frequency nearly in half.
- Water early in the morning: Irrigating at dawn means the water soaks in before peak heat. Watering midday in summer can lose 20 to 30 percent of applied water to evaporation before it reaches roots.
- Use drip or soaker hoses instead of overhead sprinklers: Drip irrigation puts water directly at the root zone and keeps foliage dry. It's the closest modern equivalent to targeted Egyptian canal delivery.
- Schedule irrigation based on soil moisture, not a calendar: Stick your finger 2 to 3 inches into the soil. If it's dry at that depth, irrigate. If it's still moist, wait. More precisely, soil science tells us to irrigate when moisture drops below about 50 percent of field capacity and rehydrate back toward 85 percent. A cheap soil moisture meter does this for you.
- Water deeply but infrequently: Light, frequent watering encourages shallow roots. One good deep soak every few days builds deep root systems that handle dry spells far better than daily shallow sprinkles.
What to grow and when to plant for dry-season success
Egyptian farmers didn't try to grow anything they wanted at any time. They matched crop selection tightly to the conditions the season actually offered. Their post-flood planting window (Peret, roughly October through February) supported wheat, barley, lentils, chickpeas, and flax. These are cool-season crops that tolerate low rainfall and relatively dry air, which is exactly what you should be targeting in your own dry-season planning. If you're curious why do farmers grow gourds specifically, it comes down to choosing warm, relatively dry-friendly crops and managing moisture so they keep fruiting. If you are wondering why do people grow gourds, it is because they thrive in warm, relatively dry conditions and still fruit well when you manage moisture carefully. Chengi grew vegetables by timing planting to the dry-season conditions and using water-smart methods to keep plants supplied why did chengi grow vegetables.
For modern home gardeners in hot, dry climates or facing summer drought, this means shifting your heavy-irrigation crops (tomatoes, cucumbers, squash) to seasons when rainfall helps carry the load, and leaning into the dry season with crops that actually prefer drier conditions. Legumes like lentils, chickpeas, and cowpeas are standouts. Grains like wheat and barley can be grown on surprisingly little water once established. Root vegetables like carrots, beets, and turnips handle dry spells well because their roots chase moisture deep into the soil.
| Crop | Water needs | Best dry-season timing | Notes |
|---|---|---|---|
| Wheat/barley | Low once established | Fall planting, spring harvest | Drought-tolerant after germination; minimal irrigation needed |
| Lentils | Low to moderate | Fall or early spring | Fix their own nitrogen; handle dry conditions well |
| Chickpeas | Low | Fall planting in warm climates | Very drought-tolerant; one of Egypt's core dry-season crops |
| Carrots | Moderate | Late summer/fall for winter harvest | Deep roots find their own moisture; minimal surface watering |
| Beets/turnips | Moderate | Late summer/fall | Grow fast; escape peak heat and drought stress |
| Cowpeas | Low | Late spring into summer | Heat and drought tolerant; great summer dry-season option |
Keeping your soil fertile without a Nile flood
The annual Nile flood was a free fertility delivery service. Every year, floodwaters deposited a fresh layer of silt loaded with minerals and organic matter, which is why Nile Valley soils farmed continuously for thousands of years without ever needing to fallow. You don't have that advantage. But you can replicate the outcome with the tools you do have.
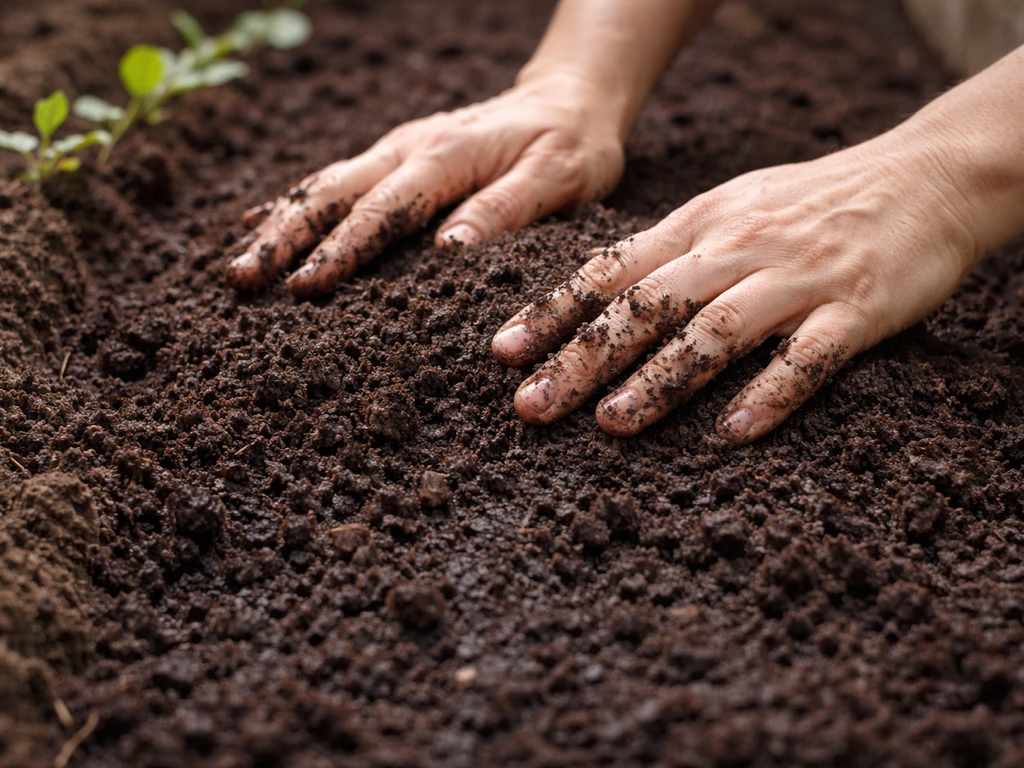
Compost is your substitute for silt. Apply 2 to 4 inches of finished compost to your beds each season, either worked in lightly before planting or used as a top-dress mulch. Composted manure works even better for heavy feeders because it adds both nutrients and organic matter. Historical records indicate that ancient Egyptians also used manure and compost-like organic inputs to support soil fertility, so this isn't even a departure from their methods. It's the same logic applied without the river.
Soil structure matters as much as fertility in dry-season growing. Soils high in organic matter hold more water, drain better, and resist crusting. In practical terms, this means every season you skip amending your soil is a season your beds hold less water per irrigation event. The Nile silt kept Egyptian soils loose and moisture-retentive. Compost does the same job for you. Think of it as your annual silt deposit. Don't skip it.
If you're growing dry-season legumes like lentils or chickpeas, you get a bonus: those plants fix atmospheric nitrogen into the soil. Plant them in rotation with heavier feeders and you reduce your fertilizer needs over time, which is exactly the kind of low-input, high-efficiency approach that made Egyptian agriculture so durable.
Setting up your modern 'Egypt-style' dry-season system
You don't need land along a river to borrow these strategies. Here's how the approach scales depending on what you're working with.
| Setup | Best for | Irrigation method | Key tip |
|---|---|---|---|
| Containers on a patio | Apartment or small-space growers | Drip emitters or hand watering with saucers | Use self-watering containers with reservoirs to mimic basin saturation; mulch the top with gravel or straw |
| Raised beds | Most home gardeners | Soaker hose or drip tape | Build basins by leaving a 2-inch lip around the perimeter; top-dress with compost every season |
| In-ground plots | Homesteaders with more space | Furrow irrigation or drip tape | Create actual furrows between rows; use gravity-fed tank if possible; mulch furrow floors to cut evaporation |
| Small farm or large home lot | Serious food growers | Drip irrigation from a gravity tank or pump | Capture rainwater in IBC totes; run drip lines from elevation; rotate legumes annually for fertility |
Whatever your setup, the most important thing is to start with water capture and storage. Even two 55-gallon rain barrels give you over 100 gallons of free water to deploy during dry spells. Position them to feed beds by gravity and you've replicated, in miniature, the core logic of Egyptian canal irrigation.
Common failures and how to fix them
Salt buildup in the soil
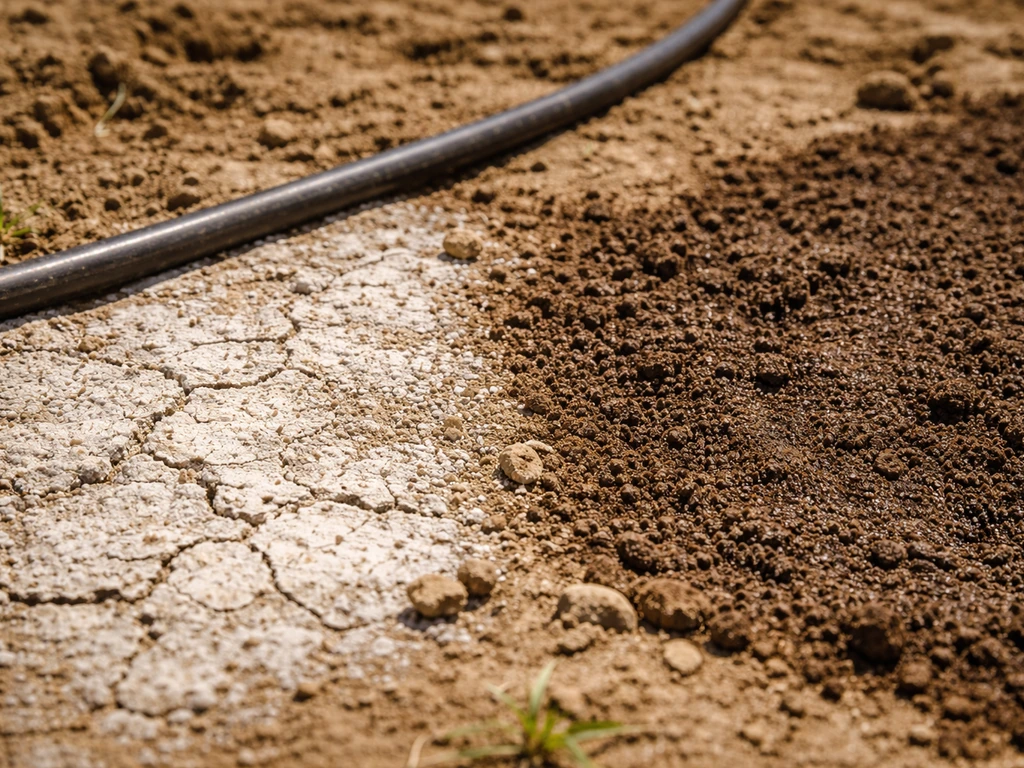
This is the silent killer in any arid irrigation system. When water evaporates, it leaves behind dissolved minerals. Over time, in hot dry climates, salts accumulate to levels that stress or kill plants. Ancient Egyptian basin irrigation actually managed this by periodically flooding fields heavily enough to flush salts downward. Britannica explains that salt buildup in soils is carried by water and that removing salt requires flushing or leaching with non-saline water flush salts downward with non-saline water. You need to do the same. If your plants show yellowing, leaf edge burn, or stunted growth that doesn't respond to fertilizer, test your soil's electrical conductivity (EC) using a soil lab's saturated paste extract test. If EC is elevated, apply a deep, slow soak well beyond your normal irrigation to push salts below the root zone. Then retest before the next season.
Losing too much water to evaporation
If you're watering overhead in the middle of the day during a hot spell, you're wasting a significant portion of your water before it reaches roots. Switch to drip or soaker irrigation, water in the early morning only, and mulch your beds. These three changes together can cut your water use by 40 to 50 percent without changing your crop choices at all.
Wrong crop timing
Planting summer crops in the wrong window is the most common dry-season mistake. If you're trying to grow tomatoes and peppers during your hottest, driest months with limited water, you're fighting the conditions instead of working with them. Growing the right crops for the dry-season conditions is important because it reduces stress, improves yields, and helps you use limited water more effectively. Shift water-demanding crops to seasons when rainfall helps, and use the dry season for legumes, root crops, and grains that are built for those conditions. Egyptian farmers understood this intuitively. Their calendar was built around it.
Overwatering and root rot
Counterintuitively, overwatering is as common a problem as underwatering in dry-season gardens. Growers panic when they see stressed plants and water more, but waterlogged roots suffocate just as surely as dry ones. Always check soil moisture before irrigating. If the top 2 to 3 inches are still moist, skip the watering that day. Your plants will be healthier and you'll conserve water at the same time.
Skipping soil prep
Going into a dry season with compacted, low-organic-matter soil is setting yourself up for failure. Compacted soil sheds water instead of holding it. Add your compost before the dry season starts, work it in lightly, and mulch the surface. This single step changes how efficiently every gallon of water you apply actually does its job. Egyptian silt did this automatically. You have to build it intentionally.
The bigger picture here is that Egyptian dry-season farming worked because it was a system, not a single trick. Water timing, soil fertility, crop selection, and field layout all reinforced each other. The same is true today. Nail the timing, protect your soil moisture, feed the soil with organic matter, choose crops that fit the season, and fix salinity and drainage problems before they compound. Get those things right and you can grow food through a dry season reliably, whether you're farming along a river or managing raised beds in your backyard. Greenhouses help create more predictable, controlled growing conditions, which is one reason farmers can raise many fruits and vegetables even when outdoor weather is less favorable why do farmers grow many fruits and vegetables in greenhouse.
FAQ
How can I tell if my soil moisture strategy is working during the dry season?
Track soil moisture at two depths (for example, 5 cm and 15 cm) and only irrigate when the deeper layer starts to drop. If plants wilt even when the top few centimeters feel dry, that usually means the root zone has already emptied, so you need deeper irrigation (less frequent, longer) rather than more frequent light watering.
What’s the best way to irrigate if I only have captured water (rain barrel or tote), not an unlimited hose supply?
Use a gravity-fed drip or soaker line with a timer, then prioritize smaller, high-value beds first. Run water at dawn to reduce losses, and consider staging storage (multiple containers) so you do not empty everything on one day and then leave beds dry for several days.
Can I combine Egyptian-style basin or furrow watering with modern mulch and drip without wasting water?
Yes, but avoid pairing drip with a shallow basin that never fully drains. For basins, let them soak and then drain back, then rely on mulch to hold moisture. For drip, keep emissions close to the root zone and use mulch to reduce surface evaporation, drip scheduling should reflect how fast your soil dries, not just the calendar.
How do I prevent soil from salting up if my water source is salty (well water or brackish supply)?
If you cannot flush salts with periodic deep soaks, reduce concentration by applying smaller amounts more evenly (so you do not repeatedly concentrate salts at the surface) and add organic matter to improve infiltration. Regularly test soil electrical conductivity (EC) and, when EC rises, run an intentional deep soak to move salts below the active root zone.
What drainage problem should I watch for if I’m mimicking basin irrigation at home?
If plants stall after a basin irrigation cycle, or you see a sour smell, persistent soggy spots, or crusting, drainage is too slow. Improve drainage by loosening compacted layers before building basins, using compost in the topsoil only, and ensuring berms are not trapping water indefinitely.
How often should I reapply compost during dry-season cultivation?
A practical target is one seasonal application (about 2 to 4 inches) plus a lighter top-dress before flowering for heavy feeders. Compost helps moisture retention, but too-thick layers can slow drying and invite crusting, so aim for even coverage and mulch over it rather than piling.
Do legumes like chickpeas and lentils always reduce fertilizer needs in dry-season conditions?
They often help, but only if nodulation is successful. In dry soils, the biggest limiter can be inadequate early moisture for seedlings, not nitrogen availability. Keep the first establishment phase evenly moist (within your dry-season limits) and rotate crops, then reassess fertilizer needs based on growth and soil test results.
What dry-season crop choice mistakes cause the most failure?
Two common ones are using a warm-season crop in the hottest driest window and planting at the wrong time for your local water availability. Another mistake is choosing drought-tolerant varieties but irrigating them like cool-season crops, in other words frequent shallow watering that keeps roots near the surface where it dries fastest.
Is overwatering really a risk even when it’s very dry outside?
Yes, water stress can look similar to waterlogging stress. If the top 2 to 3 inches are still moist, skip the irrigation. Also watch for symptoms like yellowing plus limp growth, and check soil texture, sandy soils dry quickly, clay soils can stay waterlogged longer.
How should I adjust Egyptian-inspired irrigation if my garden is on a slope?
Gravity-fed systems still work, but you need to direct flow so basins do not drain out of place and furrows do not unevenly receive water. Use contour beds for basins, run furrows with the slope in mind, and consider short sections with check dams or small berms to distribute water evenly.
What’s the simplest way to copy Egyptian ‘water management’ without complex tools?
Start with three habits: capture water in storage, irrigate early morning with drip or soaker, and keep soil covered with mulch. Then add one improvement at a time, if your yields are not improving, test salinity and soil moisture deeper in the root zone before changing crops again.
Next Article
Why Did People Grow Victory Gardens in WWII and How
Learn why WWII Americans grew victory gardens and how government support shaped practical, space-saving home food growin