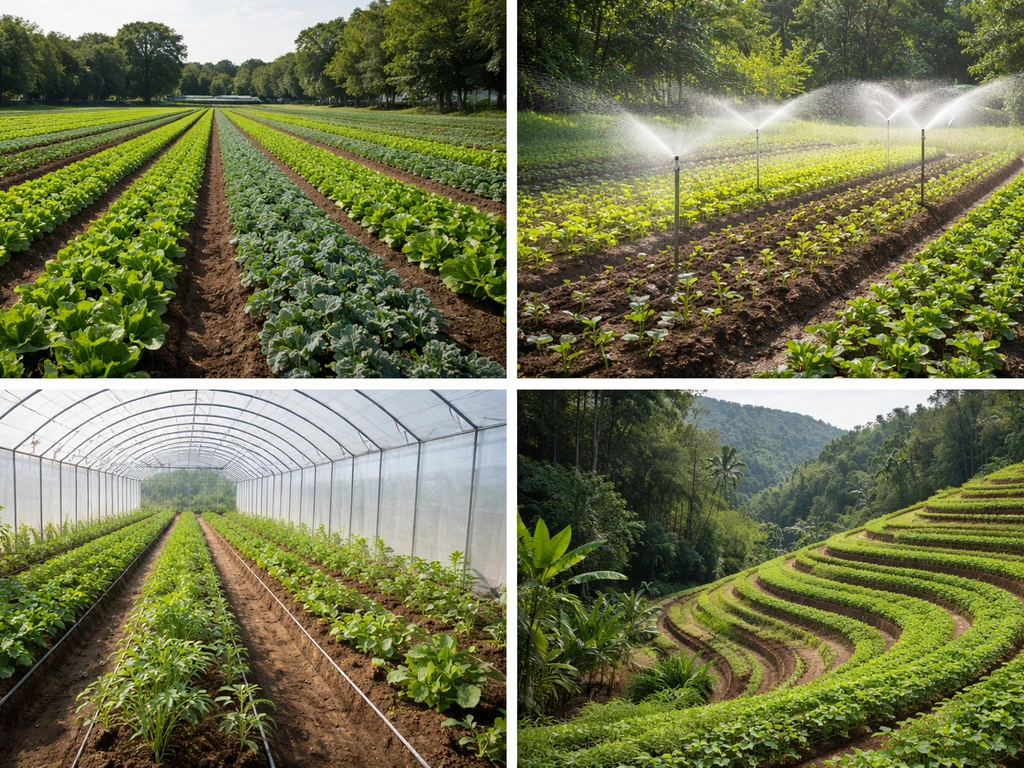
Yes, you can grow crops in constrained, limited, or 'end' conditions. Whether that means a tiny balcony, an indoor setup under grow lights, a survival scenario with minimal resources, or simply a small patch at the edge of your property, edible crops are absolutely achievable. The honest answer is: not every crop will work, but a surprising number will, and if you choose the right ones and set things up correctly, you can produce real, meaningful food even in the most restricted situations. Crops grow well when they are matched to the space, given the right soil and water, and supported by consistent light.
Can You Grow Crops in the End? Yes With the Right Setup

Marcus Hendrick
20 Apr 2026
What 'the end' actually means for growing food
Before getting into specifics, it helps to clarify what 'the end' means in a gardening context, because it points to very different setups. For most home gardeners and self-sufficiency readers, it usually means one of three things: extremely limited space (a balcony, patio, doorstep, or sunny windowsill), constrained resources (no yard, poor soil, limited water, or a tight budget), or a survivalist 'end-times' mindset where you need to grow food with whatever you have on hand if normal supply chains break down.
All three of these scenarios share the same core challenge: you need maximum food output from minimum inputs. The good news is that extension research and real-world container gardening have proven this is genuinely possible. A windowsill, porch, balcony, or doorstep can all support a productive container garden, as long as crop selection matches the space. The strategies that follow work for all three interpretations of 'the end.'
Can crops actually grow in limited space? A practical reality check
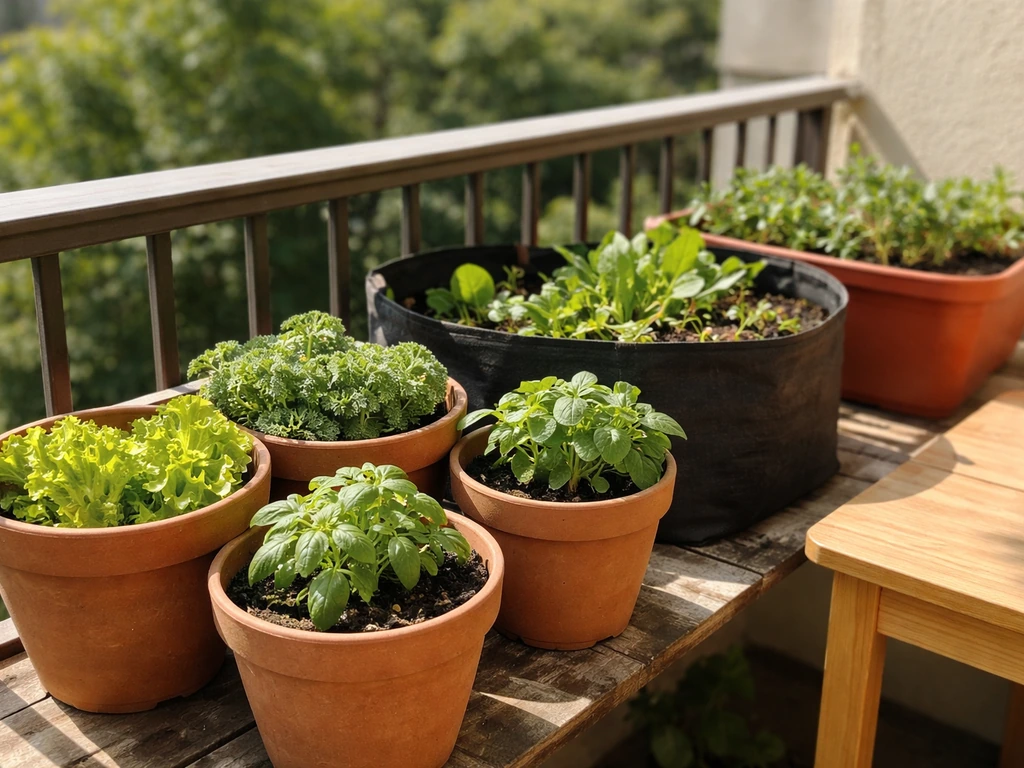
The short answer is yes, with conditions. Container gardening on a patio, porch, balcony, or even a sunny windowsill is genuinely feasible. That said, you have to be realistic about what works and what doesn't. Large crops like corn are simply not practical in a balcony or container setup. Crops that need sprawling root space, heavy pollination infrastructure, or long growing seasons under full sun are going to struggle or fail outright in confined conditions.
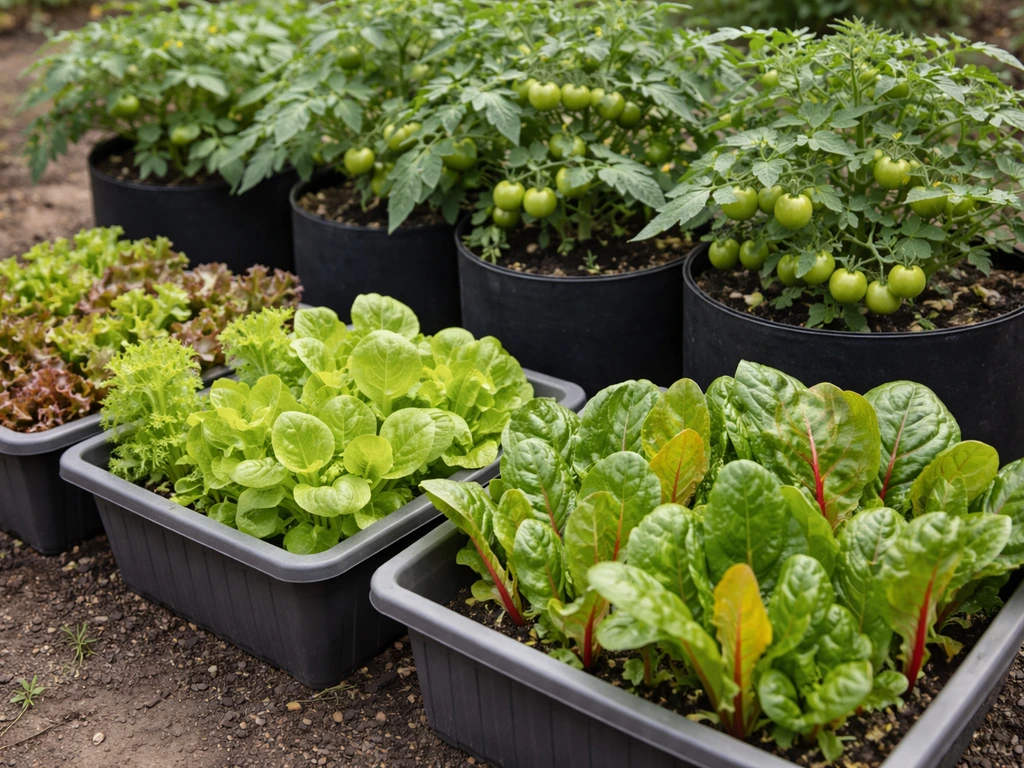
But that still leaves a wide range of vegetables and herbs that perform very well. Salad greens, radishes, beets, chard, beans, peppers, tomatoes (especially compact varieties), cucumbers, eggplant, and squash are all solid container performers. Microgreens can be harvested in as little as 7 to 21 days depending on the variety. Strawberries, particularly day-neutral types, can even flower shortly after establishment and yield a harvest within about two months of planting. So the realistic picture is: your crop list gets shorter in constrained conditions, but it is far from empty.
One thing worth acknowledging: if your goal is complete food self-sufficiency from a small balcony alone, you will hit real limits. But if the goal is meaningful supplemental food production, fresh greens, herbs, and vegetables that reduce your grocery bill and increase your food security, a constrained setup can do that consistently. Understanding that trade-off upfront saves a lot of frustration.
The best crops for end conditions
Choosing the right crops is the single biggest lever you have in a constrained setup. Focus on fast-growing, compact, high-yield-per-square-foot options first. Here is how I would prioritize them.
Fast-growing crops (harvest in weeks, not months)
- Microgreens: ready in 7–21 days, grown in trays indoors with minimal space
- Radishes: typically ready in 25–30 days, easy in containers or small beds
- Spinach and lettuce: harvestable as baby greens in 3–4 weeks; full heads in 6–8 weeks
- Cilantro and other fast herbs: cuttable within 3–4 weeks of germination
Reliable container staples (medium timeline, high value)
- Salad greens and chard: productive in shallow containers, tolerant of partial shade
- Tomatoes (compact/determinate varieties): need at least a 5-gallon container and full sun
- Peppers and eggplant: do well in containers with 6+ hours of sunlight
- Beans (bush variety): container-friendly, no staking needed, harvest in 50–60 days
- Beets and carrots (short varieties): work in deeper containers, 8–12 inches minimum
- Cucumbers (bush types): manageable in larger containers with a small trellis
Hardy crops for survival or cold-season growing
- Kale and collards: cold-tolerant, nutrient-dense, and productive over a long season
- Turnips and mustard greens: prefer slightly acidic to neutral soil (pH 5.5–6.8), grow quickly
- Spinach: can overwinter in a low tunnel or under row cover in many climates
- Day-neutral strawberries: grow well between 45°F and 85°F, container-friendly, produce over a long season
Crops to skip in truly constrained conditions include corn, melons, large sprawling squash, sweet potatoes, and standard potatoes. These are not impossible but they demand too much space, root depth, or infrastructure to justify the effort when space is the limiting factor.
Soil, nutrients, and water in a constrained setup
Getting the soil right
[Container gardening requires a lightweight potting mix, not garden soil dug up from the yard. ](https://content. ces. ncsu.
edu/extension-gardener-handbook/18-plants-grown-in-containers) Garden soil compacts in containers, restricts roots, and drains poorly. A quality bagged potting mix is the baseline. For vegetable growing, target a soil pH between 6. 0 and 6.
5 for most crops. Leaf lettuce, spinach, and kale all do best around pH 6. 5. The problem with many standard peat-based potting mixes is they tend to run acidic, sometimes as low as pH 4.
0–5. 0, so if you are buying a basic mix, a simple soil test will tell you if you need to adjust upward with lime. Adding compost to your mix (up to 50% by volume) is a great move: it improves moisture retention, adds slow-release nutrients, and improves drainage. Adding bark or compost to your mix also helps hold moisture in containers, which tends to dry out faster than in-ground beds.
Feeding your plants
If your potting mix already contains added fertilizer, most vegetable plants will have adequate nutrition for about 8–10 weeks. After that, you will need to supplement. If your mix contains 50% compost, reduce your fertilizer rate by half and hold off on applying fertilizer until plants are actively growing. For constrained or survival setups, liquid fertilizers (fish emulsion, compost tea) are versatile and easy to apply. Watch for yellowing leaves: yellow older leaves often signal nitrogen or magnesium deficiency, while yellow younger leaves can point to potassium issues or overwatering.
Water management
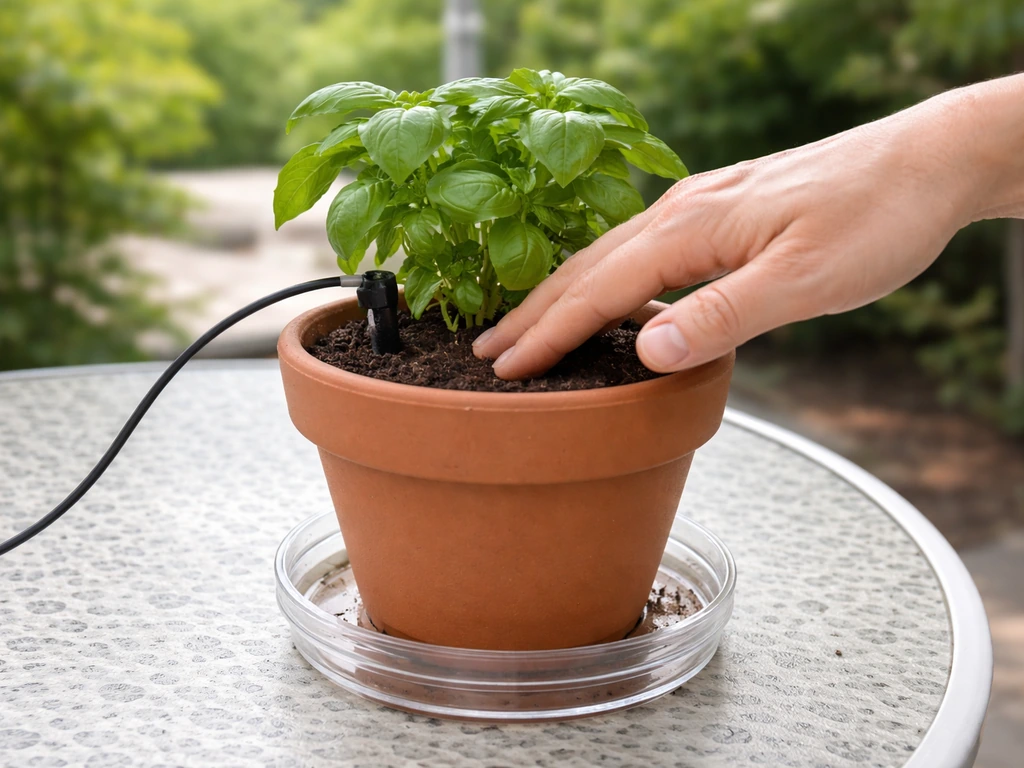
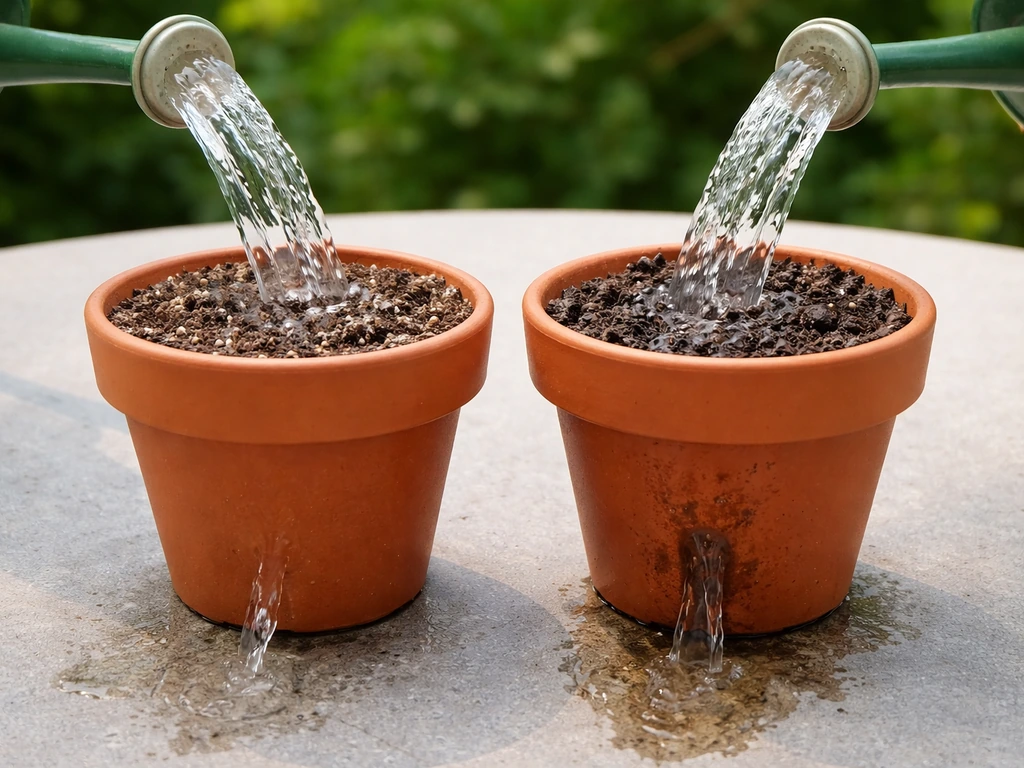
Water is where most container gardeners struggle, and where constrained setups are most vulnerable. The water in a container is the only water your plants can access, so monitoring moisture is non-negotiable. The best practical test: stick your finger 2–3 inches into the soil. If it is still moist, hold off.
If it is dry at that depth, water thoroughly until water runs out the bottom of the container. That runout confirms the entire root zone got saturated, not just the top layer. Self-watering containers (which use a reservoir under the planting zone) are a great option if you cannot check plants daily. They function as a hybrid between hydroponic and conventional container growing and reduce the risk of both over- and under-watering significantly.
Lighting and temperature: what actually limits you
Natural light requirements
Most vegetables need at least 6 hours of direct sunlight per day to produce well. This is the biggest limiting factor for balcony and indoor setups. If your space gets full sun for 6 hours or more, you can grow almost everything on the recommended crop list above. If you are working with 4–6 hours of dappled or indirect light, stick to leafy greens, herbs, and cool-season crops like spinach, lettuce, kale, and chard. These are more forgiving of reduced light than fruiting crops like tomatoes and peppers.
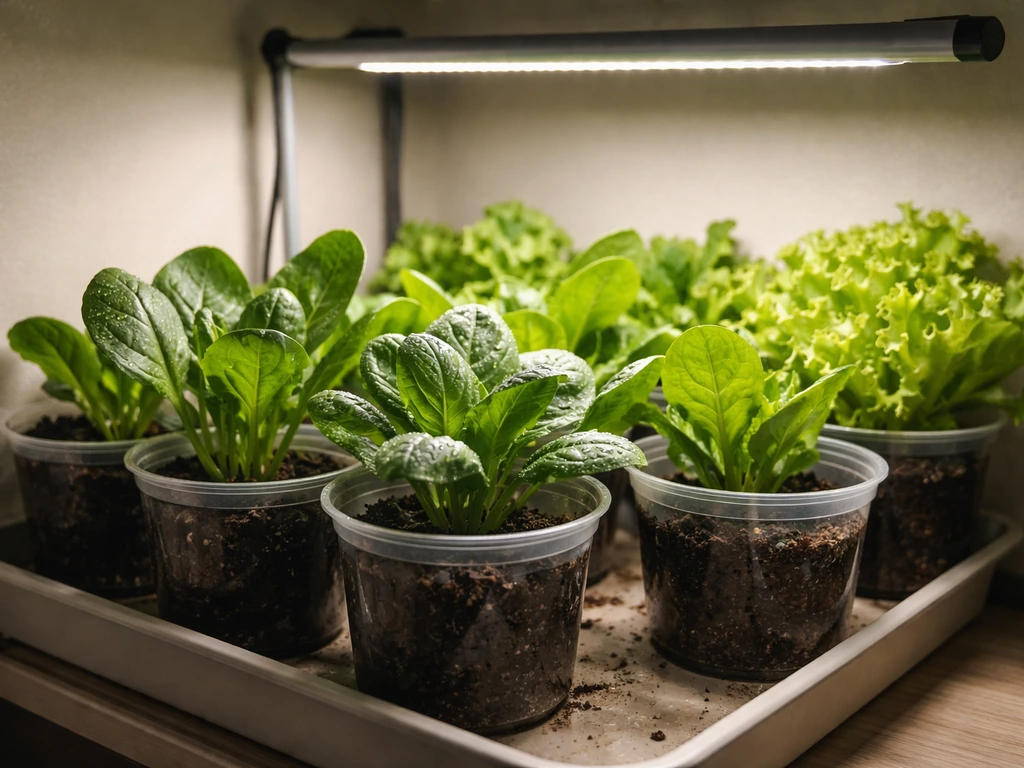
Grow lights for indoor or low-light setups
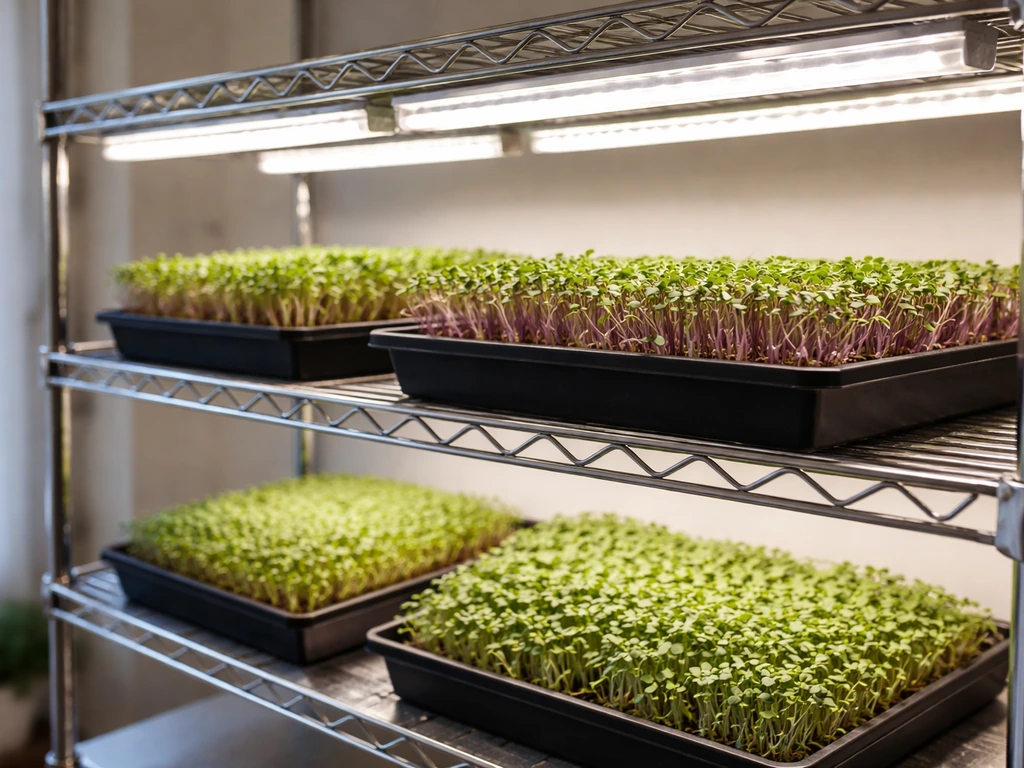
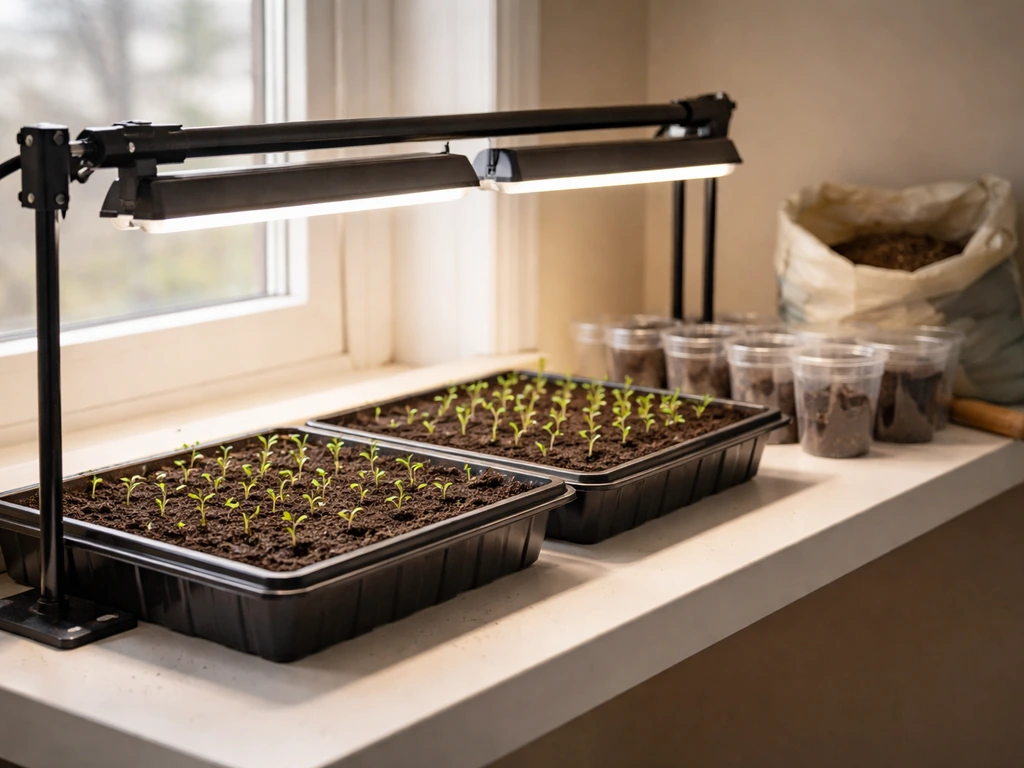
If natural light is not sufficient, LED grow lights are the most practical and affordable solution available today. For microgreens and leafy greens, even a basic full-spectrum LED panel provides enough light intensity for good germination and growth. For fruiting crops indoors, you will need higher-intensity lights positioned closer to the canopy, usually 6–18 inches depending on the fixture. The key limitation is electricity cost and the fact that seedlings without adequate light get leggy (tall, thin, weak stems), which is a sign the light source is too weak or too far away. If you see leggy seedlings, move the light closer or increase hours to 14–16 per day.
Cold and frost protection
If you are growing in a survival or season-extension context, row covers and low tunnels are your best tools. A lightweight row cover (around 0. 45 oz per square yard) provides about 2°F of frost protection and can stay on cool-season crops like beets, snap beans, and salad greens from seeding all the way to harvest. Medium-weight row covers (0.
5–1. NC State Extension describes typical medium row cover weights as 0. 5 to 1. 25 oz per square yard, and says spunbonded row covers in that range provide about 2, 4°F frost protection in spring [Medium-weight row covers (0.
5–1. 25 oz per square yard) give 2–4°F of protection](https://growingsmallfarms. ces. ncsu.
edu/growingsmallfarms-seasonextension-intro/). 25 oz per square yard) give 2–4°F of protection and work well over crops like lettuces, peas, carrots, and radishes in early spring or late fall. For winter carrying, a simple poly low tunnel can keep spinach and cilantro alive and productive through the coldest months in most climates. Cole crops, leafy greens, tomatoes, peppers, eggplant, and peas all respond well to row cover protection.
A step-by-step setup you can do today
- Assess your light first. Stand in your space at midday and count honest sunlight hours. This determines whether you are growing fruiting crops, leafy crops, or need supplemental lighting.
- Choose your containers or beds. For a balcony or patio, use at least 5-gallon containers for tomatoes and peppers, 3-gallon for smaller plants, and standard seed trays for microgreens. If you have any ground space, even a 4x4-foot raised bed made from lumber or cinder blocks dramatically expands your options.
- Fill with a quality lightweight potting mix. Add compost up to 50% of the total volume. If your mix is peat-based, consider a light lime amendment to bring pH up toward 6.0–6.5.
- Plant fast crops first for immediate results. Start radishes, salad greens, or microgreens immediately. These give you harvests in 2–6 weeks and build confidence while slower crops establish.
- Add your main-season crops. Transplant tomato, pepper, or eggplant starts into large containers once nighttime temperatures are reliably above 50°F. Direct-sow beans, beets, chard, and carrots at the same time.
- Set a watering routine. Check soil moisture daily with the finger test. Water thoroughly when the top 2–3 inches are dry. Consider self-watering containers for any plants you cannot check daily.
- Use succession planting. As fast crops like radishes or lettuce finish, pull them and replant the same container with the next crop. This keeps your space continuously productive rather than sitting empty.
- Add row cover or a low tunnel for season extension. If you are pushing into early spring or late fall, a simple row cover over containers or beds can add weeks to your productive season.
A simple starting layout
| Container/Space | Crop | Days to Harvest | Notes |
|---|---|---|---|
| Seed tray (indoors) | Microgreens (radish, sunflower, pea) | 7–21 days | No outdoor space needed; rotate trays continuously |
| 3-gallon pot | Leaf lettuce or spinach | 30–45 days | Tolerates 4–6 hrs light; great for windowsill |
| 3-gallon pot | Radishes or beets | 25–55 days | Fast turnaround; replant immediately after harvest |
| 5-gallon pot | Bush beans or chard | 50–60 days | Full sun preferred; compact and productive |
| 5+ gallon pot | Compact tomato or pepper | 60–80 days | Needs 6+ hrs sun; stake or cage early |
| Window box or tray | Herbs (basil, cilantro, parsley) | 21–30 days to first cut | Harvest continually; replant cilantro every 3 weeks |
Realistic yields, common problems, and what to do next
What to expect from your setup
Be honest with yourself about yield expectations. A single 5-gallon tomato container might give you 5–10 pounds of tomatoes over a season if conditions are good. A 3-gallon pot of lettuce can produce several cut-and-come-again harvests over 6–8 weeks. A continuous rotation of microgreens trays can supply fresh greens almost daily. This is not enough to replace a grocery store entirely from a balcony, but it is real, meaningful food production. For a survivalist setup, leafy greens and fast-cycling crops provide the most calories and nutrition per square foot per week, so prioritize those over anything with a long, slow maturation window.
Troubleshooting the most common problems
- Leggy seedlings: the light source is too weak or too far away. Move it closer (6–12 inches for most LED panels) or increase daily light hours to 14–16.
- Yellow leaves: check nitrogen first (older leaves yellow from the bottom up), then look at watering habits. Both overwatering and underwatering cause yellowing. Do the finger test before every watering.
- Powdery mildew: white powdery coating on leaves. Improve air circulation, plant in full sun where possible, and treat mild infections with diluted neem oil or horticultural oil. Remove heavily affected leaves.
- Aphids: clusters of small insects on new growth. Knock them off with a strong spray of water. Repeat daily for several days. For persistent infestations, use insecticidal soap, making sure to coat the insects directly.
- Slow or no germination: soil is too cold or too dry. Most vegetable seeds germinate best between 65°F and 75°F. Use a heat mat for indoor starting and keep the seed tray consistently moist but not waterlogged.
- Wilting despite watering: check drainage. If water is not exiting the container bottom, roots may be sitting in saturated soil and beginning to rot. Make sure drainage holes are clear.
Your next steps based on your situation
If you have a sunny balcony or patio right now, start with containers today. Get a bag of potting mix, a few 3- and 5-gallon pots, and a seed packet of salad greens or radishes. You will have your first harvest within a month. If you are dealing with low light, start with a basic LED grow light and microgreens trays indoors.
From there, expand to lettuce and herbs as you get comfortable with the setup. If you are approaching this from a self-sufficiency or survival standpoint, focus your energy on crops that cycle fast and can be succession-planted continuously: greens, radishes, beans, and beets. Add row covers and low tunnels so you can extend your season at both ends.
And as your confidence grows, explore what other food-growing approaches might fit your space, from raised beds to more intensive methods, because the skills you build in a constrained container setup transfer directly to larger production.
The biggest mistake people make in constrained-condition growing is waiting for perfect conditions. You do not need a yard, ideal soil, or a full growing season to start. You need the right crop for the space you have, the basics of container soil and water management, and the willingness to learn as you go. who grow crops in the field who grow crops in the field; also consider people who grow crops in the field.
That is genuinely all it takes to grow real food in even the most limited conditions. If you want a field-style result, who grow crops in the field can still use these same principles to choose the right crops for their space and season. Compared with balcony or indoor growing, who grow crops in the field can be a useful comparison point for planning crop spacing and seasonal expectations.
If you want a field-style result, who grow crops in the field can still use these same principles to choose the right crops for their space and season were farmers and we grow it. If you are also wondering how to approach grains in the same end-condition mindset, who grow grains is a related option to consider alongside container crops.
If you choose crops grow well when they are matched to your exact space and constraints, your odds of getting steady harvests rise a lot. If you choose crops grow well when they are matched to your exact space and constraints, your odds of getting steady harvests rise a lot.
FAQ
Can you grow crops in the end on a balcony that gets windy or very hot?
Yes, but you need a plan for wind, heat, and pollination. Use a sturdy rack, put containers on weights or a fixed base, and choose compact, self-pollinating types (many patio tomatoes and peppers are). For fruiting indoors or in low wind areas, gently shake the plant or tap the trellis daily during flowering to improve set.
If space is tiny, what’s the best way to maximize yield without a yard?
In a true no-yard setup, go vertical and accept trade-offs. Trellised cucumbers, compact tomatoes, and climbing beans can stretch harvests upward, but you will still get higher yields by prioritizing short-cycle leafy greens and radishes because they do not rely on large root volumes or heavy pollinator activity.
Will starting from seeds indoors help when I’m trying to grow in constrained conditions?
Yes, seed-starting indoors can make the “end” garden work better because it shortens time to harvest and lets you move plants out once conditions match. Harden seedlings gradually over 3 to 7 days, and avoid transplanting into cold nights without protection, since containers cool faster than ground beds.
How do I fertilize container crops if my potting mix already has fertilizer?
Expect lower success if you only fertilize by schedule. Instead, use a simple rhythm: after the first 8 to 10 weeks, apply a diluted liquid feed every 7 to 14 days, then adjust based on leaf color and growth rate. If you see lots of dark green growth with few flowers, you likely overfed nitrogen.
What should I do if my container plants keep drying out too fast?
Use a container-size benchmark. If plants are repeatedly drying out within a day, move up one pot size or switch to a self-watering container. Also mulch the soil surface with a thin layer of compost or fine bark to slow evaporation, and water until runout so salts do not accumulate at the top.
How can I harvest greens repeatedly in a small container without killing the plant?
Yes, but choose the right “cut and come again” approach. Harvest outside leaves first for lettuce, spinach, and kale, and avoid removing more than about one third of the plant at a time. If growth stalls, check light first, then water consistency, because nitrogen deficiency often looks similar to stress.
Can I grow crops in containers using a self-watering system or drip setup?
Definitely, and it can reduce both water use and cleanup. Keep a tray or saucer under pots to catch runout, then return excess within a short window. For self-watering systems, confirm the reservoir level daily at first, because plants may lag as they establish a deeper root zone.
What are the most common reasons container crops fail in low-resource situations?
If crops are failing in “the end” environment, the fastest diagnosis is light plus water. Too little sun causes slow growth and weak stems, too much water causes yellowing and root stress. A quick fix is to compare your soil moisture test at 2 to 3 inches, then adjust light exposure or light distance if you are indoors.
How do I extend the season in containers, especially for survival or steady food supply?
Yes, even in a small container garden you can extend the calendar. Combine row covers or low tunnels for cool seasons with succession planting, sowing a new batch of greens or radishes every 1 to 3 weeks. In warm weather, switch to heat-tolerant greens and shorten the day with shade cloth if temperatures spike.
Is it realistic to grow crops entirely indoors year-round?
Sometimes yes, but it depends on crop type and access to nutrients. For a fully indoor setup, lettuce, herbs, and microgreens are the most reliable. Fruit crops can work, but they demand more light hours, stronger fertilizer, and pollination support, and the electricity cost can become a bigger constraint than people expect.
Next Article
How Do Farmers Grow Food Around the World: Methods and Tips
Learn how farmers grow food worldwide: soil, water, crops, pests, harvest, and how to scale it for home gardens.